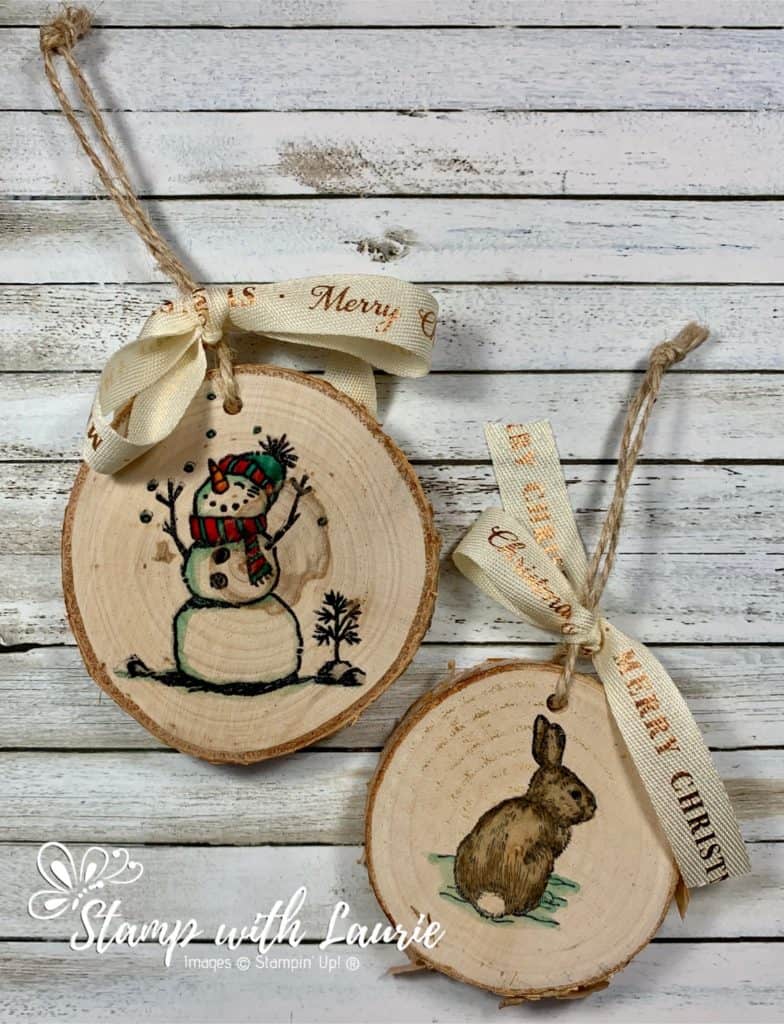
Today I am sharing with you my cute wooden ornaments that I made using the Snowman Season Photopolymer Stamp Set and the beautiful Nature’s Beauty Cling Stamp Set. I coloured these for a presentation on how to use Blends that I did recently. It’s amazing what you can colour with your Blends besides paper! I have seen Gold Metallic-Edge Ribbon, Silver Metallic-Edge Ribbon, Rhinestone Basic Jewels, Pearl Basic Jewels, Tags & Feathers Elements even china plates! Wouldn’t that be a great idea to make your own Christmas plates! The ornaments would be perfect to give as a Christmas gift or even to dress up a present. The process is a very simple one and you get a wow effect!

Supplies:
Stamp: Snowman Season Photopolymer Stamp Set (Photopolymer 150458), Nature’s Beauty Stamp Set (Cling 150528)
Ink: Tuxedo Black Memento Ink Pad (132708)
Accessories: Wooden disks (these I bought from a friend, but you can get them Amazon), Very Vanilla/Copper Classic Weave Ribbon (150394), Pool Party Stampin’ Blends Markers Combo Pack (144605), Pumpkin Pie Stampin’ Blends Markers Combo Pack (144599), Cajun Craze Combo Pack Stampin’ Blends (147931), Soft Suede Stampin’ Blends Markers Combo Pack (147273), Real Red Combo Pack Stampin’ Blends (147935), Smoky Slate Stampin’ Blends Markers Combo Pack (145058), Stampin’ Blends Color Lifter (144608 ), Something to hang the ornaments (I used some Stampin’ Up! retired jute twine), Drill to make the holes to thread the twine
Measurements:
- Large Ornament: 3”
- Small Ornament: 2 ½“
- Very Vanilla/Copper Classic Weave Ribbon: 12”
- Jute Twine: 10”
Instructions:
- Stamp the image in Memento Black Ink.
- Using the Blends colour your images. Note: they do tend to bleed more on the wood. So, be careful to stop before you touch the edges of image. If you do go outside the lines, the Color Lifter works well.
- Once you are finished colouring your ornament, thread your twine through a hole that you made and tie into a knot.
- Tie the Very Vanilla/Copper Classic Weave Ribbon into a bow on top of the ornament.
For Further Info:
Hope you like my cute wooden ornaments!
Amazon link to similar wooden disks with holes and twine included:
https://tinyurl.com/yfhvswxq
You will find the items listed above in my online store at:
https://www.stampinup.com/ecweb/default.aspx?dbwsdemoid=2103981.
