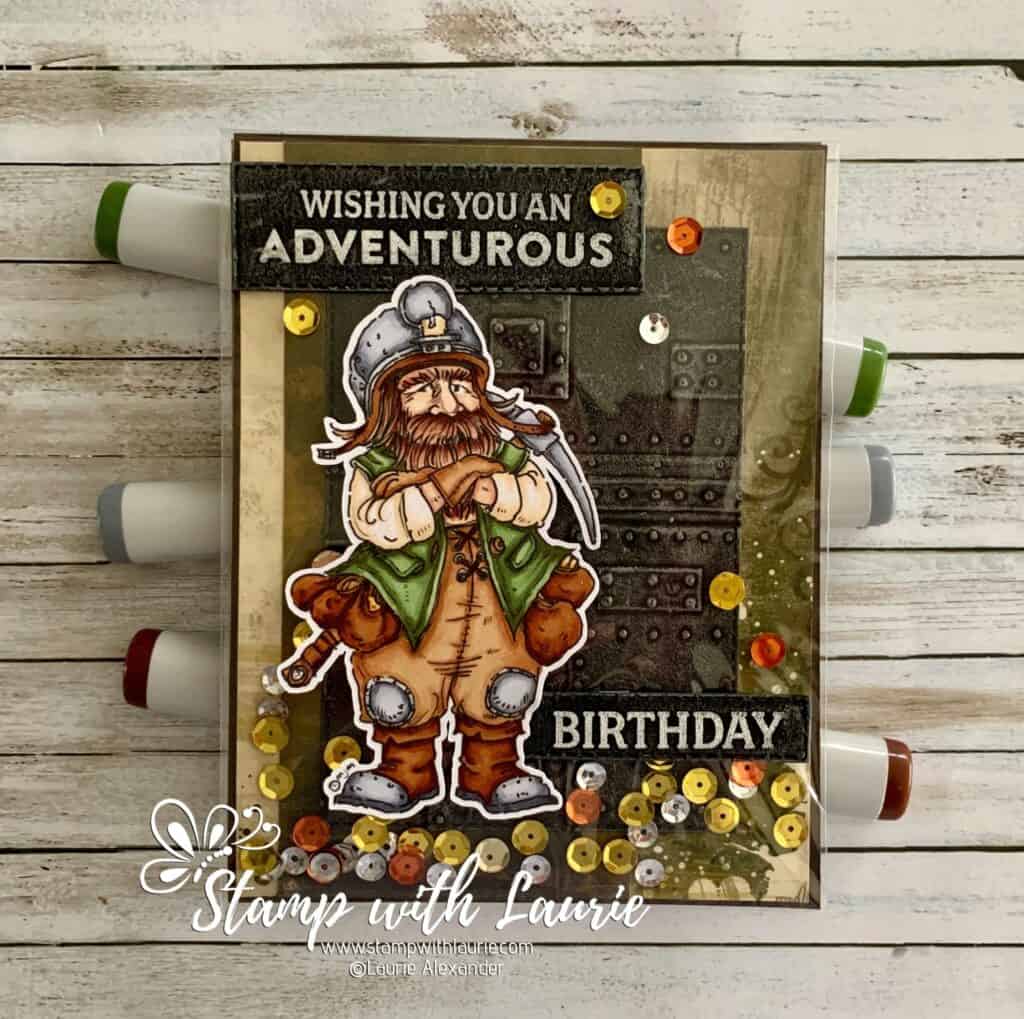
An Adventurous Birthday Card

A dwarf with a pick axe on a birthday card
An Adventurous Birthday Card

Hello Crafty Friends! It’s Laurie here! I am sharing An Adventurous Birthday Card using Dwarf 2 by Mo’s Digital Pencil. 

A good friend had his birthday and this was the card that I sent him. He loves to roleplay going on adventures and finding hordes of treasure. So, I thought Dwarf2 would make him a fun card!

The Details of My Card

For my card, I decided I would make a fun faux shaker card and fill it will gold, copper, and silver sequins to represent a treasure hoard.  I coloured the dwarf in muted colours with my Copic markers that would suit a miner digging for gold.

The Bo Bunny paper I had in my stash and suited my adventuring theme.

I die cut a piece of Basic Black card stock with a stitched rectangle die. Then, I embossed it with the Foundry Folder and rubbed brushed iron wax onto it. I loved the way it brought out the details of the metal pieces and rivets to look like a metal door! This was the perfect backdrop for my dwarf!

For the sentiments, I heat embossed them in white on Basic Black card stock and then die cut them with stitched rectangles too. Next, I rubbed the brushed iron wax on them as well to match the door.

The only embellishments were to glue a few sequins to the clear envelope that created my faux shaker card.

————————–

Copic Markers:

Skin: E000/E00/E21/E11/E04
Hair: E18/E15/E13/E11
Pants/Gloves: E35/E33/E31
Pant Laces: E29/C3
Leather Bits: E29/E39/E35
Vest: G99/G94/G21
Shirt/Candle: E53/E51/E50
Boots: E29/E39/E35/C7/C5/C3/C1
Hat/Knee Patches/Axe Head: C5/C3/C1
Wooden Axe Handle: E37/E35/E33/E31
Gold: Y38/Y32
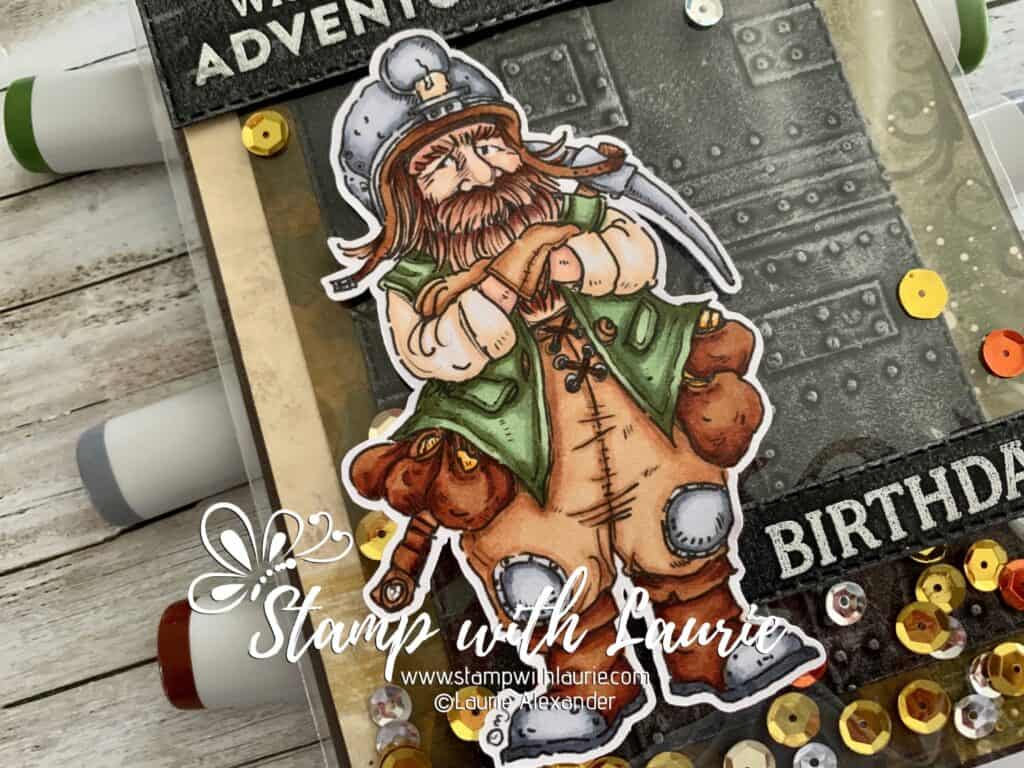
Close Up of Dwarf
Close Up of Dwarf 2

————————–

Card Recipe for An Adventurous Birthday:

Dwarf 2, Mo’s Digital Pencil
Paper Basics – Stamper’s Select White Cardstock, Papertrey Ink
Cambridge Stripe12” x 12” Paper, Bo Bunny
Cambridge Victory12” x 12” Paper, Bo Bunny
Versamark Ink, Stampin’ Up!
Basics Embossing Powder, Stampin’ Up!
Heat Tool, Stampin’ Up!
Adventurous Journey Stamp Set, Stampin’ Up!
Stitched Rectangle Dies, Stampin’ Up!
3-D Texture Fades Embossing Folder – Foundry by Tim Holtz, Sizzix
Dazzling Metallics Sequins, Craft Medley
Clear Medium Envelopes, Stampin’ Up!
Brushed Iron Metallique Wax, Art Alchemy
Early Espresso and Basic Black Card Stock, Stampin’ Up!

Finished card size 5.5” x 4.25”

————————–

To view my other Copic cards, please click here.

I love the Dwarf stamps by Mo’s Digital Pencil! In fact, I used Dwarf 6 to create another card that we gave to the same friend a few years ago.
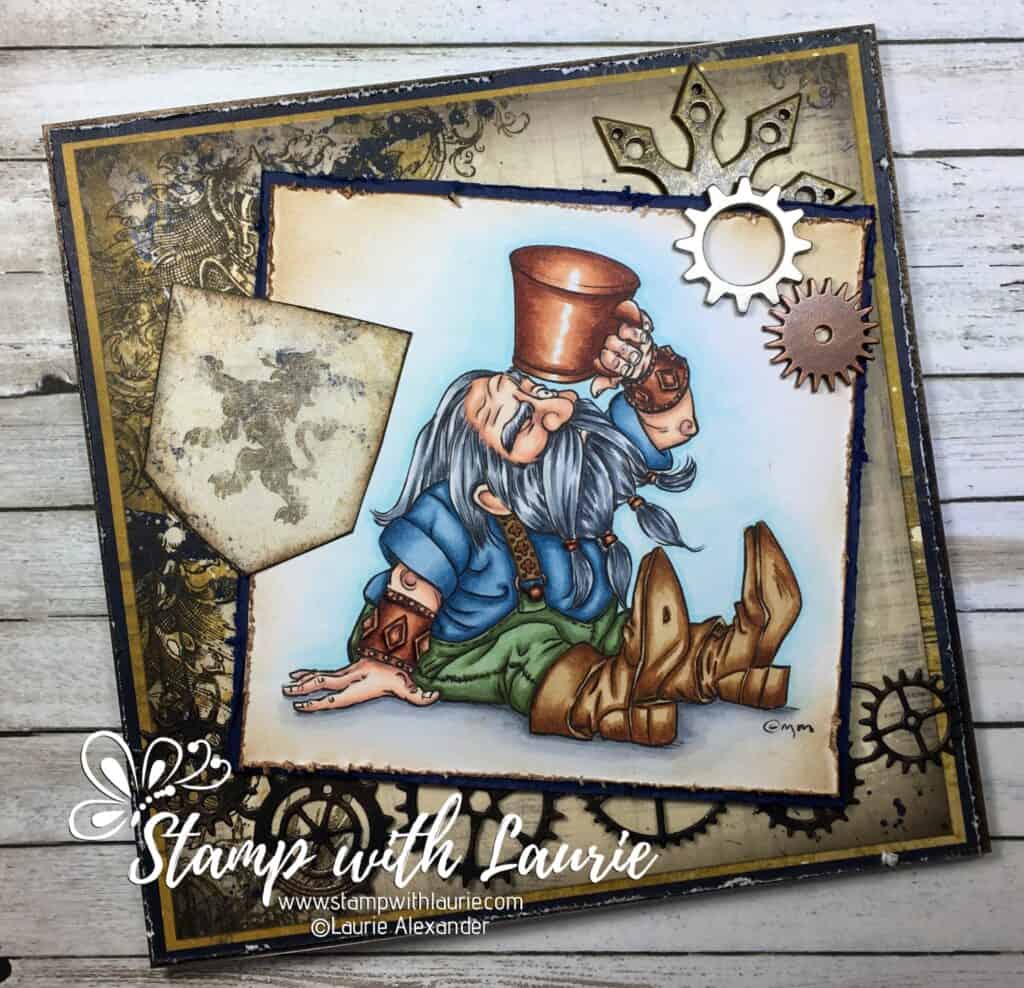
Card with dwarf looking in a beer mug
Card Using Dwarf 6

Hope you like my card using Dwarf 2 by Mo’s Digital Pencil!

Thank you for stopping by!

Hugs,
Laurie

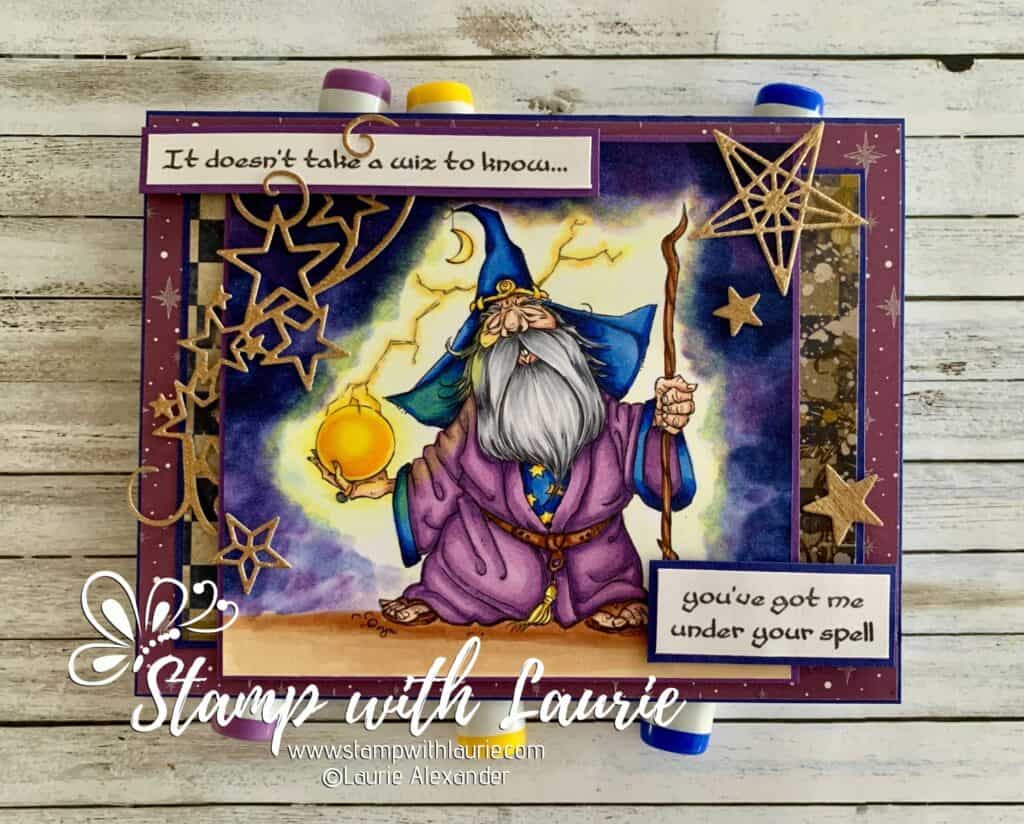
Under Your Spell Card 

A Valentine card with a Wizard on it
Under Your Spell Card

Hello Crafty Friends! It’s Laurie here! I am sharing my Under Your Spell Card using Wiz by Mo’s Digital Pencil. 

This past week was Valentine’s Day, and I made this card to give my Hubby. He loves anything fantasy and I thought the Wiz would be a fun card to make for him!

The Details of My Card

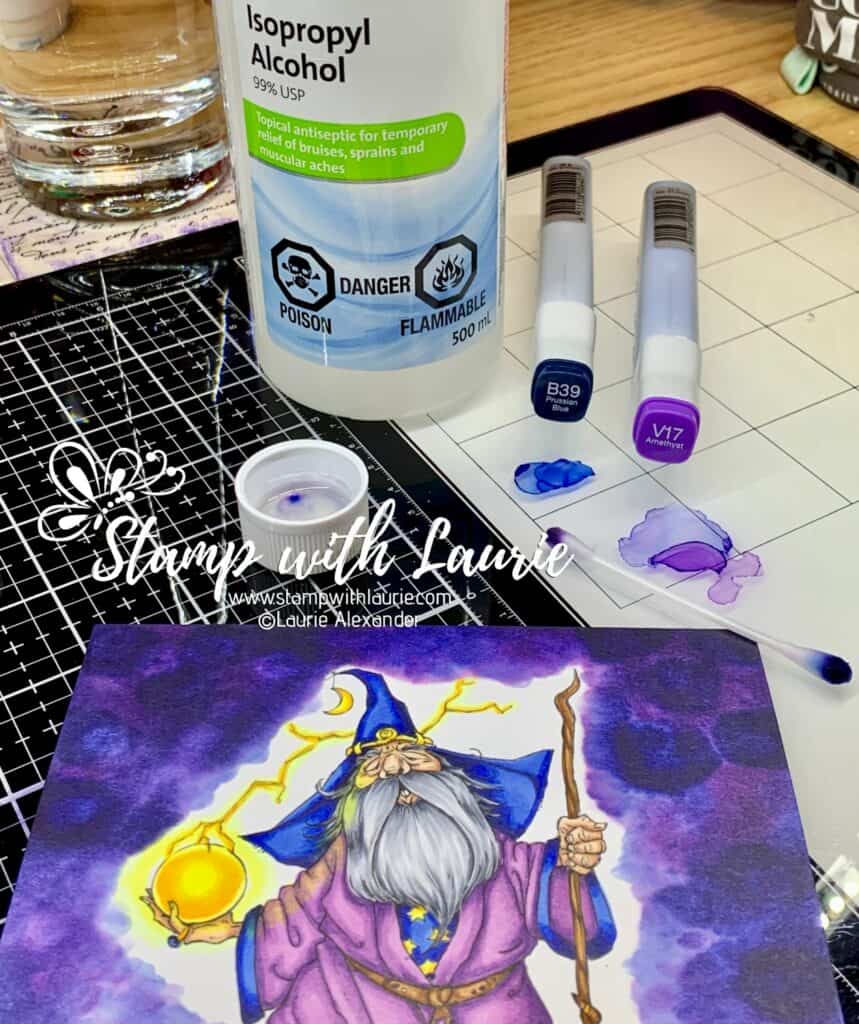
For my card, I coloured the Wiz with my Copic markers in magical shades of purples and blues with bright yellow accents. I used my Copic refills in B39 and V17 with 99 % Isopropyl Alcohol to create the mystical auras around him. You can use any colours for this effect, but I picked two colours that draw on the colour scheme that I used on the image.

Background Technique

To create this technique, I worked in small sections to keep the ink wet while I played. I dripped a few drops of each refill making sure that the drops were far enough away from the image since they bled. I also overlapped them which helped with the blending and coverage.

While the ink was wet, I dipped the q-tip into the alcohol and dotted and dabbed through the inks. As I dabbed, I pulled the ink toward the image. The dotting created lighter splotches where the ink was repelled. I re-dipped the q-tip regularly into the rubbing alcohol to push the ink around and dotted toward the Wiz and ground. This section was much more diluted to achieve an effect that the ink was blended out to white. I also added reinker to a glass mat and dipped the wet q-tip into it add more ink in the diluted area.

A Technique to create a mystical background
Background Technique Using Copic Reinkers

Once I was happy with the background, I use Y02/Y000 to push the darker background inks back from my image to create a yellow glow that softens the darker edges.

I added some die cut stars in gold glimmer paper swirling around the top sentiment. A scattering of other glimmer stars helped with the mystical theme.

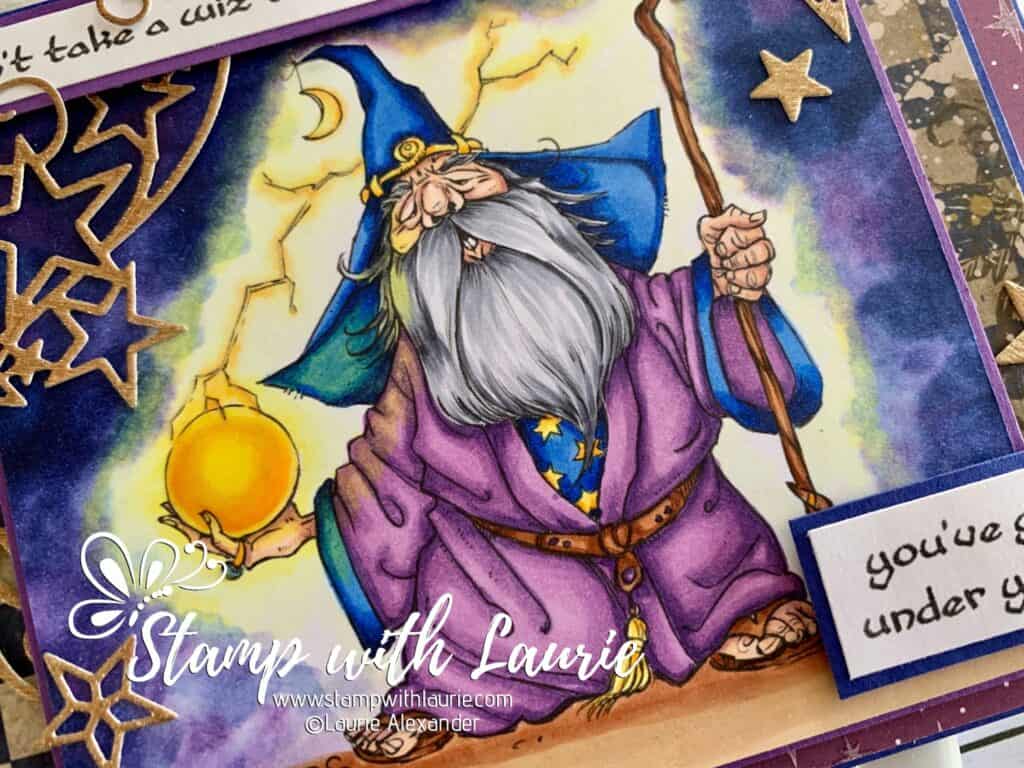
Glossy accents were added to the mystical crystal ball. I used a gelly roll pen on the mystical lightening arcing from the crystal ball. Clear Wink of Stella was added to the stars on his shirt, the gold band on his hat and the star hanging from his hat.

————————–

Copic Markers:

Skin: E000/E00/E21/E11/E04
Hair: C5/C3/C1
Purples: V17/V15/V12
Blues: B39/B28/B24
Yellows: Y17/Y15/Y02
Leather/Staff: E39/E37/E35/E33
Ground: E33/31
Magical Glow: Y02/Y000

Close Up of The Wizard
Close Up of The Wiz

————————–

Card Recipe for My Under Your Spell Card:

Wiz, Mo’s Digital Pencil
Paper Basics – Stamper’s Select White Cardstock, Papertrey Ink
Cambridge Chess 12” x 12” Paper, Bo Bunny
Myth & Magic Specialty Designer Series Paper, Stampin’ Up!
Gold Metallic Specialty Paper 6” x 6”, Stampin’ Up!
Stitched Stars Dies, Stampin’ Up!
99 % Isopropyl Alcohol
Q-tips
B39 Copic Refill
V17 Copic Refill
Tim Holtz Glass Media Mat, Tonic
Clear Star Gelly Roll Pen, Sakura
Glossy Accents, Ranger
Clear Wink of Stella, Stampin’ Up!
Value Pack Cards & Envelopes, Recollections
Starry Sky and Gorgeous Grape Card Stock, Stampin’ Up!

Finished card size 6.5” x 5”

————————–

To view my other Copic cards, please click here.

Hope you like my card using Wiz by Mo’s Digital Pencil!

Thank you for stopping by!

Hugs,
Laurie