My Favorite Song Card 

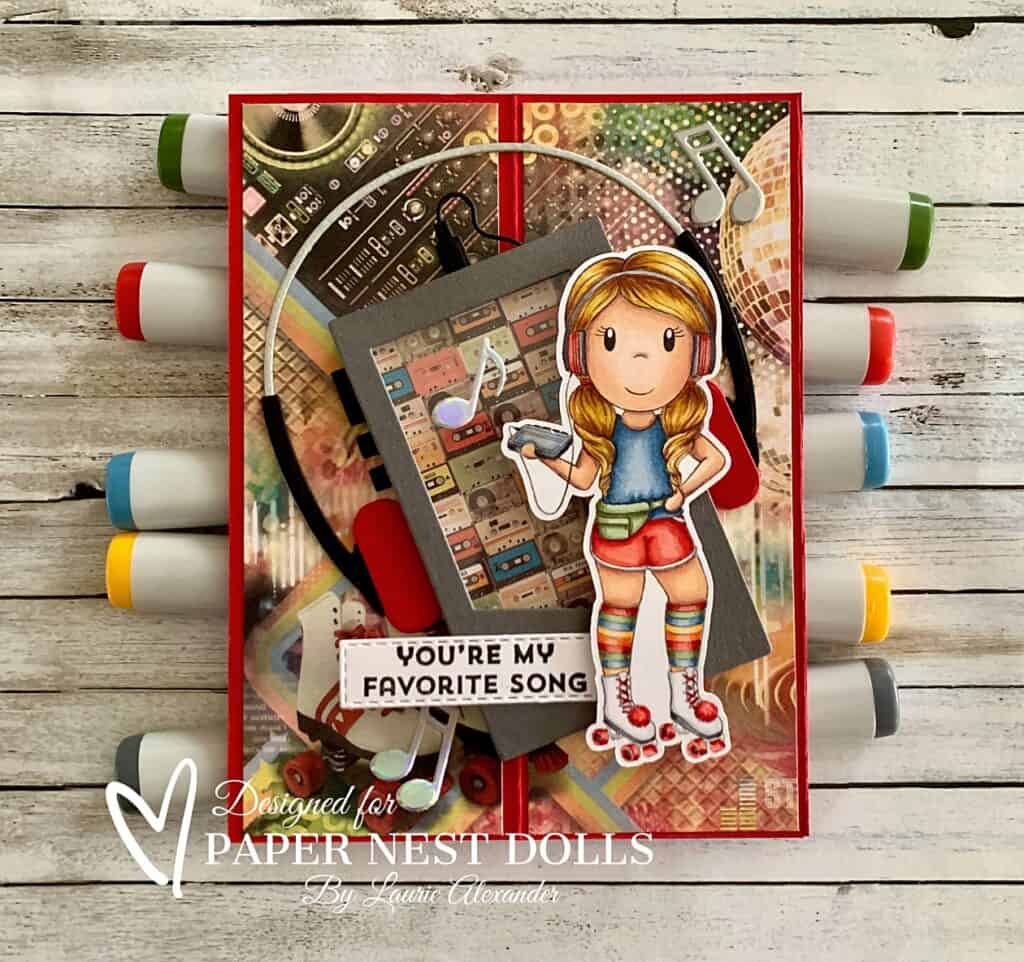
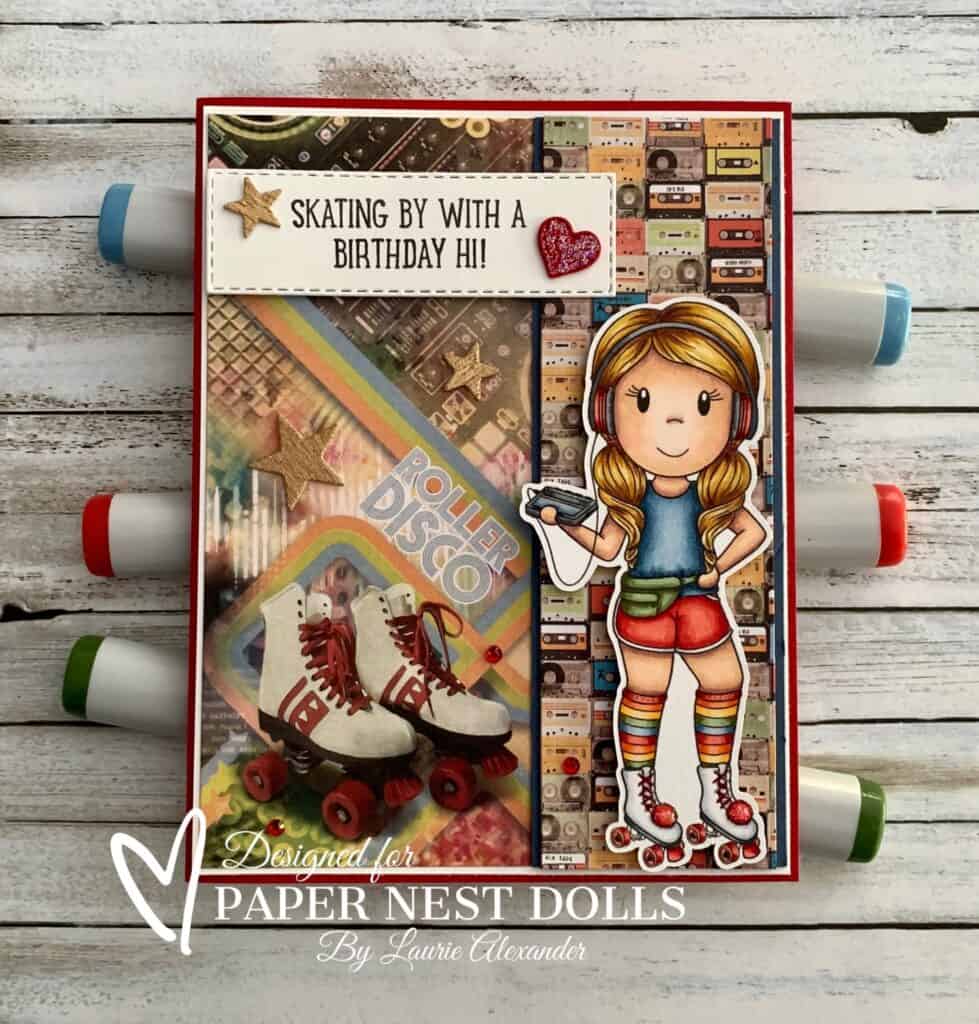
My Favorite Song Card - a card with a girl in roller skates listening to a walkman.
My Favorite Song Card

Hello Crafty Friends! It’s Laurie here! I am sharing My Favorite Song Card as my Design Team Inspiration Card for Paper Nest Dolls using Decade Collection Roller Skating Ellie. There are ten dolls in the Decade Collection that come in both rubber and digital stamps. You can find all the digital versions here.
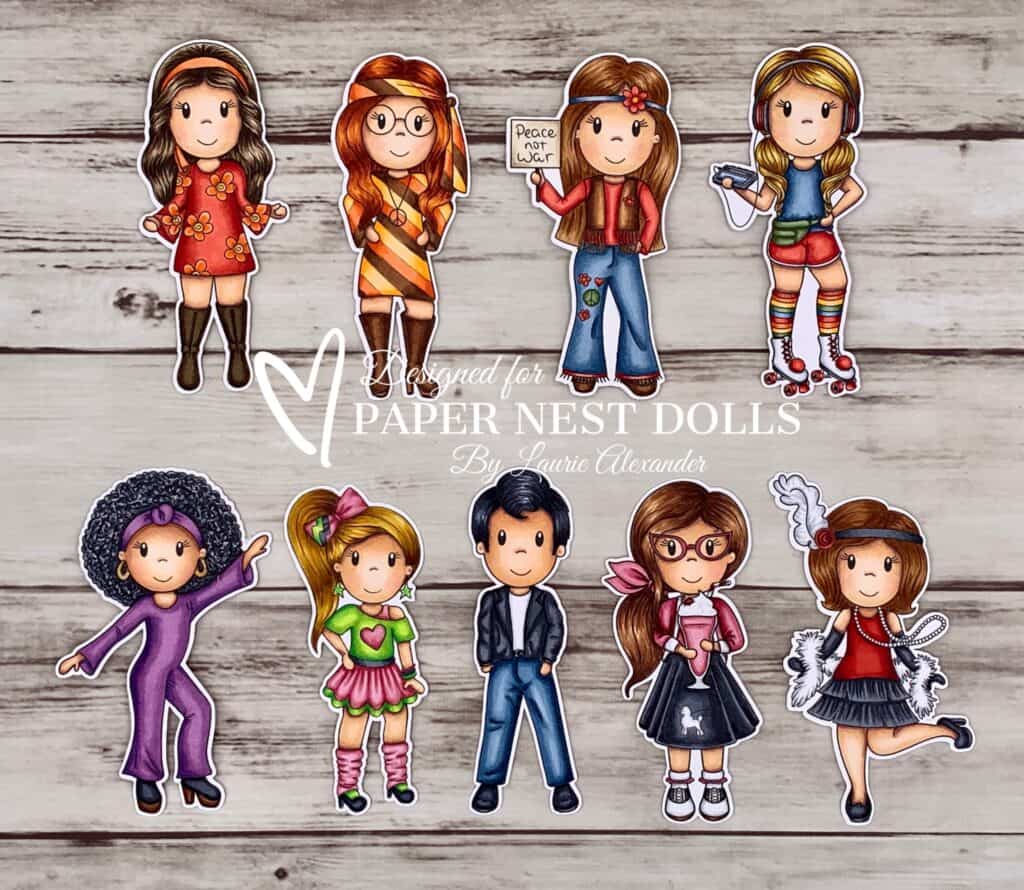
Decade Doll Collection by Paper Nest Dolls

The Details of My Favorite Song Card

I had coloured this stamp with my Copic markers a while back…in fact, since I liked her so much, I coloured her twice at the time! Lol! So, I decided to finally get this one onto a card especially since I bought the perfect Walkman dies by My Favorite Things!

For my card, I thought that the Walkman would make a fun shaker. So, I built my Walkman using the dies and even added four layers to the red foam ear pieces to give them some dimension! I used a Window Sheet for where my shaker sequins would go. Once that was built, I added Foam Adhesive Strips between the top and the cassette paper to enclose my sequins. I thought that the cassette paper was a great backing for my Walkman! The skates and disco ball paper behind my focal point was perfect for my theme!

The sentiment was from a retired Stampin’ Up! Stamp Set, but you could easily type this out on your computer and printing it. It was stamped in black ink and die cut out using the Stitched Rectangles.

To add some sparkle to the card, I used Stickles on Ellie’s pompoms on her skates. For the musical notes, I used holographic paper to give them an iridescent look! Very hip for the 80’s. Lol! The final touch was adding Glossy Accents to her Walkman case.

————————–

Copic Markers

Skin: E04/E11/E21/E00/E000/R20
Hair: Y21/Y26/YR24/E25
Shirt: B99/B97/B95/B93/B91
Shorts: R29/R24/R22/C3/C1/0
Tummy Sack: G99/G94/G21
Black on Skates: C7/C6/C4
White on Skates: C3/C1/0
Red on Skates: R29/R24/R22
Headphones: C7/C6/C4/R29/R24/R22
Walkman: C7/C6/C4/B91/B95/Glossy Accents
Socks: R29/R24/R22/G99/G94/G21/Y38/Y35/Y32/YR09/YR07/YR02
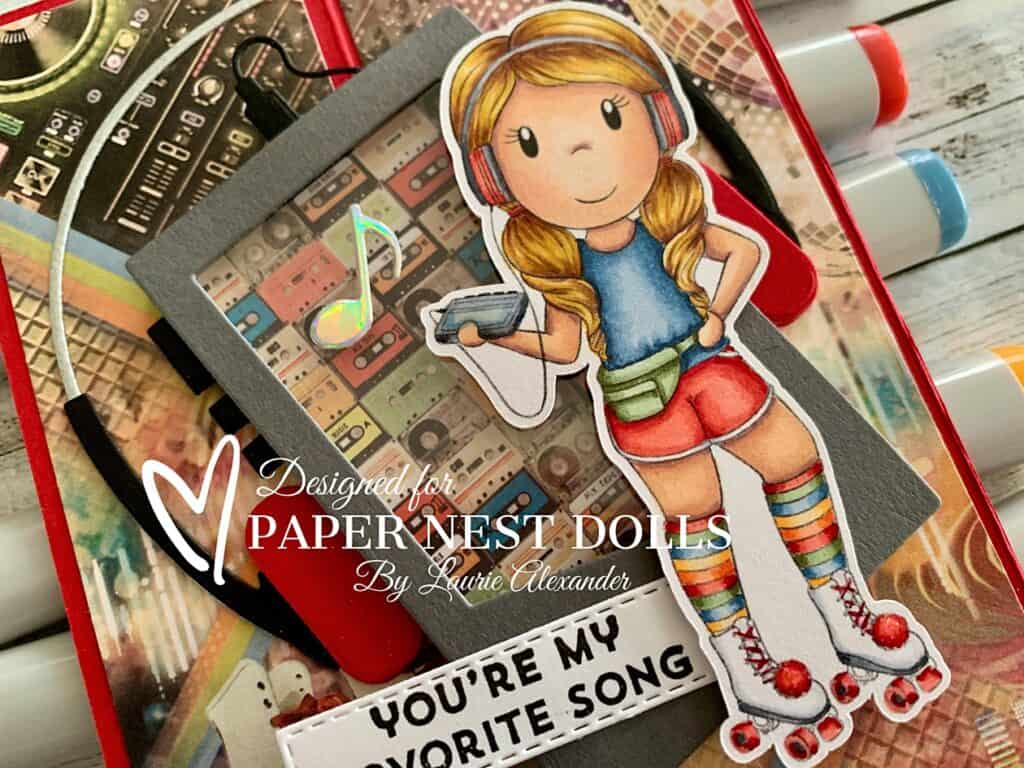
Close Up of girl on roller skates
Close Up of Roller Skating Ellie

————————–

Card Recipe for My Favorite Song Card

Decade Collection Roller Skating Ellie, Paper Nest Dolls
Paper Basics – Stamper’s Select White Cardstock, Papertrey Ink
Seventies 6” x 6” Paper Pad, Ciao Bella
Portable Jams Dies, My Favourite Things
Violin and Music Notes Dies, Cottage Cutz
Holographic Trio Specialty Paper, Stampin’ Up!
Galvanized Metallic Paper, Stampin’ Up!
Window Sheet, Stampin’ Up!
Stitched Rectangle Dies, Stampin’ Up!
For the Record Stamp Set, Stampin’ Up!
Versafine Black Ink, Tsukineko
Glossy Accents, Ranger
Star Dust Stickles, Ranger
Peaceful Poppies Sequins, Stamin’ Up!
Foam Adhesive Strips, Stampin’ Up!
Real Red, Basic Black, Basic Gray, 
and Basic White Card Stock, Stampin’ Up!

Finished card size: 5 ½” x 4 ¼”

Stamp Size: 4”

————————–

To view my other Paper Nest Dolls cards, please click here.

My Other Card Using Roller Skating Ellie

For more information on my card, please click here or on the photo.

Grad with a girl in roller skates on it
Roller Disco Babe

Hope you like my Design Team Inspiration Card using
Decade Collection Roller Skating Ellie by Paper Nest Dolls!

Thank you for stopping by!

Hugs,
Laurie

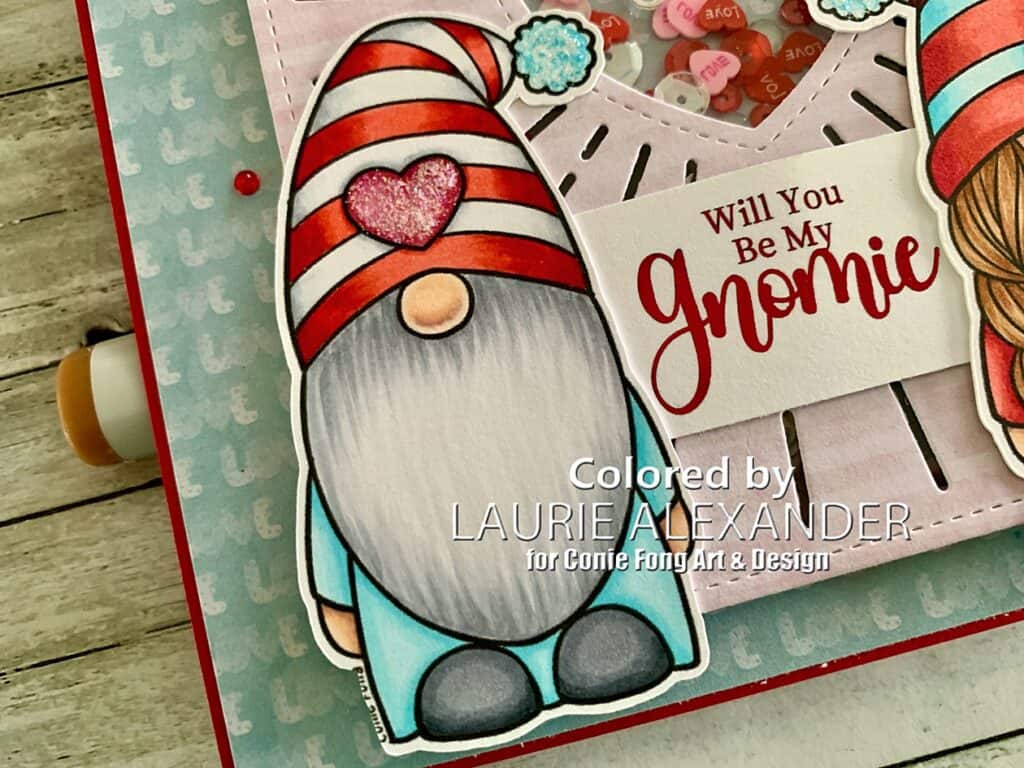
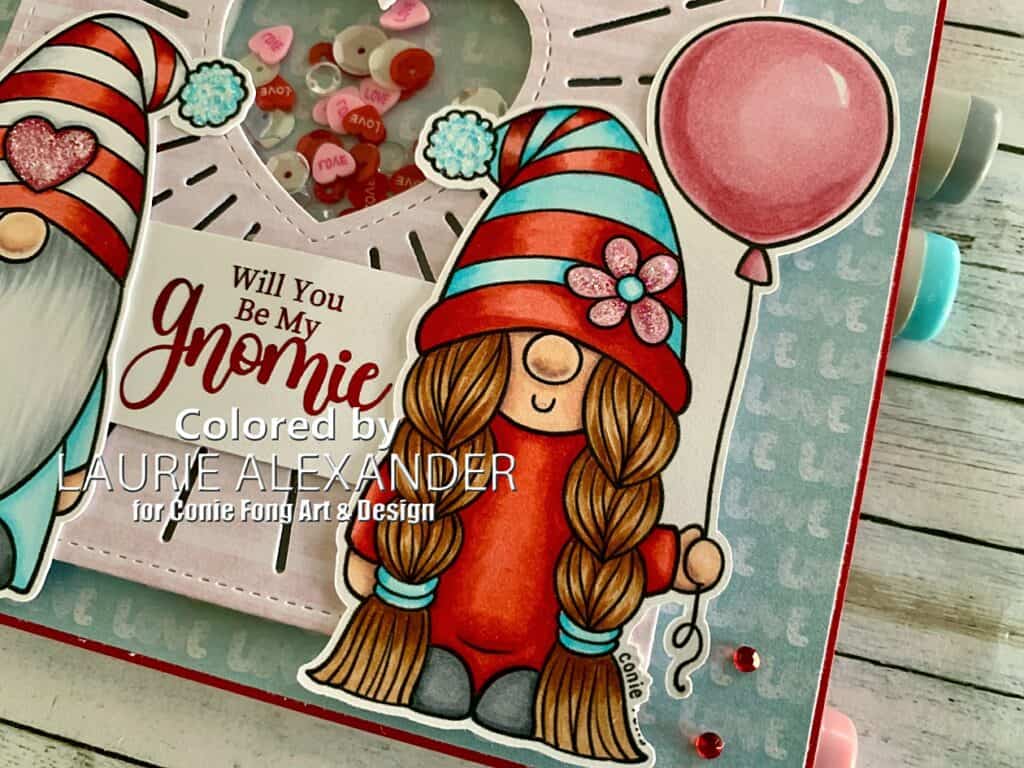
Will You Be My Gnomie?

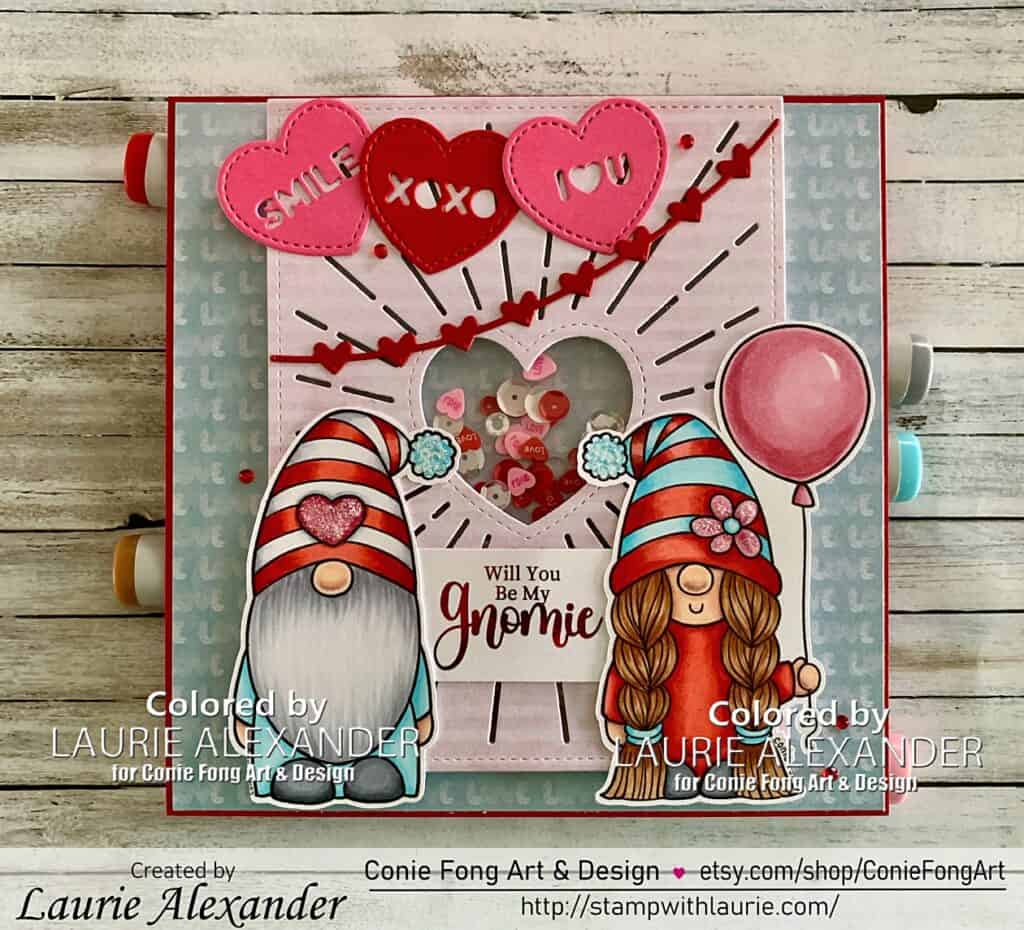
Will You Be My Gnomie? - A Valentine Card with a Boy and Girl Gnome infant of a heart shaker
Will You Be My Gnomie?

Hello Crafty Friends! It’s Laurie here! I am sharing my Will You Be My Gnomie? as my Design Team Inspiration Card for Conie Fong Art & Design using the sweet Gnome Couple. You can also draw the Boy Gnome using the video on the Draw with Conie YouTube channel: https://youtu.be/HZtUnru5-VM?si=nE7dFjqjFEtH9im7. Don’t forget to subscribe to her channel while you are there for more tutorials that come out each week!

You can also share your drawings in her Draw with Conie Facebook Group: https://www.facebook.com/groups/339082068864209/

The Details of My Will You Be My Gnomie?

For my card, I thought I would create a fun Valentine Shaker card using these cuties! So, I coloured them with my Copic markers in Valentine colours and cut them out with my Brother Scan & Cut.

The Radiant Heart Backdrop Die was perfect for my shaker part, but I need to make the card larger to fit my gnomes and the shaker. So, I made my card 6” x 6”and placed the shaker element at the top with my gnomes on either side of it.

For the shaker, I used the Stampin’ Up! Foam Adhesive Strips around the heart and again around the perimeter of the rectangle to create two shaker parts. This allowed the sequins to look like they are loose throughout but kept a nice selection visible in the heart at all times. The “Love” heart shaker elements and sequins were perfect colours to match my colour scheme. Some die cut candy hearts and a heart garland decorated my shaker element.

The sentiment was from Sassy’s Cards & Gifts. She gives out downloadable sentiments each month for free and this one was from the recent video! I was visiting my friend while putting this card together and she let me try out her Mini Minc Machine to red foil the sentiment. Love the shine! I need one of these! Lol!

To add sparkle, I used a scattering of red rhinestones and Star Dust Stickles on gnomes’ pompoms, the boy’s heart, and the girl’s flower.

————————–

Copic Markers:

Boy Gnome
Skin
: E000/E00/E21/E11/E04
Hair: C3/C1/C0
Reds: R29/R27/R24/R22
Blues: BG02/BG01/BG000
Whites: C3/C1/0
Shoes: C6/C4/C3

Close Up of Boy Gnome

Girl Gnome
Skin
: E000/E00/E21/E11/E04/R20
Hair: E39/E37/E35/E33
Reds: R29/R27/R24/R22
Pinks: R85/R83/R81
Blues: BG02/BG01/BG000
Shoes: C6/C4/C3

Close Up of Girl Gnome

————————–

Card Recipe for My Will You Be My Gnomie?

Gnome Couple, Conie Fong Art & Design
Paper Basics – Stamper’s Select White Cardstock, Papertrey Ink
Gnomie Hugs 6” x 6” Paper Pad, Paper Rose
Radiant Heart Backdrop Die, Lawn Fawn
Candy Hearts Dies, Lawn Fawn
Heart Garland Backdrop: Landscape Dies, Lawn Fawn
Valentine’s & Galentine’s Day Sentiment, Sassy’s Cards & Gifts
Mini Minc Machine, Heidi Swapp
Red Foil, Deco Foil
Brother Scan & Cut
Star Dust Stickles, Ranger
Red Rhinestone Basic Jewels, Stampin’ Up!
Peppermint Stick Sequin Mix, Neat & Tangled
Love Hearts Shaker Elements
Window Sheet, Stampin’ Up!
Foam Adhesive Strips, Stampin’ Up!
Real Red and Polished Pink Card Stock, Stampin’ Up!

Finished card size: 6” x 6”

————————–

To view my other Conie Fong Art & Design projects, please click here.

Hope you like my Design Team Inspiration Card using Gnome Couple for Conie Fong Art & Design!

Thank you for stopping by!

Hugs,
Laurie
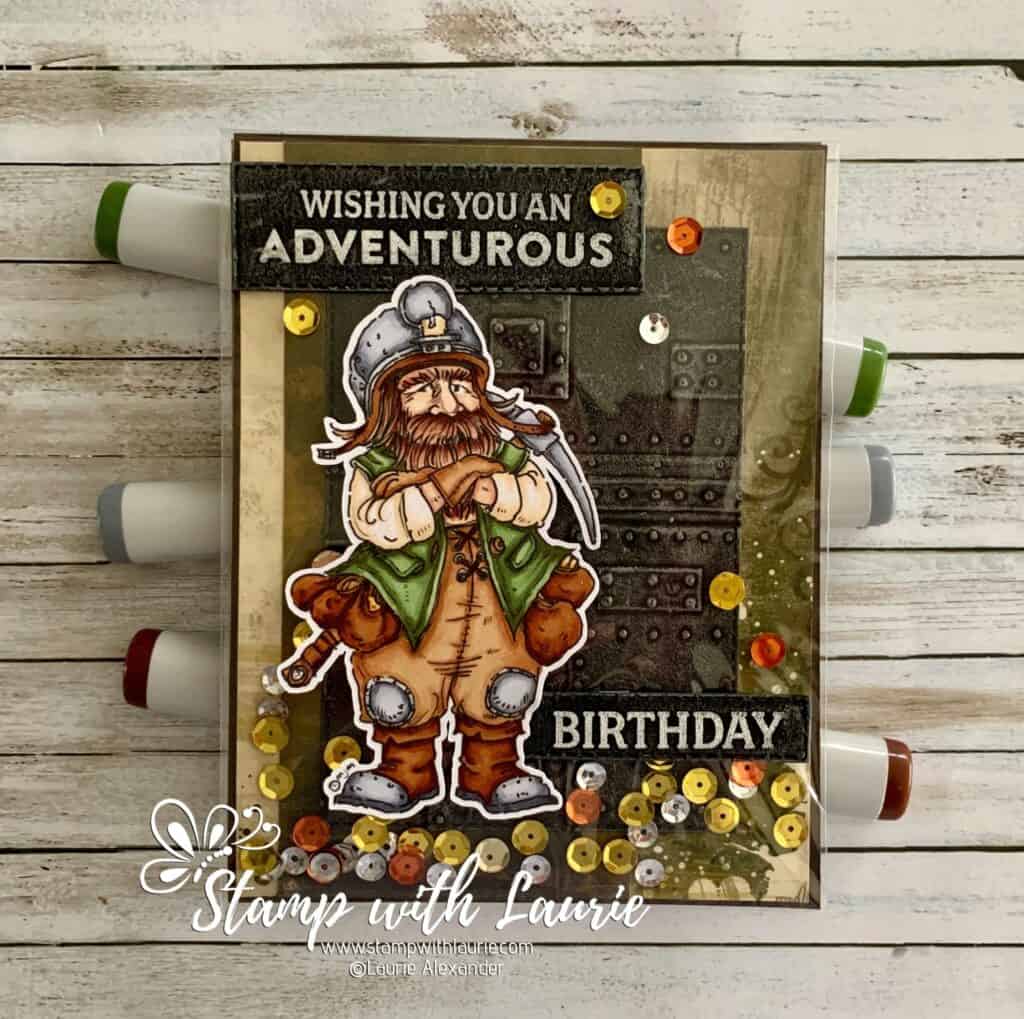
An Adventurous Birthday Card

A dwarf with a pick axe on a birthday card
An Adventurous Birthday Card

Hello Crafty Friends! It’s Laurie here! I am sharing An Adventurous Birthday Card using Dwarf 2 by Mo’s Digital Pencil. 

A good friend had his birthday and this was the card that I sent him. He loves to roleplay going on adventures and finding hordes of treasure. So, I thought Dwarf2 would make him a fun card!

The Details of My Card

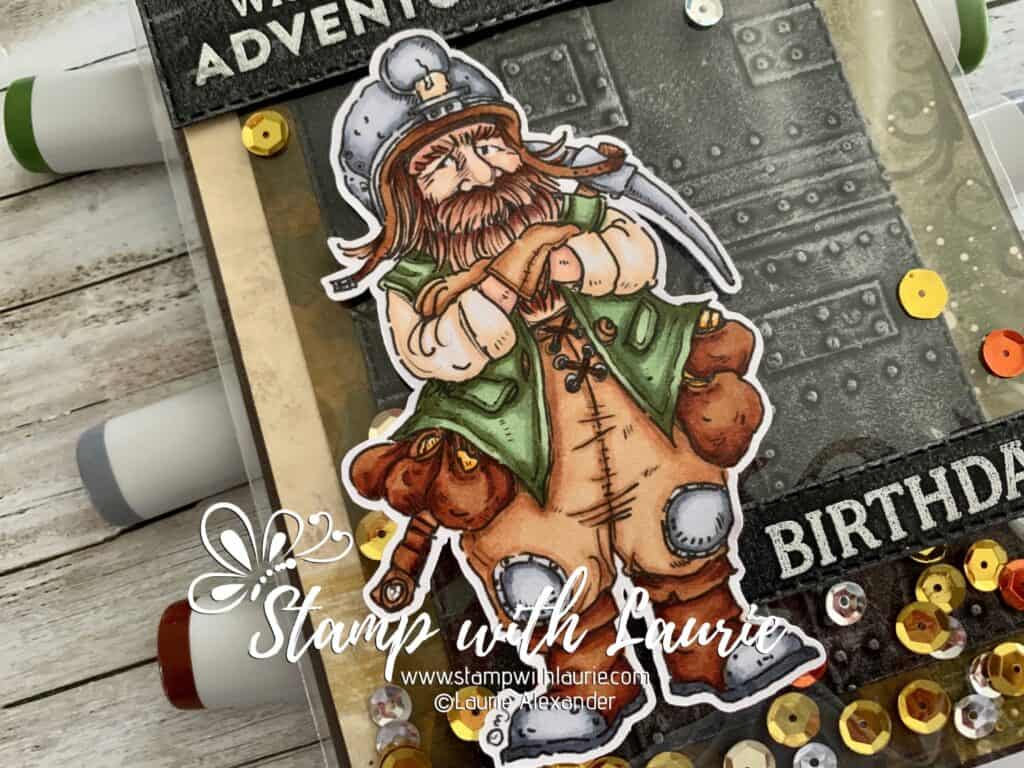
For my card, I decided I would make a fun faux shaker card and fill it will gold, copper, and silver sequins to represent a treasure hoard.  I coloured the dwarf in muted colours with my Copic markers that would suit a miner digging for gold.

The Bo Bunny paper I had in my stash and suited my adventuring theme.

I die cut a piece of Basic Black card stock with a stitched rectangle die. Then, I embossed it with the Foundry Folder and rubbed brushed iron wax onto it. I loved the way it brought out the details of the metal pieces and rivets to look like a metal door! This was the perfect backdrop for my dwarf!

For the sentiments, I heat embossed them in white on Basic Black card stock and then die cut them with stitched rectangles too. Next, I rubbed the brushed iron wax on them as well to match the door.

The only embellishments were to glue a few sequins to the clear envelope that created my faux shaker card.

————————–

Copic Markers:

Skin: E000/E00/E21/E11/E04
Hair: E18/E15/E13/E11
Pants/Gloves: E35/E33/E31
Pant Laces: E29/C3
Leather Bits: E29/E39/E35
Vest: G99/G94/G21
Shirt/Candle: E53/E51/E50
Boots: E29/E39/E35/C7/C5/C3/C1
Hat/Knee Patches/Axe Head: C5/C3/C1
Wooden Axe Handle: E37/E35/E33/E31
Gold: Y38/Y32

Close Up of Dwarf
Close Up of Dwarf 2

————————–

Card Recipe for An Adventurous Birthday:

Dwarf 2, Mo’s Digital Pencil
Paper Basics – Stamper’s Select White Cardstock, Papertrey Ink
Cambridge Stripe12” x 12” Paper, Bo Bunny
Cambridge Victory12” x 12” Paper, Bo Bunny
Versamark Ink, Stampin’ Up!
Basics Embossing Powder, Stampin’ Up!
Heat Tool, Stampin’ Up!
Adventurous Journey Stamp Set, Stampin’ Up!
Stitched Rectangle Dies, Stampin’ Up!
3-D Texture Fades Embossing Folder – Foundry by Tim Holtz, Sizzix
Dazzling Metallics Sequins, Craft Medley
Clear Medium Envelopes, Stampin’ Up!
Brushed Iron Metallique Wax, Art Alchemy
Early Espresso and Basic Black Card Stock, Stampin’ Up!

Finished card size 5.5” x 4.25”

————————–

To view my other Copic cards, please click here.

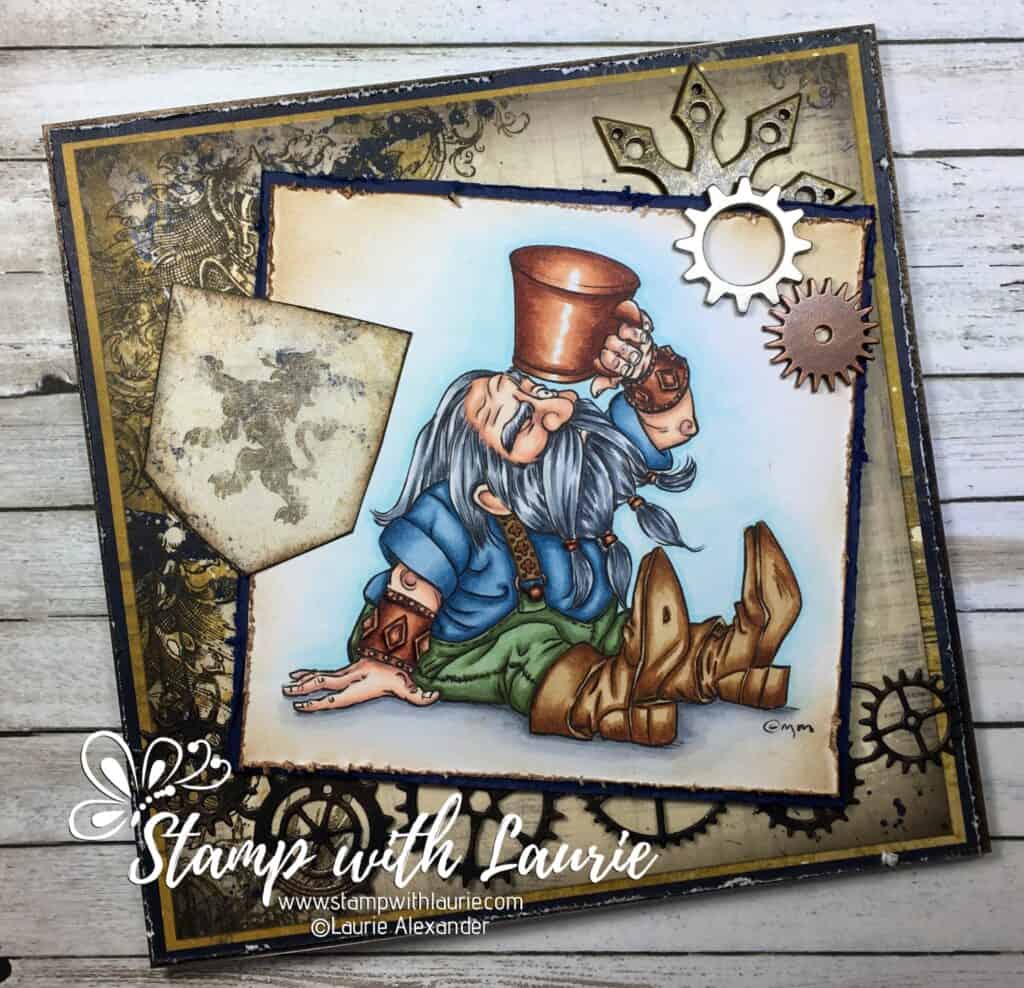
I love the Dwarf stamps by Mo’s Digital Pencil! In fact, I used Dwarf 6 to create another card that we gave to the same friend a few years ago.

Card with dwarf looking in a beer mug
Card Using Dwarf 6

Hope you like my card using Dwarf 2 by Mo’s Digital Pencil!

Thank you for stopping by!

Hugs,
Laurie
Oh, Happy Day Cards

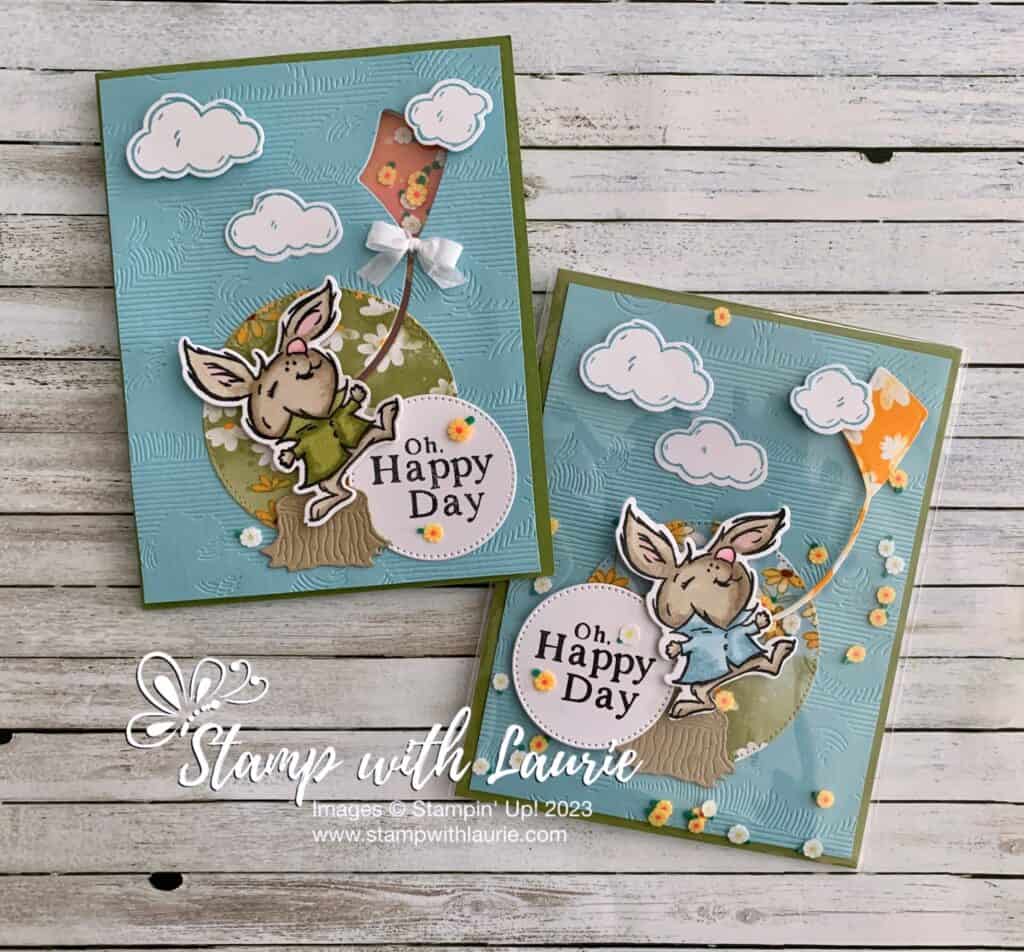
Two cards with a Rabbits flying a kites
Oh, Happy Day Cards

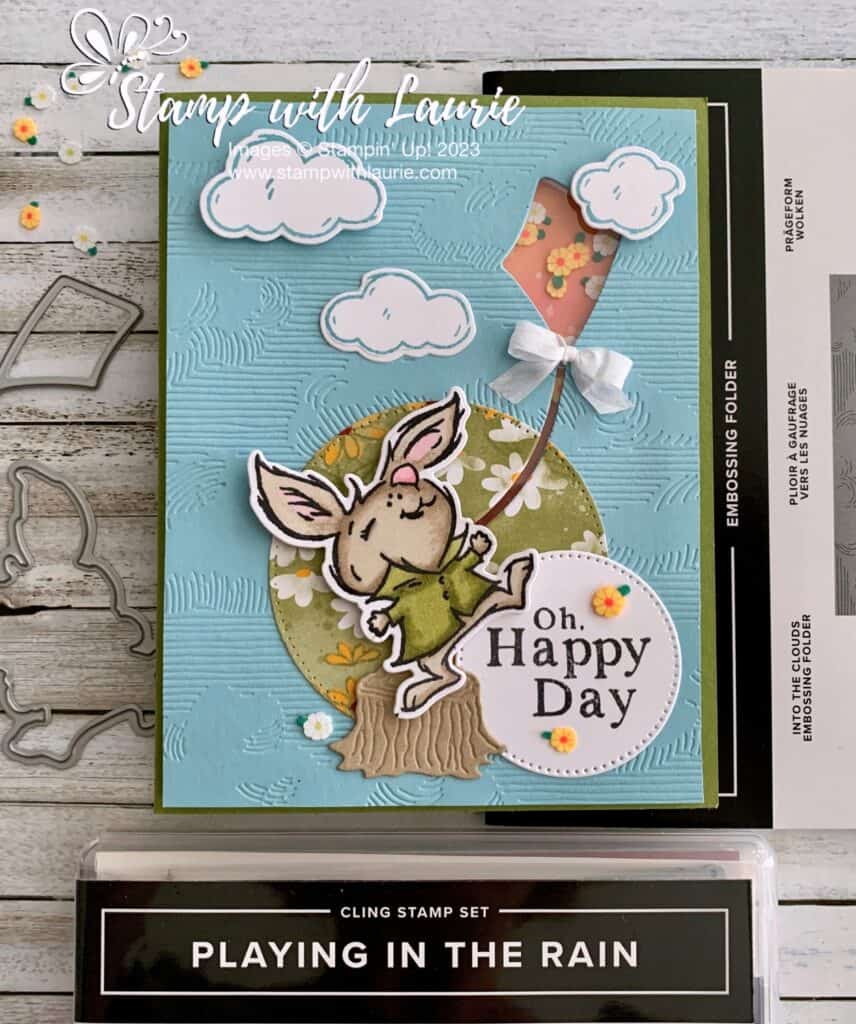
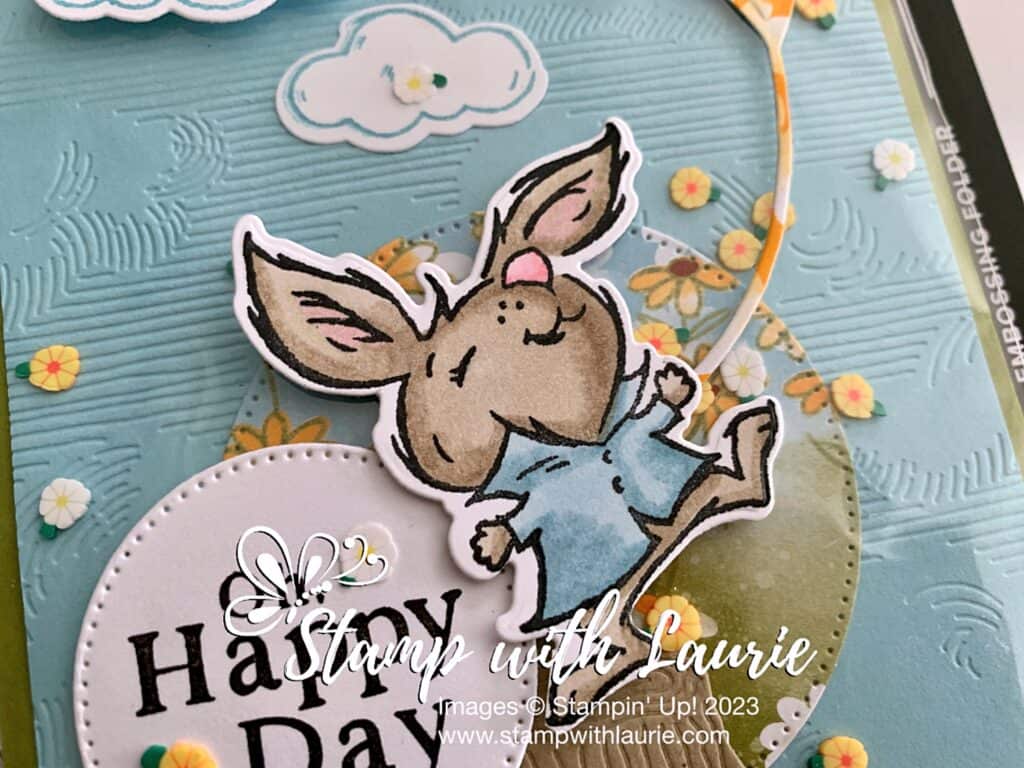
Hello Crafty Friends! Laurie here again! I am sharing my Oh, Happy Day Cards using the Rain or Shine Suite Collection by Stampin’ Up! I created two shaker cards. One was for a swap of the Mini Catalogue and the other was a faux-shaker card. Same design, but with different ways to make a shaker card.

The Details of My Cards

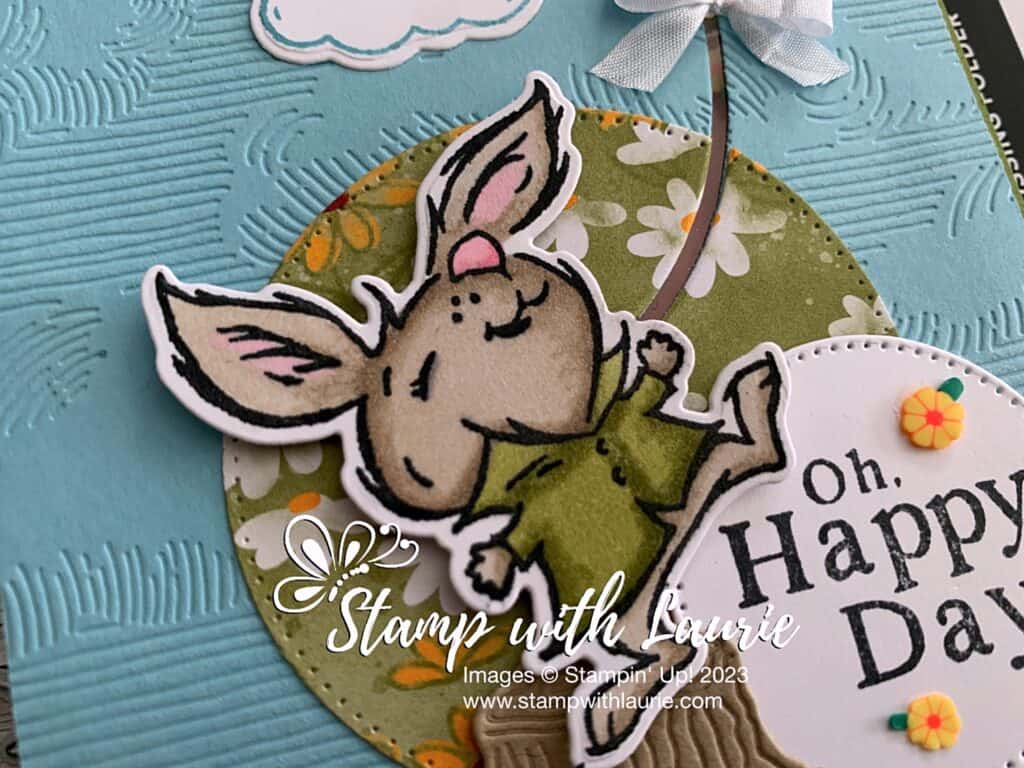
I had a lot of fun colouring this cute rabbit with my Stampin’ Blends! I coloured him with two different coloured shirts depending on the card. Once I finished colouring him, I die cut him out. Even though the bunny is splashing in a puddle on the stamp, the die just cuts him out making him more versatile. So, I decided that since he is bouncing with happiness that I would have him flying a kite.

My Swap Card Details

For my swap card, I made a traditional shaker card and used the kite die for my shaker part. Those Daisy Embellishments are so cute and perfect for a shaker! I backed my shaker part with a little DSP to add some visual interest.

One of the Cards with a ribbit flying a kite. the kite is a shaker.
My Swap Card

To get the placement of the kite, I placed my die cut bunny and DSP circle and the Balmy Blue where I wanted them and then positioned my kite die. Using a post-it note, I secured the DSP, and the kite die to the Balmy Blue and then ran it through my die cutting machine. Once that was done, I pulled part the pieces and embossed the Balmy Blue piece with the Into the Clouds Embossing Folder.

For the shaker part, I used a piece of window sheet that I adhered to the back of the Balmy Blue over the kite opening. Next, I used the foam adhesive strips and manipulated them around my kite. These strips are perfect for a shaker card and so easy to use!

Tip

Once the adhesive strip is down, rub the embossing buddy that comes in the Embossing Additions Tool Kit along the edges. This will help with static and keeps the shaker pieces from sticking to the adhesive.

Close Up of Rabbit
Close Up of Rabbit

Next, I added my shaker elements to the centre of the window sheet on the back. I removed the backing from the adhesive strip and secured the DSP over top. I added more strips to add dimension around the edges of the Balmy Blue so that the card would keep its shape. This part is adhered to the Old Olive card base.

Once that was done, it was just a matter of adhering all the elements in place. A Whisper White bow was added as the tail of the kite. A few daises were added to the sentiment and one beside the tree stump.

Faux Shaker Card Details

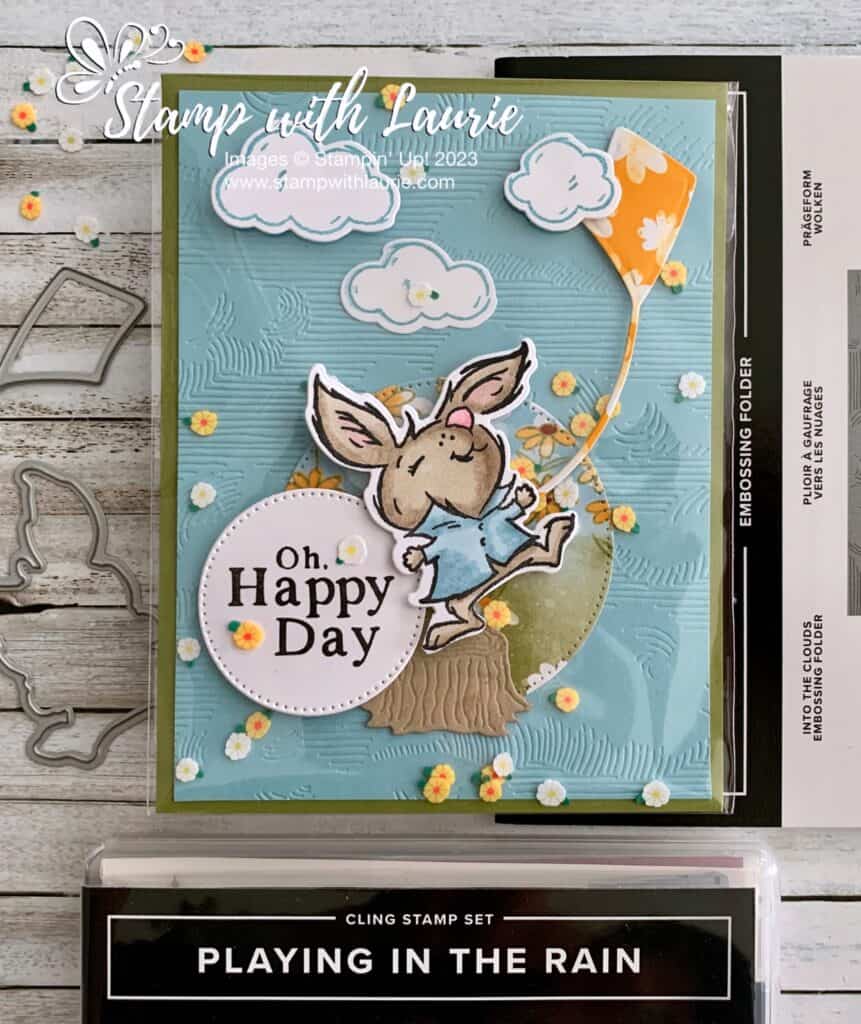
A faux shaker card is super easy to make and so fun! For my Faux Shaker Card, I embossed the Balmy Blue and adhered it to the Old Olive mat. Next, I adhered the DSP circle, the stump and one of the clouds to the Balmy Blue.

Second card that is a full shaker card
Faux Shaker Card

Taking a Medium clear envelope, I slid this piece into it. I added my daisy shaker elements to the front on the envelope and sealed it. Using liquid glue, I adhered the envelope to the Thick Basic White card base.

Next, I added the sentiment and the kite with liquid glue to the front on my card. The bunny and the remaining clouds are popped up. A few daisies were added to the sentiment. Easy peasy!

Supplies:

Stamps/Bundles/Dies: Rain or Shine Suite Collection (160556), Stylish Shapes Dies (159183)

Inks: Tuxedo Black Memento Ink Pad (132708), Balmy Blue (147105)

Paper: Old Olive (100702), Balmy Blue (146982), Crumb Cake (120953), Basic White (159276), Basic White Thick (159229), Rain or Shine Specialty Designer Series Paper (in Suite), Window Sheets (142314)

Accessories: Loose Daisy Embellishments (in Suite), Into the Clouds Embossing Folder (159171), Whisper White 1/4″ Crinkled Seam Binding Ribbon (151326), Crumb Cake Stampin’ Blends Combo Pack (154882), Balmy Blue Stampin’ Blends Combo Pack (154830), Old Olive Stampin’ Blends Combo Pack (154892), Flirty Flamingo Stampin’ Blends Combo Pack (154884), Embossing Additions Tool Kit (159971), Multipurpose Liquid Glue (110755), Clear Medium Envelopes (102619), Bone Folder (102300), Foam Adhesive Strips (141825), Stampin’ Dimensionals (104430), Stampin’ Seal (152813), Mini Glue Dots (103683), Post-It Note

Close Up of Rabbit on Faux Shaker Card

Measurements: 

  • Old Olive: 
    • 5 ½” x 8 ½” scored at 4 ¼” (card base for shaker)
    • Or 5 ½” x 4 ¼” (card front for faux shaker)
  • Thick Basic White:
    • 5 ½” x 8 ½” scored at 4 ¼” (card base for faux shaker)
  • Balmy Blue:
    • 4” x 5 ¼”
  • Crumb Cake:
    • 1-3/8” x 7/8”
  • Basic White (3 pieces):
    • 1-7/8” x 2-3/8” (Rabbit)
    • 1-7/8” x 1-7/8” (Circle)
    • 2 ½” x 2” (Clouds)
  • Rain or Shine Specialty Designer Series Paper:
    • 2 ¾” x 2 ¾” (Circle)
    • 2-7/8” x 1 ¾” (Kite for Faux Shaker)
    • 2” x 3” (For shaker under kite)
  • Window Sheet:
    • 2” x 3”

More Information on My Oh, Happy Day Cards:

For more of my Stampin’ Up! cards, please click here.

You will find the items listed above in my online store.

My Bee’s Knees Card 

A Valentine card with a Boy and girl bee holding hearts
My Bee’s Knees Card 

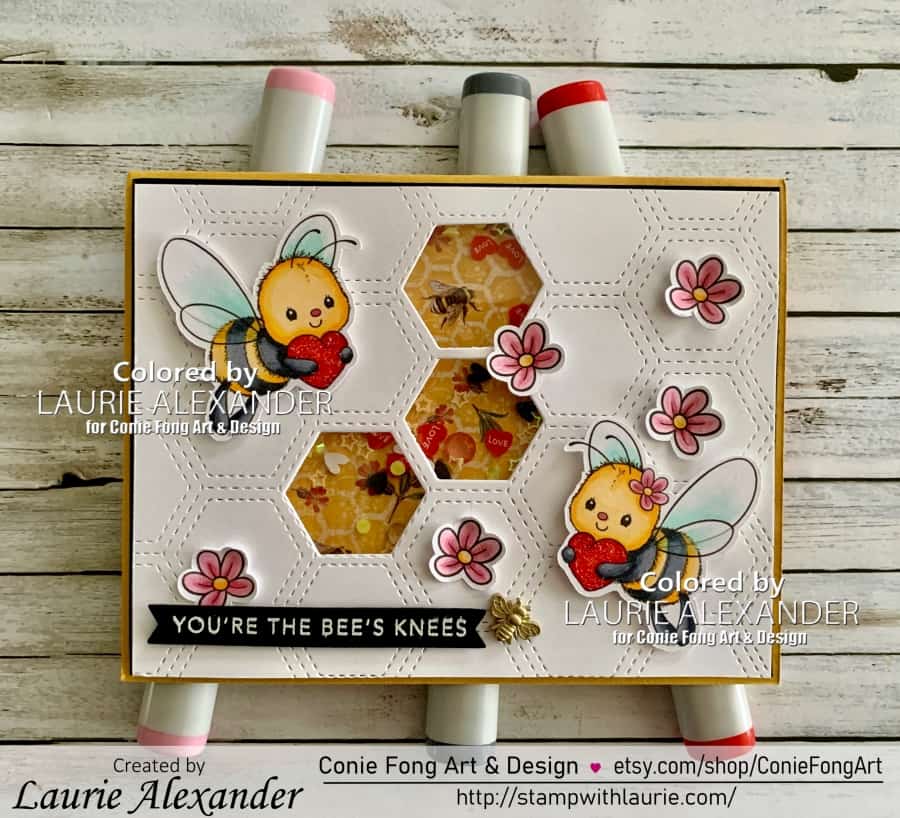
Hello Crafty Friends! It’s Laurie here! I am sharing my Bee’s Knees Card as my Design Team Inspiration Card for Conie Fong Art & Design using the super cute Bee With Heart Bundle.

This Bundle includes 5 images:

  • Title 1: Bee With Heart – Boy (PNG)
  • Title 2: Bee With Heart – Girl (PNG)
  • Title 3: Flower Accessory for Bee (PNG)
  • Title 4: For My Sweet Friend Sentiment (PNG)
  • Title 5: Sending Hugs Sentiment (PNG)

The Details of My Card

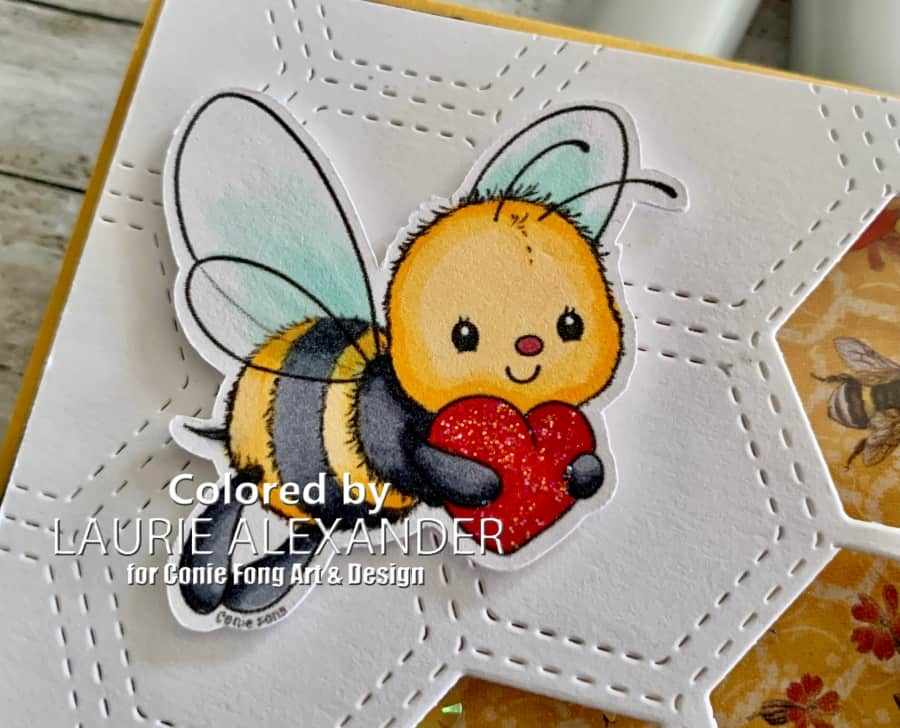
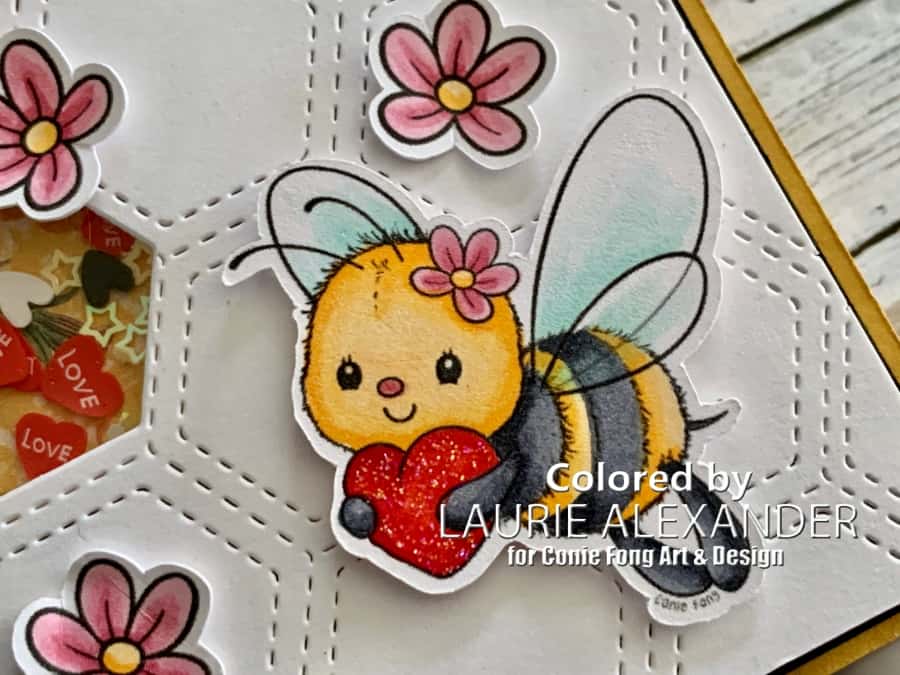
These bees are such a fast colour with my Copic markers and perfect for a super cute Valentine card, but they could also be used for an anniversary, a wedding, even a birthday!

I decided to use the quilt top die and the individual hexagons that you can place where you want to create a fun shaker card. The Graphic 45 paper with the honeycomb pattern, bees and flowers made it feel like you are glimpsing into a busy hive. I used several different shaker elements, especially hearts, to tie in my Valentine theme.

Close Up of Boy Bee
Close Up of Boy Bee

The Bundle comes with sentiments, but I wanted to heat emboss with white on black card stock. I love the contrast of white on black especially for my card! The stamp comes with several great bee sentiments that can be used for all occasions, but I used one appropriate for a Valentine card.

I printed the Flower Accessory several times and coloured them with my Copic markers. To add depth to the flowers, I used an Embossing Stylus Tool and rolled it around the flowers on the Stampin’ Pierce Mat. This made the edges curl up to create dimension. The only embellishment I used was a bumblebee trinket. To add sparkle, I used Clear Wink of Stella on their wings and Stickles on the hearts that they carry.

————————–

Copic Markers:

Yellows: Y38/Y35/Y32
Blacks: C8/C6/C4
Wings: BG11/BG10
Hearts: R29/R27/R24
Flowers: R85/R53/R81/Y38/Y32

Close Up of Girl Bee

————————–

Card Recipe for My Bee’s Knees Card:

Bee With Heart Bundle, Conie Fong Art & Design
Paper Basics – Stamper’s Select White Cardstock, Papertrey Ink
Let It Bee Papercrafting Paper, Graphic 45
Honeycomb Quilt Top Dies, Concord & 9th
Mini Strips – Bee Mine Stamp, Taylored Expressions
Mini Strips Flag Die, Taylored Expressions
Versamark Ink, Stampin’ Up!
Basic Embossing Powders, Stampin’ Up!
Heat Tools, Stampin’ Up!
Window Sheet, Stampin’ Up!
Foam Adhesive Strips, Stampin’ Up!
Pineapple Delight Crystals, Studio Katia
Peppermint Jazz Sparkletz Embellishments, Buttons Galore & More
Black and White Hearts, Gina K. Designs
Love Hearts Shaker Elements
Embossing Stylus Tool Set, Recollections
Stampin’ Pierce Mat, Stampin’ Up!
Bumblebee Trinkets, Stampin’ Up!
Clear Wink of Stella, Stampin’ Up!
Stardust Stickles, Ranger
Basic White, Basic Black, and Bumblebee Card Stock, Stampin’ Up!

Finished card size: 5 ½” x 4 ¼”

————————–

To view my other Conie Fong Art & Design projects, please click here.

Hope you like my Design Team Inspiration Card using Bee With Heart Bundle for Conie Fong Art & Design!

Thank you for stopping by!

Hugs,
Laurie
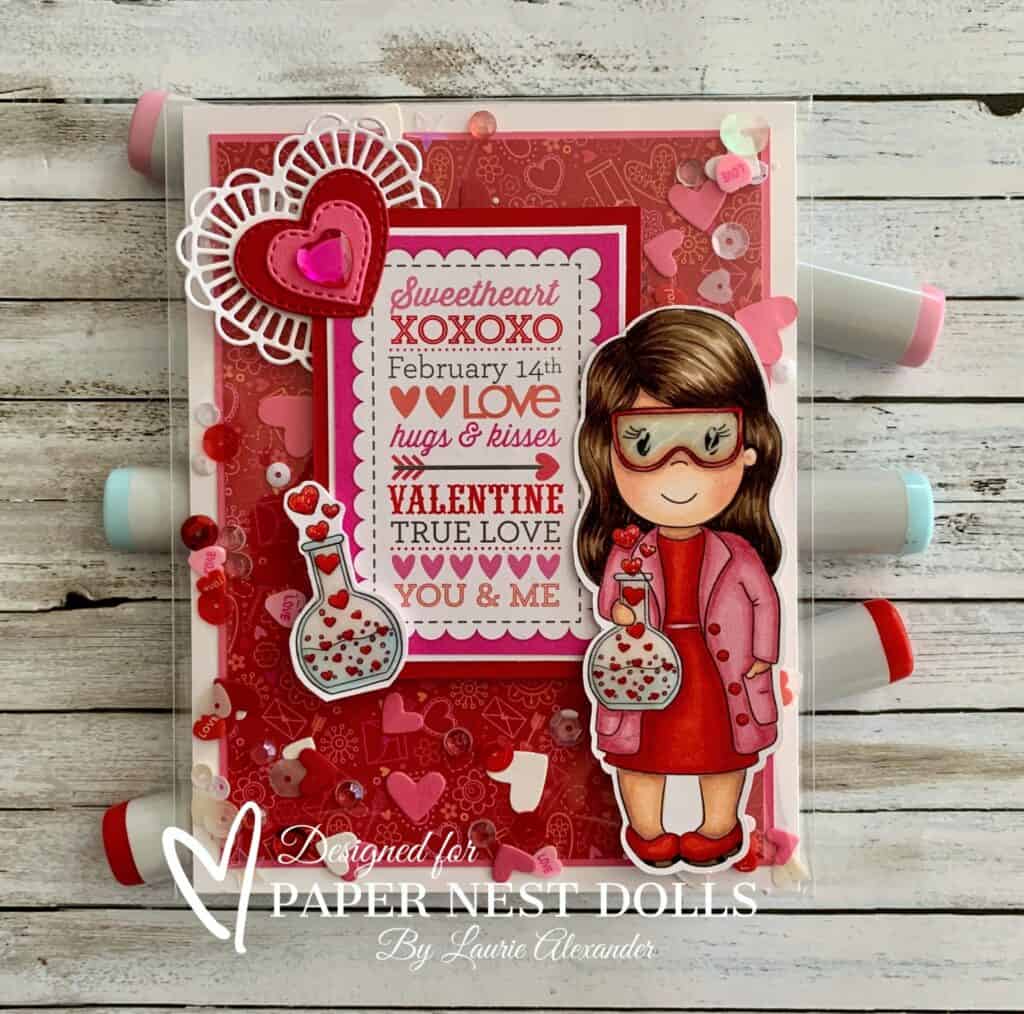
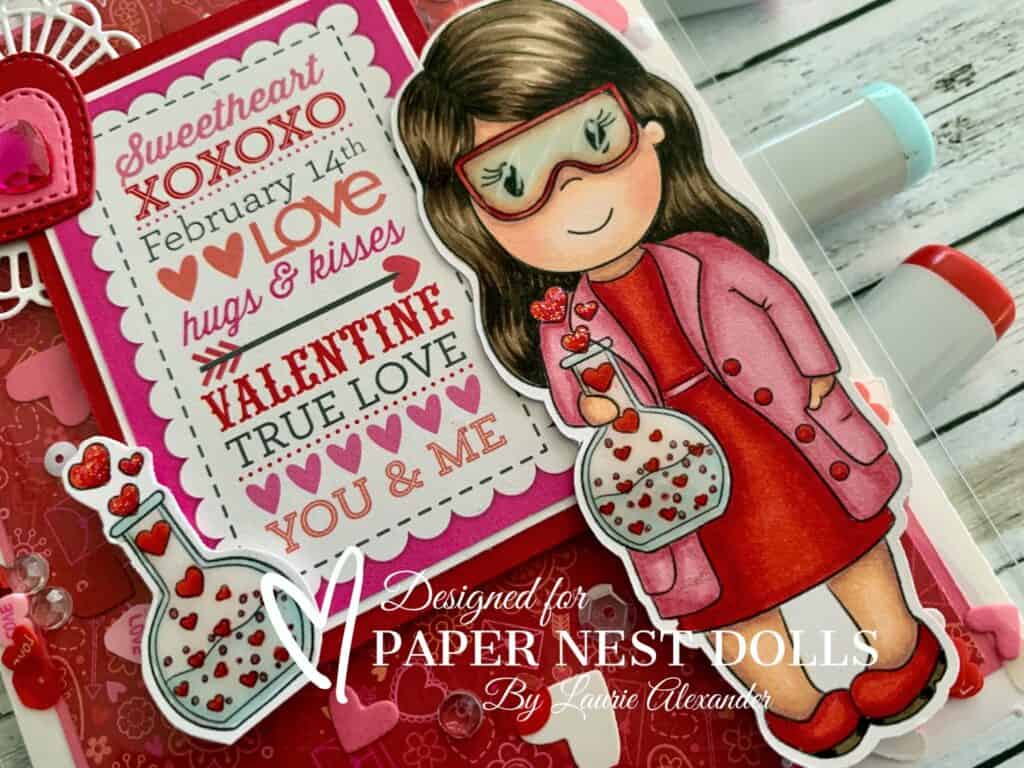
My Love Potion Card 

A Valentine Card with a girl holding a love potion
My Love Potion No. 9 Card

Hello Crafty Friends! It’s Laurie here! I am sharing My Love Potion No. 9 Card as my Design Team Inspiration Card for Paper Nest Dolls using Love Potion Avery from the Love Potion Set. This Set includes 3 stamps which are Love Potion Amara, Love Potion Avery, and the Love Potion.

The Details of My Card

For my card, I decided to create a fun faux shaker card. I have been wanting to make one for a while and thought this would a perfect card for it! My card is super easy and fast to make!

For those of you who don’t know what a faux shaker card is, I used a clear envelope over my project. I then added my shaker bits to the bag and sealed it. Easy peasy!

I love the Valentine Doodlebug paper that I used for the backdrop of my card. The sentiment piece was also from the Doodlebug paper pad, and I just framed it with my colour scheme.

Since I added sequins and hearts as my shaker pieces, I decided to go simple with the other embellishments. I added layered die cut hearts to one corner of the sentiment with a heart gem on top.

The Love Potion Set comes with the Love Potion by itself. So, I coloured it like the one Avery is holding and added it to another corner of the sentiment.

The finishing touch was Glossy Accents to her glasses and beaker and Stickles to the hearts in the potions.

————————–

Copic Markers:

Skin: E000/E00/E21/E11/E04/R20
Hair: E49/E47/E44/E43/E42
Reds: R29/R27/R24
Pinks: R81/R83/R85
Blues: B000/B00

Close Up of My Love Potion No. 9 Card
Close Up of Love Potion Avery

————————–

Card Recipe for My Love Potion No. 9 Card:

Love Potion Set, Paper Nest Dolls
Paper Basics – Stamper’s Select White Cardstock, Papertrey Ink
Love Bugs 6” x 6” Paper Pad, Doodlebug Design Inc.
Detailed Hearts Die, Stampin’ Up!
Two of Hearts Dies, Cheery Lynn Designs
Clear Medium Envelopes, Stampin’ Up!
Love Affair Sparkletz Embellishments, Buttons Galore & More
Peppermint Jazz Sparkletz Embellishments, Buttons Galore & More
Rouge Sequins, Craft Medley
Marshmallow Premium Sequins, 28 Lilac Lane
Valentine Day Stickers, Recollections
Glossy Accents, Ranger
Star Dust Stickles, Ranger
White Gelly Roll Pen, Sakura
Basic White, Real Red, and Polished Pink Card Stock, Stampin’ Up!

Finished card size: 5 ½” x 4 ¼”

————————–

To view my other Paper Nest Dolls cards, please click here.

Hope you like my Design Team card for Paper Nest Dolls!

Thank you for stopping by!

Hugs,
Laurie
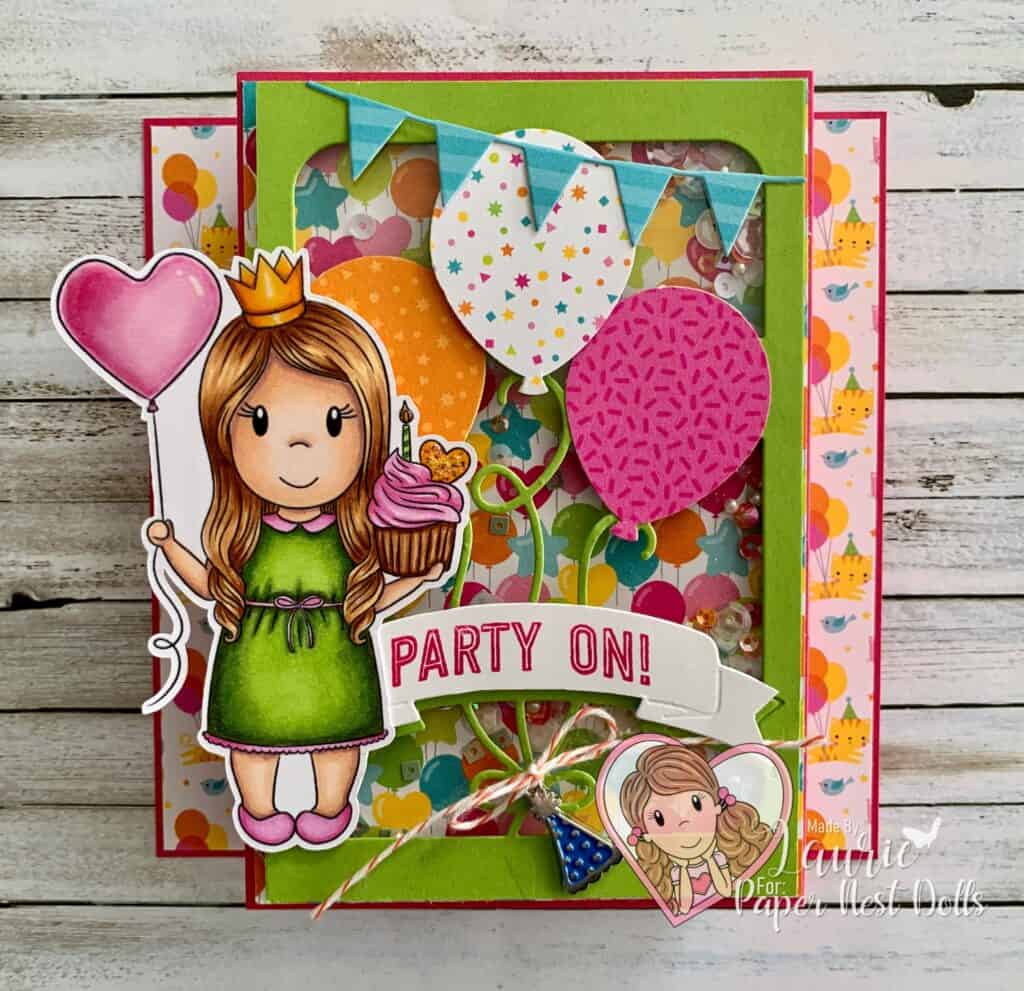
My “Party On!” Card

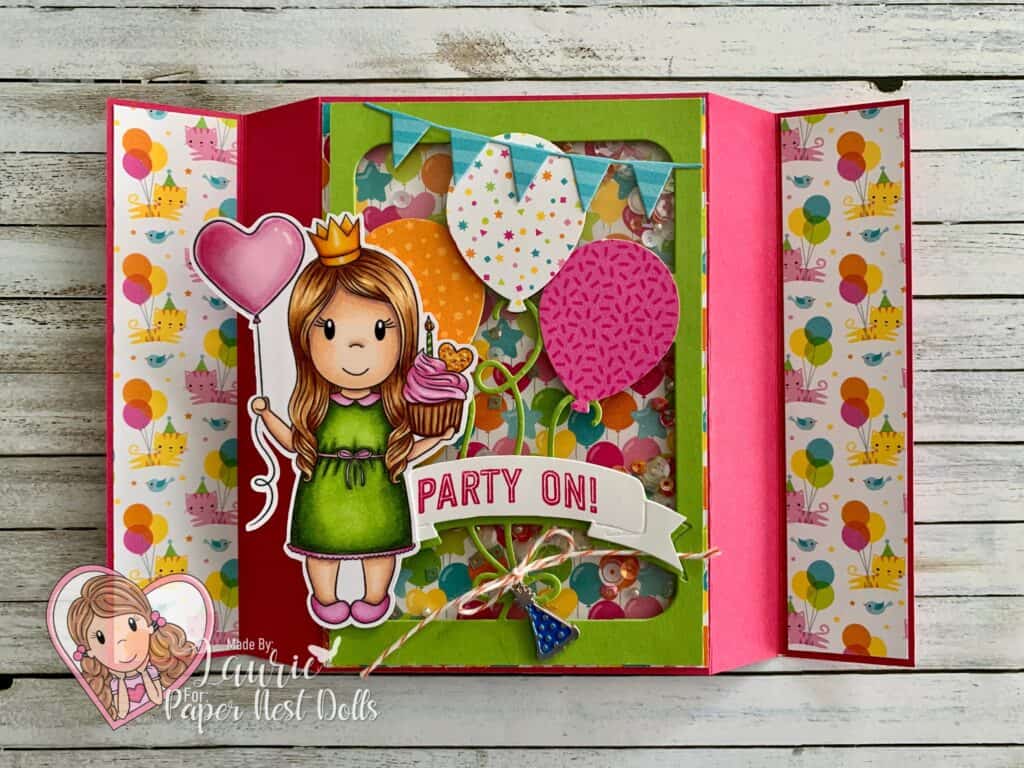
A Birthday Shaker Card
My Party On Card

Hello Crafty Friends! It’s Laurie here! I am sharing My “Party On!” Card as my Design Team Inspiration Card using Party Princess Ellie by Paper Nest Dolls.

This past weekend Paper Nest Dolls turned 9 and reached over 6,000 members on their Facebook Group! Congratulations Paper Nest Dolls! Party Princess Ellie was a digital stamp that was given away for free to all attendees, but you can still get her until this Friday, Jan 21, 2022! Here is the link to the post on the PND Inspiration Facebook Page: https://www.facebook.com/photo/?fbid=4758734684247076&set=gm.3166875813548826.

Details of My Card

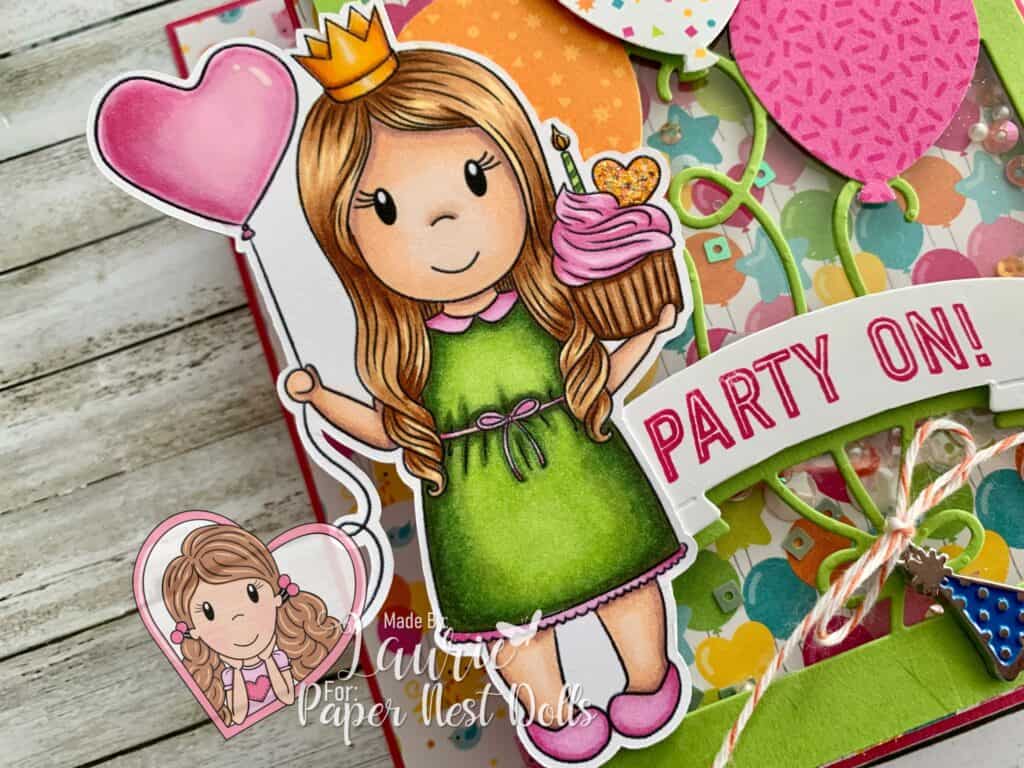
I am planning to give this card to my niece whose birthday is coming up. So, I coloured Ellie with my Copic markers to match her colouring and the Doodlebug paper. Don’t you just love the kitties with the balloons on the side panels!

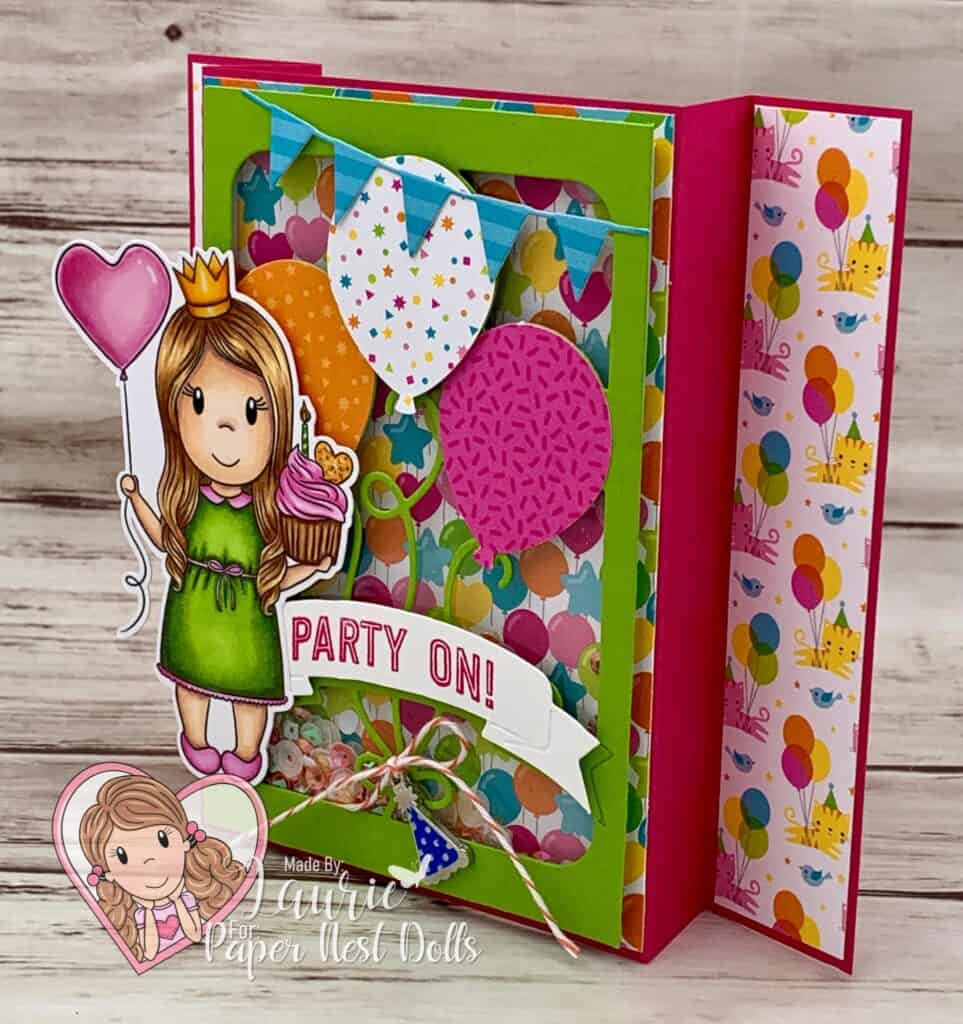
For my card, I decided that I wanted to create a fun fold called a free-standing triple panel shaker card! Say that three time fast! Lol! I also wanted to use some balloon dies that I thought would be perfect for a birthday card and go along with Ellie’s heart balloon. The Balloon dies are to make a pop-up window, but I thought a shaker card would be a fun interactive element instead!

Side View of Card
Side View of Card

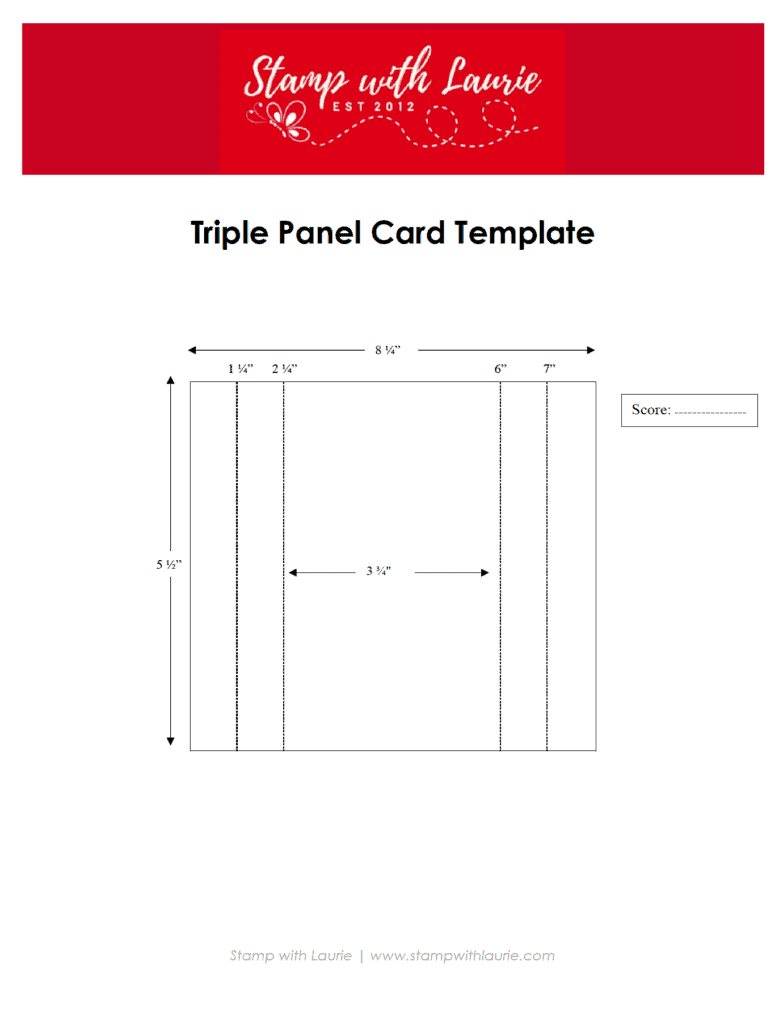
Instructions to Create a Free-Standing Triple Panel Card

  • Cardstock size: 8 ¼” x 5 ½”
  • With the 8 ¼” side along top, score: 1 ¼”, 2 ¼”, 6” and 7”
  • Fold the sides in a Z pattern

To download the Triple Panel Card Template, please click here or on the image.

Triple Panel Card Template
Card Laid Flat to Display Folds

————————–

Copic Markers

Skin: E04/E11/E21/E00/E000/R20
Hair: E37/E35/E33/YR31
Dress: G99/YG63/YG03
Pinks: RV55/RV63/RV52/Glossy Accents on Balloon
Cupcake Wrapper: E37/E35/E33
Crown: E15/Y38/Y35/Glossy Accents
Heart on Cupcake: Y38/Y35/RV55/Star Dust Stickles
Candle: YG67/YG03
Flame: Y38/Y35/Glossy Accents

Close Up of Party Girl with a Balloon
Close Up of Party Princess Ellie

————————–

Supplies for My “Party On!” Card:

Party Princess Ellie, Paper Nest Dolls
Paper Basics – Stamper’s Select White Cardstock, Papertrey Ink
Hey Cupcake 6” x 6” Paper Pad, Doodlebug Design Inc.
Window Sheet, Stampin’ Up!
Balloon Adventures, Stampin’ Up! (Sentiment)
Balloon Pop-Up Thinlits Dies, Stampin’ Up!
Flag Banner Dies, Memory Box
Balloon Bouquet Punch, Stampin’ Up!
Tangerine Tango Baker’s Twine, Stampin’ Up!
Party Animal Embellishments, Stampin’ Up!
Sprinkles Embellishments, Stampin’ Up!
Marshmallow Premium Sequins, 28 Lilac Lane, Buttons Galore & More
Foam Adhesive Strips, Stampin’ Up!
Glossy Accents, Ranger
Star Dust Stickles, Ranger
Granny Apple Green, Melon Mambo and Basic White Card Stock

Finished card size: 4 ¼” x 5 ½”

————————–

To view my other Paper Nest Dolls cards, please click here.

Hope you like My “Party On!” Card using Party Princess Ellie
by Paper Nest Dolls!

Thank you for stopping by!

Hugs,
Laurie
Birthday Slimline Shaker Card

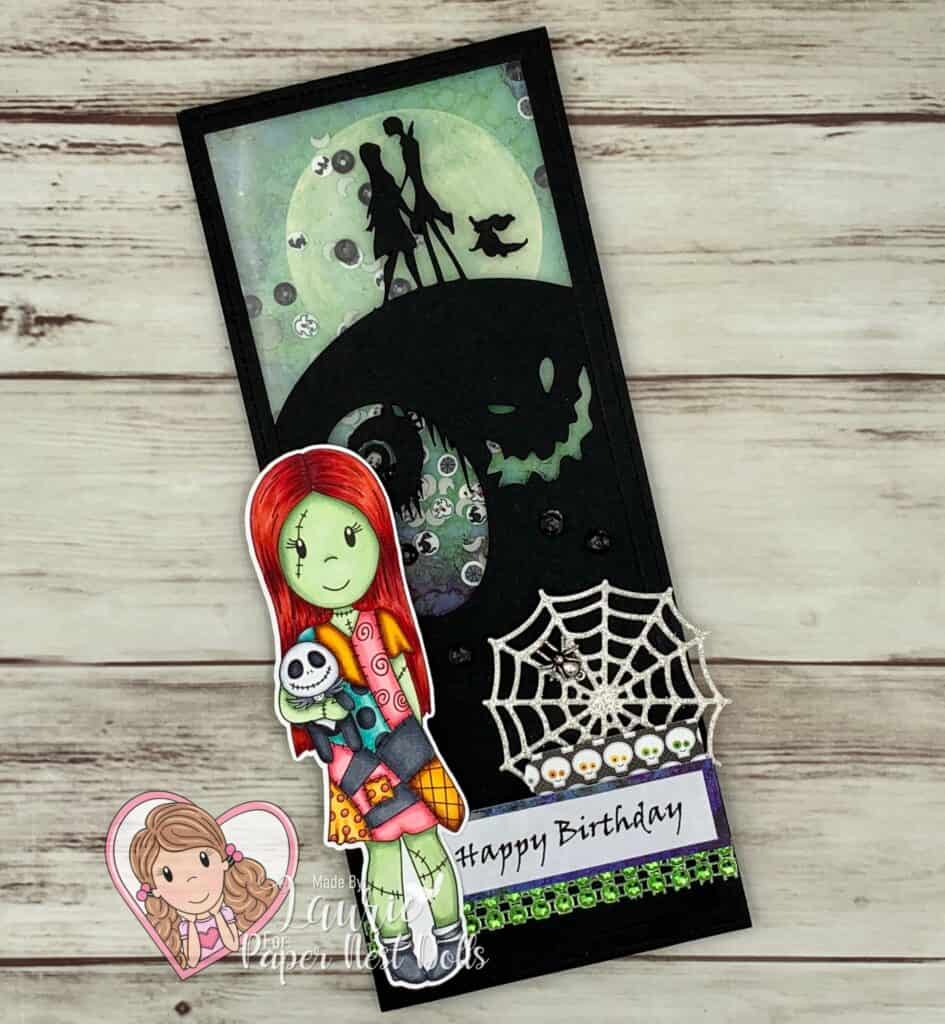
My Design Team Card
Birthday Slimline Shaker Card

Hello Crafty Friends! It’s Laurie here! Today I am sharing My Birthday Slimline Shaker Card as my Design Team Inspiration Card for Paper Nest Dolls using the Ragdoll Sally. Every year, my Hubby and I watch Nightmare Before Christmas for Halloween. It’s also my Hubby’s birthday on Thursday and I thought a birthday card with Ragdoll Sally would be perfect for him.

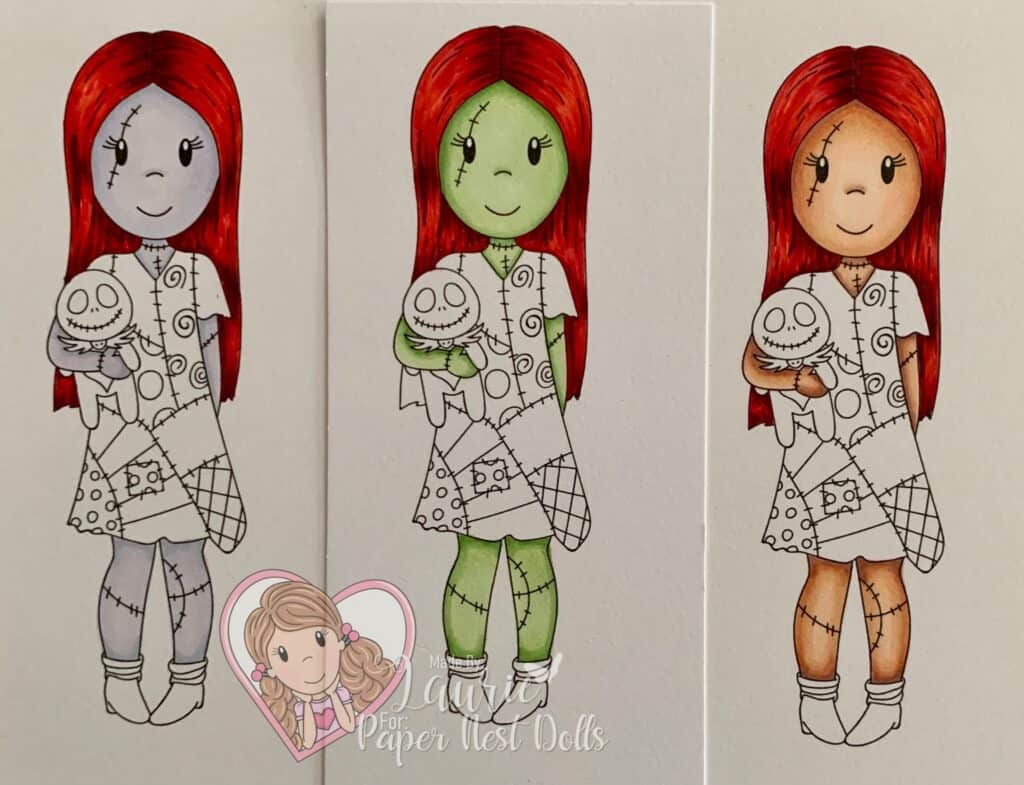
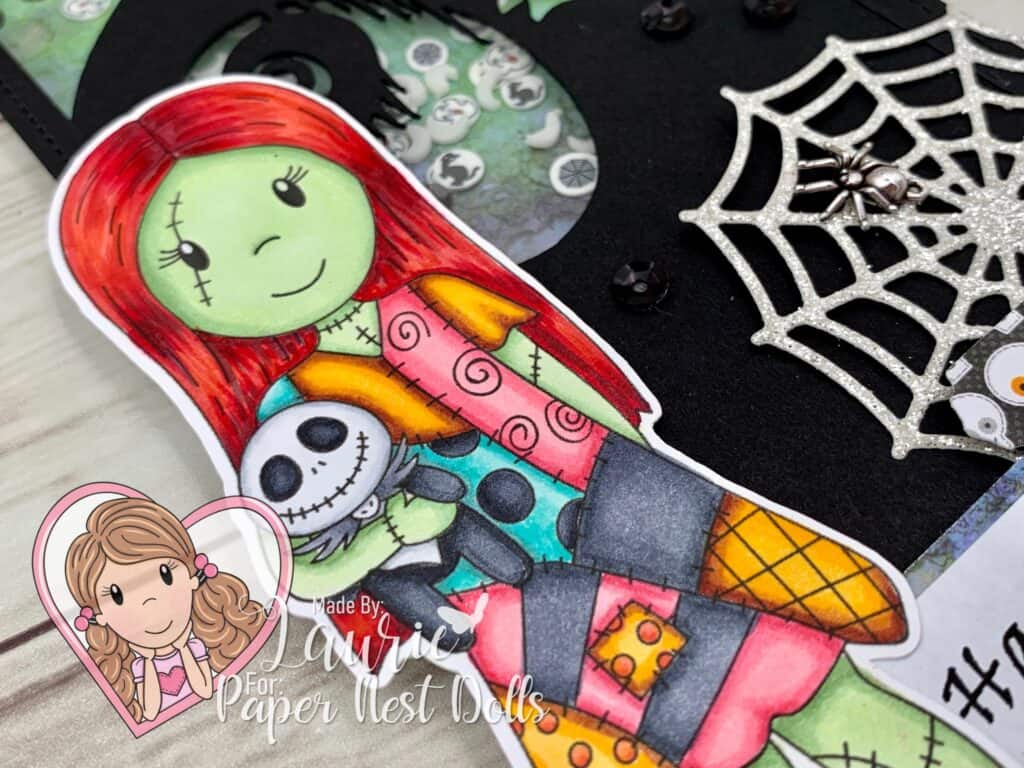
I had a lot of fun colouring this cutie with my Copic Markers! In fact, I coloured her skin in three different tones. So, I created a poll in The Paper Nest Dolls Inspiration Facebook Group on which skin tone was the most popular. It turned out that the green skin tone was the winner. So, I used her for my card.

Green, purple and natural skin tones
Skin Tones of Ragdoll Sally by Paper Nest Dolls

Of course, I also coloured the others and created Halloween treat boxes with them which I plan to share later this week.

My Card Details

For my card, I decided to create not only a slimline card, but a shaker card with glow in the dark moons! So fun! I know my Hubby will get a kick out of it! I found this cool graphic on Etsy for Nightmare Before Christmas. So, I used my Silhouette Cameo to tweak it to fit my shape and then die cut it out. The moon paper was 6” x 6”, but since I only needed it for the top half of my card, I trimmed it down to fit.

The Happy Birthday sentiment was printed out on my computer using Word and the Viner Hand ITC font. I created a collage of different items around the sentiment including the glittery spider web and spider trinket. Don’t you love the pop of green that the mesh created at the bottom of the card to mirror her skin and the Lavinia moon paper!

————————–

Copic Markers:

Hair: R29/R27/R24/C5
Skin: G24/G21/G20/G40
Blacks on Dress: C7/C5/C4
Blues: BG18/BG15/BG13/BG11
Yellows: E18/E15/Y38/Y35
Pinks: RV14/RV13/RV21
Shoes: C7/C5/C4
Socks: C4/C3/C0
Jack Stuffie: C9/C7/C5
Jack’s Head: C3/C0/3
Jack’s Collar: C5/C4/C3

Close Up of coloured Digital Stamp
Close Up of Ragdoll Sally

————————–

Card Recipe for My Birthday Slimline Shaker Card:

Ragdoll Sally, Paper Nest Dolls
Paper Basics – Stamper’s Select White Cardstock, Papertrey Ink
Spellbound 2 SceneScapes 6” x 6” Paper, Lavinia Stamps
October 21St 6″ x 6″ Paper Pad, Doodlebug Design Inc.
Window Sheet, Stampin’ Up!
Dazzling Diamonds Glimmer Paper, Stampin’ Up!
Jack Skellington Bundle, SunMagicArt, Etsy
Silhouette Cameo
Small Slimline with Lift the Flaps, Lawn Fawn
Large Slimline with Sliders, Lawn Fawn
Frightful Tags Dies, Stampin’ Up!
Green Rhinestone Mesh, Crafts, Dollarama
Moon-Glow in the Dark Shakers, Dress my Crafts
Halloween Shakers, Dress my Crafts
Black Sequins, My Stash
Spider Trinkets, Stampin’ Up!
Basic Black Card Stock
Finished card size: 3.5” x 8.25”

————————–

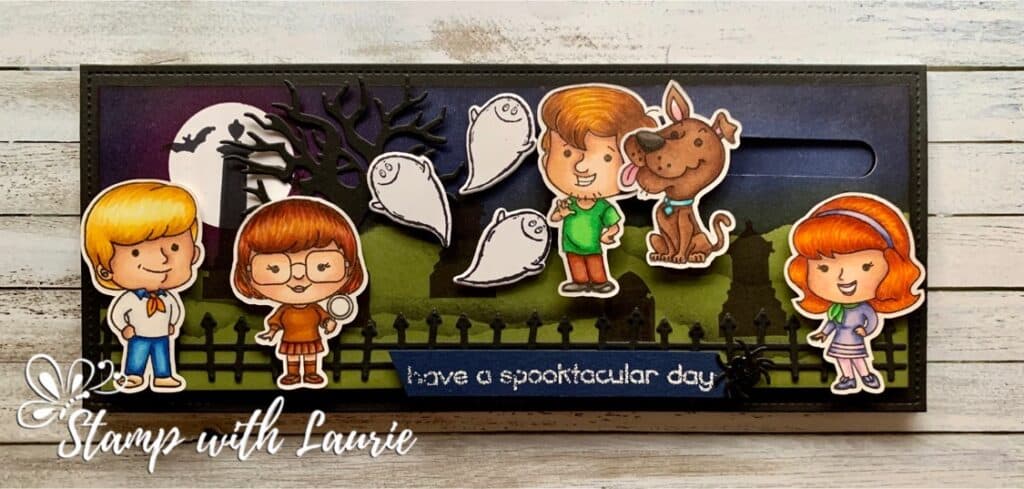
My Hubby’s birthday card from last year was an interactive slider card. To find out more about it, please click here.

My Have a Spooktacular Birthday Card
My Have a Spooktacular Slider Birthday Card

To view my other Paper Nest Dolls cards, please click here.

To view my other interactive cards, please click here.

Hope you like my Design Team Inspiration Card using
Ragdoll Sally by Paper Nest Dolls!

Thank you for stopping by!

Hugs,
Laurie
Jingle All the Way

My Jingle All the Way Card

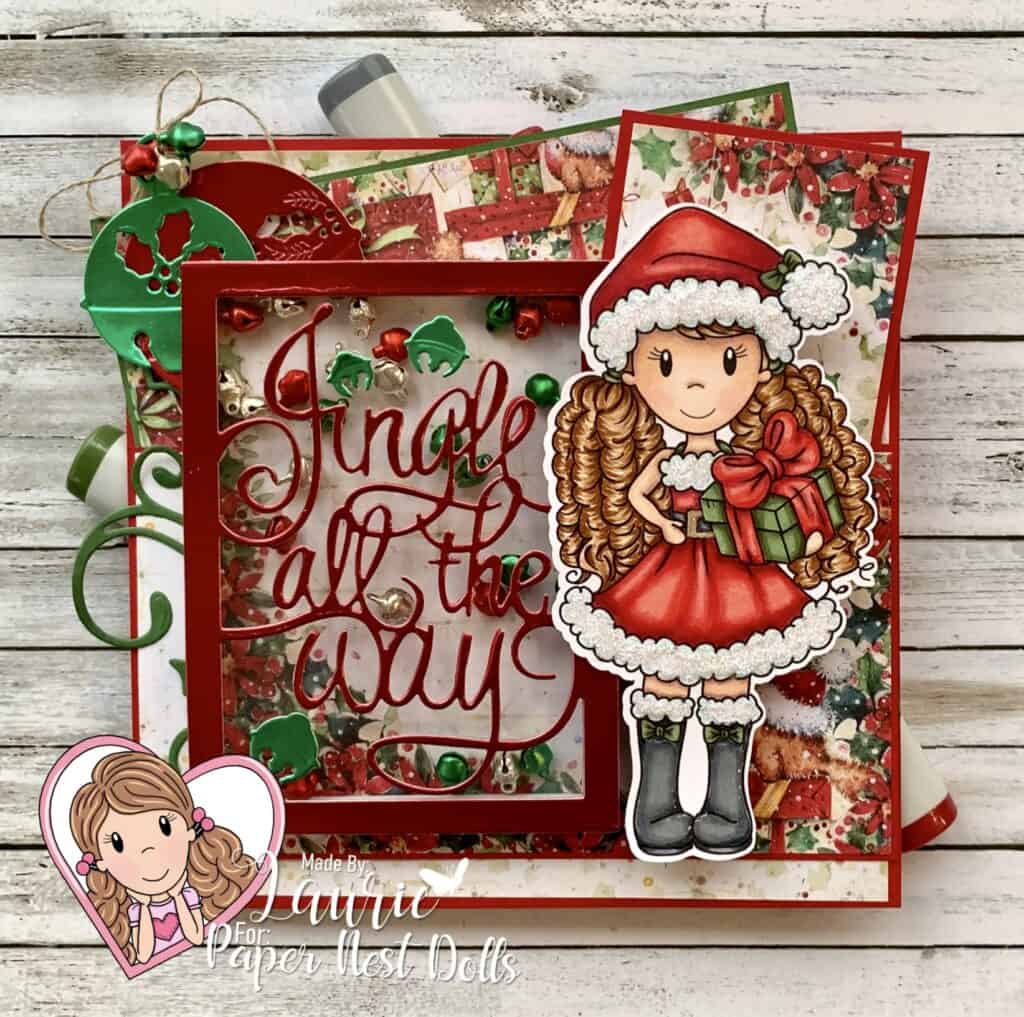
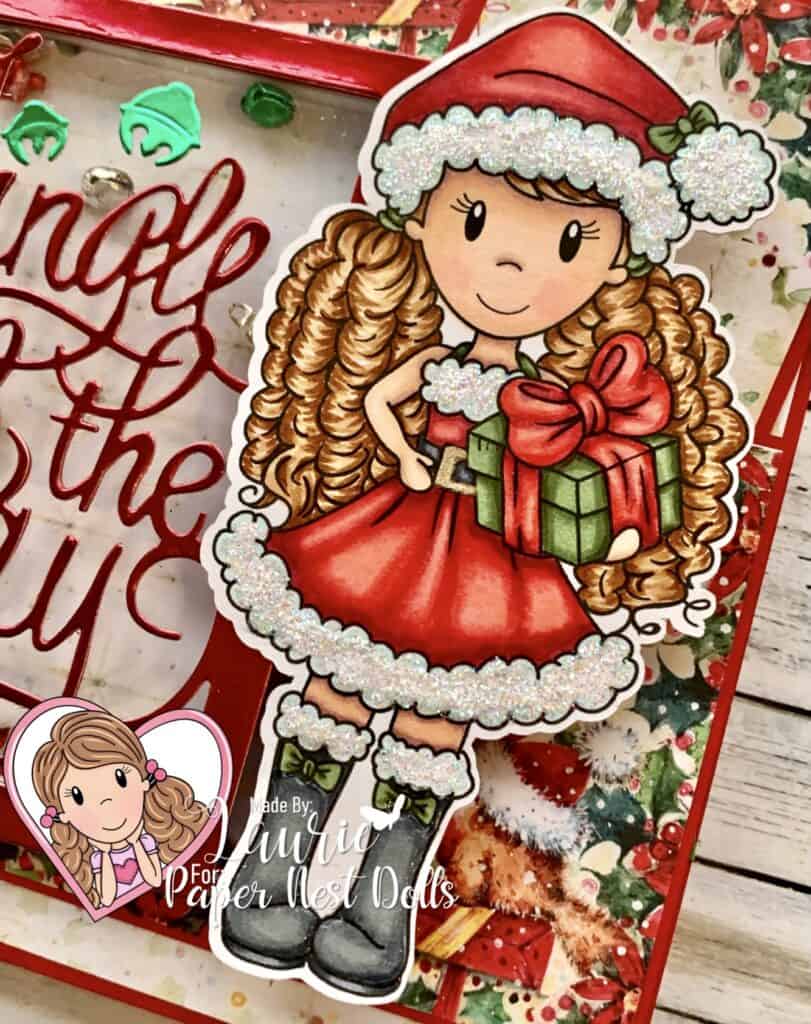
Hello Crafty Friends! It’s Laurie here sharing my Jingle All the Way Card for the Design Team of Paper Nest Dolls. I used the updated Santa Ellie with Gift which is only $1 right now! Make sure you get yours at such a great deal!!

I coloured Ellie with my Copic Markers in Santa red and white colours. Isn’t she just the cutest in her Santa outfit! I knew that I wanted to create a shaker card and use some Christmas foil accents. There have been some awesome shaker cards by the PND Design Team, and I was inspired by them to give it a try! Since the Jingle All the Way die cut had bells, I used mini bells from the dollar store for the shaker part. I had to double up my adhesive strips to give the bells enough room to jingle when you shook the card. To tie in those bells, I die cut some from the Sounds of the Seasons Dies in the red and green foil and then tied 3 bells with linen thread.  

————————–

Copic Markers:

Skin: E000/00/21/11/04/R20
Hair: E37/E35/E33/E31
Reds: R39/R37/E35/E32
Greens: G99/G94/G21
Boots: C7/C5/C3
Whites: BG10/BG000/0/Stardust Stickles

Close Up of My Jingle All the Way Card

————————–

Card Recipe for My Jingle All the Way Card:

Santa Ellie with Gift, Paper Nest Dolls
Sweet Sentiment Premium Coloring Paper
Jingle All the Way Frame, Taylored Expressions
Sounds of the Seasons Dies, Stampin’ Up!
Holly Flourish Die, Cheery Lynn Designs
Red & Green Foil Sheets, Stampin Up!
Window Sheet, Stampin’ Up!
A Robin’s Christmas Paper Pack, Wild Rose Studios
Crafts Noel Card Making Kit, Dollarama (Bells)
Clear Wink of Stella
Stardust Stickles
Glossy Accents
Linen Thread, Stampin’ Up!
Foam Adhesive Strips, Stampin’ Up!
Real Red and Garden Green Card Stock, Stampin’ Up!

Finished card size: 5½” x 5 ½”

————————–

To view my other Paper Nest Dolls cards, please click here.

Hope you like my Jingle All the Way Card using Santa Ellie with Gift by Paper Nest Dolls!


Thank you for stopping by!

Hugs,
Laurie
My Roll With It Shaker Card

My Roll With It Shaker Card

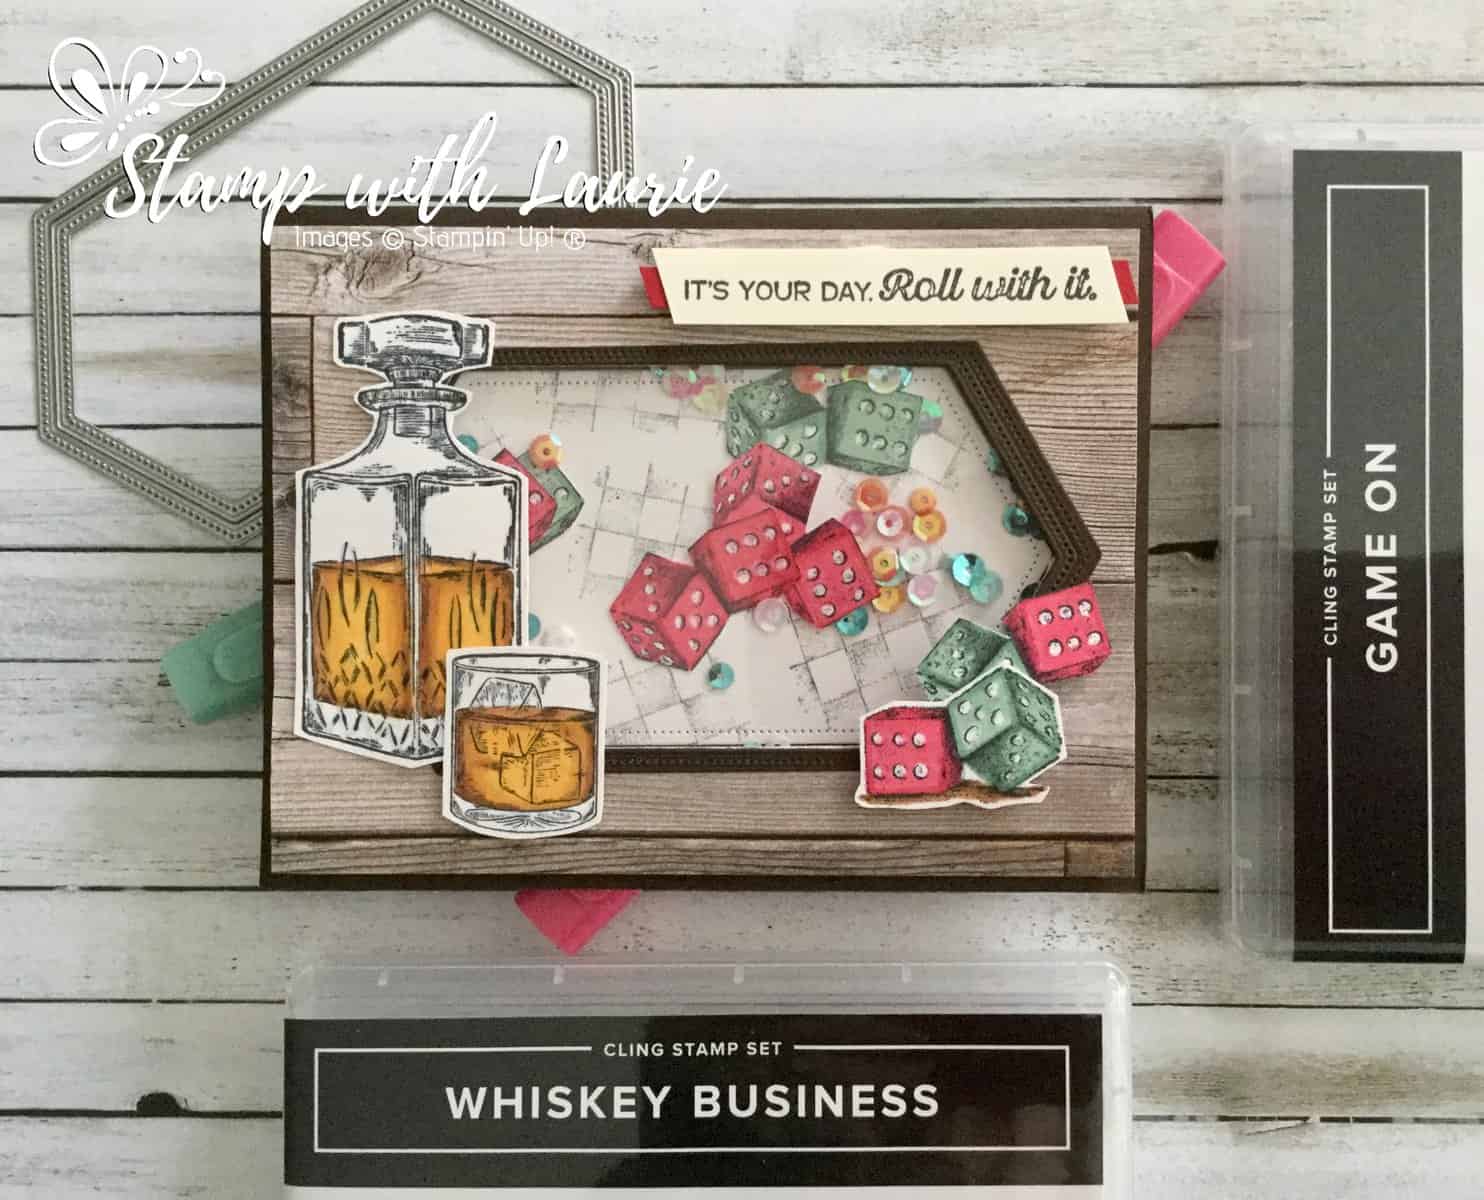
Tomorrow is my Hubby’s birthday! So, today I am sharing with you my Roll With It Shaker Card that I plan to give to him. I thought a shaker card would be so fun! It is using two stamp sets, Whiskey Business and Game On, that are perfect for him! We love to play games and have game time with our friends and family on a regular basis! Now he can shake the card and his dice will always come up 6 and 5! LOL! I even coloured the dice with the Real Red and Just Jade Stampin’ Blends to match the ones that he uses. In addition to gaming, he loves his single malt scotch and is always trying different types.

Details of My Roll With It Shaker Card

For my card, I wanted to create a masculine feel. So, the In Good Taste Designer Series Paper with Early Espresso card stock was perfect for it! I use the two largest Stitched Nested Labels to create my window frame. I stamped the checkerboard in Memento Black off twice before I randomly stamped it a third time on my Whisper White background piece. Once I did this, I created my shaker part with Foam Adhesive Strips, a piece of Window Sheet, a pinch of Woven Threads Sequins and my “dice”.

For the dice and the scotch, I stamped them on Whisper White with Memento Black. I then used my Stampin’ Blends to colour them. The dice were Real Red Dark/Light and Just Jade Dark/Light with Cinnamon Cider Dark/Light for the ground. The Scotch was Cinnamon Cider Dark/Light and Mango Melody Dark with Balmy Blue Light and Color Lifter for the glass. Once these were coloured, I fussy cut them out.

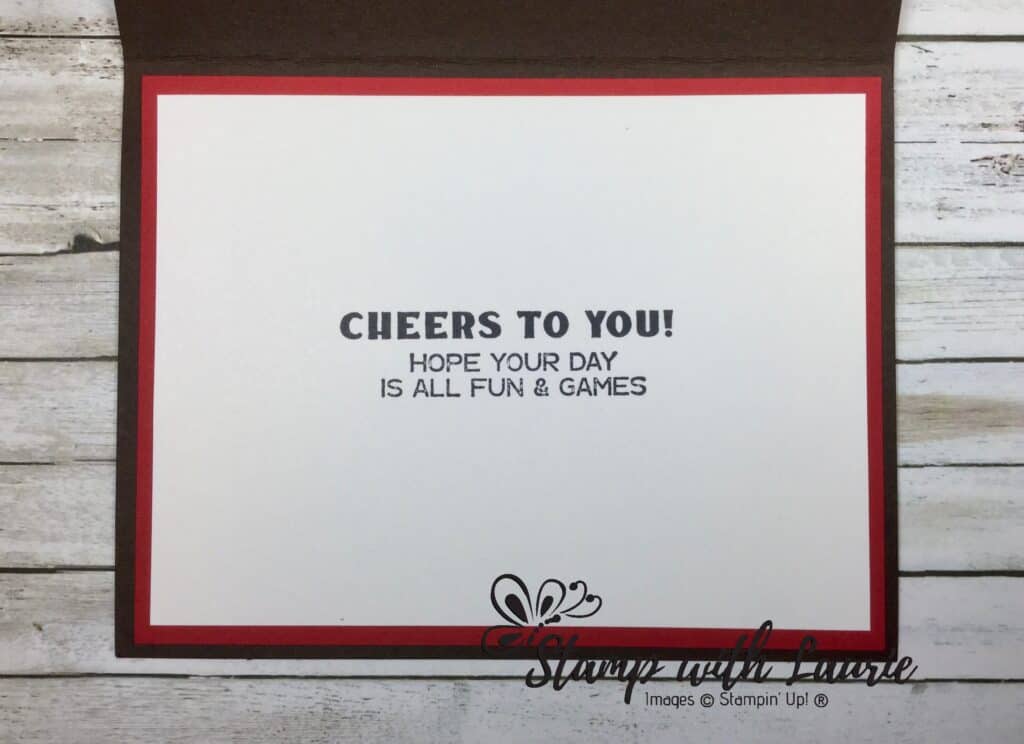
The sentiment stamped in Memento Black from Game On with a splash of Real Red behind it was perfect for my card! The finishing touch was decorating the inside by combining the two stamp sets again to create my sentiment.

Inside of Close Up of Dice from My Roll With It Shaker Card

My Roll With It Shaker Card in Action

My Roll With It Shaker Card in Action

Here is a video that I presented to some fellow demonstrators that shows how to colour with Stampin’ Blends the decanter from the Whiskey Business Stamp Set.

My Whiskey Business Colouring Tutorial

Supplies:

Stamps: Whiskey Business Stamp Set (152550), Game On Stamp Set (152646)

Dies: Stitched Nested Labels Dies (149638)

Inks:Tuxedo Black Memento Ink Pad (132708)

Paper: Real Red (102482), Early Espresso (119686), Whisper White (100730), Window Sheets (142314), In Good Taste Designer Series Paper(152494)

Accessories: Woven Threads Sequin Assortment(149498), Cinnamon Cider Stampin’ Blends Combo Pack (153105), Mango Melody Stampin’ Blends Combo Pack (154888), Balmy Blue Stampin’ Blends Combo Pack (148544), Stampin’ Blends Color Lifter (144608), Paper Snips (103579), Bone Folder (102300), Stampin’ Seal (152813), Stampin’ Dimensionals (104430), Foam Adhesive Strips (141825), Mini Glue Dots (103683)

Measurements: 

  • Early Espresso: 2 pieces of each
    • 8 ½” x 5 ½”; scored at 4 ¼”
    • 5” x 2 5/8” (shaker frame)
  • Whisper White: 4 pieces of each
    • 5” x 3” (background piece)
    • Scraps (dice, decanter, glass)
    • 3” x ½” (sentiment)
    • 4 ¾” x 4” (Inside of card)
  • Real Red: 2 pieces of each:
    • 5” x 4 ¼” (Inside of card)
    • Scrap
  • Window Sheet: 5” x 3”
  • In Good Taste Designer Series Paper: 5” x 4 ¼”

For Further Info:

Hope you like my Roll With it Shaker Card!

For another Whiskey Business Card, check out this link.

You will find the items listed above in my online store.