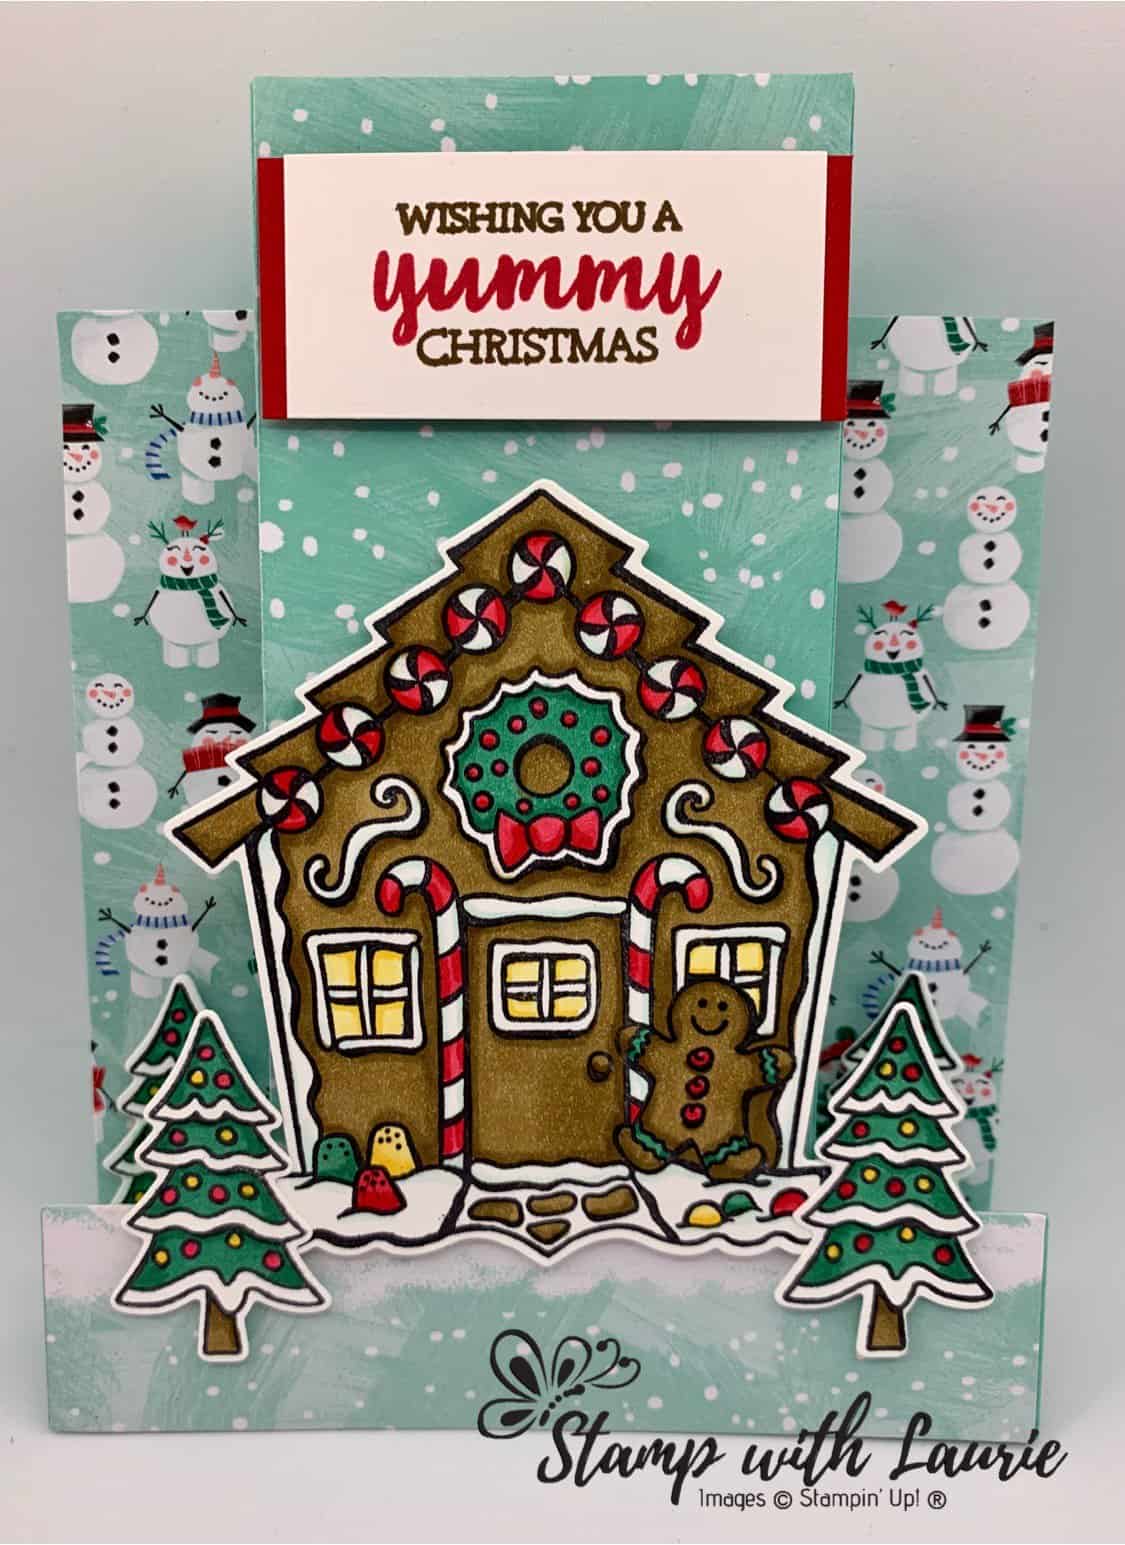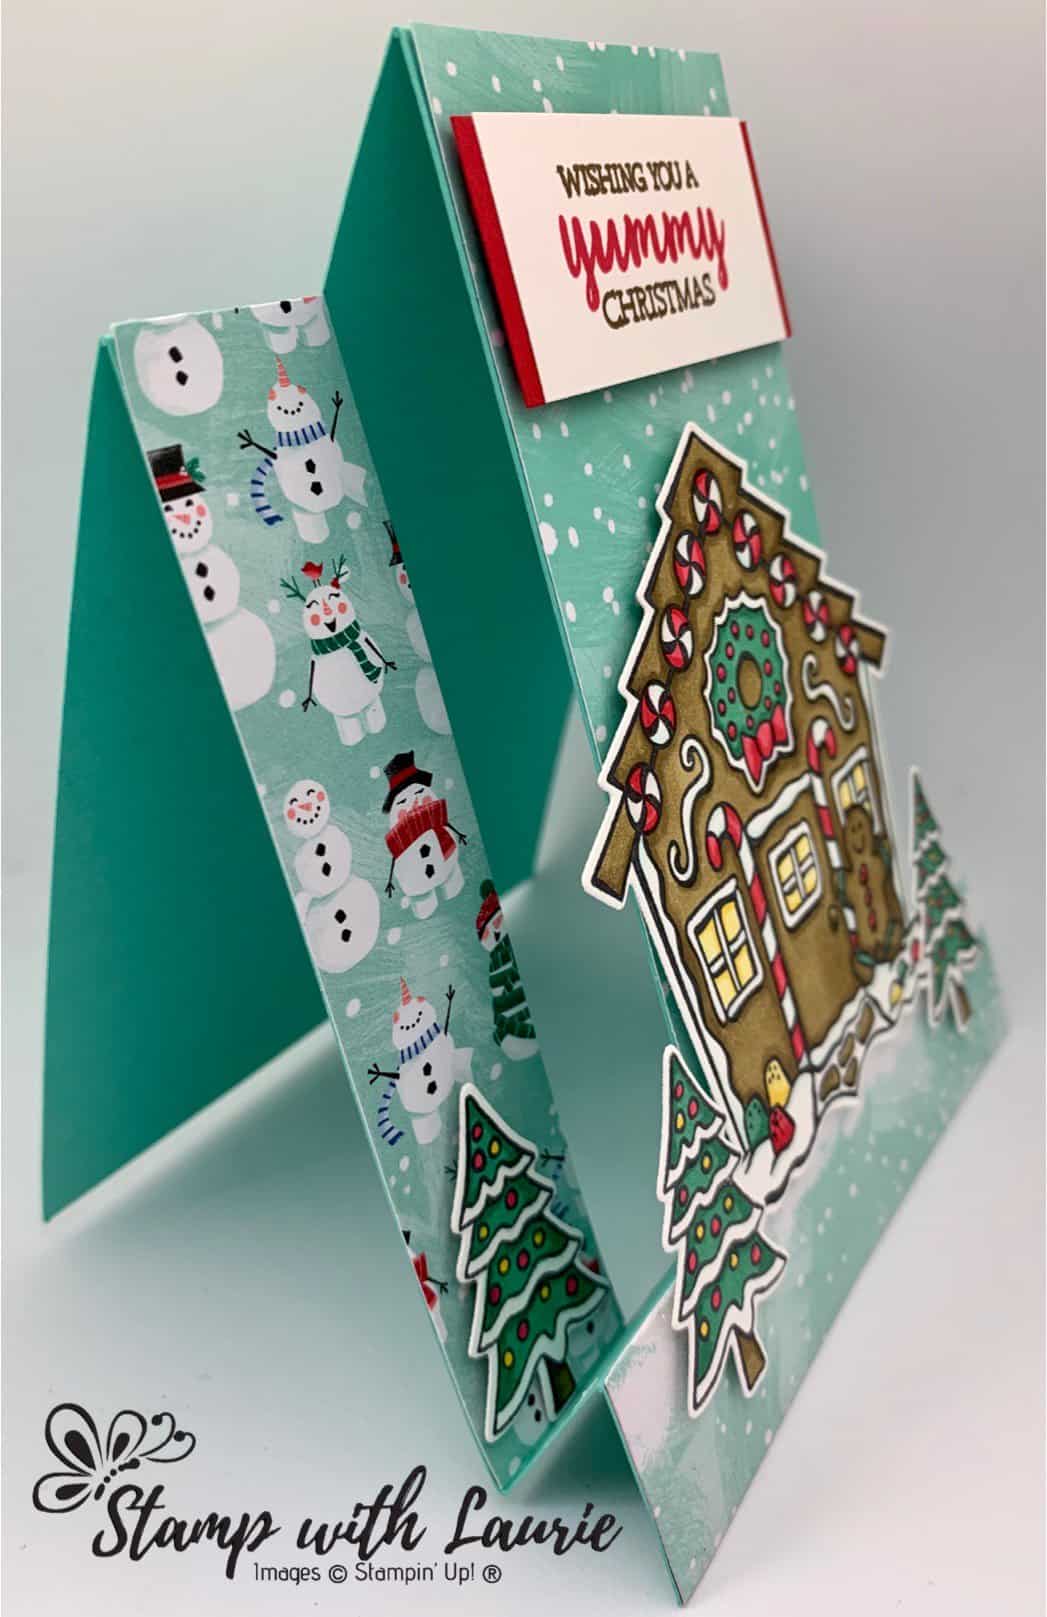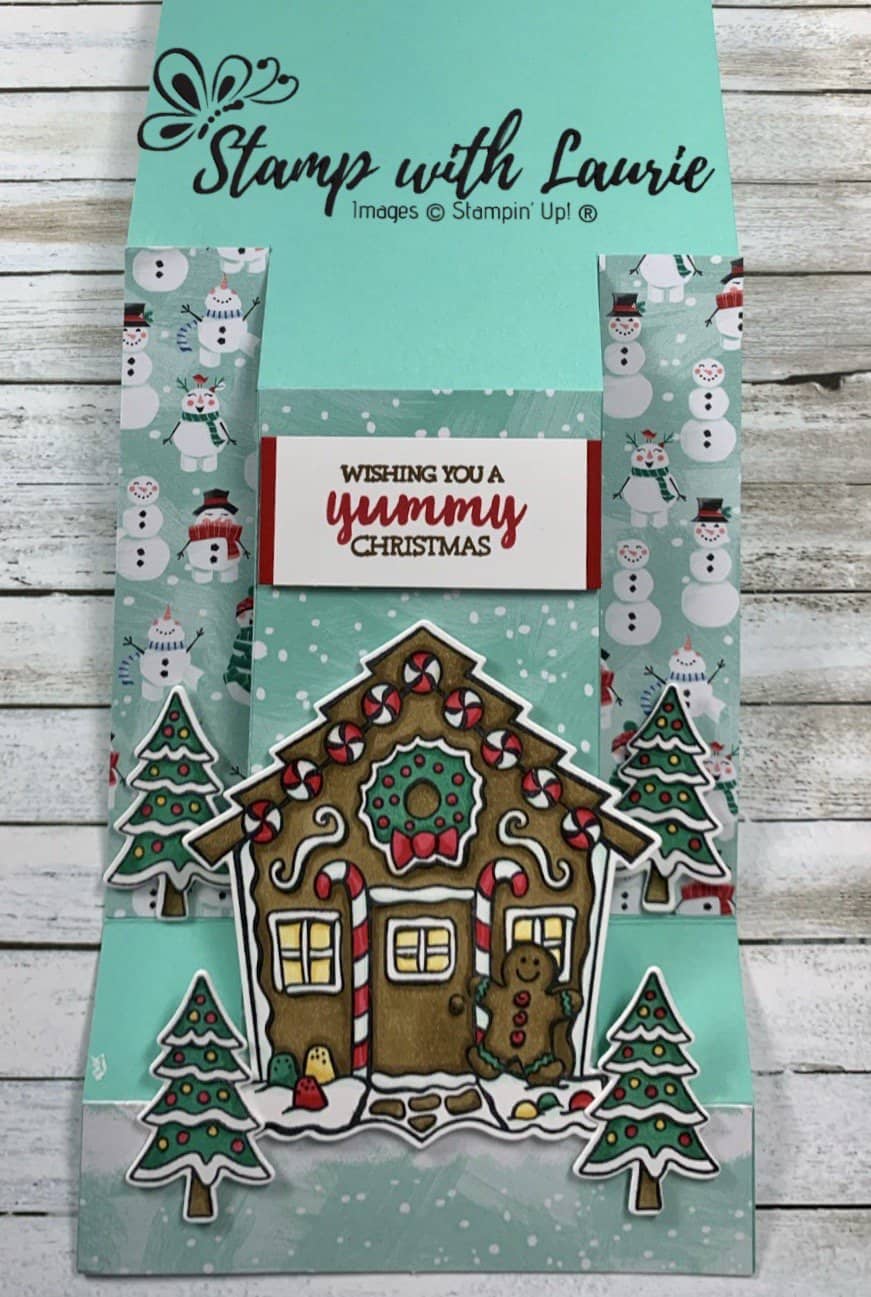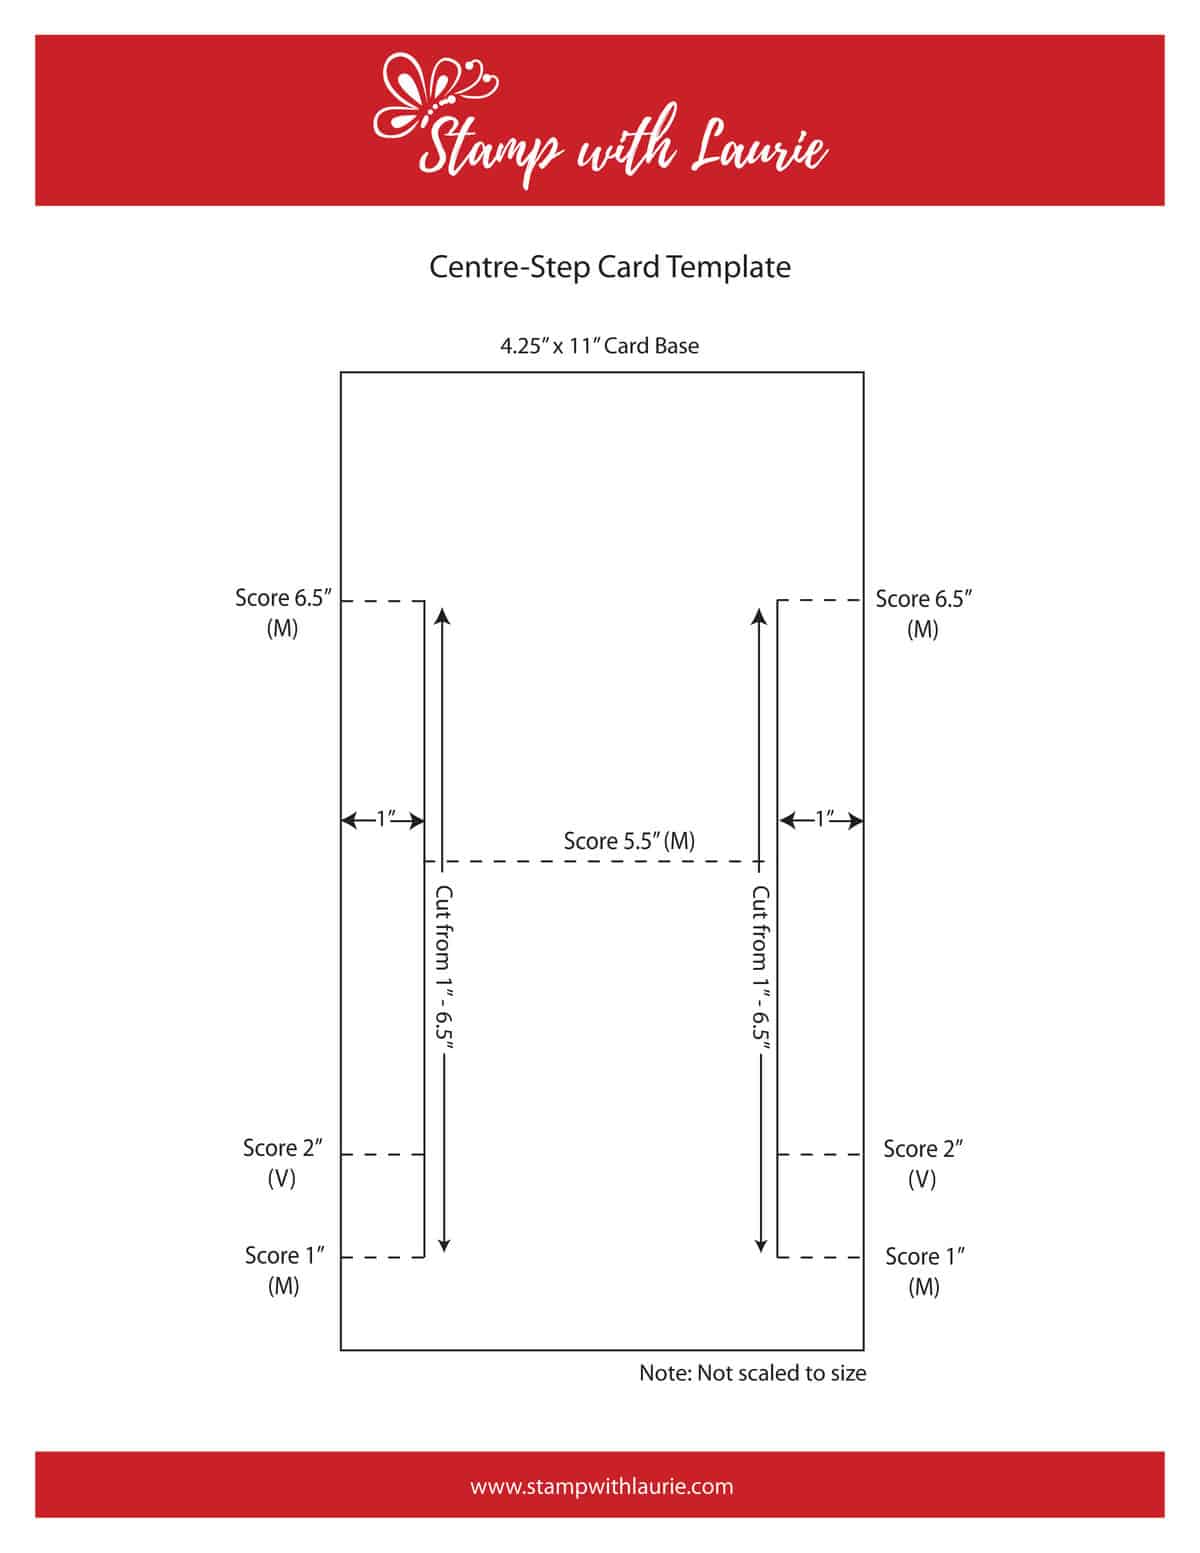
Today I am sharing with you my Gingerbread House Centre-Step Card using the Yummy Christmas Photopolymer Stamp Set and the Cuckoo Clock Dies to create a fun winter scene. This card uses a fun-fold called a centre-step and looks very impressive when the card is open. There is a link to the centre-fold template at the end of this document.

I thought the Let It Snow Specialty Designer Series Paper with all the snow people would be perfect to create my scene. There was a lot of colouring involved in this card, but I love to colour and had fun making it!

Supplies:
Stamp: Yummy Christmas Photopolymer Stamp Set (150501)
Ink: Tuxedo Black Memento Ink Pad (132708), Real Red Classic Stampin’ Pad (147084), Soft Suede Classic Stampin’ Pad (147115)
Paper: Coastal Cabana (131297), Real Red (102482), Whisper White (100730)
Accessories: Big Shot (143263), Cuckoo Clock Dies (149632), Let It Snow Specialty Designer Series Paper (150393), Real Red Combo Pack Stampin’ Blends (147935), Soft Suede Stampin’ Blends Markers Combo Pack (147273), Shaded Spruce Combo Pack Stampin’ Blends (147938), Daffodil Delight Stampin’ Blends Markers Combo Pack (144603), Pool Party Light Stampin’ Blends Marker (144595), Clear Wink Of Stella Glitter Brush (141897), Bone Folder (102300), SNAIL Adhesive (104332), Stampin’ Dimensionals (104430)
Measurements:
- Coastal Cabana: 4 ¼” x 11” (see template)
- Let It Snow Specialty Designer Series Paper:
- 2 pieces 4 ½” x 1” (snow people)
- 4 ½” x 2 ¼” (falling snow for base of card)
- 4 ¼” x 1” (snowbank from the larger snow people on DSP)
- Real Red: 2 ¼” x 1”
- Whisper White:
- 2” x 1” (sentiment)
- 3 ½” x 3 ½” (for gingerbread house)
- scraps for trees
Instructions:
- Centre and stamp “Wishing you a …Christmas” in Soft Suede on the Whisper White.
- Stamp “yummy” in Real Red between the Soft Suede sentiment.
- Adhere the stamped sentiment to the Real Red cardstock.
- Stamp the gingerbread house and trees in Tuxedo Black Memento.
- Colour with the Blends the gingerbread house and trees.
- Use Wink of Stella on the peppermint candies and gumdrops.
- Cut the house and trees out with the Big Shot using the Cuckoo Clock Dies.
- Cut and score the base according to the template provided at end of this document.
- Attach the 2 pieces with snow people DSP (4 ½” x 1”) on the side panels of the card base with snail.
- Attach the snowbank DSP (4 ¼” x 1”) on the bottom card base panel.
- With snail, attach the falling snow DSP to the centre panel of the card base.
- Add the die cut ginger house to the centre panel with dimensionals.
- Attach the trees with dimensionals. Two in front of gingerbread house and 2 on side panels.
- Add the sentiment to the centre panel with dimensionals.
For Further Info:
Hope you like my Gingerbread House Card!
For a template on how to create a centre-step card, please click on the image.
You will find the items listed above in my online store at:
Shopping with Stamp with Laurie.


Thanks for sharing what a great card, so festive.
Thank you so much! So glad you like my card! ❤️🎄