As You Wish Card

My As You Wish Card
My As You Wish Card

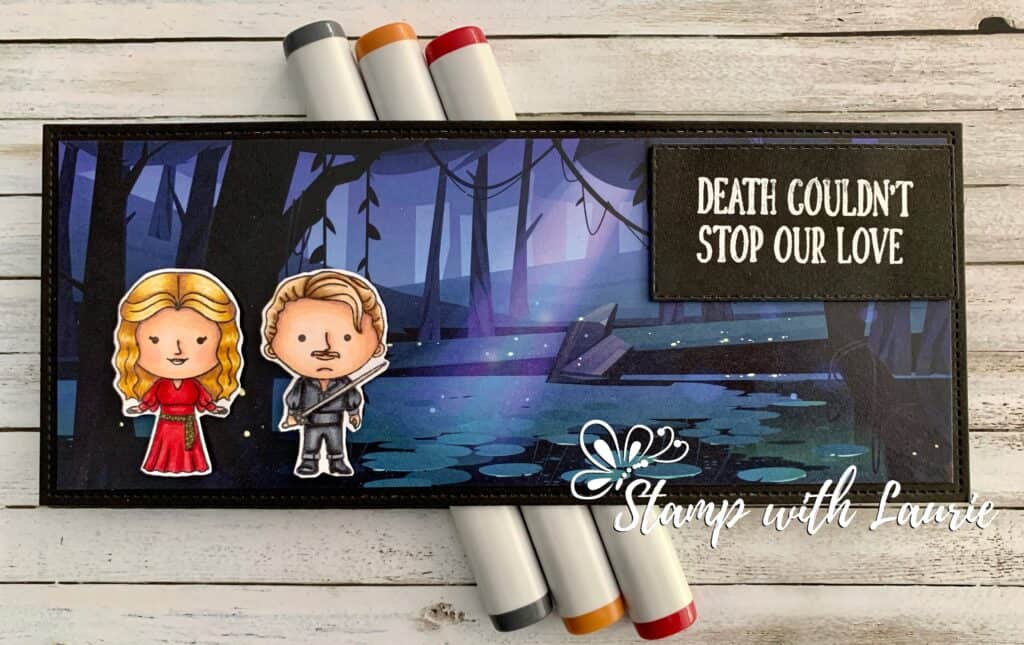
Hello Crafty Friends! It’s Laurie here to share my As You Wish Card using the Twoo Luv Stamp Set by Kindred Stamps! Princess Bride is one of my favourite movies ever! So, when I saw Kindred Stamps has this stamp set, I couldn’t resist buying it! 

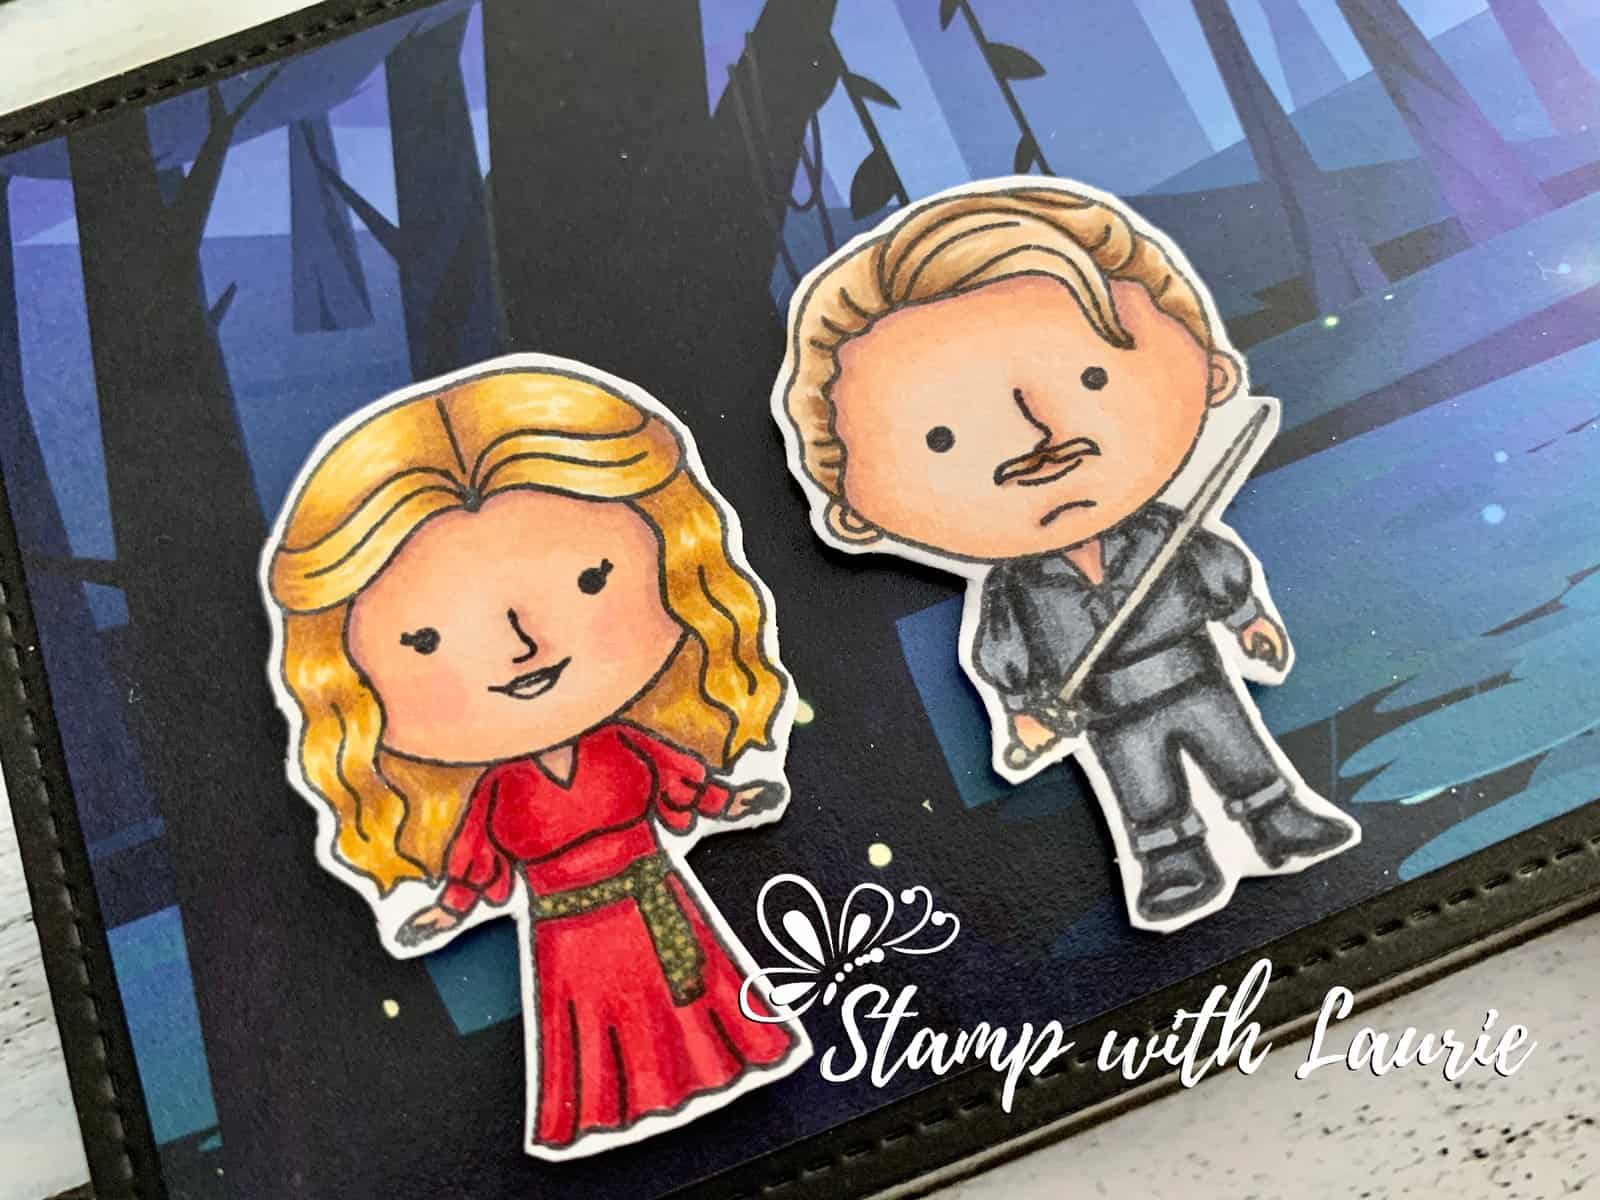
This is another super-fast card to make since the stamps colour up so quickly and the background paper is from the Enchanted Forest Paper Pack by Whimsy Stamps. I used my Copic markers to colour my characters to match the characters in the movie. I thought this slimline paper was perfect to represent the ‘Fire Swamp’ in the movie where Westley and Buttercup meet the R.O.U.S.’s (Rodents of Unusual Size)! The only other thing that needed to be added was the sentiment which I embossed in white on black cardstock. Easy-peasy!

————————–

Copic Markers:

Pirate (Westley)
Skin: E04/E11/E21/E00/E000
Hair: E57/E55/E43/E53/E50
Outfit: C9/C7/C5/C4
Sword: W6/W4/W2
Close Up of My Card
Close Up of My Card

Princess (Buttercup)
Hair: E25/YR24/Y26/Y21
Skin: E04/E11/E21/E00/E000/R20
Dress: R35/R37/R39/Gold Wink of Stella

————————–

Card Recipe for My As You Wish Card:

Twoo Luv, Kindred Stamps
Paper Basics – Stamper’s Select White Cardstock, Papertrey Ink
Slimline Paper Pack – Enchanted Forest, Whimsy Stamps
Large Slimline with Sliders Dies, Lawn Fawn
Stitched Rectangle Dies, Stampin’ Up!
Tuxedo Black Memento Ink, Stampin’ Up!
VersaMark Ink, Stampin’ Up!
White Embossing Powder, Stampin’ Up!
Heat Tool, Stampin’ Up!
Black Stampin’ Dimensionals, Stampin’ Up!
Basic Black Card Stock, Stampin’ Up!

Finished card size: 3.5” x 8.5”

————————–

To view my other Kindred Stamps, please click here.

For more of my Copic cards, please click here.

Hope you like my As You Wish Card using the Twoo Luv Stamp Set by Kindred Stamps!

Buttercup: Westley, what about the R.O.U.S.’s?
Westley: Rodents of Unusual Size? I think they don’t exist.

Thank you for stopping by!

Hugs,
Laurie

My Christmas Sled

My Christmas Sled Design Team Card

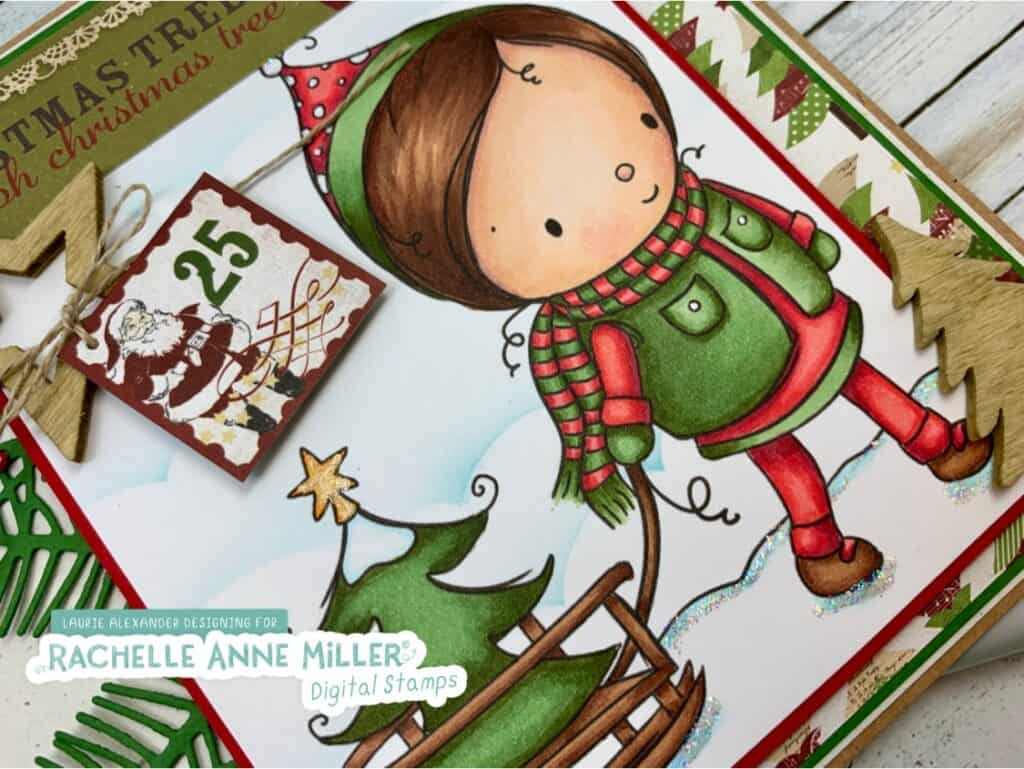
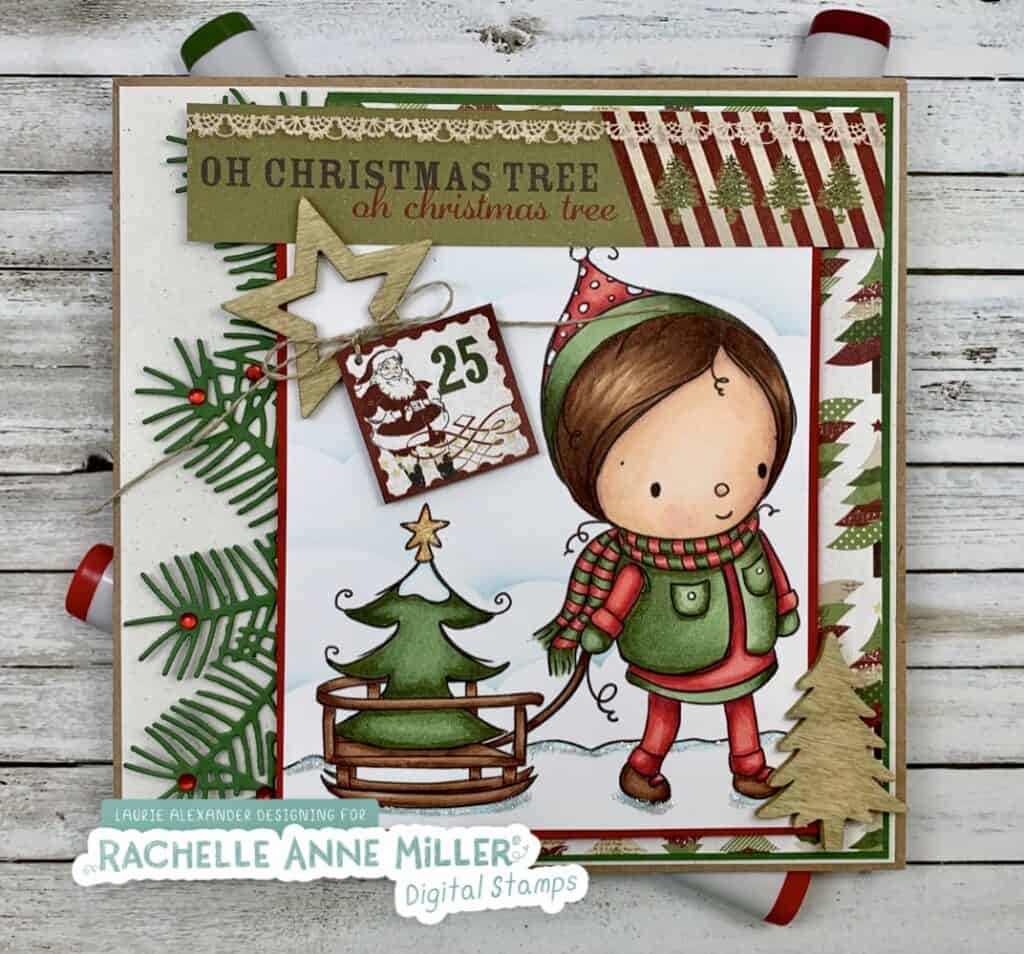
It’s Laurie here with My Christmas Sled Design Team Card for Rachelle Anne Miller Creative Studios using her The Little Sled Christmas Digital Stamp. Isn’t he just darling! When you were little, did your family go out tree hunting?

For my card, I wanted to create a natural feel since this little guy is picking out his Christmas tree in the snow. So I used things like the natural wooden star and tree, the linen thread, Natural White and Kraft Card Stock to add to my feel. Of course, you have to wear red and green when picking out your tree! I thought the papers, especially the O Christmas Tree flag at the top, were perfect for my card!

Close Up of My Christmas Sled Design Team Card
Close Up of My Design Team Card

————————–

Copic Markers:

Skin: E000/00/21/11/04/R20
Hair: E21/E23/E25/E27/E29
Red: R32/R35/R37/R39
Green: G21/G94/G99
Shoes/Sled: E27/E25/E23
Star: Y32/Y35/Y38/Clear Gelly Roll Pen
Snow: B000/B000/Stardust Stickles

————————–

Card Recipe for My Christmas Sled:

Rachelle Anne Miller Creative Studios, The Little Sled Christmas Digital Stamp
Sweet Sentiment Premium Coloring Paper
So This is Christmas 6 x 6 Paper Pad, Carta Bella
Lost & Found Christmas Embellishments Words, My Mind’s Eye
Pine Needles Border Die, Memory Box
Clouds Stencil, CC Designs
Red Rhinestone Basic Jewels, Stampin’ Up!
Wooden Star and Tree Embellishment, The Mercantile At The Crossroads
Linen Thread, Stampin’ Up!
Stardust Stickles
Blender Brushes, Picket Fence
Balmy Blue Classic Stampin’ Pad, Stampin’ Up!
Clear Gelly Roll Pen
White Gelly Roll Pen
Real Red Card Stock, Garden Green Card Stock, Kraft 12 x 12 Cardstock,
Naturals White Card Stock, Stampin’ Up!
Finished card size: 5 ¾” x 5 ¾”

————————–

Rachelle Anne Miller Digital Stamps Facebook Group has a Monthly Challenge where you can win stamps! This month is Anything Goes with Optional Twist: Give Thanks (Thank You, Thanksgiving, Gratitude). Check it out and maybe you will win!

To view my other Rachelle Anne Miller Creative Studios cards, please click here.

Hope you like my Design Team Card with The Little Sled Christmas Digital Stamp by Rachelle Anne Miller Creative Studios!
Thank you for stopping by!

Hugs,
Laurie
Mer-Message in a Bottle Card

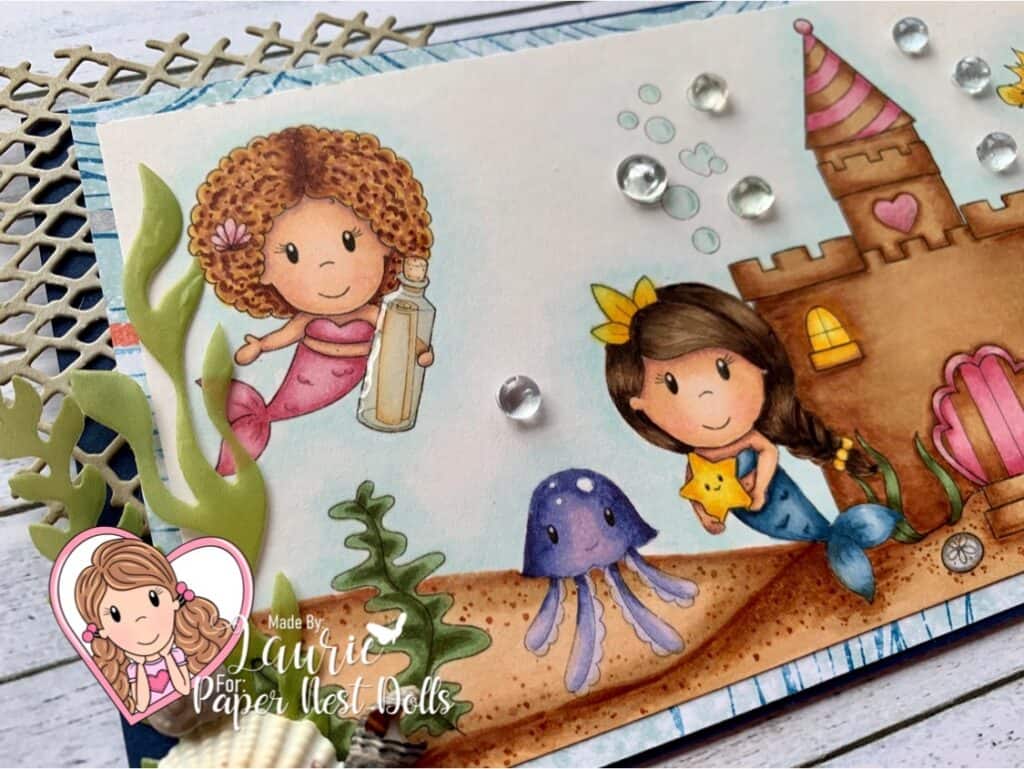
Hi Crafty Friends! It’s Laurie again with my Mer-Message in a Bottle Card for the Paper Nest Dolls’ Design Team. It is using using the sweet Curly Haired Mermaid from Paper Nest Dolls’ Mermaid Set. I had so much fun colouring her with my Copic Markers, especially all those curls, and creating this underwater scene with my Distressed Oxides.

My Mer-Message in a Bottle Card

————————–

Copic Markers:

Skin:E15/13/11/00/000
Hair: C3/5/7/9
Fins: V17/15/12
Bottle: BG0000/000 and Glossy Accents
Paper: E50/51/53
Clear Jelly Roll Pen on Hair Accessory and tail highlights

————————–

Card Recipe:

For the Water:

Salty Ocean Distressed Oxide
Mermaid Lagoon Distressed Oxide
Wilted Violet Distressed Oxide
Blueprint Sketch Distressed Oxide
Tsukineko Frost White Shimmer Paint
Splashes of water and paper towel to remove water droplets
Ranger Mini Ink Blending Tool

————————–

For Rest of Card:

Spring Bloom Dew Drops by The Robin’s Nest
Joy! Crafts Shell Border Die
Walnut Stain Distress Ink (to sponge shell border die)
Dazzle-it! Aqua Mix Seedbeads
The Sea Siren Blend Fibre by Busy Box Blends
Echo Park Imagine That 6×6 Paper Pad
Shells from Dollar Store

I hope you enjoyed my Mer-Message in a Bottle Card that I made for the Paper Nest Dolls’ Design Team!

Hugs,
Laurie

Grace’s Garden Gate Card

Grace’s Garden Gate Card
My Grace’s Garden Gate Card

Today I am sharing this pretty Grace’s Garden Gate Card. For this card, I combined the Beautiful Moments Stamp Set and the Grace’s Garden Bundle. I thought these two sets went perfectly together! The Pressed Petals Specialty Designer Series Paper is perfect for the gate. I used my Paper Snips to cut the gate doors so that it can open to reveal the beautiful scene beyond. Wouldn’t it be wonderful to walk through a lavender field! There is a Sneak Peek of one of the new Greenery Embossing Folders that frames the scene. Let’s get started.

My Grace's Garden Gate Card Close Up
My Grace’s Garden Gate Card Close Up

Supplies for Grace’s Garden Gate Card:

Stamps:  Beautiful Moments Cling Stamp Set (151677), Grace’s Garden Bundle  (153789), Very Versailles Cling Stamp Set (149275)

Inks: Tuxedo Black Memento Ink Pad (132708), Highland Heather Classic Stampin’ Pad (147103)

Paper: Pool Party (122924), Old Olive (100702), Rococo Rose (150882), Whisper White (100730), Whisper White Thick (140272 ), Pressed Petals Specialty Designer Series Paper (149500)

Accessories: Garden Gateway Dies (151512), Pool Party Stampin’ Blends Markers Combo Pack (144605), Old Olive Stampin’ Blends Marker Combo Pack (154892), Highland Heather Stampin’ Blends Markers Combo Pack (147276), Rococo Rose Stampin’ Blends Combo Pack (149572), Crumb Cake  Stampin’ Blends Combo Pack (154882), Ivory Stampin’ Blends Marker (144606), Greenery Embossing Folder (152716), Rhinestone Basic Jewels (144220), Paper Snips (103579), Bone Folder (102300), Multipurpose Liquid Glue (110755), Mini Glue Dots (103683), SNAIL Adhesive (104332), Stampin’ Dimensionals (104430)

Measurements for Grace’s Garden Gate Card: 

  • Whisper White Thick: 8 ½” x 5 ½”; scored at 4 ¼” 
  • Pool Party: 4 ¼” x 5 ½”
  • Old Olive: 3” x 5½”
  • Whisper White:
    • 2 ¼” x 3 ¾” (for scene)
    • 2 pieces at 1 ¼” x 2 ¾” (flowers)
    • 1 piece 3 ¾” x ¾” (sentiment) 
  • Rococo Rose: scraps
  • Pressed Petals Specialty Designer Series Paper:
    • 2 ¾” x 4” (Gate)
    • 2 pieces at ½” x 5 ½” 
My Grace's Garden Card with Open Gate
My Grace’s Garden Gate Card with Open Gate

Instructions for Grace’s Garden Gate Card: 

  1. Fold the Whisper White Thick card stock in half to create the card base.
  2. Stamp the image of the girl on the larger piece of Whisper White in Tuxedo Black Memento Ink Pad.
  3. Stamp the butterflies above the girl in Memento. Using the Blends markers, colour her and the scene.
  4. Using the die cut from the Garden Gateway Dies that corresponds to the inside of the gate, cut her out.
  5. Next, stamp the larger flower image in Tuxedo Black Memento Ink on the two pieces of Whisper White card stock and colour with the Blends markers. Die cut them out with corresponding die.
  6. Stamp the sentiment from the Very Versailles Cling Stamp Set in Highland Heather on the Whisper White strip.
  7. Die cut the gate from the Pressed Petals Specialty Designer Series Paper.
  8. Using the flower dies from the Garden Gateway Dies, die cut them in Rococo Rose.
  9. Emboss the Old Olive piece using the large leaves from the Greenery Embossing Folders.
  10. Using SNAIL, adhere the Pool Party card stock to the Whisper White card base.
  11. Adhere the strips of script from the Pressed Petals Specialty Designer Series Paper to the Old Olive piece
  12. Adhere the embossed piece with Multipurpose Liquid Glue to the Pool Party piece.
  13. Position the scene closer to the top of card and adhere with Multipurpose Liquid Glue to Old Olive piece.
  14. Position the gate over the scene and adhere with Multipurpose Liquid Glue.
  15. Using Paper Snips, cut the center of the gate door and fold back.
  16. Adhere the flowers on either side of the gate with dimensionals.
  17. Adhere the sentiment with dimensionals making sure not to overlap the gate so that it can open.
  18. Using glue dots, adhere three Rococo Rose flowers and add rhinestones to the centre of them.

For Further Info:

Hope you like my Grace’s Garden Gate Card!

You will find the items listed above in my online store at:  https://www.stampinup.com/ecweb/products/201025/peaceful-poppies?dbwsdemoid=2103981.

Life is a MerMay Party!

My Slim Line Card Using Paper Nest Dolls Mermaid Set

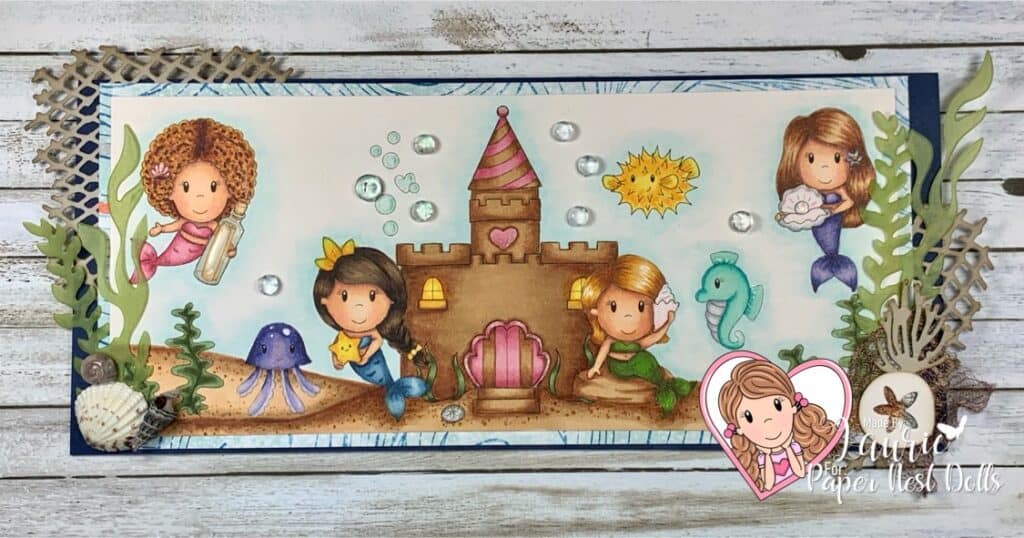
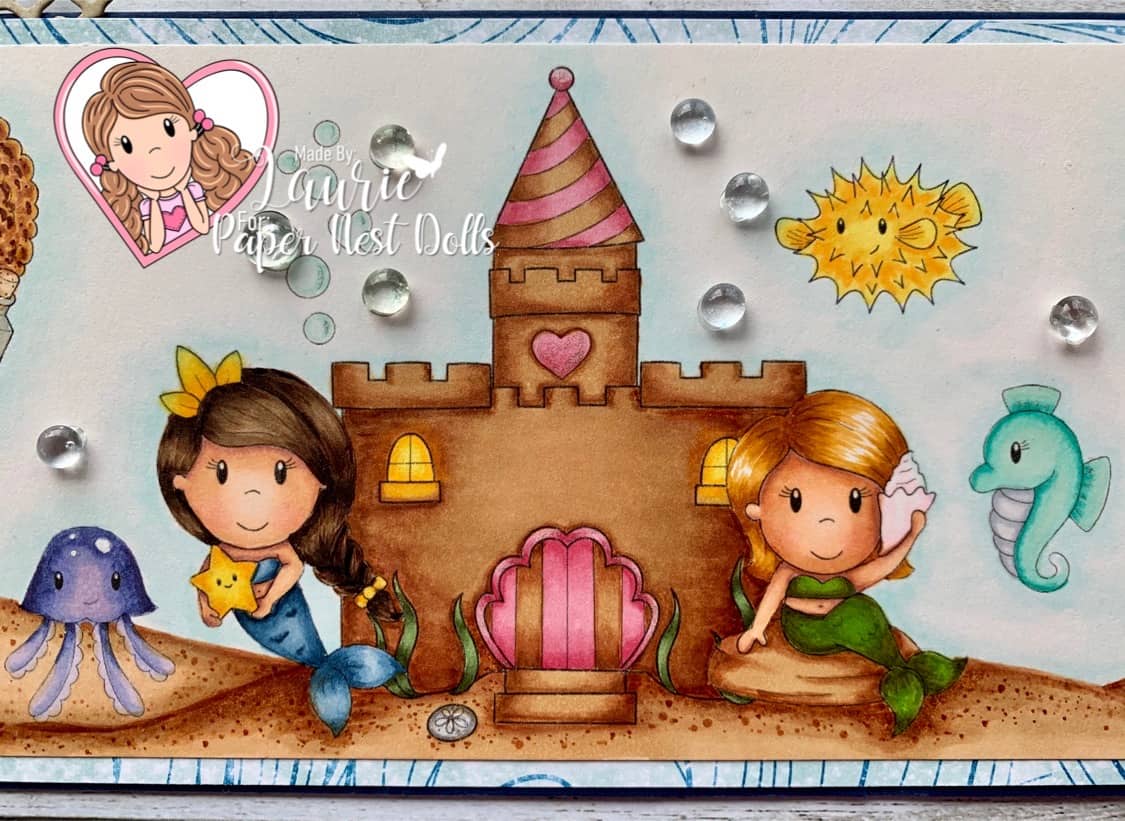
Life is a MerMay Party! I was asked by Paper Nest Dolls to become a permanent Design Team Member! Yahoo! I am so honoured to have been asked to join such a talented Design Team!

So, here is my first card as a Design Team Member. For this card, I wanted to create a slim line card since they are all the rage right now. This card measures 4″ x 9 1/4″ which will fit into a regular Number 10 envelope (4 1/8″ x 9 1/2″). I had so much fun colouring this cute underwater scene using most of the May Release digital images from the Mermaid Set.

————————–

Copic Markers:

Curly Hair Mermaid:

Skin: E04/11/21/00/000
Hair: E18/E15/YR23/Y21
Fin/Hair Accessory: R81/83/85 
Bottle: BG0000/000 and Glossy Accents
Paper & Cork: E50/53
Clear Jelly Roll Pen on Hair Accessory

Jellyfish:

BV000/00/02/04/08
White Jelly Roll Pen

Dark Hair Mermaid:

Skin: E04/11/21/00/000
Hair: E49/47/44/43/42
Fin: B97/95/93/91
Star/Hair Accessory: Y17/15/13 and Clear Jelly Roll Pen

Left Side of my Mermaid Card

Sandcastle:

Walls: E30/31/33/35
Door/Trim: R81/83/85
Windows: Y13/15/17
Clear Jelly Roll Pen on windows, heart and door trim

Blonde Hair Mermaid:

Skin: E04/11/21/00/000
Hair: E99/YR24/YR23
Fin: YG99/97/93/03
Shell: RV00
Rock: E30/31/33/35

Puffer Fish:

Y13/15/17

Seahorse:

BG10/11/13
C0/2
Clear Jelly Roll Pen on Fins

Brown Hair Mermaid:

Skin: E04/11/21/00/000
Hair: E30/31/33/35/37
Fin/Hair Accessory: BV00/02/04/08
Shell: C0/1/2/RV000
Pearl: BV000
Clear Jelly Roll Pen on Hair Accessory and Pearl

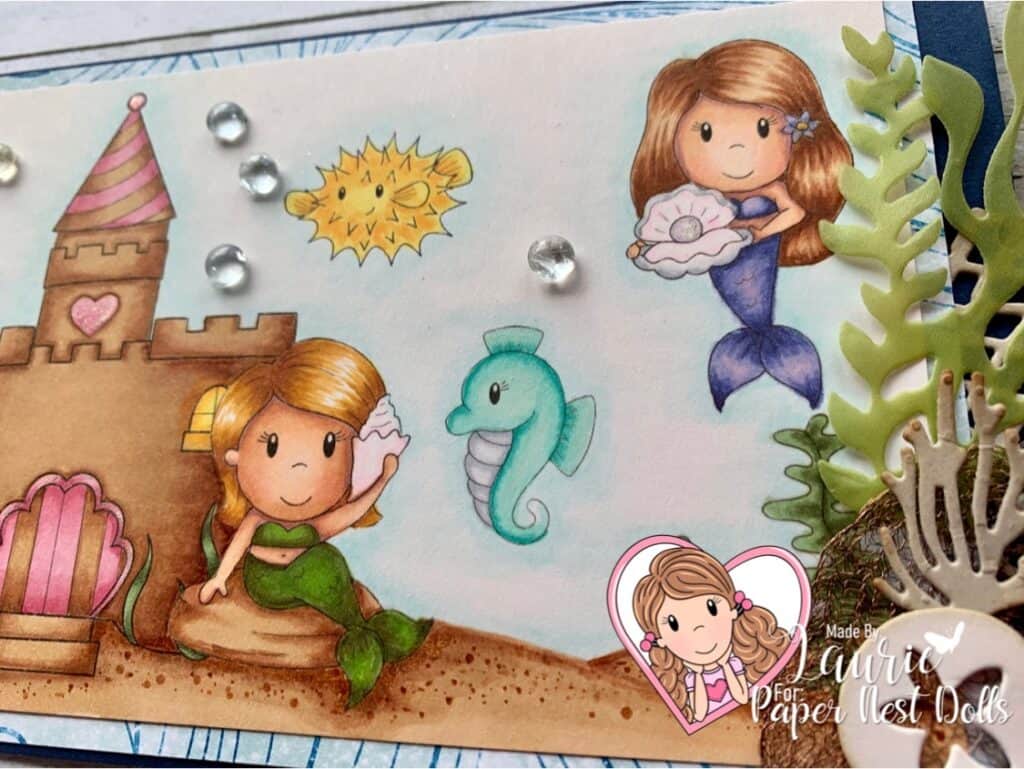
Right Side of My Mermaid Card

Water:

BG0000/000

Bubbles:

BG0000/10/11
Clear Jelly Roll Pen

Seaweeds:

G21/94/99

Sand:

E30/31/33/35

Centre of my Mermaid Card

A few dies and accessories from my stash finish this beautiful underwater scene where the Mermaids frolic and play for MerMay! Life is a MerMay Party! Don’t they look like they are having fun!

Hope you like my first card! Have a wonderful MerMay!

Hugs,
Laurie