My Bridal Shower Card 

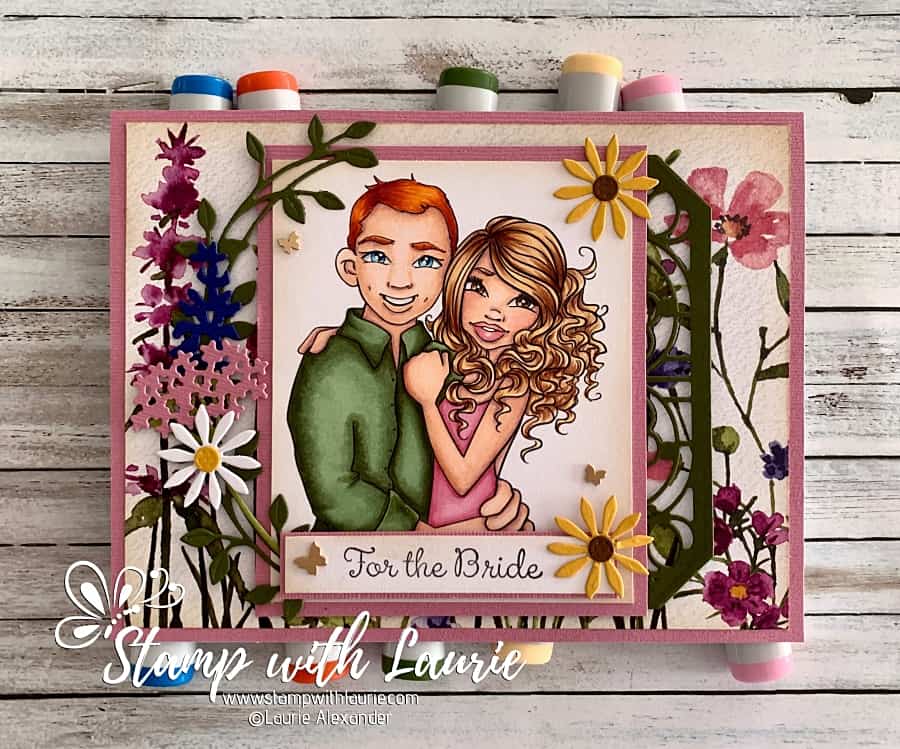
A bridal shower card with a couple on it
My Bridal Shower Card

Hello Crafty Friends! It’s Laurie here! I am sharing My Bridal Shower Card using the digital stamp Engagement by Krista Smith Stamps. We have a wedding coming up in our family and I was invited to the Bridal Shower. So, I created a custom card for the future bride.

The Details of My Card

I coloured these cuties with my Copic markers in the same colours as the couple who are getting married. Don’t you just love the guy’s red hair! So fun to colour! I went with greens and pinks for them since I knew these will be their wedding colours. I added White Gelly Roll Pen to their eye to make them sparkle and to the girl’s lips to make them glossy.

Since I knew that their flowers are going to be wildflowers especially daisies, I went with the Dainty Flowers Designer Series Paper and matching Dainty Delight Dies.

To add to the rustic look of the DSP, I blended some Crumb Cake Ink onto the edges of the paper.

The sentiment was stamped in VersaFine ink and trimmed with my Paper Snips to fit. 

The die cut flourish behind the coloured panel was trimmed so that only one side showed to help balance the die cut flowers and leaves on the opposite side.

To keep with my wildflower theme, I only added a few Brass Butterflies for some sparkle.

————————–

Copic Markers

Guy
Skin: E04/E11/E21/E00/E000
Hair: E18/E08/YR18/YR14
Shirt: G99/G94/G21
Eyes: B18/B16/B12/B01/C3/C1/0
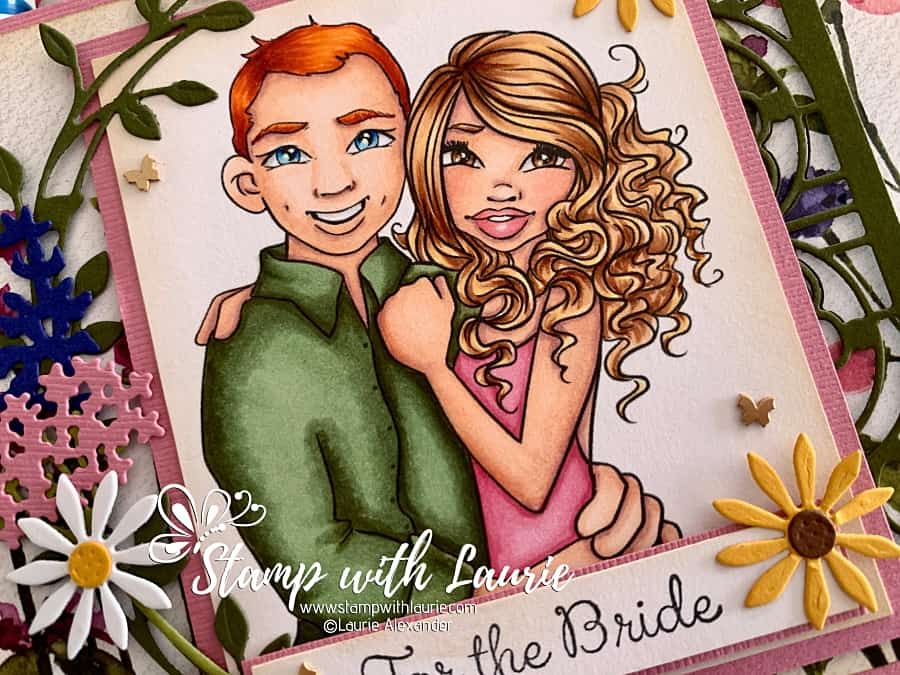
Close Up of Couple
Close Up of Couple

Girl
Skin: E04/E11/E21/E00/E000/R20
Hair: E35/E53/Y21
Dress: R85/R83/R81 
Eyes: E59/E57/E55/C3/C1/0
Lips: R83/R81

————————–

Card Recipe for My Bridal Shower Card

Engagement, Krista Smith Stamps
Paper Basics – Stamper’s Select White Cardstock, Papertrey Ink
Dainty Flowers Designer Series Paper, Stampin’ Up!
Dainty Delight Dies, Stampin’ Up!
Special Celebrations Stamp Set, Stampin’ Up!
VersaFine Ink, Onyx Black, Tsukineko 
Cannetille Rectangle Dies, Spellbinders
Crumb Cake Ink, Stampin’ Up!
Blending Brushes, Stampin’ Up!
Brushed Brass Butterflies, Stampin’ Up!
White Gelly Roll Pen
Paper Snips

Finished card size: 6 ½” x 5”

————————–

To view my other Copic Marker cards, please click here.

Hope you like my card using the digital stamp Engagement by Krista Smith Stamps.

Thank you for stopping by!

Hugs,
Laurie

My Clockwork Anniversary Card

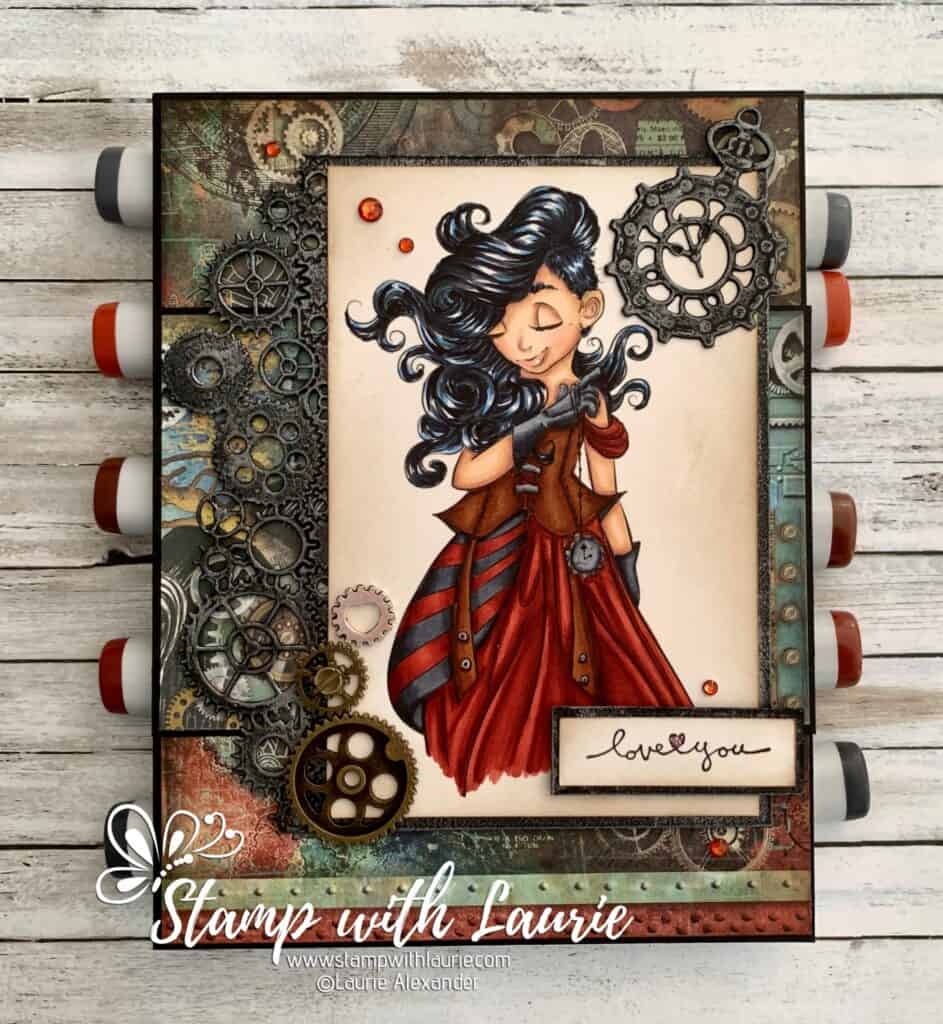
A card with a girl holding a pocket watch
My Clockwork Anniversary Card

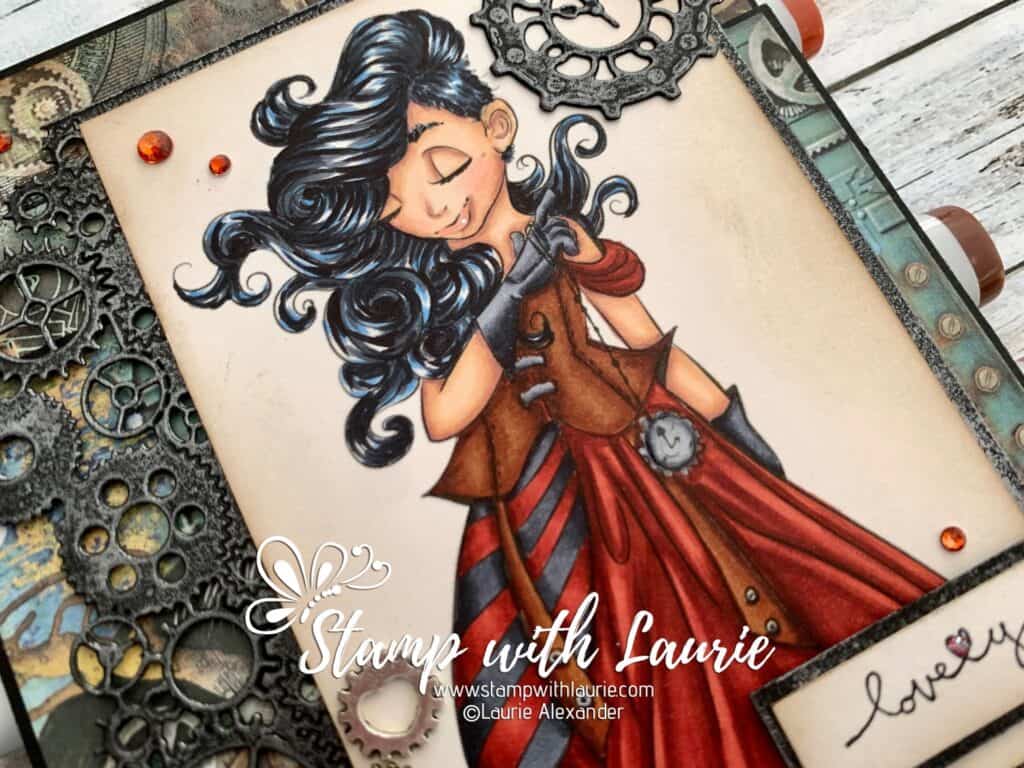
Hello Crafty Friends! It’s Laurie here with My Clockwork Anniversary Card using the beautiful Steampunk Time digital stamp By Krista Smith Stamps for my 28th wedding anniversary card for my Hubby.

My hubby loves anything steampunk and I found this awesome digital stamp by Krista Smith Stamps that I thought would make a beautiful card for him!

The Details of My Card

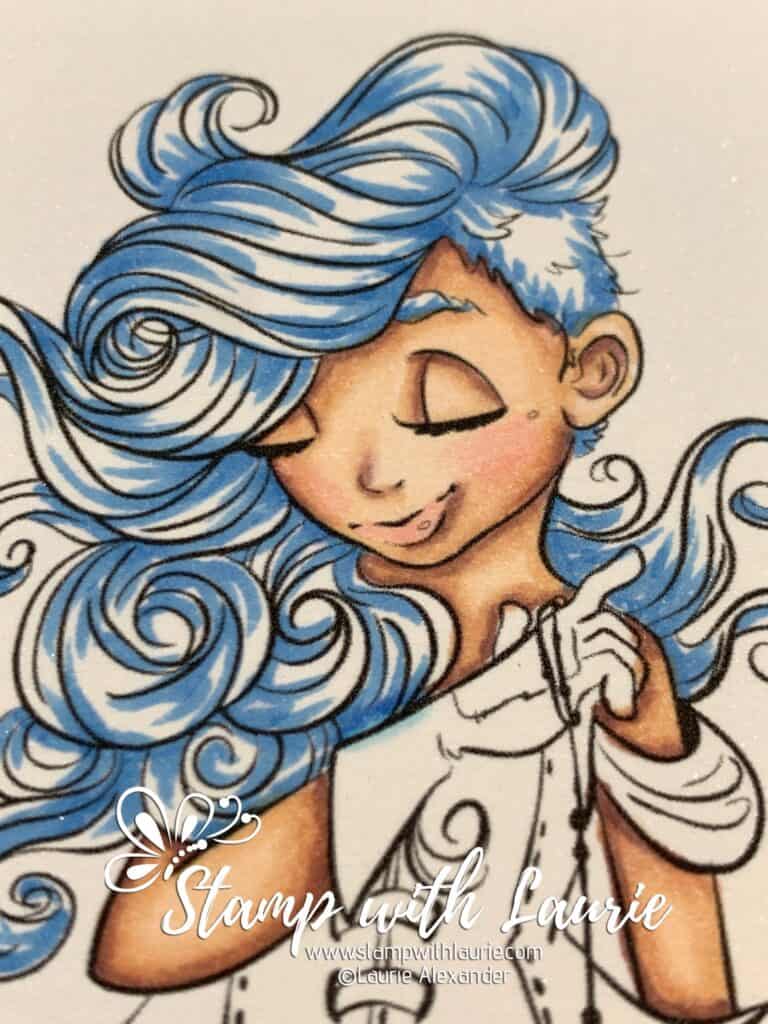
For my card, I decided to colour her with my Copic markers in muted tones to match my paper and my grungy steampunk theme. I haven’t used this colour scheme before but was very happy with how it turned out! I went with black hair with blue underpainting to give her a hip edge. Another first for me to colour like this!

Using Blue marker to add to black hair
Underpainting B24 to Hair

Once I finished colouring her, I blended some ink along the edges of the paper to give it a distressed look. I also blended ink along the edges of the design paper and sentiment to make them more worn. The paper from Stamperia was perfect for my steampunk theme since it had that industrial look to it.

Of course, I had to add the pocket watch die since she is holding a pocket watch. I rubbed some Brushed Iron Wax on it, the gears, and mats to make them look worn and to bring out the details on them. This is my new favourite product, next to my Copic markers, of course!

You can never have too many gears on a steampunk card! So, I pulled out my Tim Holtz idea-ology gears, as well as another small silver gear that I had in my stash. I love how the silver gear had a heart for the centre of it instead of a circle! Perfect for an anniversary card!

Glossy accents were added to her pocket watch and Star Dust Stickles was added to the heart for the sentiment.

Using another trick that I like to implement, I coloured the rhinestones with my Copic markers to match my colours.

A simple sentiment with another heart says it all!

————————–

Copic Markers:

Skin: E000/E00/E21/E11/E04/R20
Hair: B24/C7/C9/100
Leather Vest: E29/E39/E35
Dress: E18/E09/E08/E07
Stripes: E18/E09/E08/E07/C9/C7/C6
Gloves: C9/C7/C6/C3
Metal Bits: C7/C5/C3
Rhinestones: E09

Close Up of Girl
Close Up of Steampunk Time Stamp

————————–

Card Recipe for My Clockwork Anniversary Card:

Steampunk Time, Krista Smith Stamps
Paper Basics – Stamper’s Select White Cardstock, Papertrey Ink
Mechanical Sea World 8″ x 8″ Paper Pad, Stamperia
Mixed Essentials Industrial Collection Steampunk Dies, Sue Wilson Creative
5.5” Gear Border die, From My Stash
Walnut Stain Distress Ink, Ranger
Mini Ink Blending Tool, Ranger 
Art Alchemy-Metallique Wax – Brushed Iron, Prima Marketing
Various Gears, Idea-ology, Tim Holtz
VersaFine, Onyx Black, Tsukineko
Rhinestone Basic Jewels, Stampin’ Up!
Star Dust Stickles, Ranger
Glossy Accents, Ranger

Basic Black Card Stock, Stampin’ Up!

Finished card size: 5” x 6 ½”

————————–

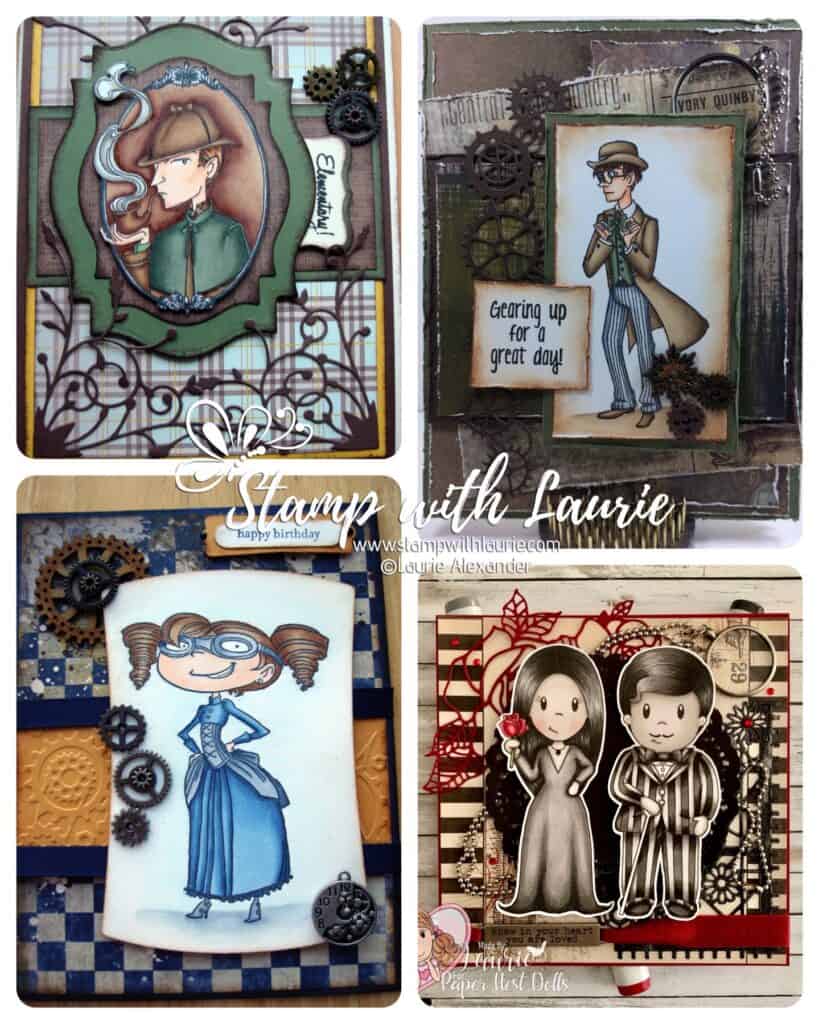
I have created several steampunk cards over the years for my hubby. Here are four of them that I have made.

Steampunk Cards That I Made
Past Steampunk Cards That I Made

Hope you like My Clockwork Anniversary Card using Steampunk Time by Krista Smith Stamps.

I am entering this card in the following challenge:
Passion For MarkersWeek 658 Challenge – use your favourite tool/product or embellishment

Thank you for stopping by!

Hugs,
Laurie
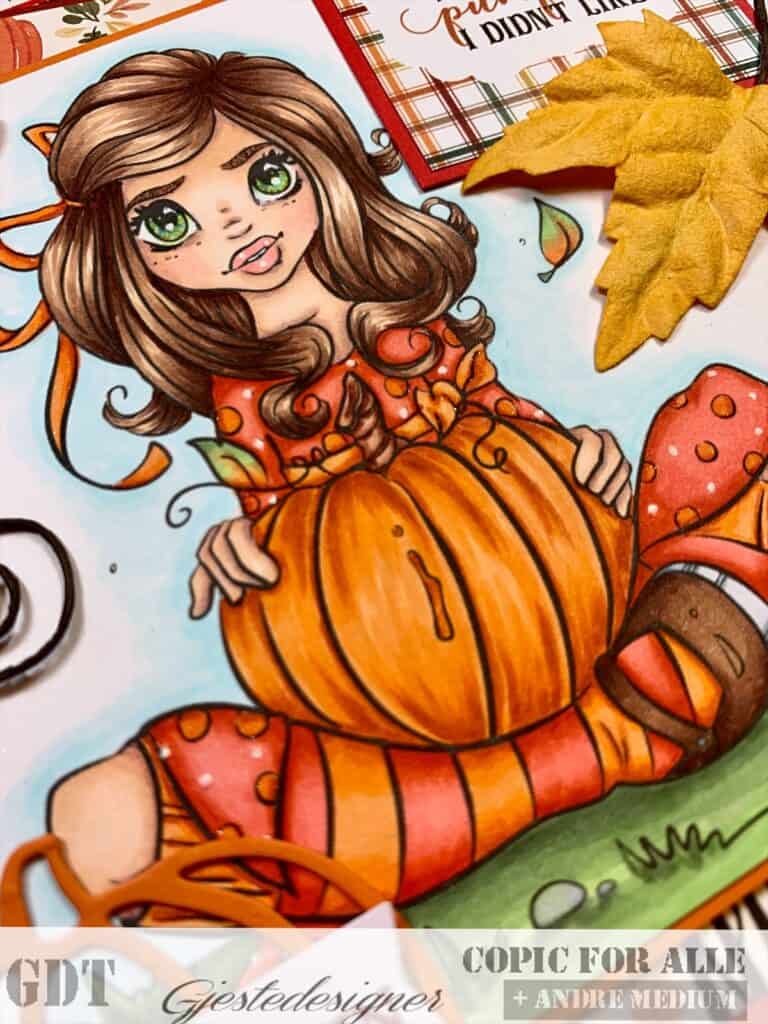
Hello Pumpkin GDT Card

My Hello Pumpkin Guest Design Team Card

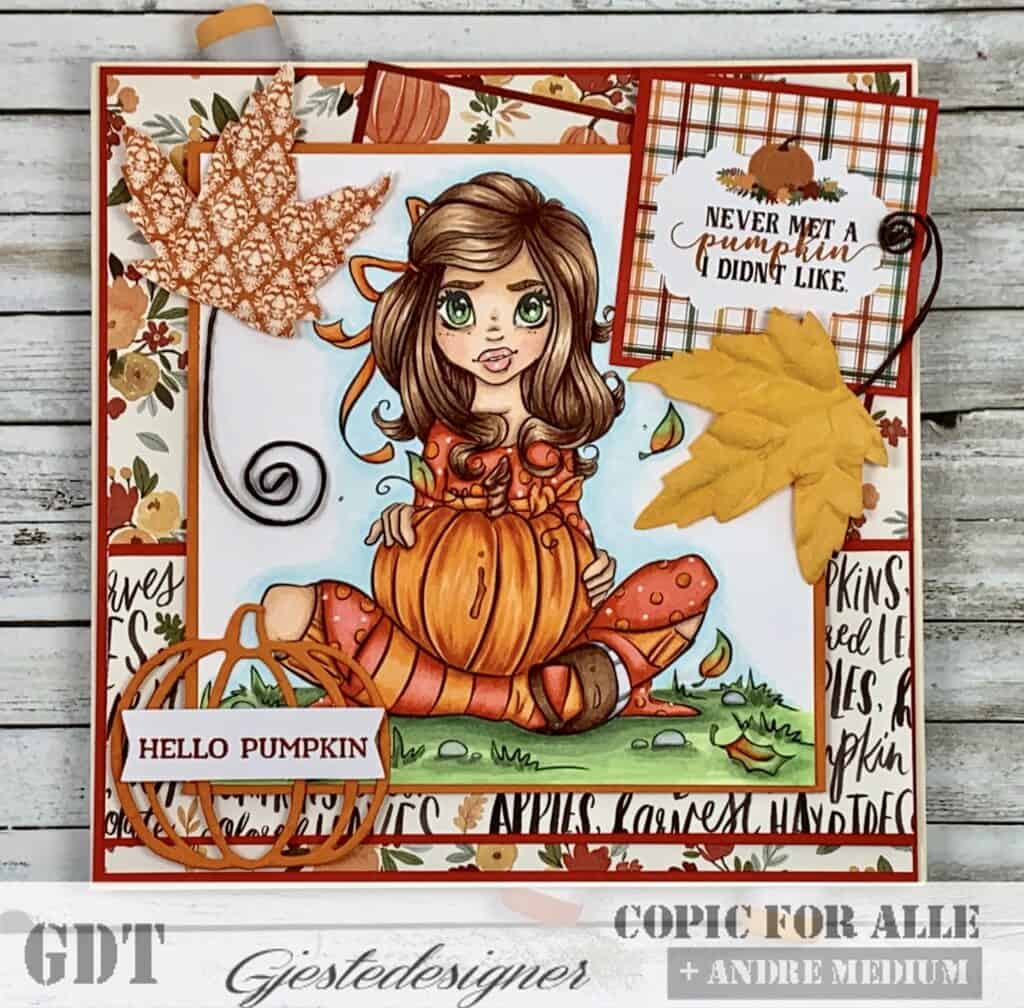
Hello Crafty Friends! It’s Laurie here with my Hello Pumpkin Guest Design Team Card for the Copic for ALLE Facebook Group using Krista Smith Stamps Pretty Pumpkin Digital Stamp. I was so honoured to be asked by this group to be a Guest Designer for their YR (Yellow/Red) Copic Challenge for October. This combination screams pumpkins to me and since I haven’t coloured a Krista Smith image in a while, I thought Pretty Pumpkin would be perfect for my card! Of course, for a Fall card, you need falling paper leaves that I pulled from my stash! Hope you like my take on this Color Challenge!

————————–

Copic Markers:

Skin: E000/E00/E21/E11/E04/R20/R21
Hair: E29/E27/E25/E23/E21
Eyes: B26/E37/G14/Y06/G00/C2
Dress: R08/R05/R14/R22/YR15/YR18
Socks: YR18/YR15/YR12/R08/R05/R22
Shoes: E29/E27/E25/E23/E21/C5/C3/C1
Pumpkin: YR12/YR15/YR18/E11/E13/E15/E18
Stones: C5/C3/C1
Leaves: YR18/YR15/YR12/Y11/G85/G21/YG13
Grass: G85/G21/YG13
Sky: B000/B0000/0

Close Up of My Hello, Pumpkin GDT Card

Card Recipe for
Hello Pumpkin GDT Card:

Pretty Pumpkin Digital Stamp, Krista Smith
Paper Basics – Stamper’s Select White Cardstock, Papertrey Ink
Hello, Pumpkin Stamp Set, Paper Pumpkin Kit, Stampin’ Up!
Patterned Pumpkins Thinlits Dies, Stampin’ Up!
Happy Fall 6” x 6” Paper Pad, Echo Park Paper Co.
Hello Autumn 6” x 6” Paper Pad, Carta Bella
Paper Fall Leaves, Recollections
White Gelly Roll Pen
Clear Wink of Stella
Cajun Craze Classic Ink Pad, Stampin’ Up!
Poppy Parade, Cajun Craze, Pumpkin Pie,
Whisper White Card Stock
Finished card size: 6” x 6”

————————–

Never met a pumpkin I didn’t like.

To view my other Copic cards, please click here.

Hope you like my Hello Pumpkin Guest Design Team Card
with Pretty Pumpkin by Krista Smith Stamps!
Thank you for stopping by!

Hugs,
Laurie