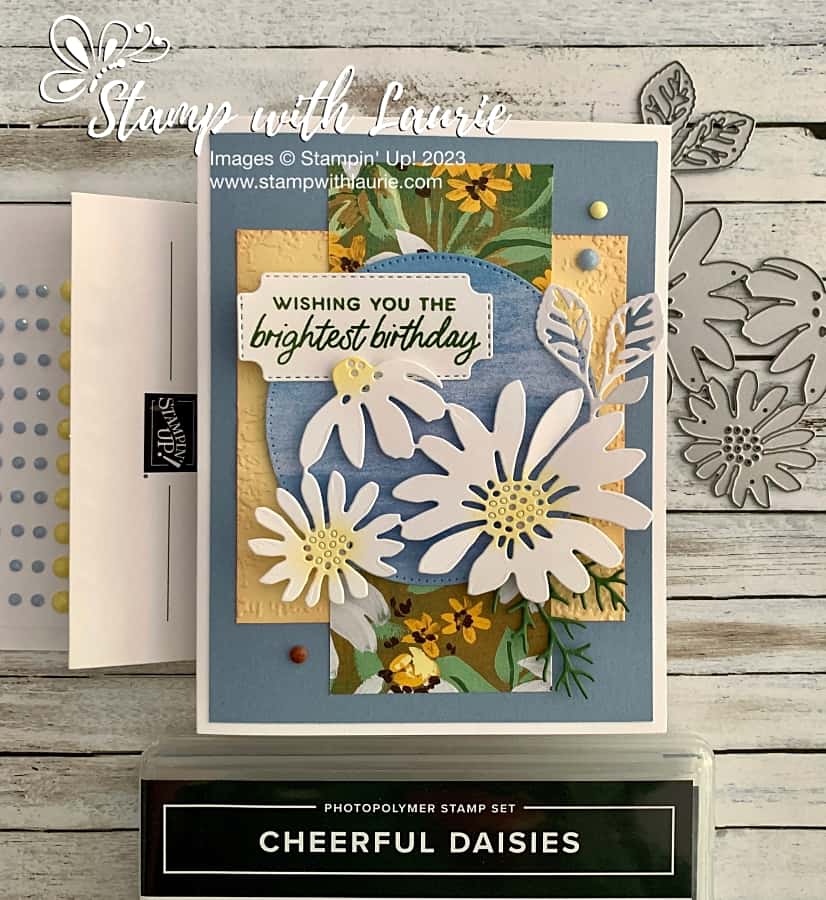
Field of Daisies Birthday Card 

Field of Daisies Birthday Card - a birthday card that has daisies on it
Field of Daisies Birthday Card

Hello Crafty Friends! Laurie here again! I am sharing my Field of Daisies Birthday Card using the Fresh As a Daisy Suite by Stampin’ Up! This Suite includes the Cheerful Daisies Stamp Set, the Cheerful Daisies Dies, Fresh As a Daisy 12” x 12” Designer Series Paper and Adhesive-Backed Solid Gems.

The Details of My Card

My card was for a swap, and I decided to use the Fresh As a Daisy Suite for it. I love how the big daisy die is one piece making it easy to cut out a garden of happy daisies in seconds!

Once I die cut the daisies from Basic White cardstock, I used my sponge daubers to dab some Lemon Lolly in their centres to give them depth. I also dabbed some Pecan Pie to the edges of the Lemon Lolly piece on which I used the Timeworn Type Embossing Folder.

Next, to add to my focal point, I added a stitched circle of the DSP behind my daisies, almost like a blue sky in a field of dasies. From this, I added the sentiment stamped in Garden Green and some Garden Green die cut greenery.

To tie in my colour scheme, I added a piece of DSP between my focal point and the Lemon Lolly piece.

The only embellishments that I used were the Adhesive-Backed Solid Gems that came in the Suite.

Supplies:

Stamps/Bundles/Dies: Fresh As a Daisy Suite (161301), Stylish Shaped Dies (159183)

Inks: Garden Green (147089), Lemon Lolly (161666), Pecan Pie (161665)

Paper: Thick Basic White (159229), Boho Blue (161724), Lemon Lolly (161720), Basic White (159276), Garden Green (102584), Fresh As a Daisy 12” x 12” Designer Series Paper (in Suite)

Accessories: Timeworn Type 3D Embossing Folder (156505), Sponge Daubers (133773), Adhesive-Backed Solid Gems (in Suite), Bone Folder (102300), Stampin’ Dimensionals (104430), Stampin’ Seal (152813), Mini Glue Dots (103683)
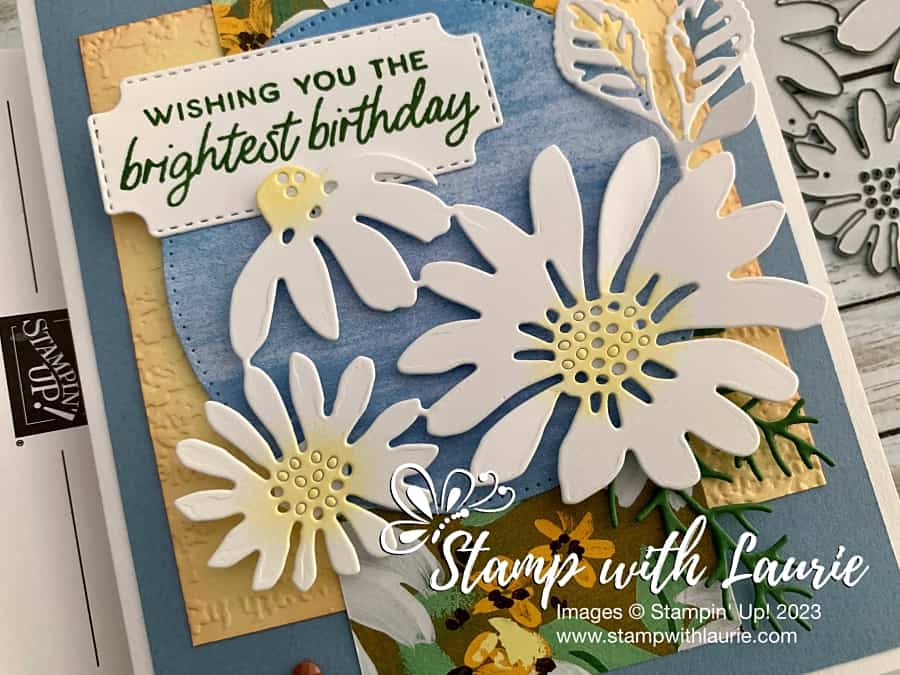
Close up of daisies on card
Close up of Focal Point

Measurements: 

  • Thick Basic White:
    • 8 ½” x 5 ½” scored at 4 ¼”
  • Boho Blue:
    • 4” x 5 ¼”
  • Basic White: (2 pieces)
    • Sentiment: 2 ¼” x 1”
    • Daisies: 3 ¾” x 3”
  • Lemon Lolly:
    • 3 ½” x 3 ½”
  • Garden Green:
    • Scrap
  • Fresh As a Daisy 12” x 12” Designer Series Paper (2 pieces):
    • 2” x 4 ¾”
    • 3” x 3”

More Information on My Field of Daisies Birthday Card

For more of my Stampin’ Up! cards, please click here.

You will find the items listed above in my online store.

My Serene Birthday Card

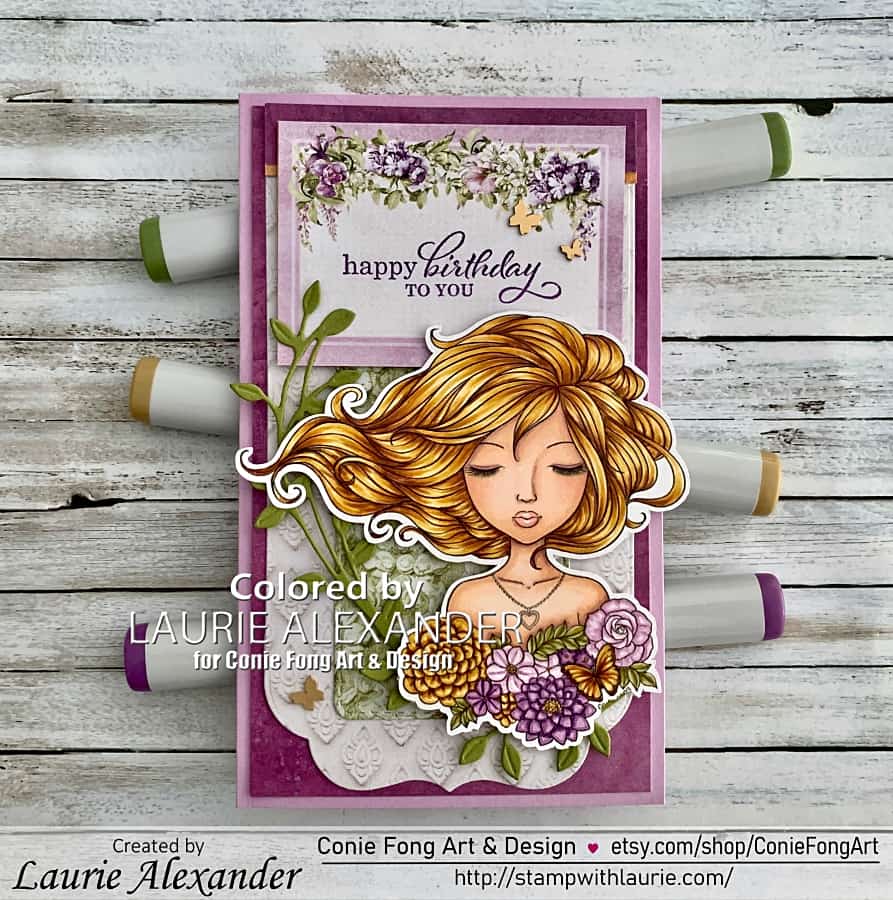
My Serene Birthday Card - A birthday card with a girl holding flowers
My Serene Birthday Card

Hello Crafty Friends! It’s Laurie here! I am sharing my second card using Serenity by Conie Fong Art & Design called My Serene Birthday Card. The Design Team members are celebrating Girls/Ladies this weekend with all things feminine! So, I picked this beautiful image to celebrate, and I coloured her twice! I will post my other card at the end.

The Details of My Card

For My Serene Birthday Card, I decided to create a mini slimline card to show that you can create different sized cards with the same image. I made my card size a little larger than a normal mini slimline to fit all my elements, but it can still fit in a No. 10 envelope.

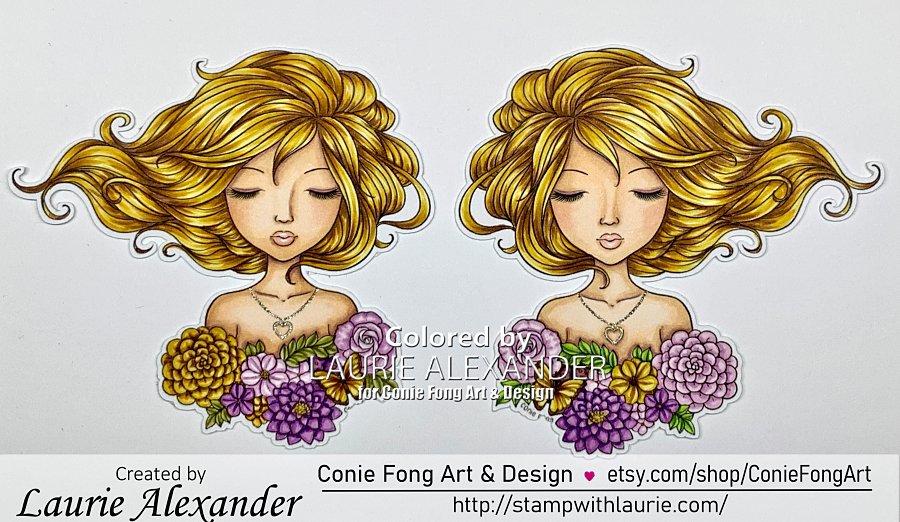
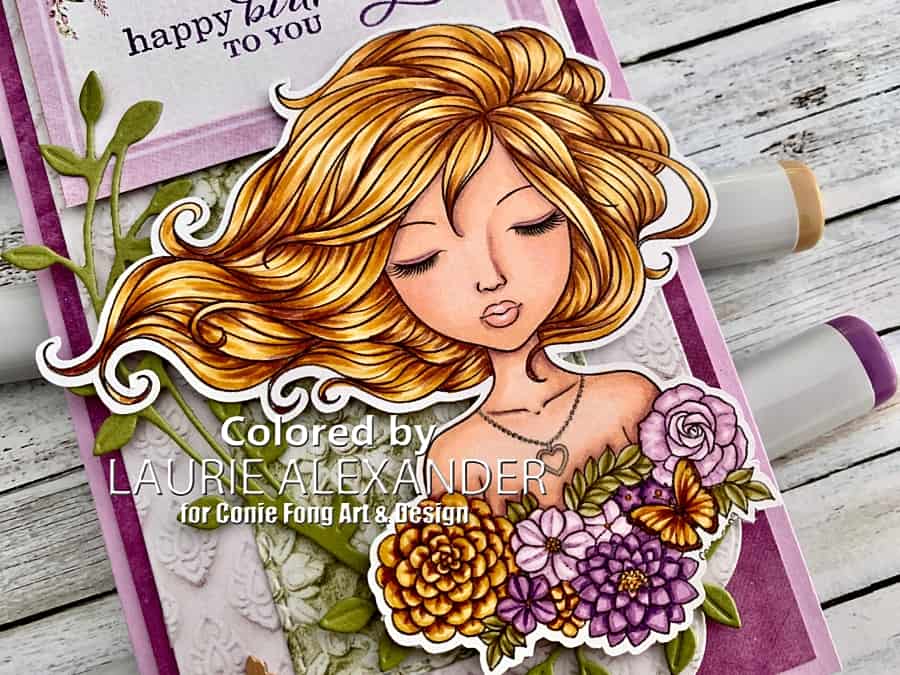
I used the Secret Garden paper again for my colour choices in her colouring with a slight variation on her flowers from my first card. Clear Star Gelly Roll Pen was used for her necklace and Wink of Stella for the butterfly’s wings to add some shimmer.

Two different coloured versions of the lady
Serenity

Next, I went with the Photo Play dies for my background. One of the dies is shaped like a tag, but I wanted to use it for the green piece behind her. So, I snipped off the tag part and hid that part beneath the sentiment piece. The two top horizontal banners were remnants from my first card, and I didn’t want them to go to waste. Plus, they gave a finished edge to the top while tying in the colour scheme.

For the next step, I stamped the sentiment in Gorgeous Grape onto a tag cut out from the P13 paper pad.

I thought the leafy vine going from my girl to the sentiment tied everything together so nicely while adding interest.

Finally, I added a scattering of brass butterflies for embellishments.

————————–

Copic Markers:

Skin: E000/E00/E21/E11/E04/R20
Hair: E25/YR24/Y26/Y21
Eyeshadow: V12
Lips: R21/R20/White Gelly Roll Pen
Greens: YG97/YG95/YG93
Purples: V17/V15/V12
Light Purples: V12/V01/V0000
Yellows/Butterfly: E25/YR24/Y26/Y21/Clear Wink of Stella

Close Up of lady holding flowers
Close Up of Serenity

————————–

Card Recipe for My Serene Birthday Card:

Serenity, Conie Fong Art & Design
Paper Basics – Stamper’s Select White Cardstock, Papertrey Ink
Secret Garden 6” x 6” Paper Pad, P13
Bracket/Speech Bubble Dies, Photo Play
Dainty Delight Dies, Stampin’ Up!
Gorgeous Grape Ink Pad, Stampin’ Up!
Best Year Stamp Set, Stampin’ Up!
Brushed Brass Butterflies, Stampin’ Up!
White Gelly Roll Pen, Sakura
Clear Star Gelly Roll Pen, Sakura
Clear Wink of Stella, Stampin’ Up!

Fresh Freesia Card Stock, Stampin’ Up!

Finished card size: 3 ¾” x 6 ¼”

————————–

To view my other Conie Fong Art & Design projects, please click here.

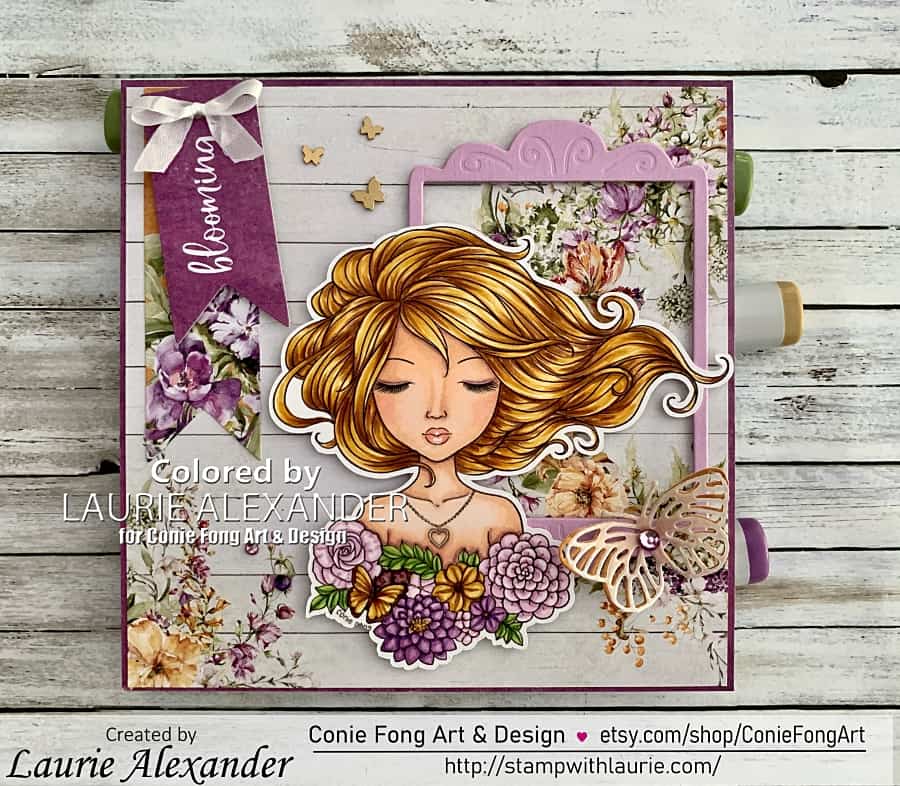
Here is my other card using this stamp. Please click here or on the photo for more information on my card.

A card with a Lady holding flowers
My Serenity Blooms Card

Hope you like my Design Team Inspiration Card using Serenity for Conie Fong Art & Design!

Thank you for stopping by!

Hugs,
Laurie