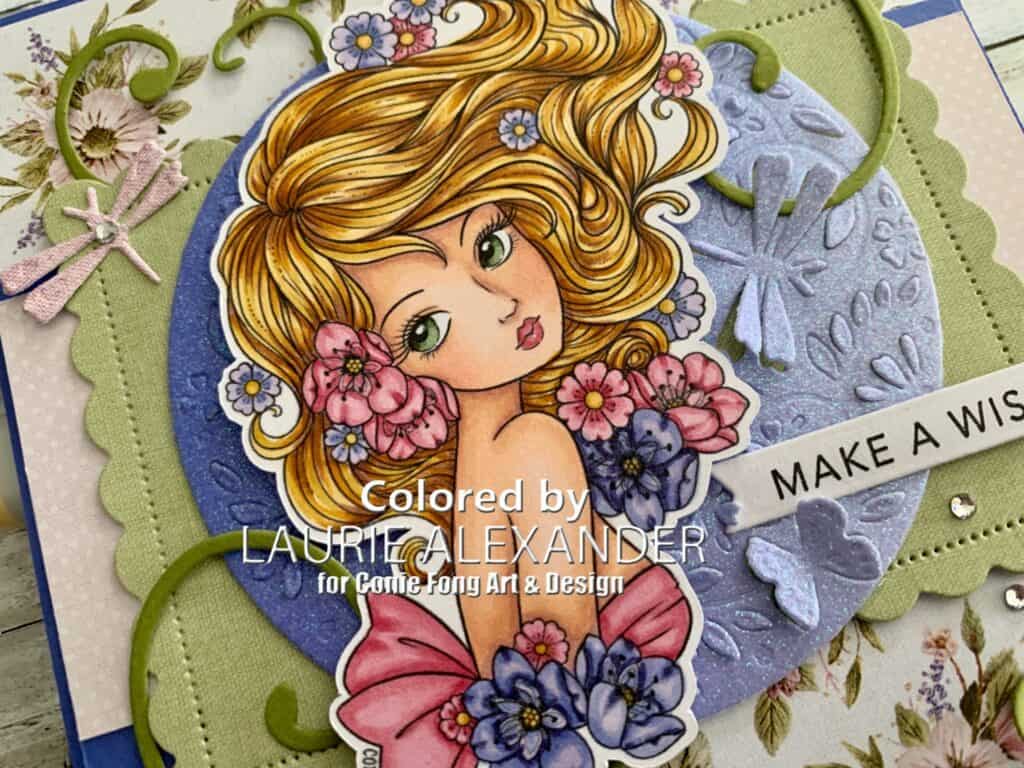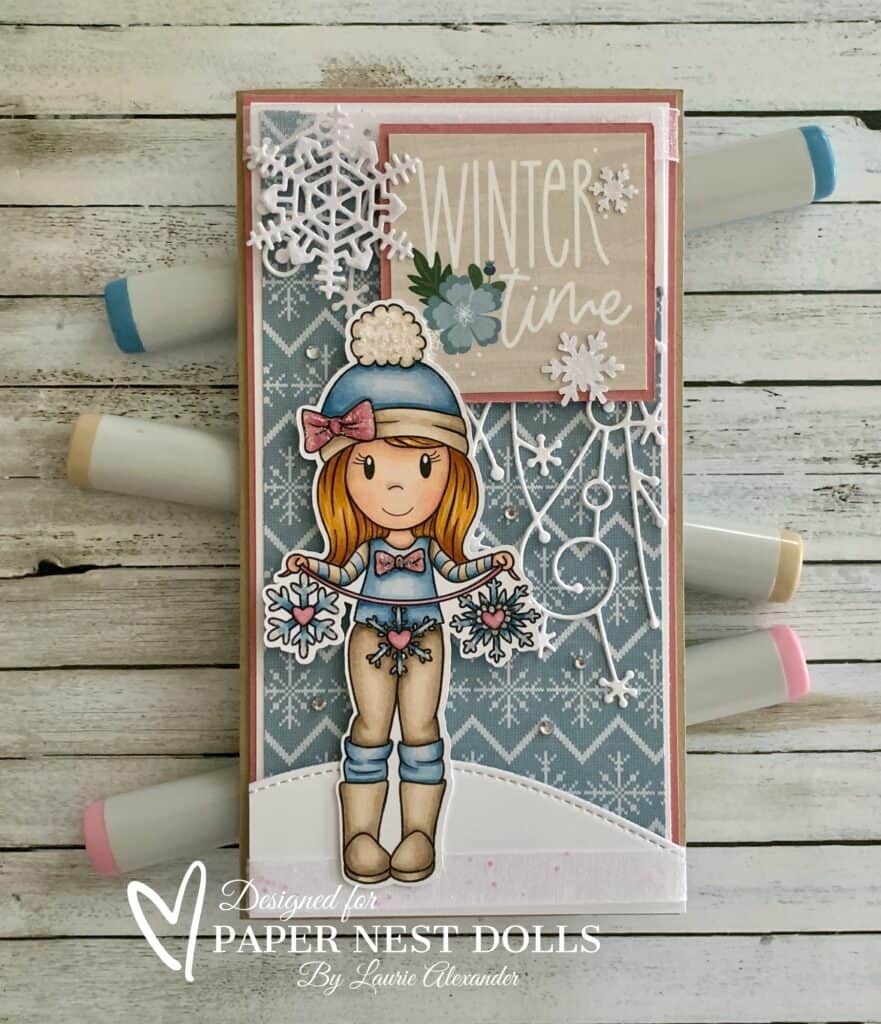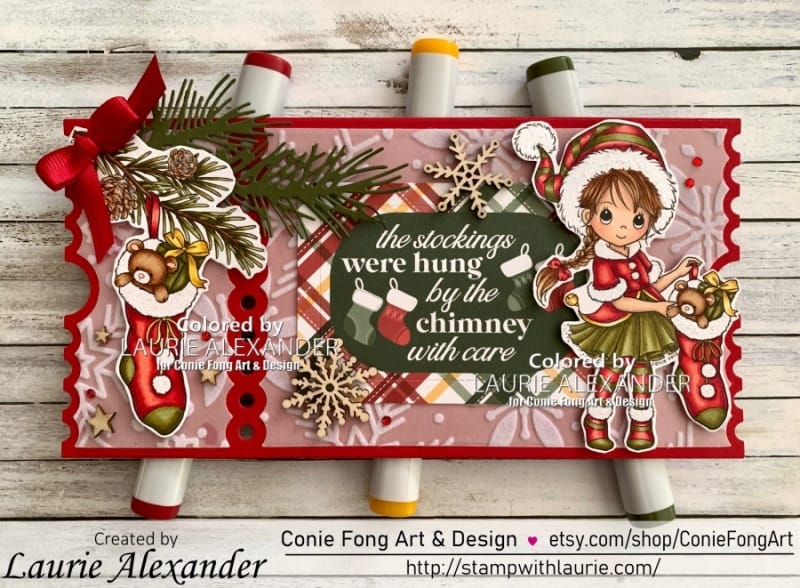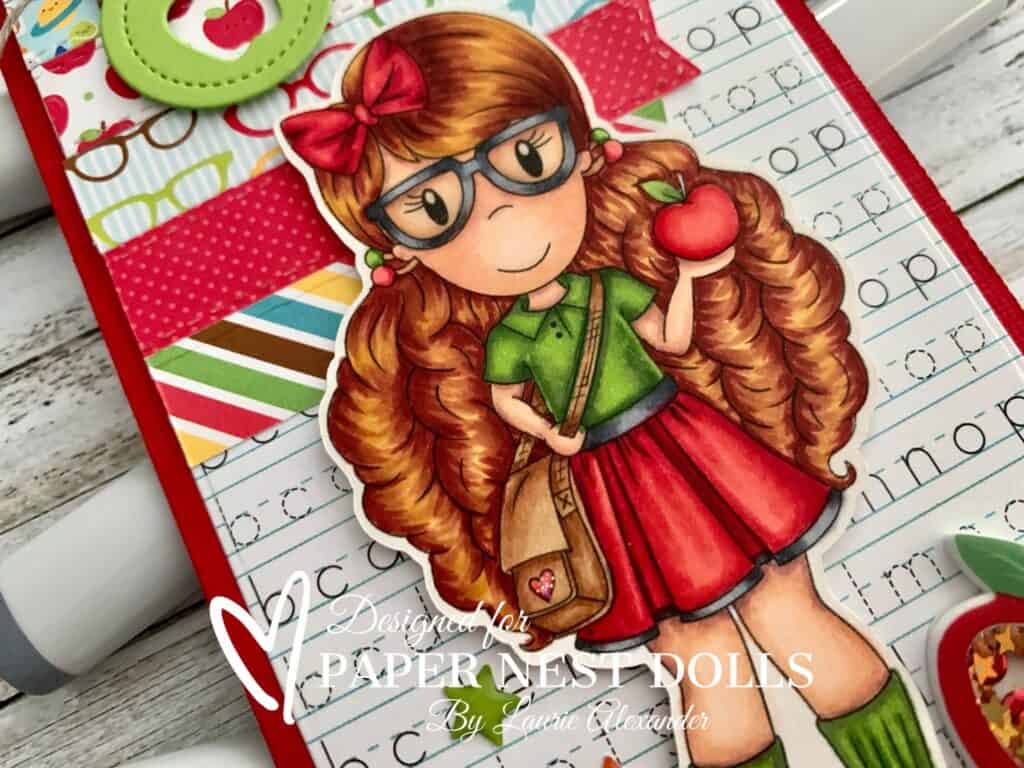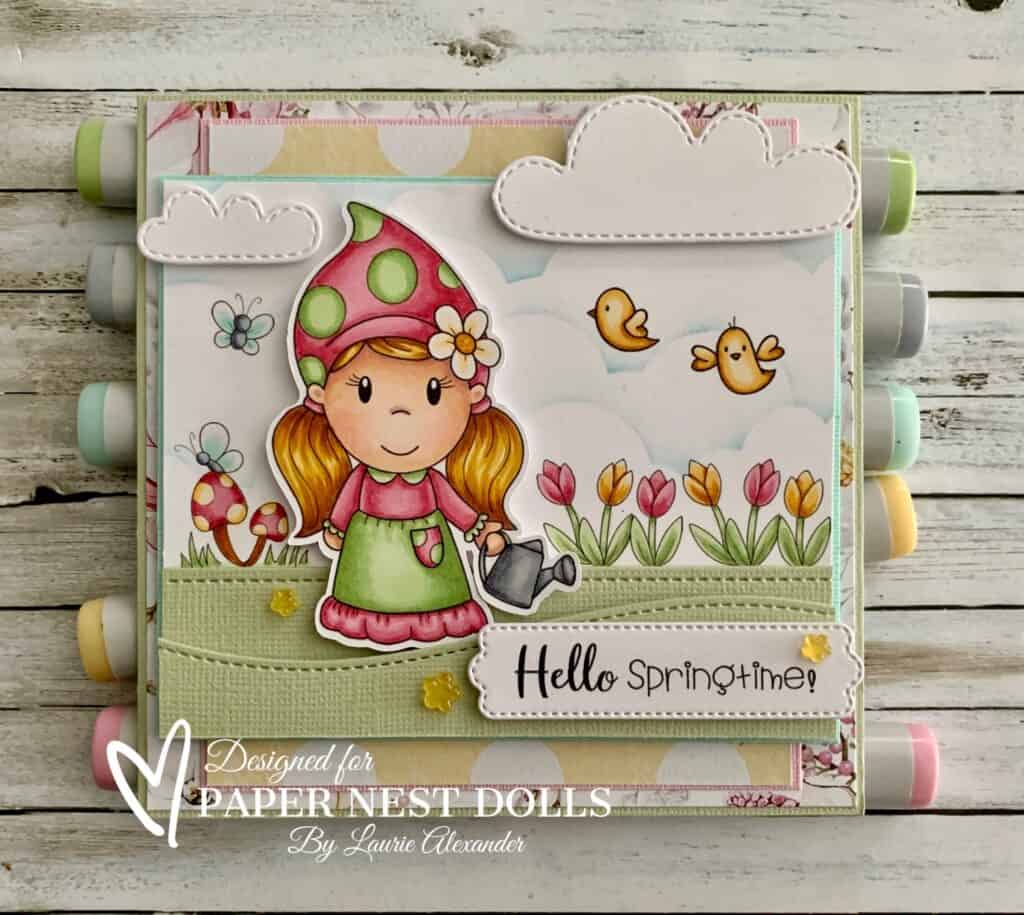
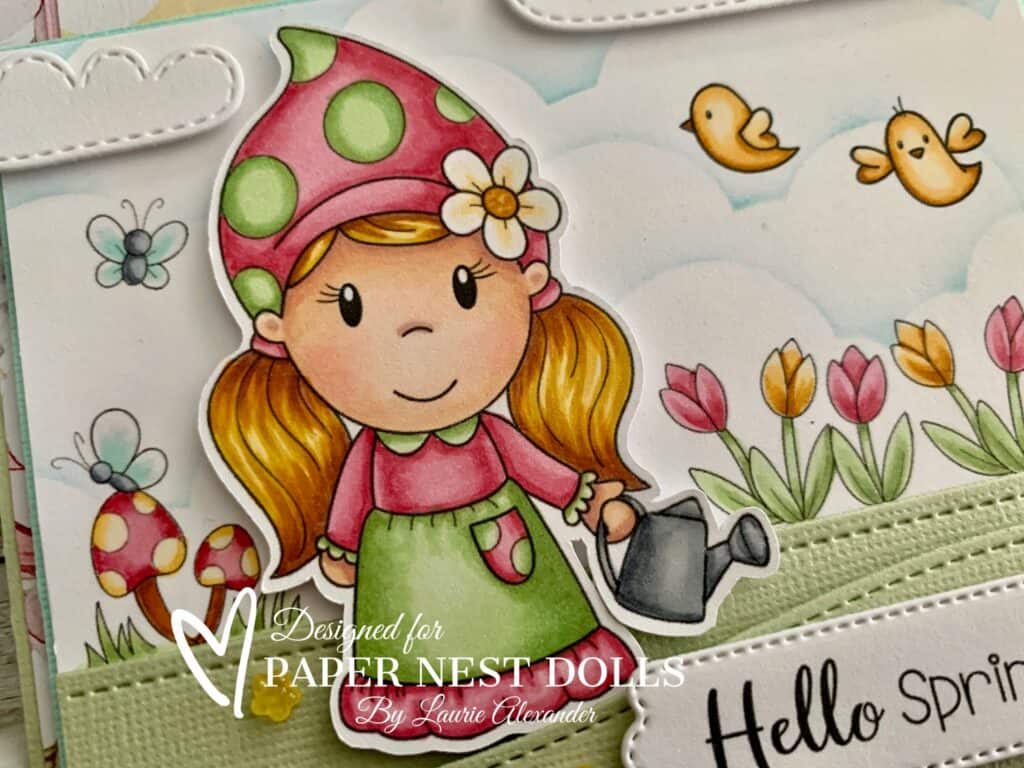
Hello Crafty Friends! Welcome Spring! It’s Laurie here! I am sharing Hello Springtime! as my Design Team Inspiration Card for Paper Nest Dolls using Watering Can Gnome from the Gnome Set. There are ten images in the set including:
- Shears Gnome
- Tulip Gnome
- Shovel Gnome
- Watering Can Gnome
- Bird Bath
- Tulips
- Daises
- Mushroom with Butterfly
- Wheelbarrow
- Gnome Home
Since today is the First Day of Spring, I thought I would create a Spring card with tulips blooming, birds singing and butterflies fluttering! For my card, I decided to create a scene using several stamps from the Gnome Set.
The Details of My Card
I used Microsoft Word to layout my carefully planned scene so that when I added the Watering Can Gnome, she wouldn’t block any of the other images. I printed and coloured her with my Copic markers separately so that I could add some depth to my scene.
Once everything was coloured, I used the different sizes of the Blending Brushes by Picket Fence and a Kraftin’ Kimmie Stamps cloud stencil to create my sky around the coloured images. It’s nice that the blending brushes come in different sizes! The smaller ones allowed me to get into areas close to the coloured images without having to mask them.
Tip: Use parts of digital stamps, like the birds from the birdbath, instead of the whole stamp to create interest.
For the grass, I wanted a straight part where the flowers were and then a hill to add interest. So, for the straight piece, I used the largest Small Mini Slimline Stackables Die to get the stitching along the top. The hill was from the Slimline Stitched Hillside Border Dies by Lawn Fawn. To create dimension and differentiate the two pieces of grass, I used dimensionals.
Tip: use your slimline dies for more than just slimline cards.
I tucked my coloured gnome into the hill part of the grass but added dimensionals behind her to give depth to my scene.
I added die cut stitched clouds to match the stitching on the grass. The sentiment was printed out on my computer and them die cut with another stitched die.
Clear Wink of Stella was added to the wings of the butterflies and Glossy Accents to her watering can. A scattering of yellow resin flowers in the grass added to my Spring theme.
————————–
Copic Markers
Girl Gnome
Skin: E04/E11/E21/E00/E000/R20
Hair: E25/YR24/Y26/Y21
Pink: R85/R83/R81
Green: G82/G43/G40
Yellow: YR24/YR31/YR30
Flower Petals: YR31/YR30
Flower Centre: YR24/YR31
Watering Can: C5/C3/C2
Tulips
Pink: R85/R83/R81
Yellow: YR24/YR31/YR30
Green: G82/G43/G40
Birds
Yellow: YR24/YR31/YR30
Beak: YR24
Butterflies
Body: C5/C3/C2
Wings: BG11/BG10
Mushrooms
Pink: R85/R83/R81
Yellow: YR24/YR31/YR30
Stems: E25/YR24
————————–
Card Recipe for My Hello Springtime! Card
Gnome Set, Paper Nest Dolls
Paper Basics – Stamper’s Select White Cardstock, Papertrey Ink
The Four Seasons Spring Paper Pad, P13
Aloe Vera Card Stock, Bazzill
Romance Card Stock, Bazzill
Turquoise Mist Card Stock, Bazzill
Spring Showers Dies, Lawn Fawn
Slimline Stitched Hillside Border Dies, Lawn Fawn
Small Mini Slimline Stackables, Lawn Fawn
Spring Gnome Sentiments, Polkadoodles Stamps & Papercrafting
Pretty Pillowbox Dies, Stampin’ Up!
Krafty Scenery 2 Stencil, Kraftin’ Kimmie Stamps
Salty Ocean Distressed Inks, Ranger
Blending Brushes, Picket Fence
Fun Flowers Resin Shapes, Stampin’ Up!
Electronic die cutting machine and scissors
Clear Wink of Stella, Stampin’ Up!
Glossy Accents, Ranger
Finished card size: 5” x 5”
Stamp Size: 3”
————————–
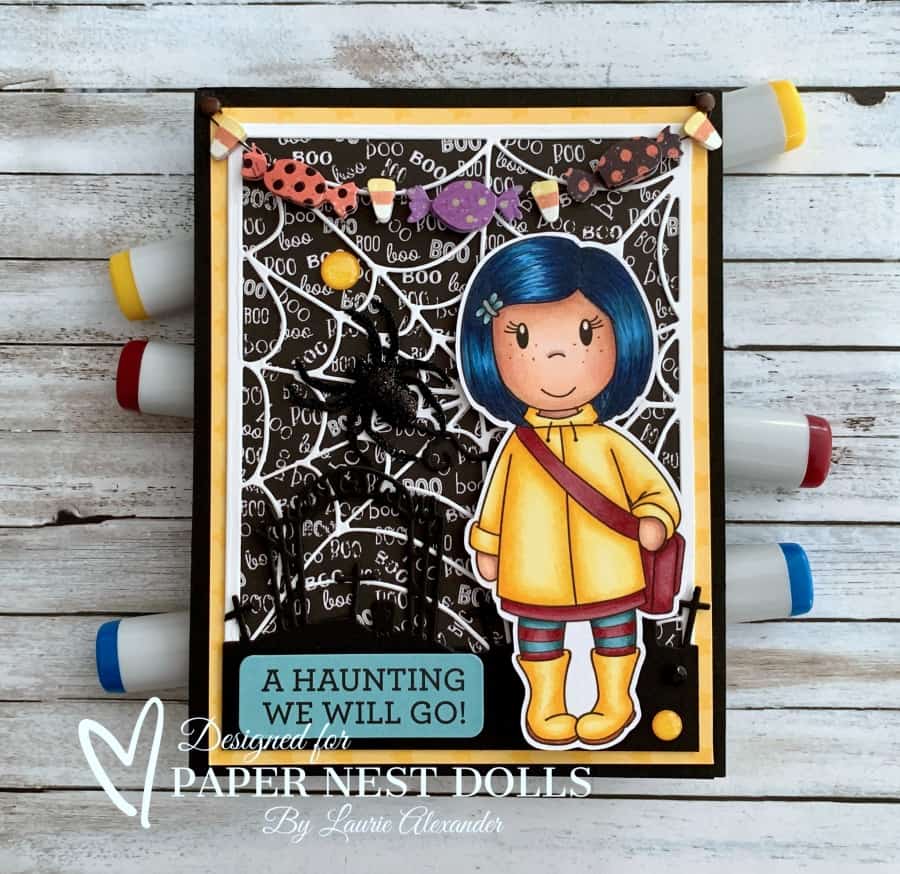
To view my other Paper Nest Dolls cards, please click here.
Hope you like my Design Team Inspiration Card using
Watering Can Gnome from the Gnome Set by Paper Nest Dolls!
Thank you for stopping by!
Hugs,
Laurie