Hello My Friend Card

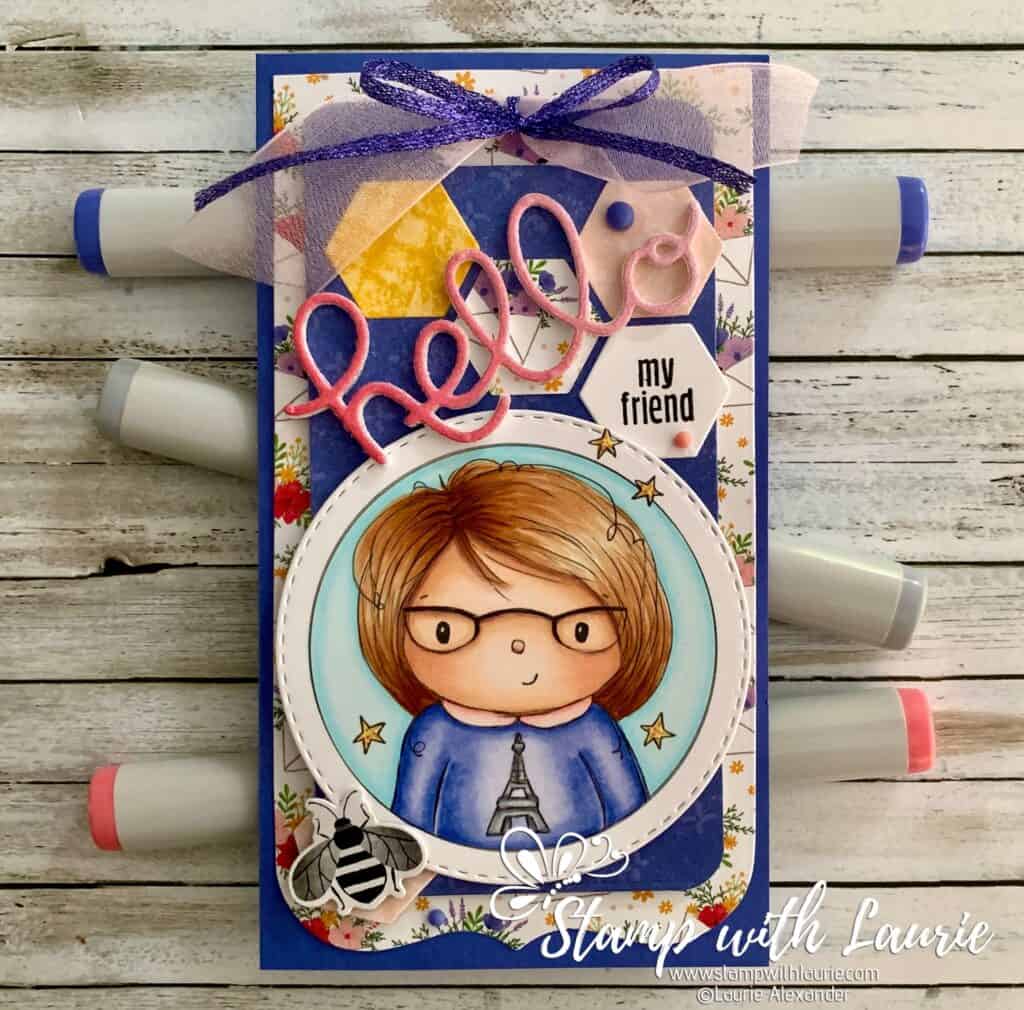
Card with a girl wearing a sweater with Eiffel Tower on it. She loves Paris.
Hello My Friend Card

Hello Crafty Friends! It’s Laurie here with my Hello My Friend Card using the sweet ‘Paris-Loving Laurie’ Digital Stamp By Rachelle Anne Miller Creative Studios. This stamp was created by Rachelle for me when I was on her Design Team. I just love my Mini Me and had been meaning to colour her for a long time.

The Details of My Card

For my card, I decided to colour with my Copic markers her top in this pretty blue colour that I love! Once I did, I discovered that it is a bang on colour match for the Stampin’ Up! colour Orchid Oasis! So, I pulled out the Tea Boutique DSP and used a floral sheet and an all-purpose pattern in Orchid Oasis. The hexagons were die cut from the DSP using the Beautiful Shapes Dies and pulled in the colours of the florals.

I stamped “my friend’ in black using the Hello Ladybug Stamp Set. It is clear photopolymer. So, I could die cut the hexagon and then stamp it. Next, I used the ombre hue of the Sweet Sorbet Glimmer Paper and foam adhesives sheets to die cut the Hello. To match the “hexagon hive”, I die cut a bee from some DSP and added Wink of Stella to its wings.

I added some ribbon through the hole of the tag matching the pink and Orchid Oasis metallic ribbon. The finishing touches were some matching matte dots and Clear Wink of Stella on the Eiffel Tower and the Stars.

————————–

Copic Markers:

Skin: E000/E00/E21/E11/E04/R20
Hair: E31/E33/E34/E35/E37
Shirt: B66/B63/B60
Collar: R32/R30/R000
Eiffel Tower: C5/C3/C1/Wink of Stella
Stars: Y00/E15/YR23/Y15/Y11/Wink of Stella
Sky: B0000/B000/B00
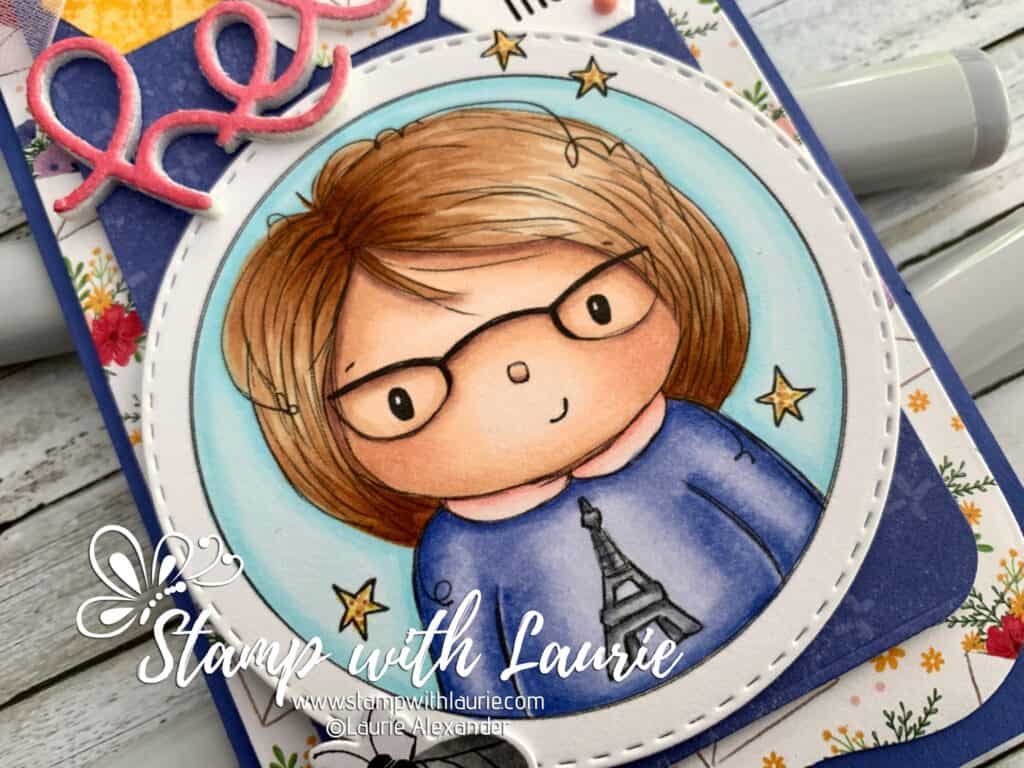
Close Up of 'Paris-Loving Laurie' Digital Stamp
Close Up of ‘Paris-Loving Laurie’ Digital Stamp

————————–

Card Recipe for My Hello My Friend Card:

‘Paris-Loving Laurie’ Digital Stamp, Rachelle Anne Miller Creative
Paper Basics – Stamper’s Select White Cardstock, Papertrey Ink
VersaFine Instant Dry Pigment Ink, Onyx Black, Tsukineko 
Hello Ladybug Stamp Set, Stampin’ Up!
Tea Boutique 6″ x 6″ Designer Series Paper, Stampin’ Up!
#6 Bracket & Tag Dies, PhotoPlay
2022–2024 In Color 6″ x 6″ Glimmer Paper, Stampin’ Up!
Foam Adhesive Sheets, Stampin’ Up!
Golden Honey Designer Series Paper, Stampin’ Up!
Detailed Bee Dies, Stampin’ Up!
Beautiful Shapes Dies, Stampin’ Up!
Hello Thinlits Dies, Stampin’ Up!
2022–2024 In Color Matte Decorative Dots, Stampin’ Up!
Orchid Oasis Metallic Woven Ribbon, Stampin’ Up!
Pink Ribbon, My Stash
Clear Wink of Stella, Stampin’ Up!
Orchid Oasis Card Stock, Stampin’ Up!

Finished card size: 6 ¼” x 3 ½”

————————–

To view my other Rachelle Anne Miller Creative Studios cards, please click here.

Hope you like my Hello My Friend Card using 
‘Paris-Loving Laurie’ Digital Stamp by Rachelle Anne Miller Creative Studios!

Thank you for stopping by!

Hugs,
Laurie

My Rebel Christmas Card

Baby Yoda Christmas Card
My Rebel Christmas Card

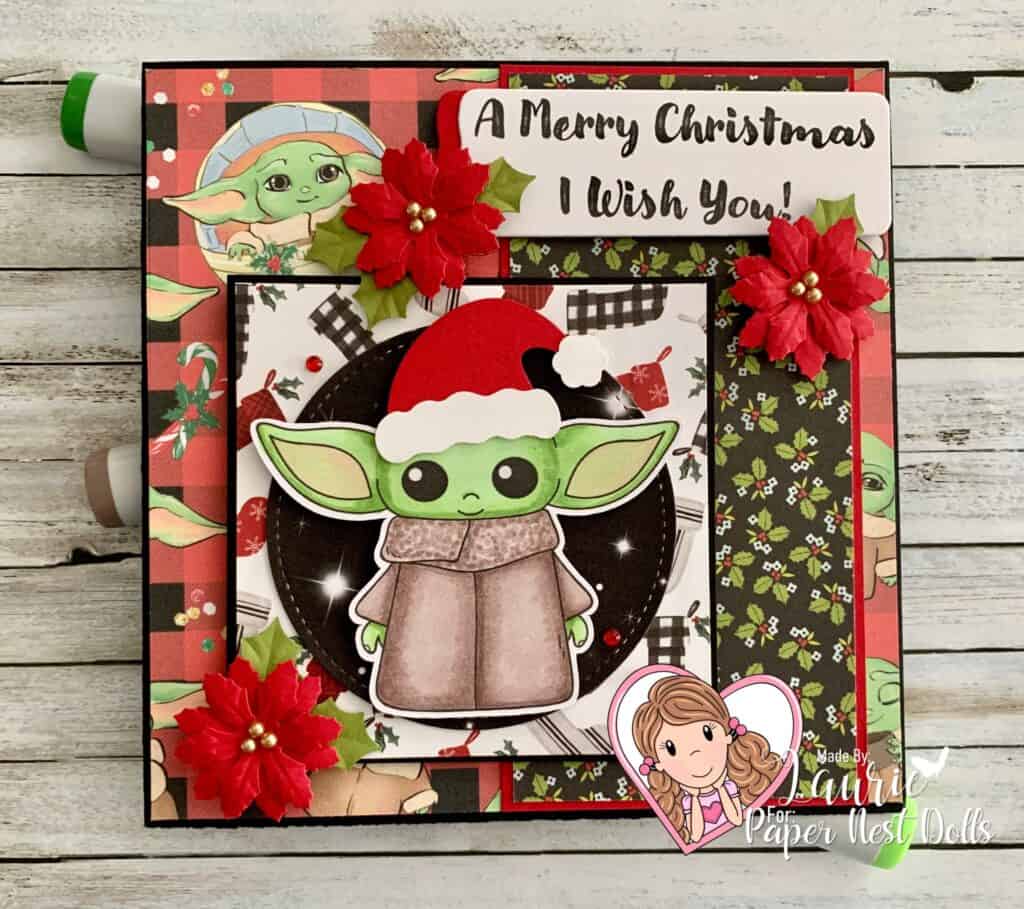
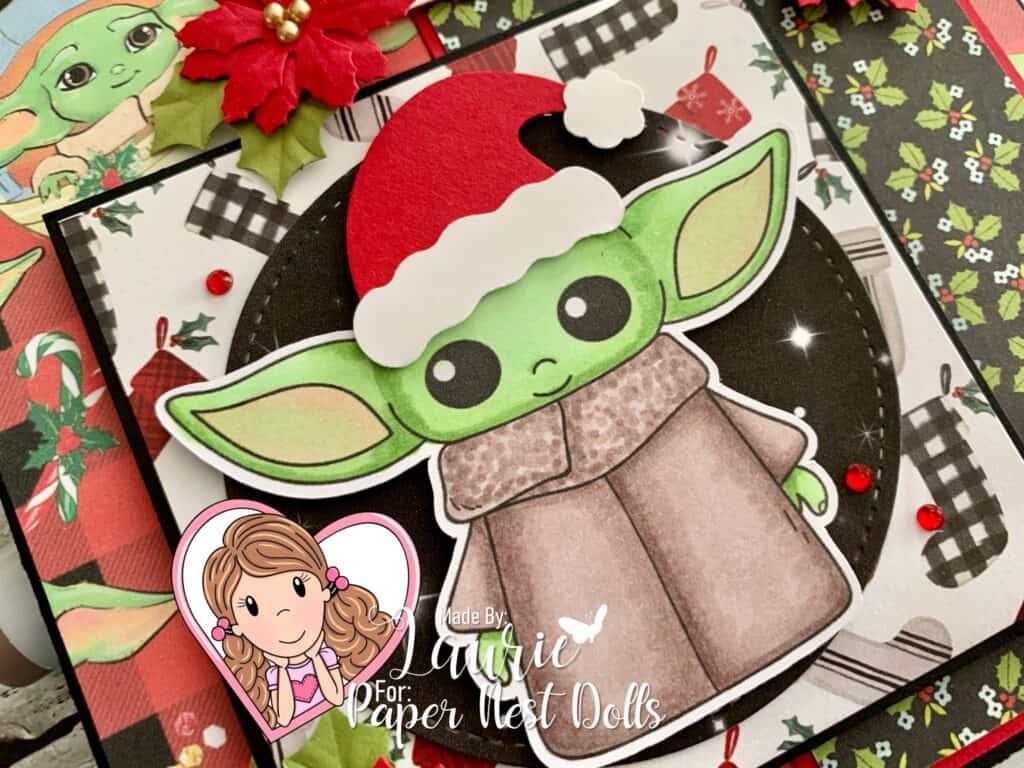
Hello Crafty Friends! It’s Laurie here! I am sharing my Rebel Christmas Card using Rebel Baby by Paper Nest Dolls for my Design Team Inspiration Card. It is never too early to start your Christmas cards and anyone who knows me, knows I love this little cutie patootie!

The Details of My Card

My Rebel Baby was already coloured from when I practiced for my presentation at the Wizards and Rebels Weekend for Paper Nest Dolls back in August (here is a link to that card). He has been sitting on my desk waiting to be put on a card and I thought a Christmas card would be fun!

For my card, I found the cutest digital Christmas paper with him on it in a buffalo check pattern! I wanted the image in the top left corner where he is in his pram peeking through on my card. So, I designed my card around that image…though there was a lot of cute images of him all over the paper! Lol!

I used several Christmas papers that matched my red and black theme. In fact, the stitched circle behind him was digital paper from the Weekend. I thought it would tie in the Star Wars genre.

Don’t you just love his Santa hat at a jaunty angle! It’s a retired Stampin’ Up! punch, but I’m sure there are lots of dies out there that would work just as well!

“A Merry Christmas I Wish You!” Of course, I had to have a Yoda-ish type sentiment which I typed on my computer and printed it out. Several handmade poinsettias and red rhinestones tie in the red Santa hat!

————————–

Copic Markers:

Rebel Baby
Skin: YG11/YG13/YG17/R20
Robes: E70/E71/E74

Close Up pf Baby Yoda on the Card
Close Up pf Rebel Baby

————————–

Card Recipe for My Rebel Christmas Card:

Rebel Baby, Paper Nest Dolls
Paper Basics – Stamper’s Select White Cardstock, Papertrey Ink
Sentiment, Printed out on Computer
Christmas Space Baby Digital Papers, SunrayBlossom
Star Wars Digital Paper, ArtStudio
Farmhouse Christmas 6” x 6” Paper Pad, Carta Bella
Make It Merry 6” x 8” Paper Pad, Simple Stories
Stitched Layering Circle Dies, Memory Box
Jolly Hat Builder Punch, Stampin’ Up!
Floral Punch Poinsettia, Nellie’s Choice
Metallic Pearls, Stampin’ Up!
Red Rhinestone Basic Jewels, Stampin’ Up!
Basic Black, Real Red, Old Olive
and Basic White Card Stock, Stampin’ Up!

Finished card sizes: 5.5” x 5.5”

————————–

To view my other Paper Nest Dolls cards, please click here.

Hope you like my Design Team card using
Rebel Baby by Paper Nest Dolls!

Thank you for stopping by!

Hugs,
Laurie
Stayin Alive Disco Card

A card with a Disco Dancer on it
Stayin Alive Disco Card

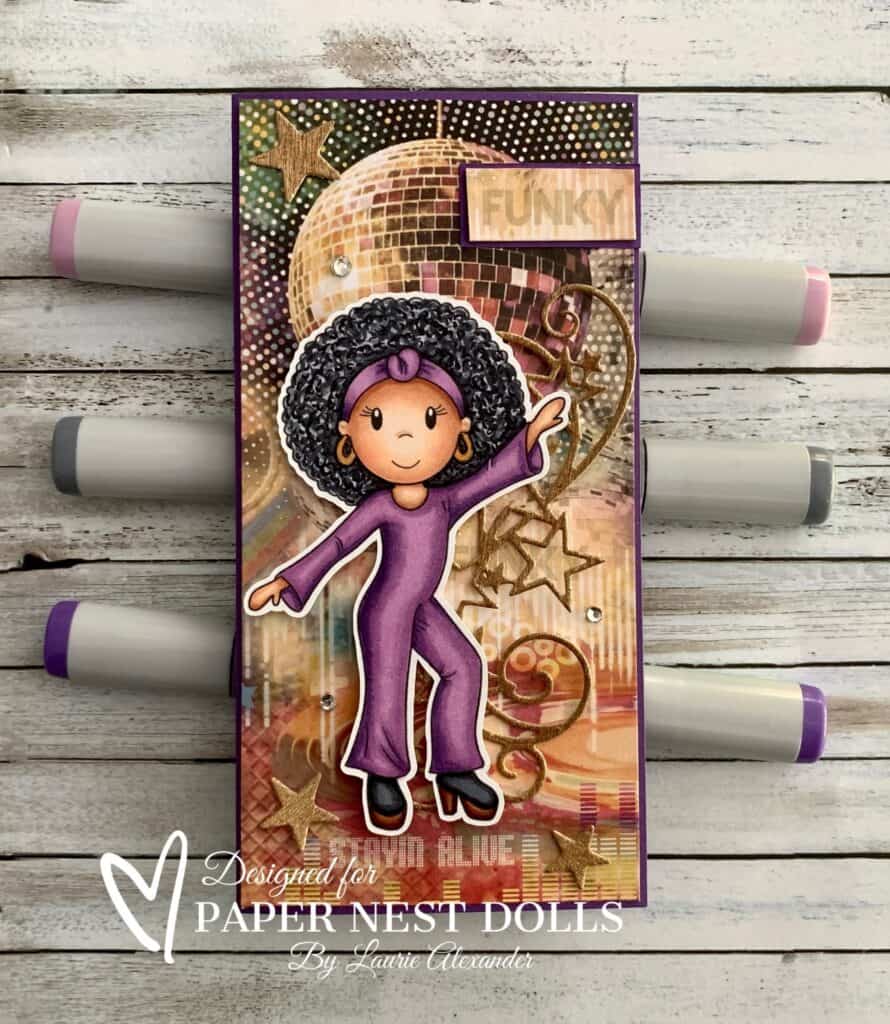
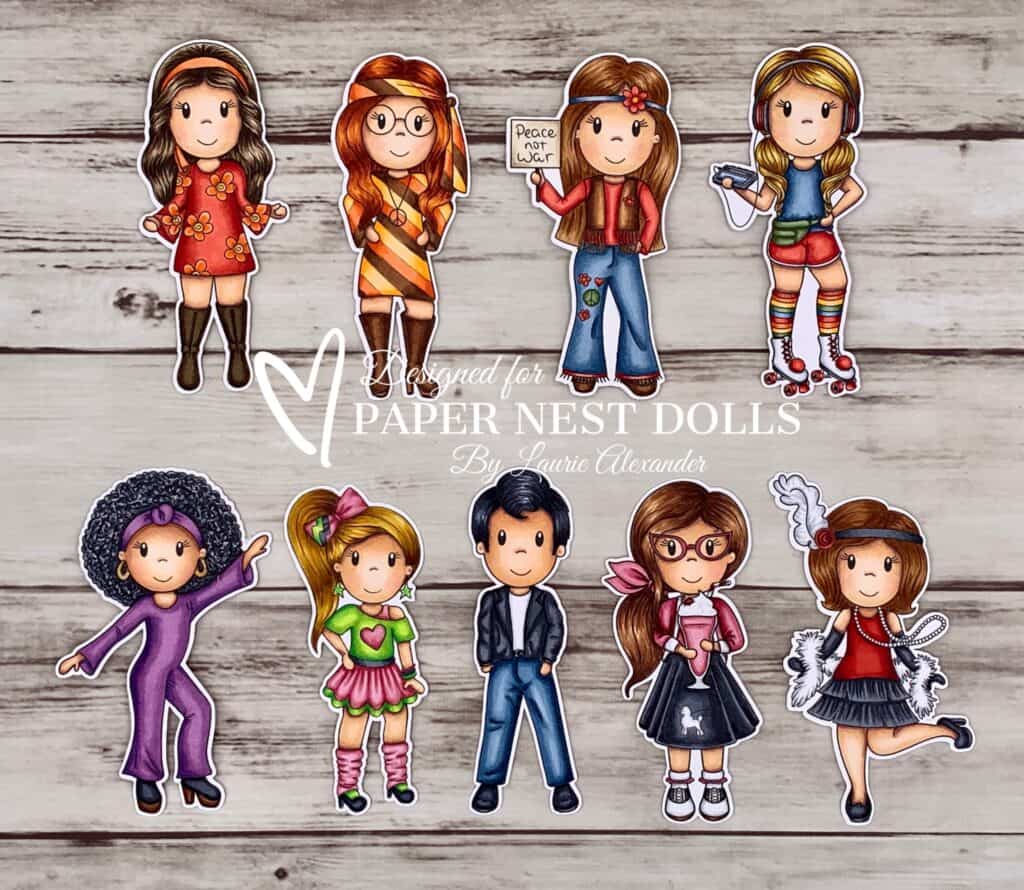
Hello Crafty Friends! It’s Laurie here! I am sharing my Stayin Alive Disco Card as my Design Team Inspiration Card for Paper Nest Dolls using Decade Collection Disco Amara. There are ten dolls in the Decade Collection that come in both rubber and digital stamps. You can find all the digital versions here.

Decade Doll Collection by Paper Nest Dolls

The Details of My Card

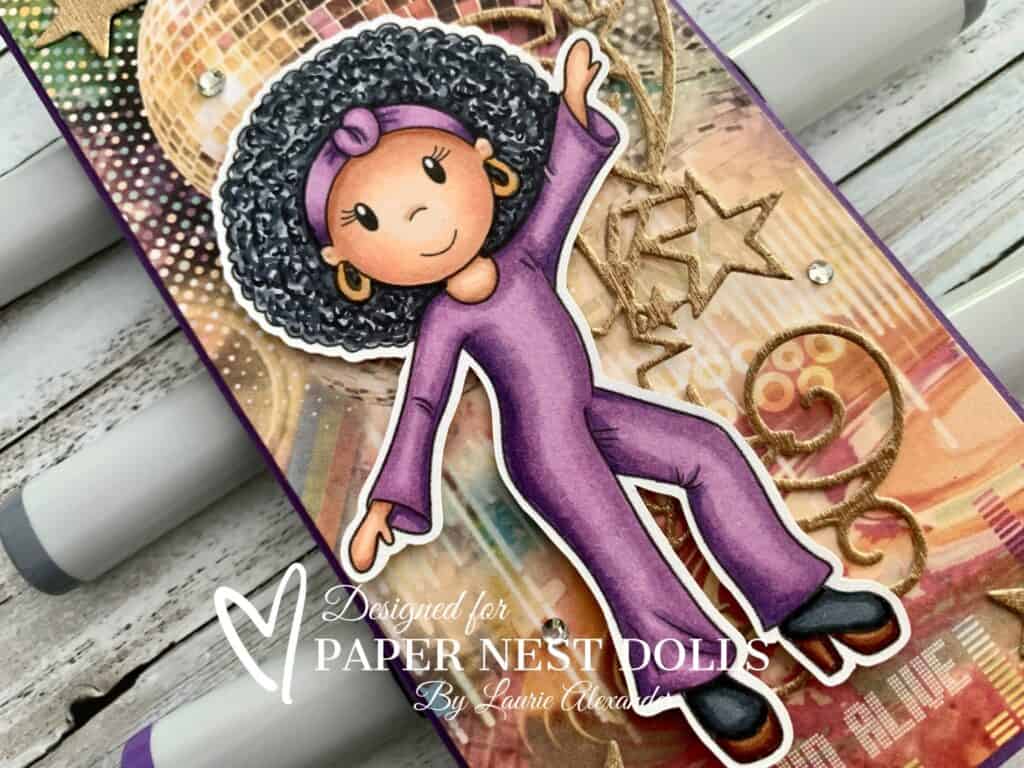
For my card, I used the Seventies Ciao Bella Paper again to create my mini slimline card. This piece of paper is the left-over piece from my Roller Disco Babe card! So, I was able to get 2 cards made using one sheet of the paper! I love the disco ball and the “Stayin Alive” words under her feet!! The “Funky” sentiment was snipped from the paper as well. Perfect for Disco Amara!

To match the glitz of a disco ball, I added stars in Gold Metallic Paper. I even added a star flourish behind Amara. Love the way the curls and swirls of the flourish mimic movement…almost like Amara is dancing off the card! The only other things the card needed was a scattering of rhinestones and Gold Gelly Roll Pen on her earrings.

————————–

Copic Markers

Skin: E15/E13/E11/E00/E000/R20
Hair: C9/C7/C5/C3
Outfit: V17/V15/V12
Boots: C9/C7/C5/E25/E23

Close Up of Disco Girl
Close Up of Disco Amara

————————–

Card Recipe for My Stayin Alive Disco Card

Decade Collection Disco Amara, Paper Nest Dolls
Paper Basics – Stamper’s Select White Cardstock, Papertrey Ink
Seventies 6” x 6” Paper Pad, Ciao Bella
Gold Metallic Specialty Paper, Stampin’ Up!
Rhinestone Basic Jewels, Stampin’ Up!
Stitched Stars Dies, Stampin’ Up!
Gold Gelly Roll Pen, Sakura
Gorgeous Grape Card Stock, Stampin’ Up!

Finished card size: 6” x 3 ½”

Stamp Size: 4”

————————–

To view my other Paper Nest Dolls cards, please click here.

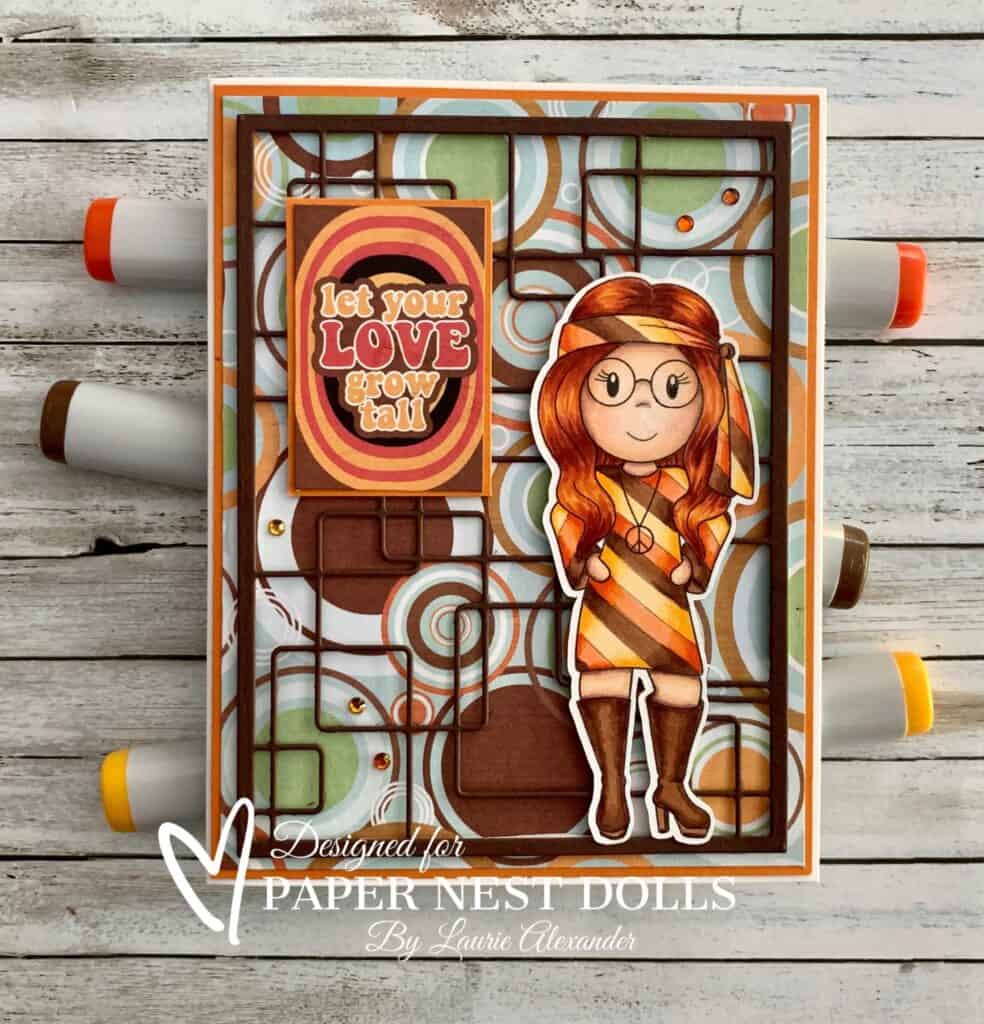
My Other Cards in the Decade Collection

For more information on my cards, please click the photos.

Hippie Girl on a card
My Groovy Love Card
Grad with a girl in roller skates on it
Roller Disco Babe
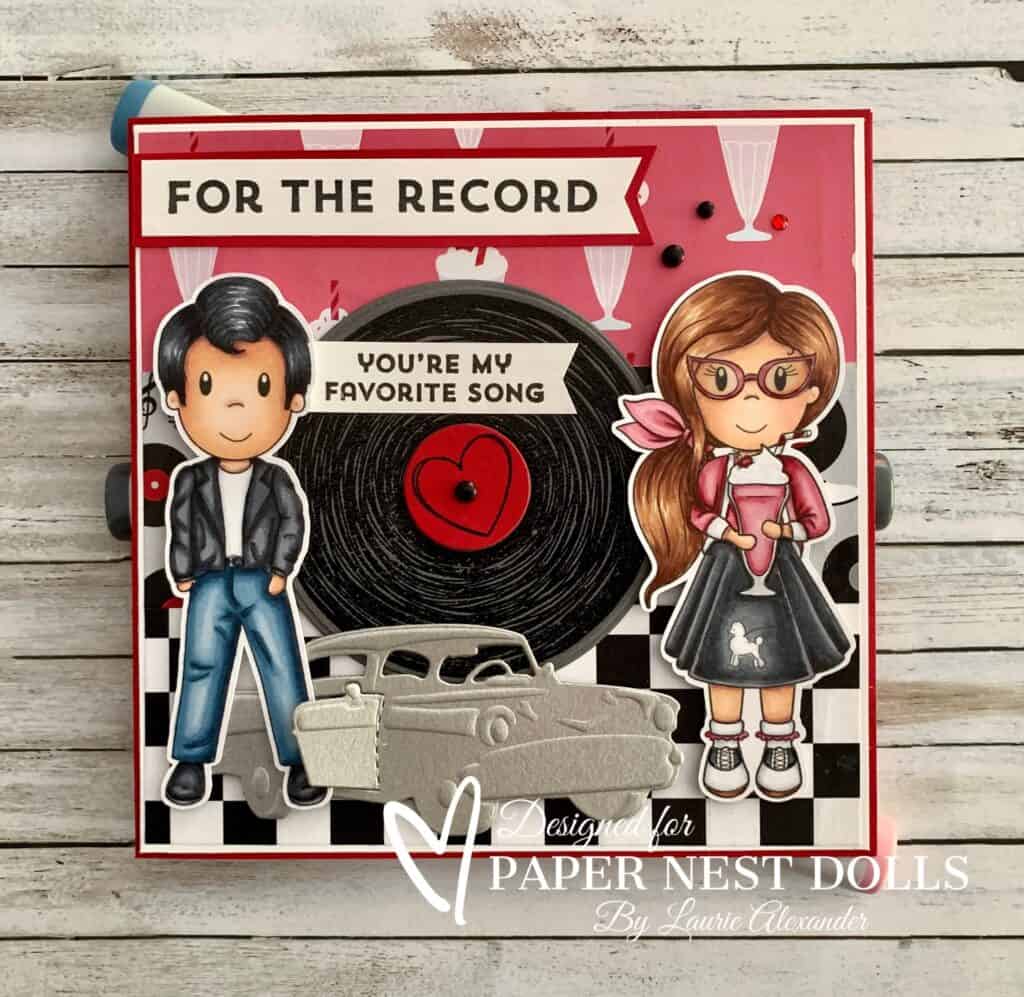
Card with 50s greaser and girl with poodle skirt
My Grease Lightning Card
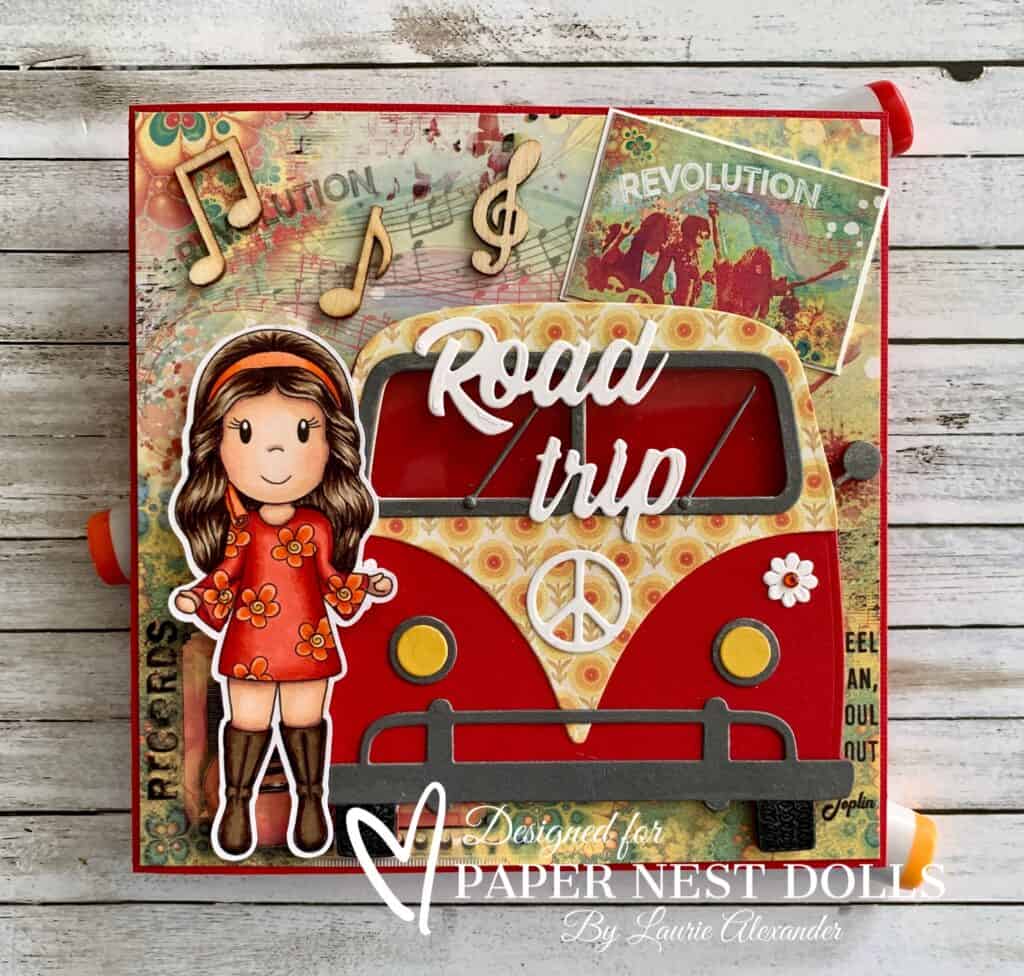
Card with a Girl from Seventies and a retro bus on it
My Road Trip Card
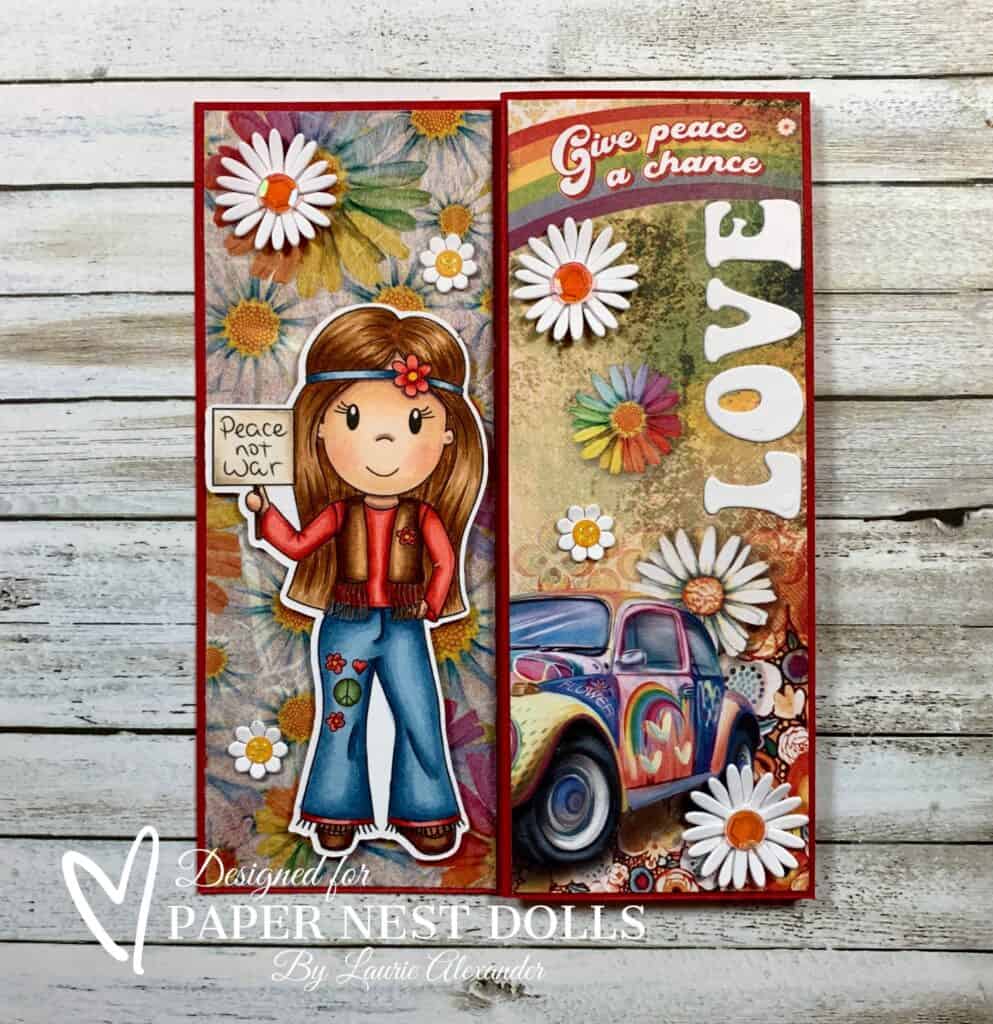
Card with a Hippie Girl
Peace Not War Card

Hope you like my Design Team Inspiration Card using
Decade Collection Disco Amara by Paper Nest Dolls!

Thank you for stopping by!

Hugs,
Laurie
Christmas Presents in July Card

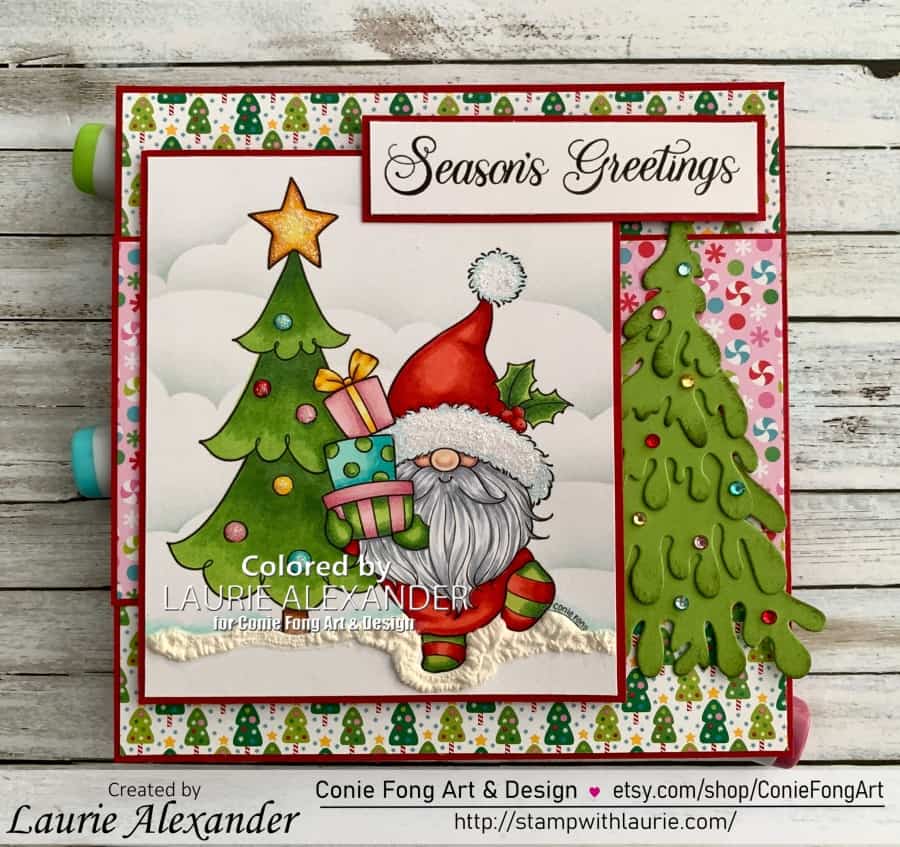
Christmas card with gnome holding presents
Christmas Presents in July Card

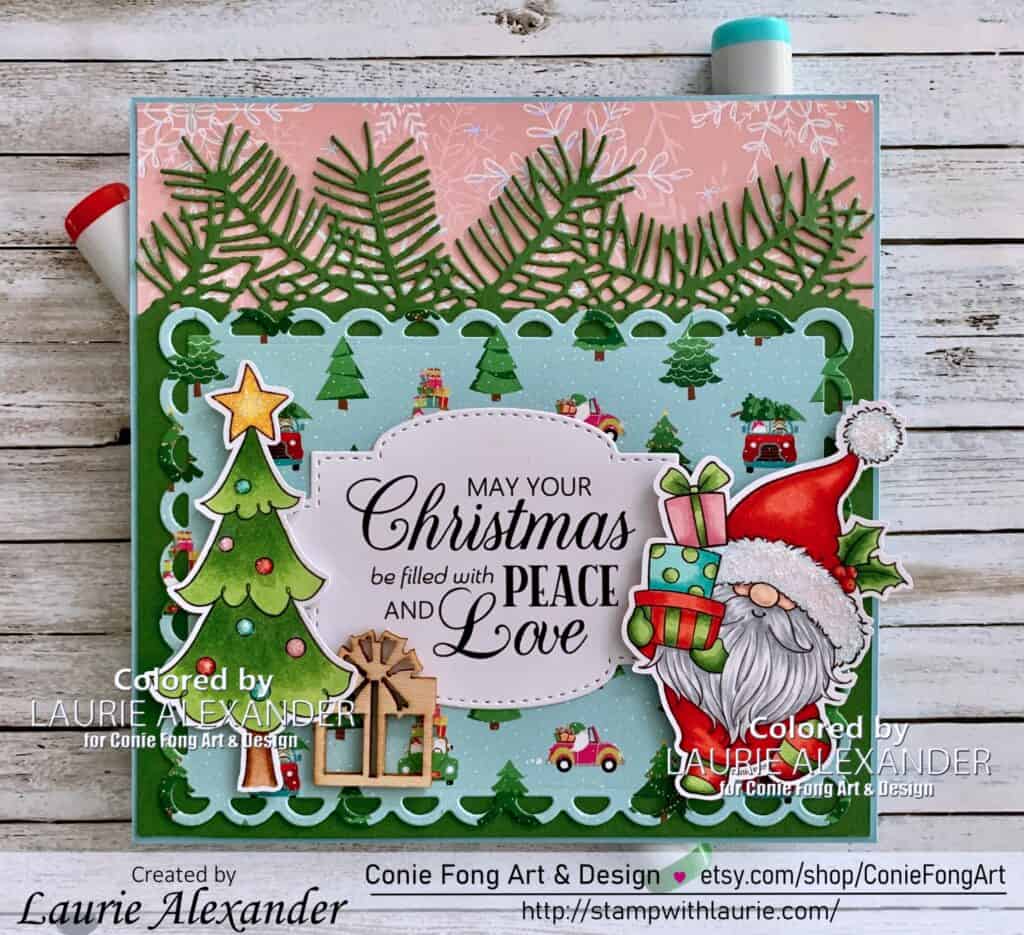
Hello Crafty Friends! It’s Laurie here! Who else loves to make Christmas in July cards? I am sharing my Christmas Presents in July Card as my Design Team Card for Conie Fong Art & Design using the cute Christmas Present Gnome and Sentiment Bundle. This bundle comes with 9 stamps including Christmas Present Gnome PNG/JPG format, Christmas Present Gnome with Tree JPG format, Christmas Tree PNG/JPG format, Sentiment May Your Christmas Be Filled with Peace and Love PNG/JPG format and Sentiment Season’s Greeting PNG/JPG format.

Details of My Card

I had coloured with my Copic markers this sweet gnome a while back and I finally had a chance to make a card for him. I also made another card with him that I will post at the end.

For my card, the Doodlebug paper was perfect to match the bright colours in my colouring. Even the trees in the paper match my coloring! Lol!

I used the CC Designs Cloud Stencil and my Picket Fence Blending Brush to create clouds in Pool Party behind him.

I thought it would be fun to have him tromping through the snow. So, I pulled out my snow marker to create snow on the ground. I just love how it puffs up when I heat it with my Heat Tool.

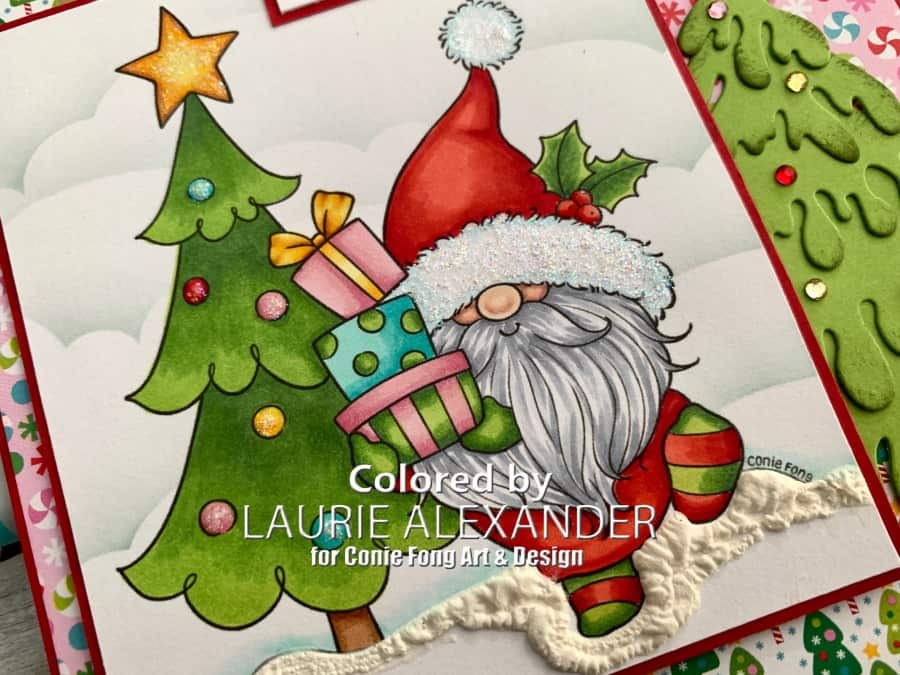
Since it was a Christmas card, I needed lots of sparkle. So, I added Star Dust stickles to the star, ornaments, and trim on his hat. The holly berries even glisten with glossy accents!

The only die cut I used was a tree that I sponged Old Olive ink on and decorated with rhinestones coloured to match the ornaments on my tree.

————————–

Copic Markers:

Skin: E000/E00/E21/E11/E04
Hair: C4/C3/C1
Reds: R29/R27/R24/R22
Greens: G46/YG17/YG23
Pink: RV11/RV32/RV34
Blue: BG11/BG13/BG15
Yellow: Y17/Y15/Y11/E15
Tree Trunk: E37/E35/E33
Snow: BG11/Marvy Snow Marker
Rhinestones: R29/RV34/BG15/Y17

Close Up of Gnome Holding Presents
Close Up of Christmas Present Gnome

————————–

Card Recipe for My Christmas Presents in July Card:

Christmas Present Gnome and Sentiment Bundle, Conie Fong Art & Design
Paper Basics – Stamper’s Select White Cardstock, Papertrey Ink
Sugarplums 6” x 6” Paper Pad, Doodlebug Design Inc.
Snow Covered Tree Cutting Die, Dee’s Distinctively Dies
Cloud Stencil, C.C. Designs
Snow Marker Puff Paint, Marvy
Heat Tools, Stampin’ Up!
Rhinestone Basic Jewels, Stampin’ Up!
Star Dust Stickles, Ranger (on star, ornaments, and hat trim)
Glossy Accents, Ranger (on berries)
Old Olive, Pool Party Classic Ink Pads, Stampin’ Up!
Old Olive Classic Ink Pads, Stampin’ Up
Blending Brushes, Picket Fence
Sponge
Real Red and Granny Apple Green Card Stock, Stampin’ Up!

Finished cards size: 5.5” x 5.5”

————————–

To view my other Conie Fong Art & Design cards, please click here.

To view my other card using Christmas Present Gnome and Sentiment Bundle click the photo below.

My Design Team Card for Conie Fong Art & Design
Happy Christmas Presents Card

Hope you like my Design Team Inspiration Card using
Christmas Present Gnome and Sentiment Bundle for Conie Fong Art & Design!

Thank you for stopping by!

Hugs,
Laurie
My Roller Disco Babe

Grad with a girl in roller skates on it
Roller Disco Babe

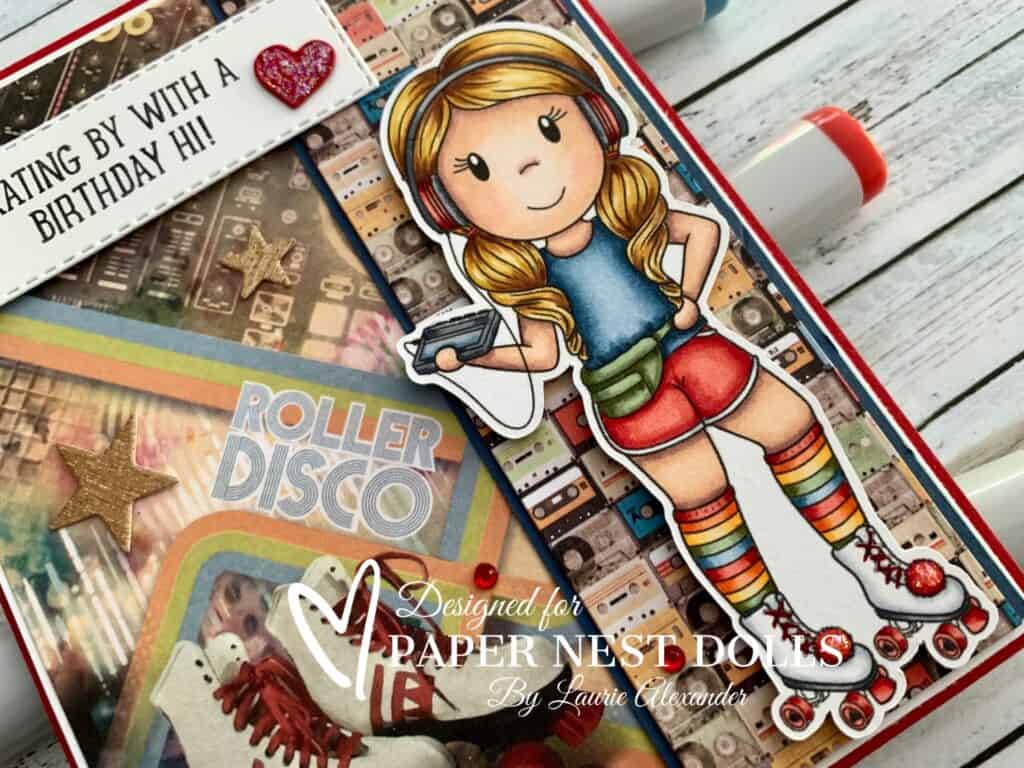
Hello Crafty Friends! It’s Laurie here! I am sharing My Roller Disco Babe as my Design Team Inspiration Card for Paper Nest Dolls using Decade Collection Roller Skating Ellie. There are ten dolls in the Decade Collection that come in both rubber and digital stamps. You can find all the digital versions here.

Decade Doll Collection by Paper Nest Dolls

The Details of My Card

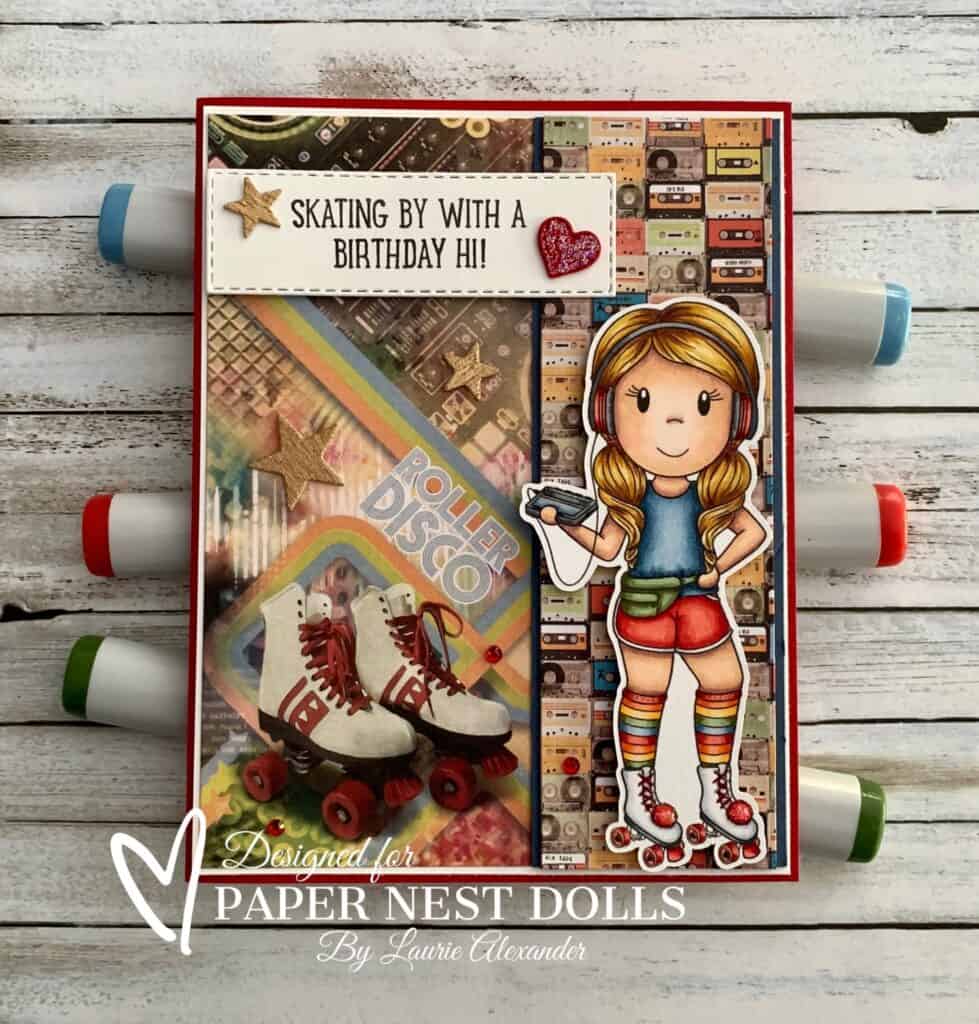
When I was a teenager, roller skating was all the rage and you needed those multicoloured striped socks, Nike red shorts and tunes on your Walkman! So, when I saw this stamp, it bought back so many memories! Lol!

For my card, I coloured Ellie with my Copic markers to match my roller disco paper! I love this paper! I have used it for so many of the Decade Dolls whether it be 60’s, 70’s or 80’s! The skates and cassette tapes (do you remember cassette tapes? Lol) on the paper were perfect for my theme.

The sentiment was from a retired Stampin’ Up! Stamp Set, but you could easily type this out on your computer and printing it. It was die cut using the Stitched Rectangles.

To add some sparkle to the card, I used Stickles on a stitched Real Red heart and Ellie’s pompoms on her skates. I also added a few gold glimmer stars and red rhinestones.

Glossy Accents was added to her Walkman case.

————————–

Copic Markers

Skin: E04/E11/E21/E00/E000/R20
Hair: Y21/Y26/YR24/E25
Shirt: B99/B97/B95/B93/B91
Shorts: R29/R24/R22/C3/C1/0
Tummy Sack: G99/G94/G21
Black on Skates: C7/C6/C4
White on Skates: C3/C1/0
Red on Skates: R29/R24/R22
Headphones: C7/C6/C4/R29/R24/R22
Walkman: C7/C6/C4/B91/B95/Glossy Accents
Socks: R29/R24/R22/G99/G94/G21/Y38/Y35/Y32/YR09/YR07/YR02

Close Up of Roller Skating Ellie

————————–

Card Recipe for My Roller Disco Babe

Decade Collection Roller Skating Ellie, Paper Nest Dolls
Paper Basics – Stamper’s Select White Cardstock, Papertrey Ink
Seventies 6” x 6” Paper Pad, Ciao Bella
Gold Metallic Specialty Paper, Stampin’ Up!
Stitched Rectangle Dies, Stampin’ Up!
Skating By Stamp Set, Stampin’ Up!
Rhinestone Basic Jewels, Stampin’ Up!
Give It a Whirl Dies, Stampin’ Up!
Stitched Stars Dies, Stampin’ Up!
Glossy Accents, Ranger
Star Dust Stickles, Ranger
Real Red, Dapper Denim, 
and Basic White Card Stock, Stampin’ Up!

Finished card size: 5 ½” x 4 ¼”

Stamp Size: 4”

————————–

To view my other Paper Nest Dolls cards, please click here.

My Other Cards in the Decade Collection

For more information on my cards, please click the photos.

Hippie Girl on a card
My Groovy Love Card
Card with 50s greaser and girl with poodle skirt
Grease Lightning Card
Card with a Girl from Seventies and a retro bus on it
My Road Trip Card
Card with a Hippie Girl
Peace Not War Card

Hope you like my Design Team Inspiration Card using
Decade Collection Roller Skating Ellie by Paper Nest Dolls!

Thank you for stopping by!

Hugs,
Laurie
Hello Ladybug Card

Card with a ladybug and daisies on it.
Hello Ladybug Card

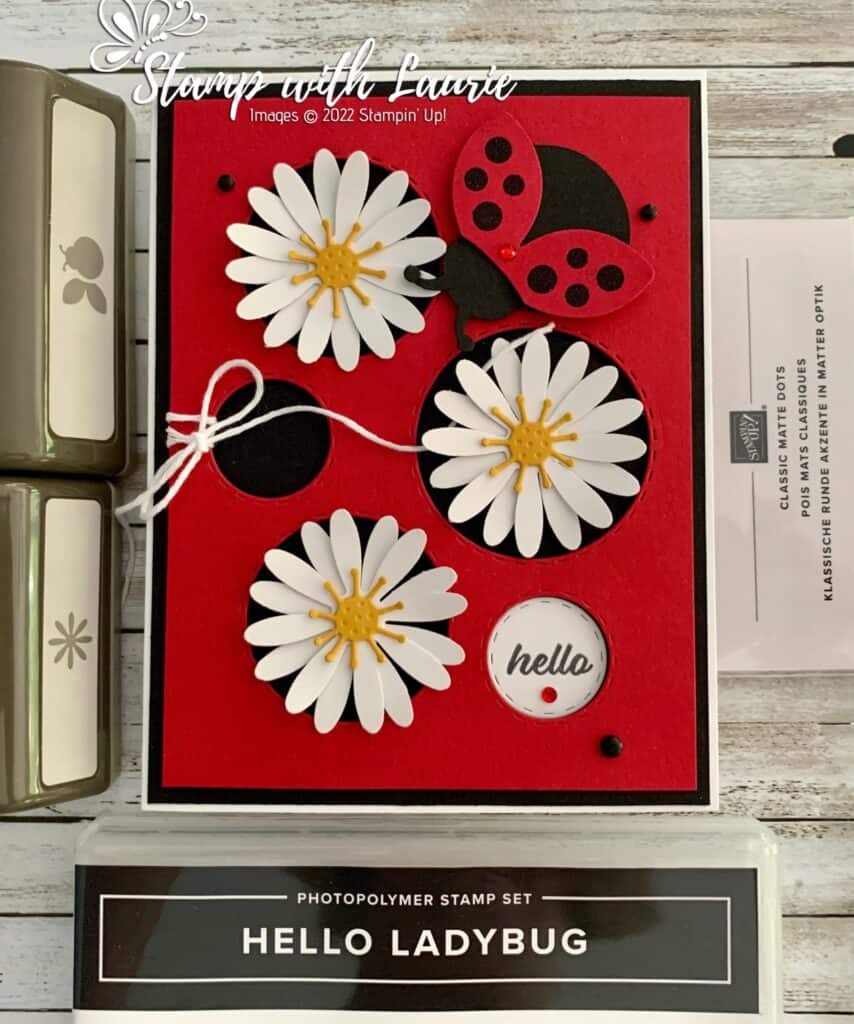
Hello Crafty Friends! Laurie here again! I am sharing my Hello Ladybug Card using the Hello Ladybug Stamp Set and matching Ladybug Builder Punch.

The Details of My Card

This card was for a swap, but the Annual Catty was retiring. We couldn’t use any retiring product on the card. So, my solution was lots of punches and embellishments that I knew would carry over!

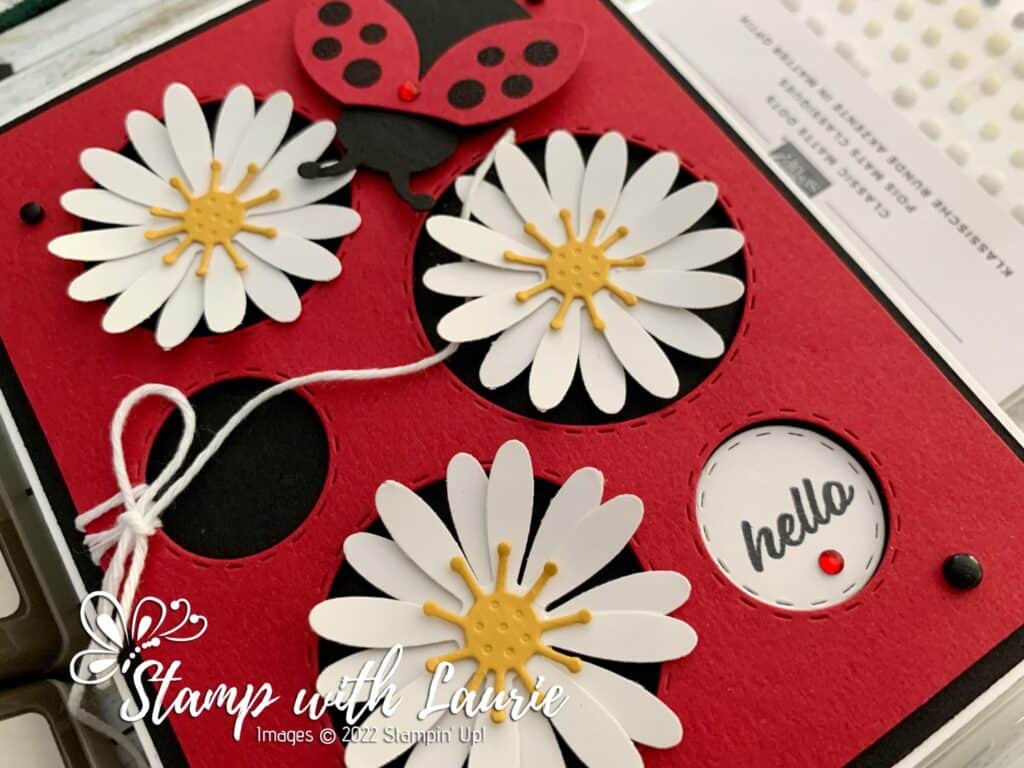
For my card, I decided to use the Picture This Dies again since it reminded me of the dots on the ladybug’s wings. These dies are so versatile, and I have used them for several cards! I used the circles die for this card and thought it would be neat having the daisies popping out of the holes!

Before adhering with dimensionals the die cut Real Red piece to the Basic Black mat, I wrapped white Baker’s twine around one of the holes and tied it in a bow.

After lots of punching and layering 2 sets of petals on top of each other followed by the flower centre from the Poppy Moments Dies, I had 3 sets of flowers for the holes.

Next came the ladybug. But first, I heat embossed in black the spots before I punch the wings out of Real Red cardstock. Then I punched out the body in Basic Black and assembled the ladybug.

Since the stamp set is photopolymer and I could line up my stamp easily, I die cut the smallest circle out of the Circles Die and then stamped the hello in black. Tip: only use the part of the die you want, not the whole thing to save paper. Another tip is use Multipurpose Liquid Glue to allow you time to slide the sentiment piece in place.

A scattering of black Classic Dots and Red Rhinestones tied in my ladybug theme.

Supplies:

Stamps/Bundles/Dies: Hello Ladybug Stamp Set (157693), Picture This Dies (155559), Poppy Moments Dies (151594)

Inks: Tuxedo Black Memento Ink Pad (132708), VersaMark ink (102283)

Paper: Basic White Thick (159229), Basic Black (121045), Basic White (159229) (159276), Real Red (102482), Crushed Curry (131199)

Accessories: Ladybug Builder Punch (157698), Medium Daisy Punch (149517), Baker’s Twine Essentials Pack (155475), Red Rhinestone Basic Jewels (146924), Classic Matte Dots (158146), Basics Embossing Powder (155554), Heat Tool (129053), Bone Folder (102300), Multipurpose Liquid Glue (110755Stampin’ Dimensionals (104430), Mini Stampin’ Dimensionals (144108), Stampin’ Seal (152813), Mini Glue Dots (103683)

Close Up of Card
Close Up of Card

Measurements: 

  • Basic White Thick: 
    • 5 ½” x 8 ½” scored a 4 ¼”
  • Basic Black:
    • 5 ¼” x 4”
    • Scrap for Ladybug body
  • Real Red:
    • 5” x 3 ¾”
    • Scrap for wings
  • Basic White:
    • 1 ¾” strip, enough to punch 6 flowers
    • Hello: 1” x 1”
  • Crushed Curry
    • Scrap for flower centers x 3

More Information on My Hello Ladybug Card:

For more of my Stampin’ Up! cards, please click here.

You will find the other items listed above in my online store.

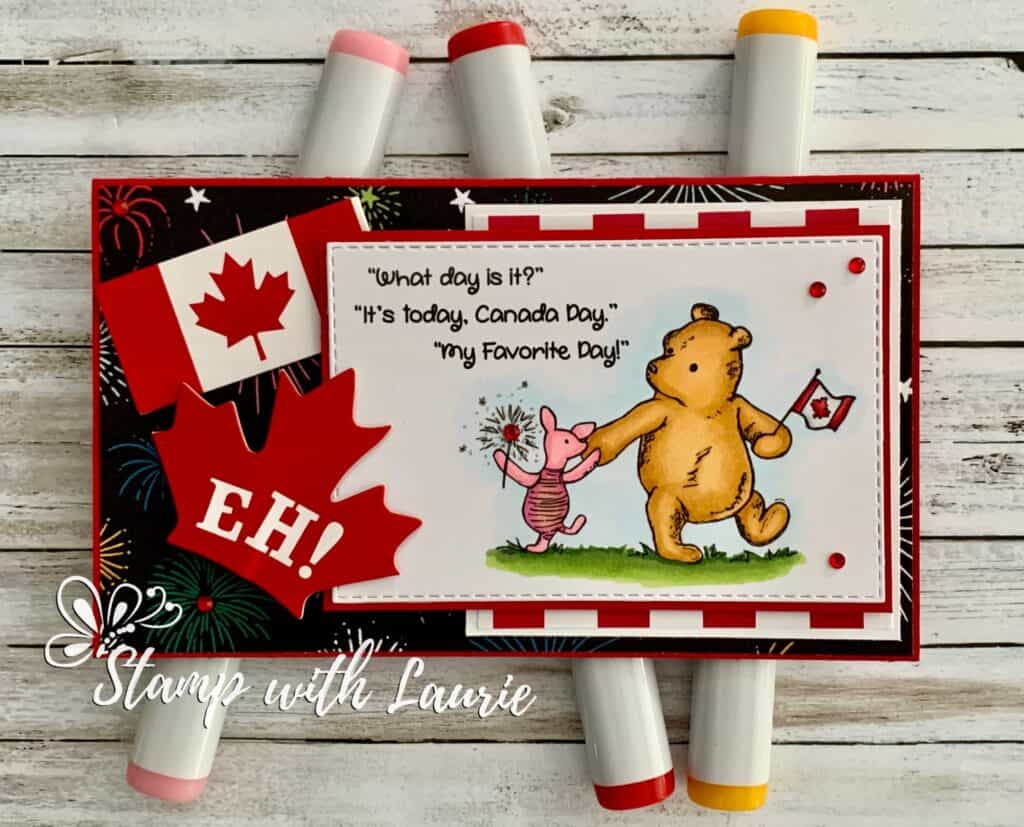
Happy Canada Day Card

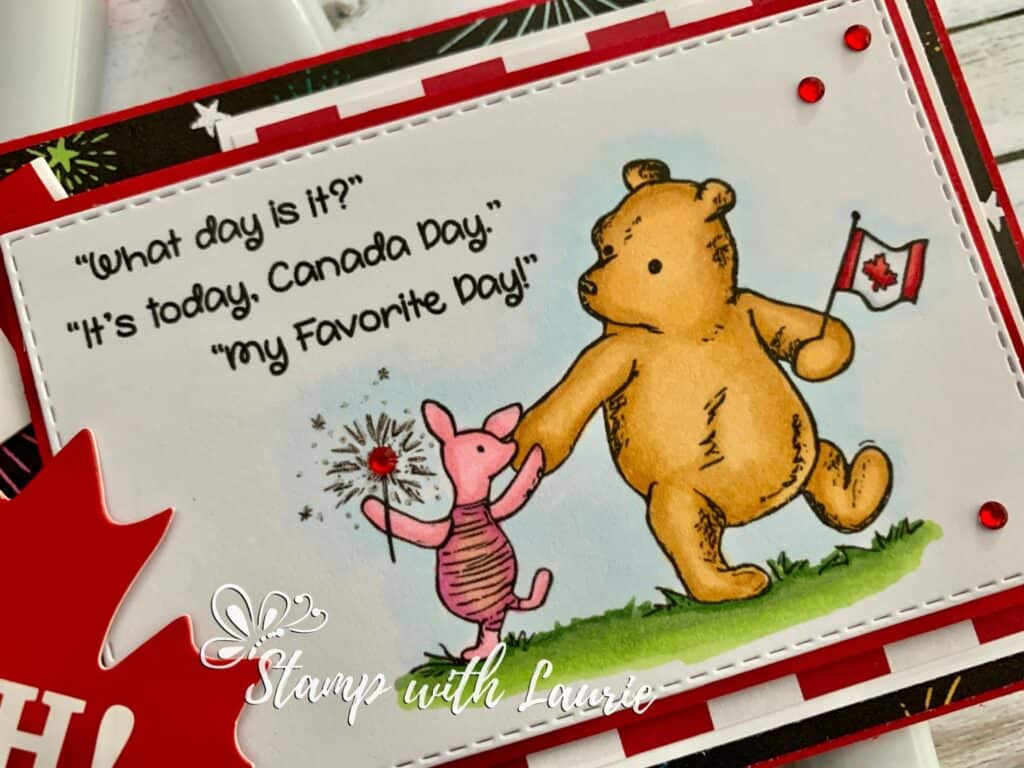
Winnie the Pooh holding a Canadian Flag for a Happy Canada Day
Happy Canada Day Card

Hello Crafty Friends! Happy Canada Day to all my Canadian peeps! It’s Laurie here! I am sharing my mini slimline Happy Canada Day Card using Red, White & Pooh! Digital Stamp by Polka Dot Orchard.

The Details of My Card

I’m a big fan of Winnie the Pooh and when I saw this stamp, I couldn’t resist buying it and colouring it with my Copic markers on Canada Day!

I don’t have a lot of Canadian papers and embellishments, but the Celebrate Everything Designer Series Paper was perfect since it has a design with fireworks! The Canadian flag and Eh! Maple leaf are toppers for food that I repurpose for my card. I used my Gelly Roll Pen and a red rhinestone to add some sparkle to Piglet’s sparkler. A scattering of more red rhinestones tie in the Canadian theme.

————————–

Copic Markers:

Pooh: YR24/YR23/YR21
Piglet: RV55/RV42/RV23/RV21
Canadian Flag: R29/R27/R24/C3/C1/0
Grass: YG67/YG63/YG03
Sky: B000

Close Up of Pooh & Piglet

————————–

Card Recipe for Happy Canada Day Card:

Red, White & Pooh! Digital Stamp, Polka Dot Orchard
Paper Basics – Stamper’s Select White Cardstock, Papertrey Ink
Celebrate Everything Designer Series Paper, Stampin’ Up!
Christmas Around the World Designer Series Paper, Stampin’ Up!
Stitched Rectangle Dies, Stampin’ Up!
Canada Day Toppers, Ashland
Galvanized Metal Paper, Stampin’ Up!
Red Rhinestone Basic Jewels, Stampin’ Up!
Clear Star Gelly Roll Pen, Sakura
Real Red and Basic White Card Stock, Stampin’ Up!

Finished card sizes: 3.5” x 6”

————————–

To view my other Copic cards, please click here.

To view my other slimline cards, please click here.

Hope you like my card using using
Red, White & Pooh! Digital Stamp by Polka Dot Orchard!

Happy Canada Day Everyone!

Thank you for stopping by!

Hugs,
Laurie