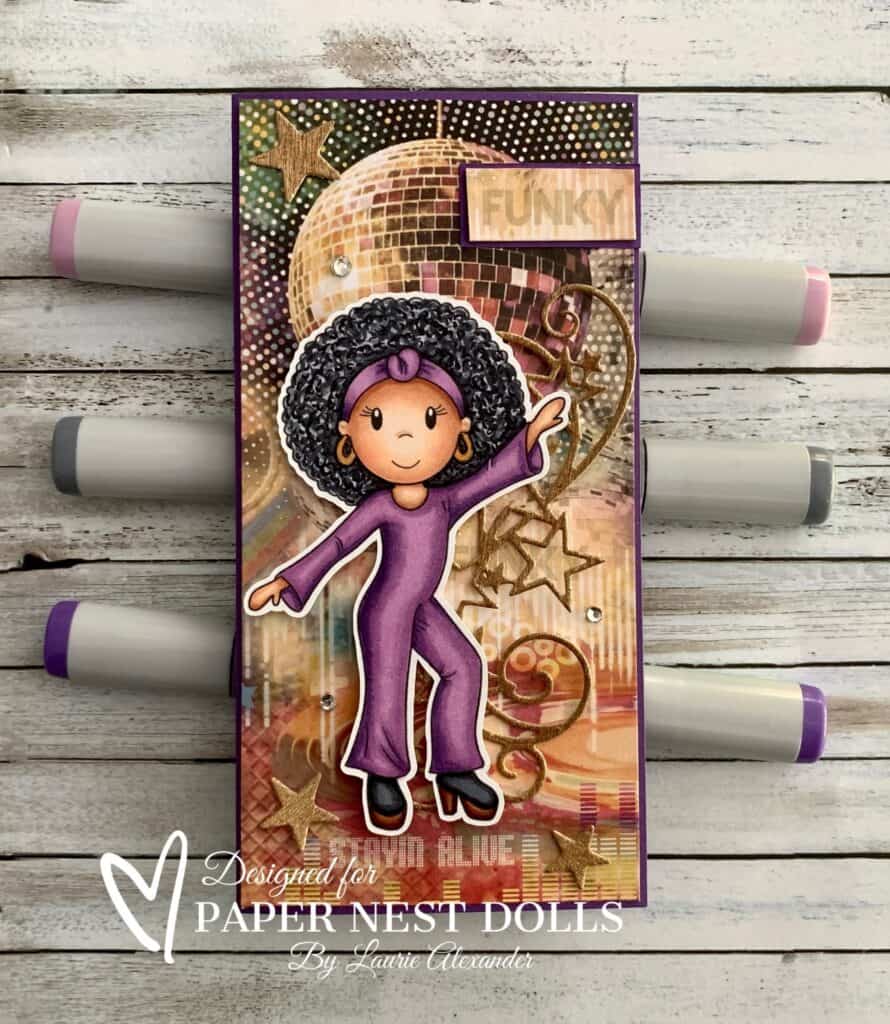
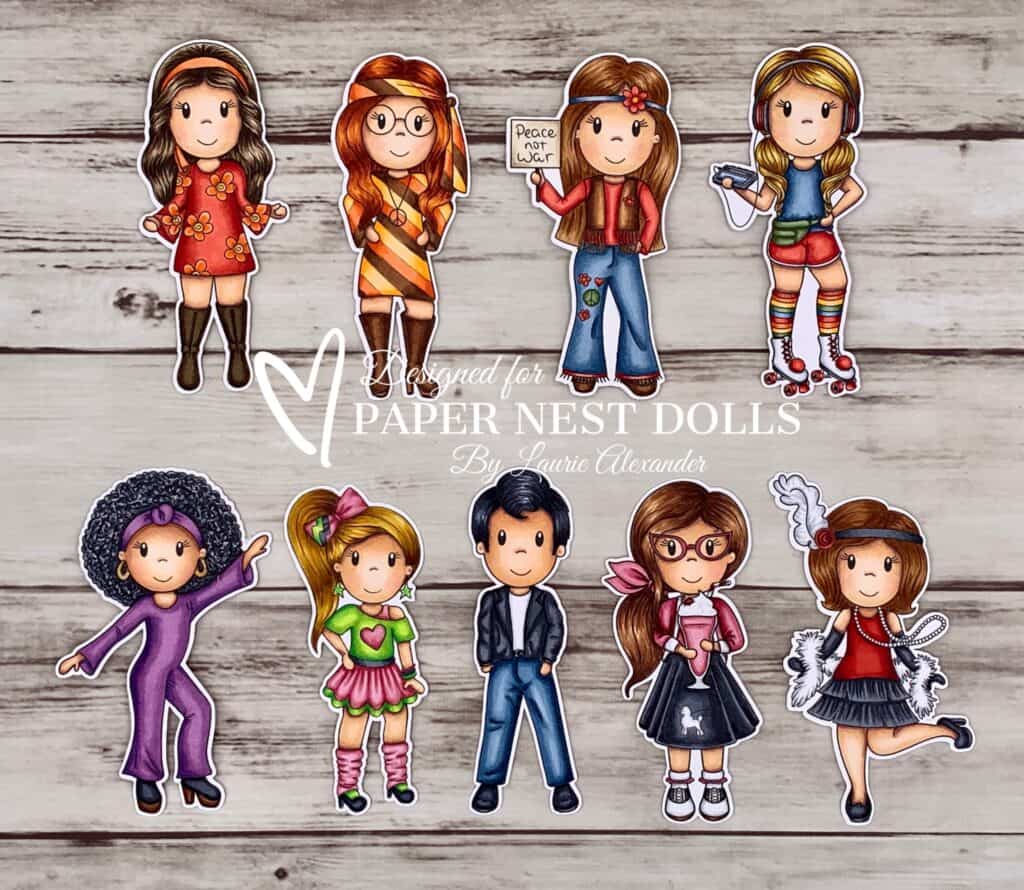
Hello Crafty Friends! It’s Laurie here! I am sharing my Stayin Alive Disco Card as my Design Team Inspiration Card for Paper Nest Dolls using Decade Collection Disco Amara. There are ten dolls in the Decade Collection that come in both rubber and digital stamps. You can find all the digital versions here.
The Details of My Card
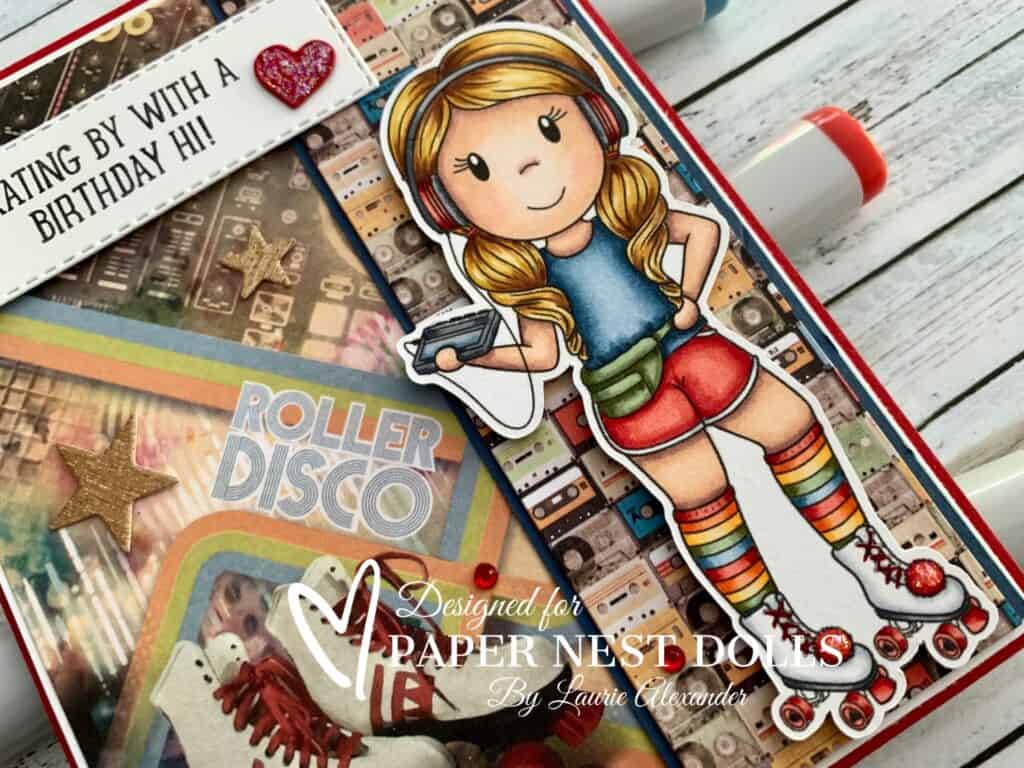
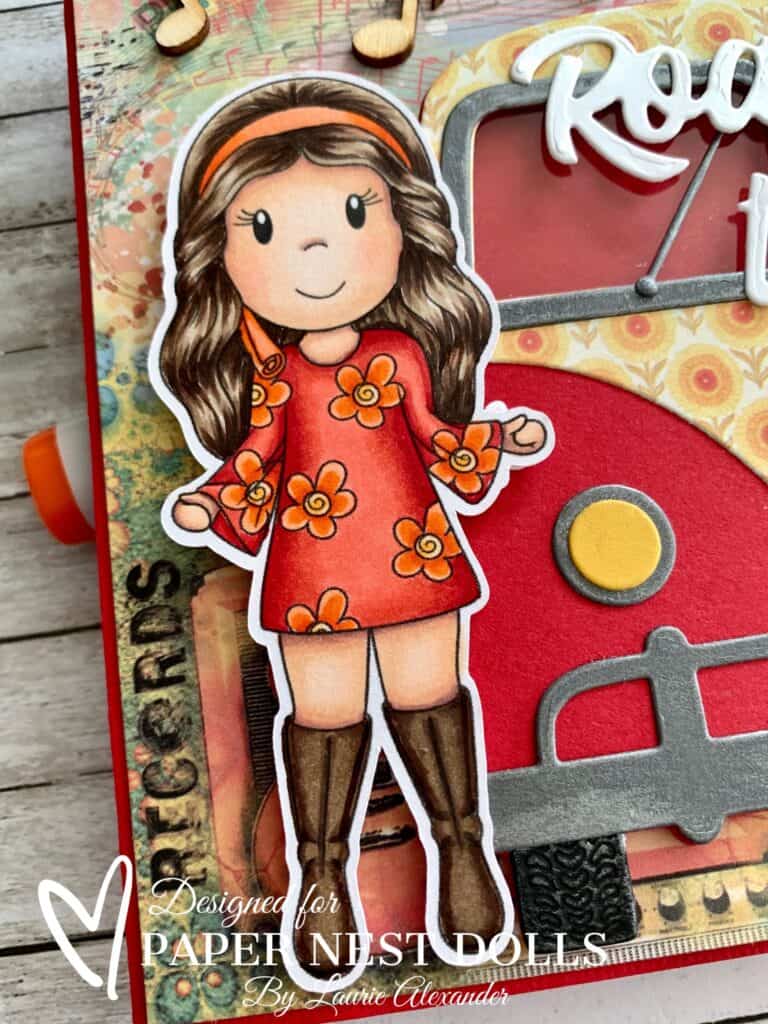
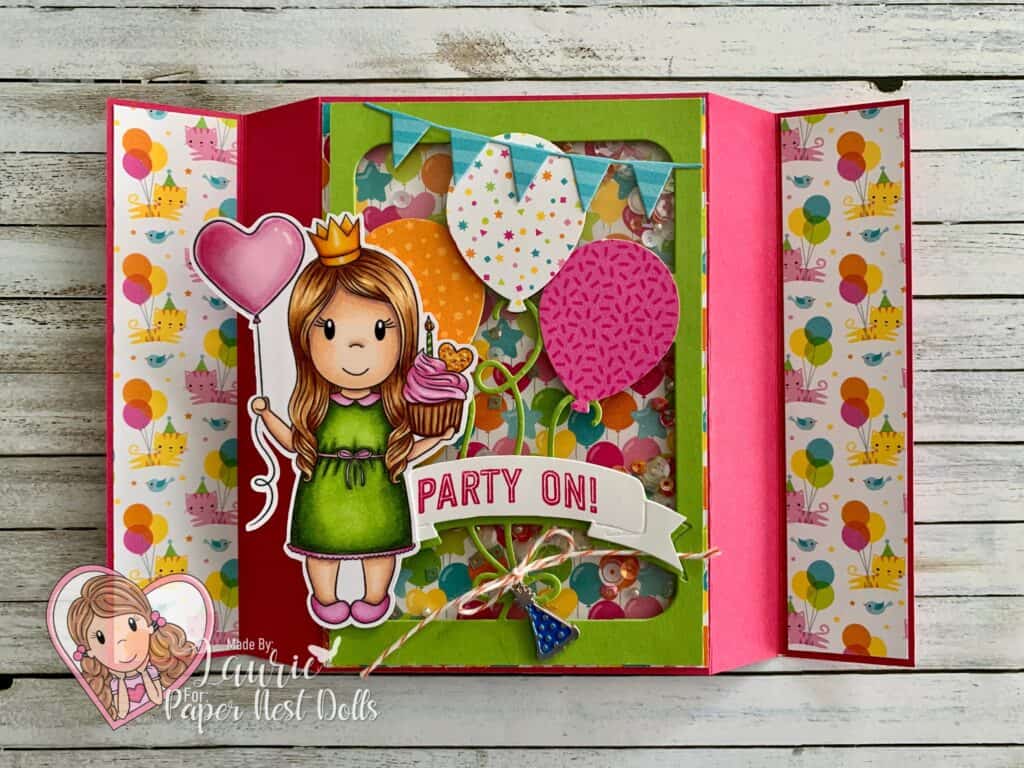
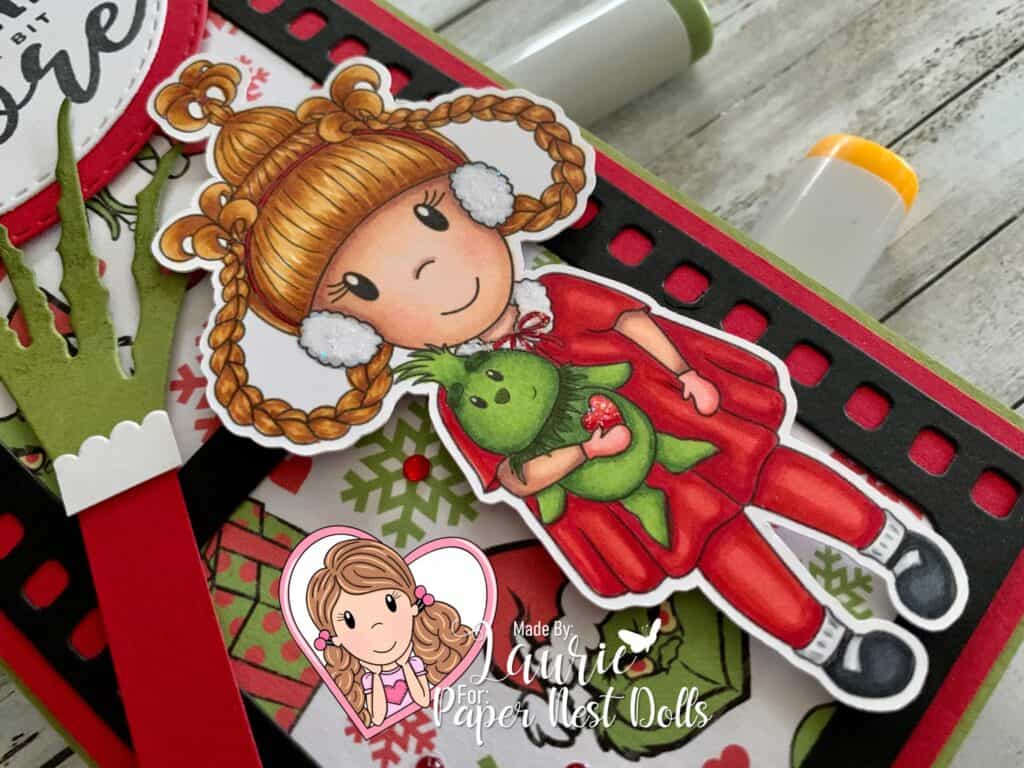
For my card, I used the Seventies Ciao Bella Paper again to create my mini slimline card. This piece of paper is the left-over piece from my Roller Disco Babe card! So, I was able to get 2 cards made using one sheet of the paper! I love the disco ball and the “Stayin Alive” words under her feet!! The “Funky” sentiment was snipped from the paper as well. Perfect for Disco Amara!
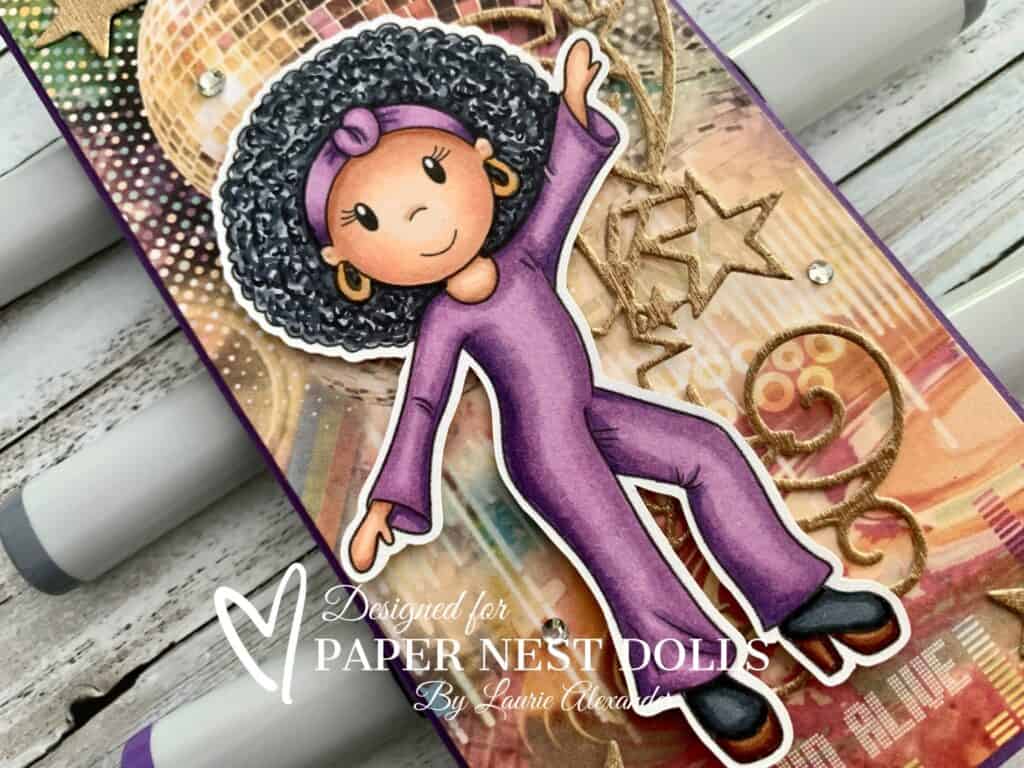
To match the glitz of a disco ball, I added stars in Gold Metallic Paper. I even added a star flourish behind Amara. Love the way the curls and swirls of the flourish mimic movement…almost like Amara is dancing off the card! The only other things the card needed was a scattering of rhinestones and Gold Gelly Roll Pen on her earrings.
————————–
Copic Markers
Skin: E15/E13/E11/E00/E000/R20
Hair: C9/C7/C5/C3
Outfit: V17/V15/V12
Boots: C9/C7/C5/E25/E23
————————–
Card Recipe for My Stayin Alive Disco Card
Decade Collection Disco Amara, Paper Nest Dolls
Paper Basics – Stamper’s Select White Cardstock, Papertrey Ink
Seventies 6” x 6” Paper Pad, Ciao Bella
Gold Metallic Specialty Paper, Stampin’ Up!
Rhinestone Basic Jewels, Stampin’ Up!
Stitched Stars Dies, Stampin’ Up!
Gold Gelly Roll Pen, Sakura
Gorgeous Grape Card Stock, Stampin’ Up!
Finished card size: 6” x 3 ½”
Stamp Size: 4”
————————–
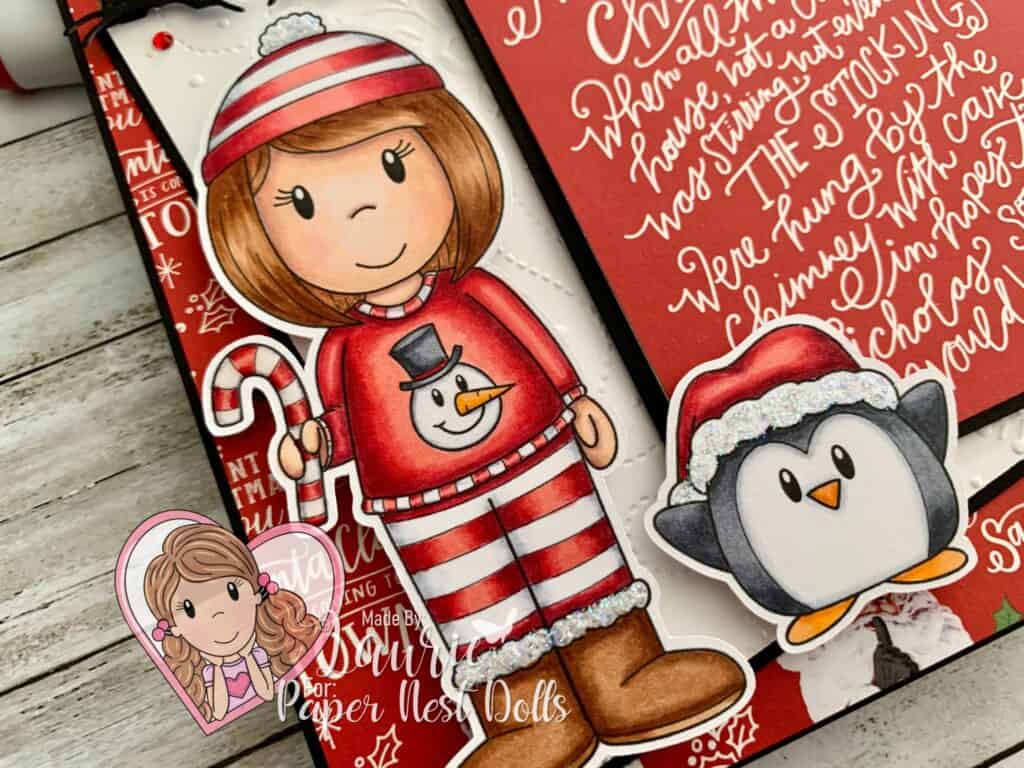
To view my other Paper Nest Dolls cards, please click here.
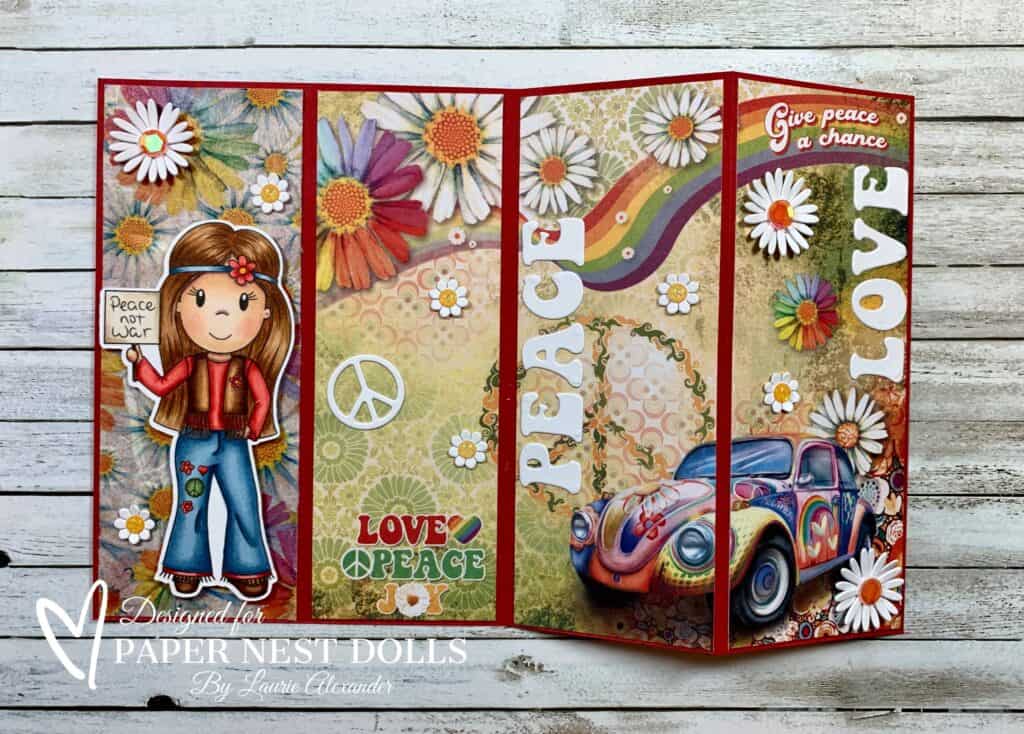
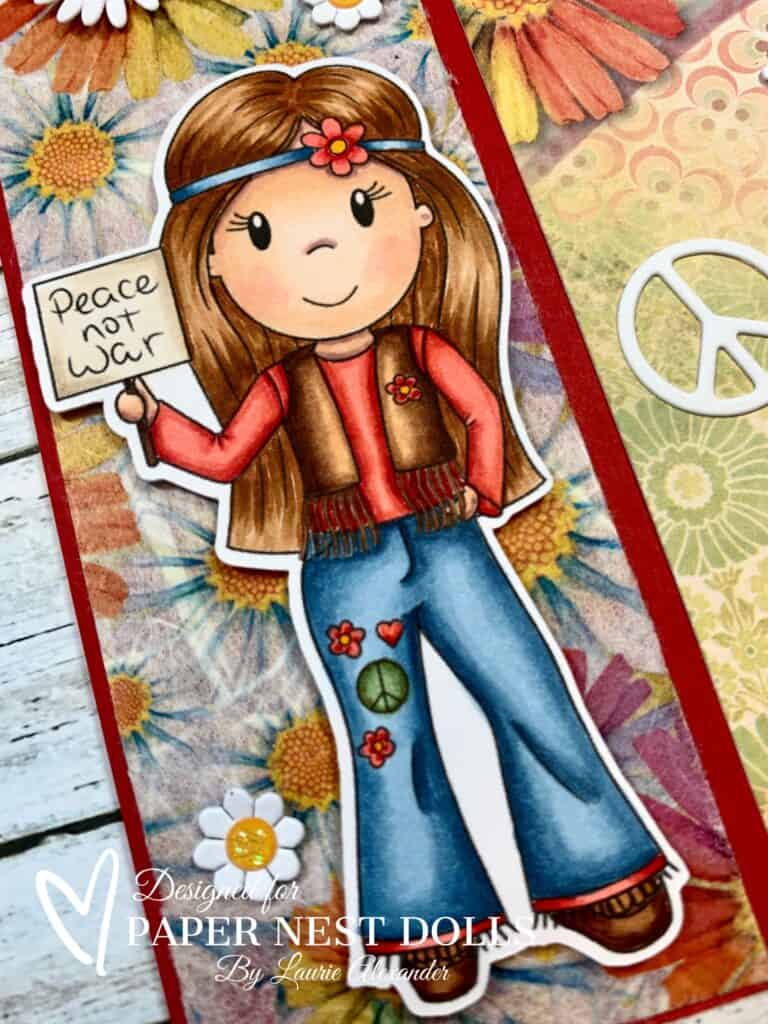
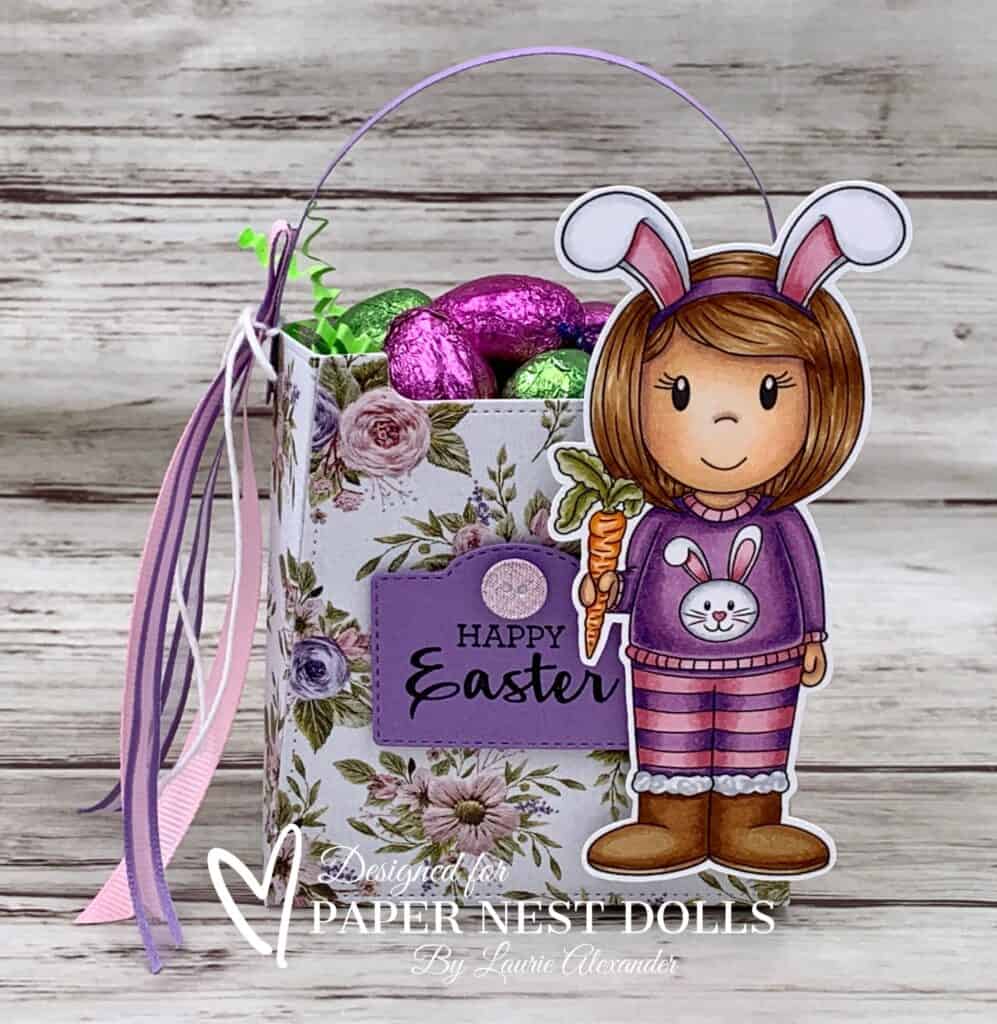
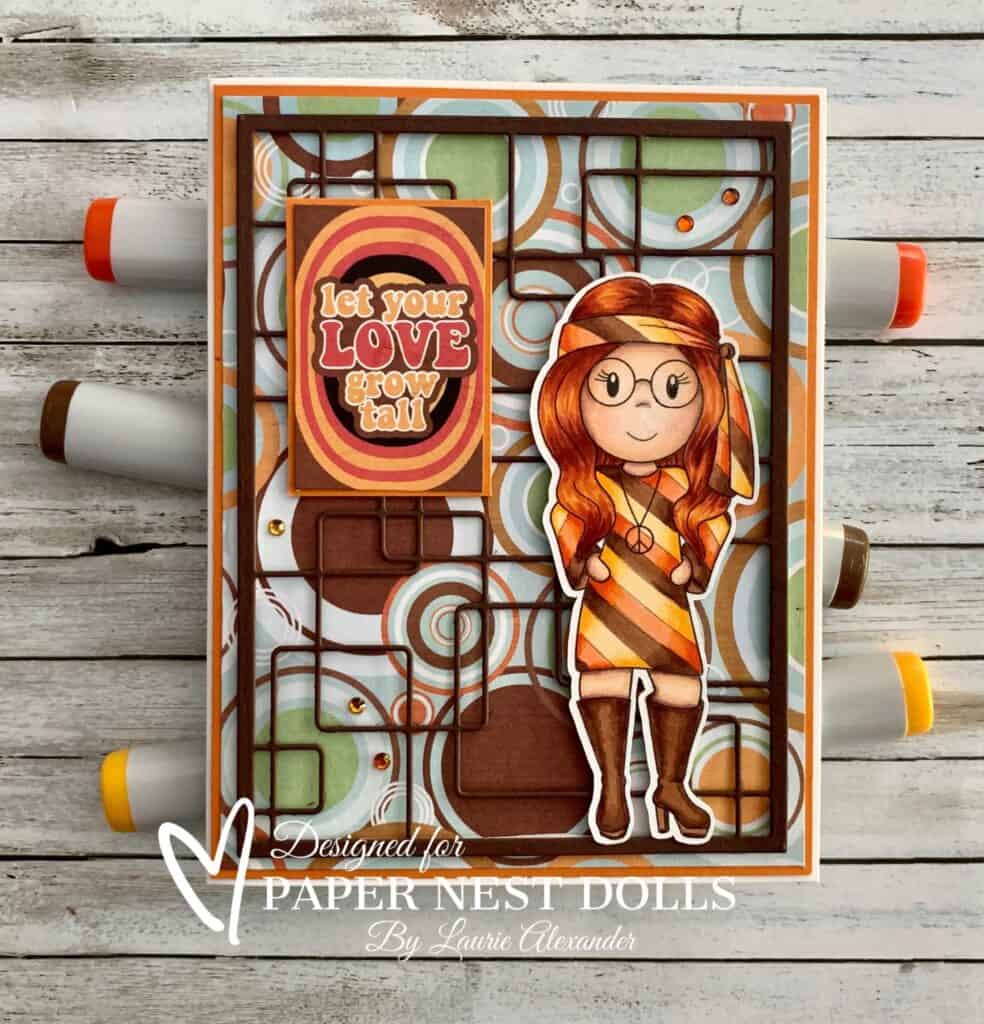
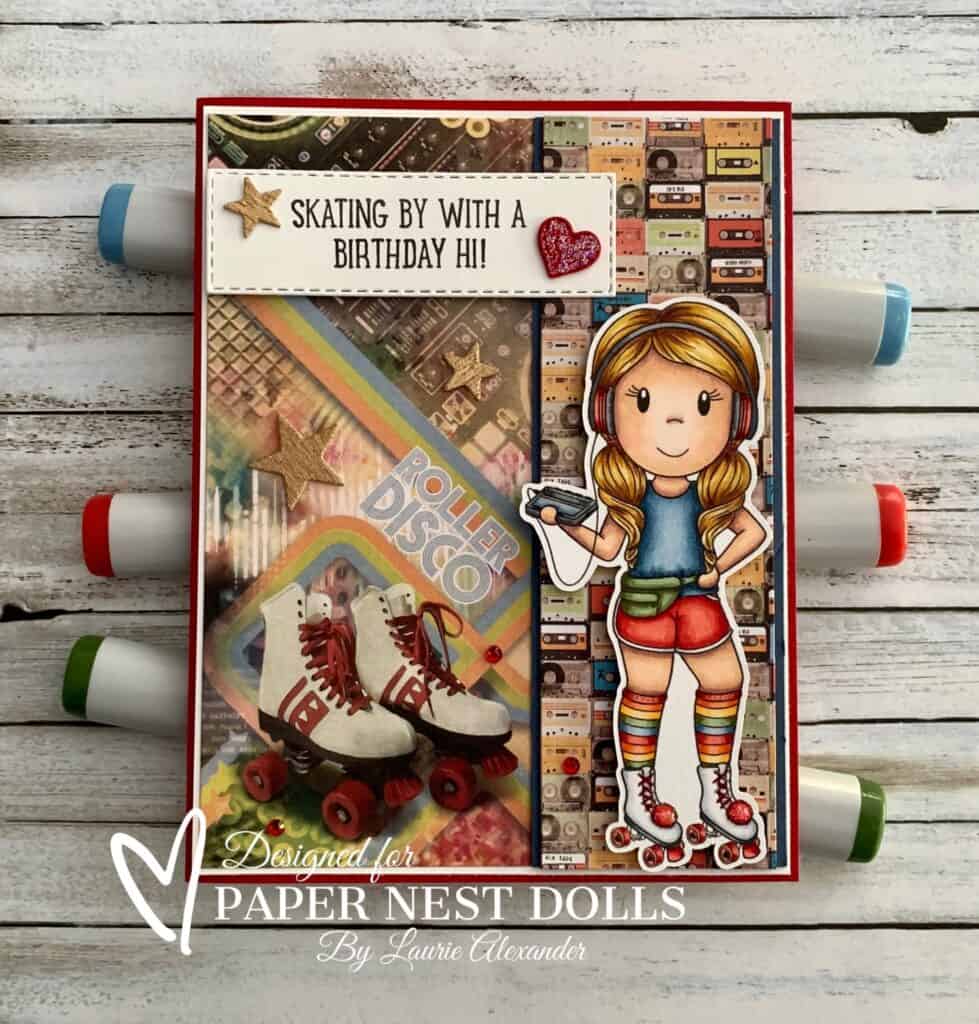
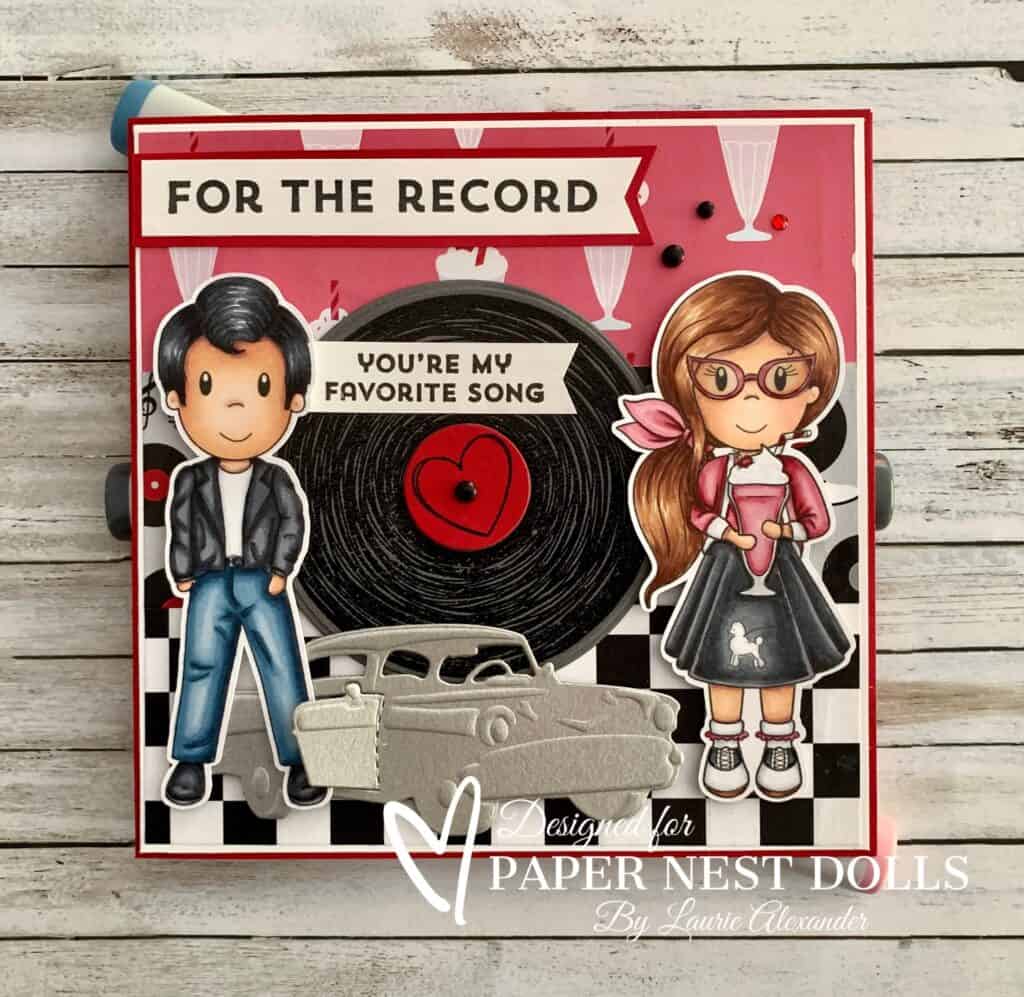
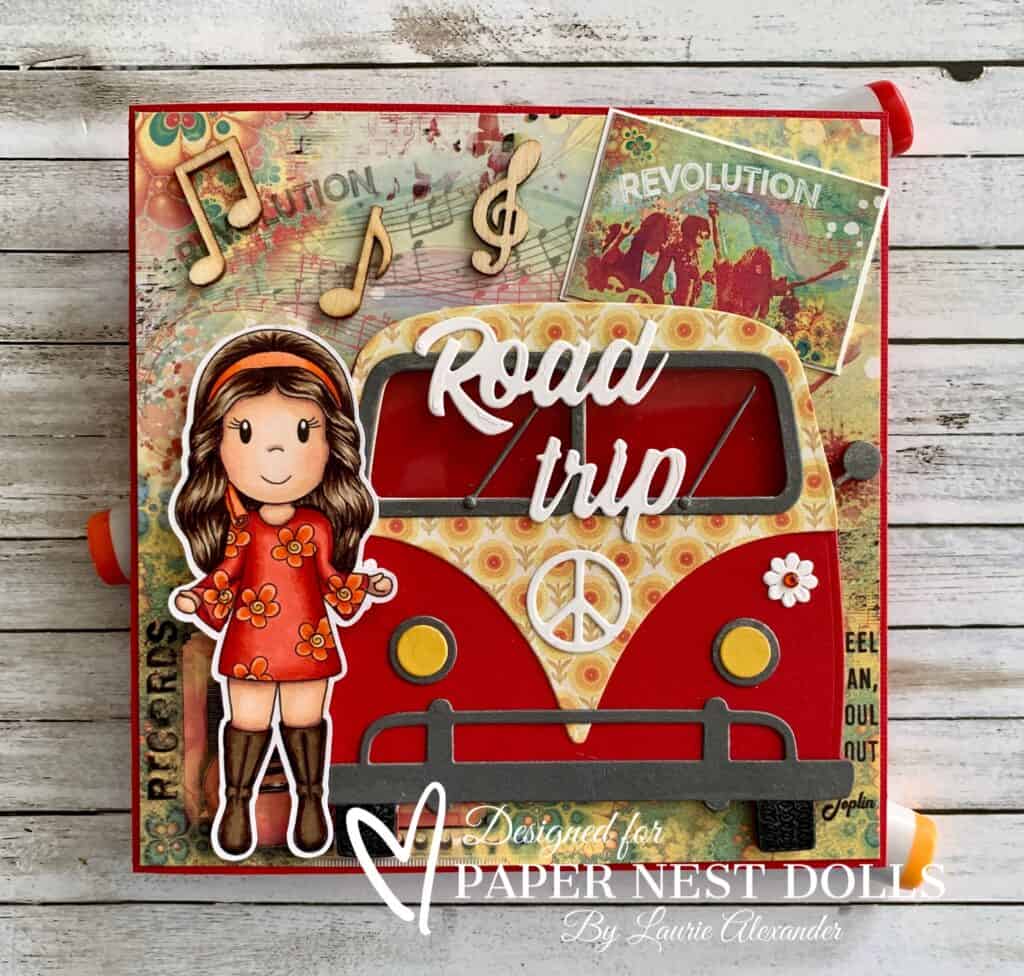
My Other Cards in the Decade Collection
For more information on my cards, please click the photos.
Hope you like my Design Team Inspiration Card using
Decade Collection Disco Amara by Paper Nest Dolls!
Thank you for stopping by!
Hugs,
Laurie