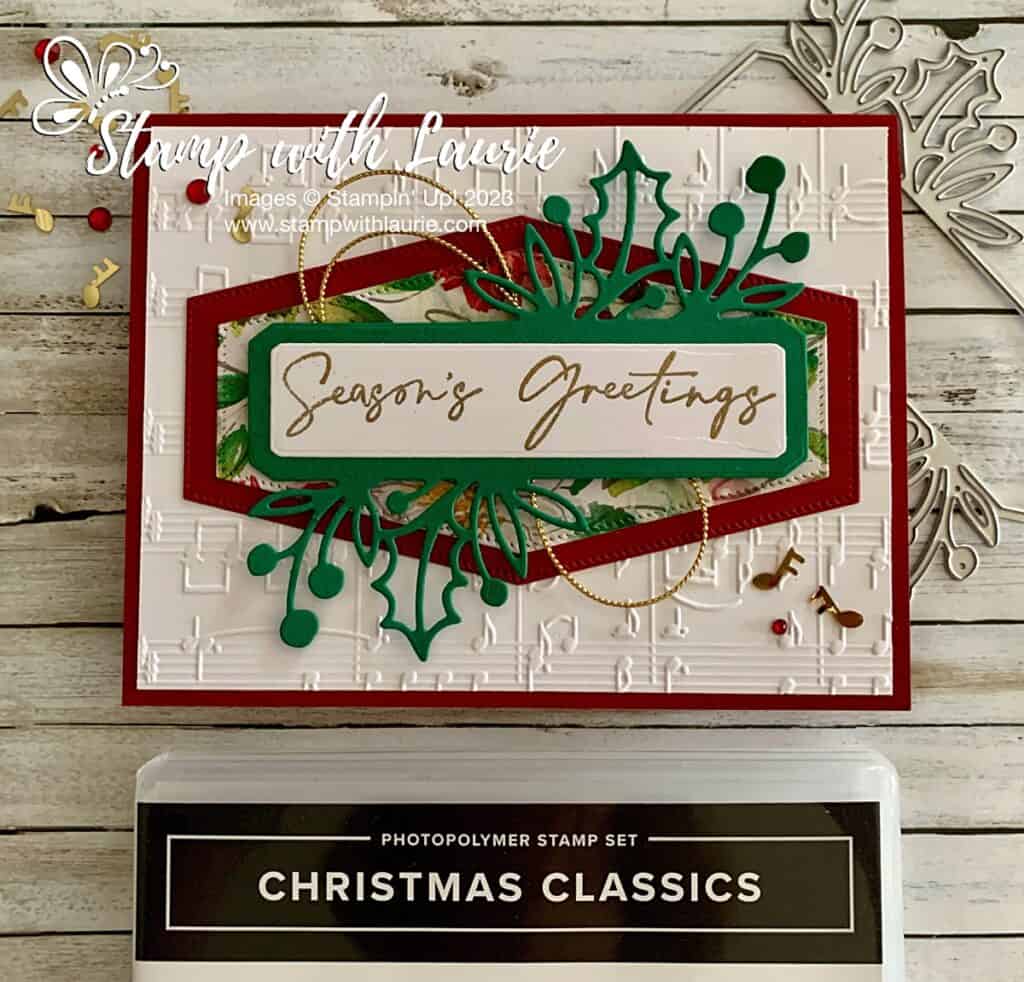
My Classic Greetings Card 

My Classic Greetings Card - a Season's Greetings Christmas card with holly and music
My Classic Greetings Card

Hello Crafty Friends! Laurie here again! Season’s Greetings! One last Christmas card for me! I am sharing My Classic Greetings Card using the Christmas Classics Bundle by Stampin’ Up! which includes the Christmas Classics Stamp Set and the Christmas Classics Dies.

The Details of My Classic Greetings Card

For my card, I decided to create a music theme with the Joyful Specialty Designer Series Paper, the Merry Melody Embossing Folder, and the Loose Holly Gems & Sequins. Since I used the gold music notes for my embellishments, I went with the gold Simply Elegant Trim and gold embossing for the sentiment to match.

I love the holly dies that come in the Bundle and wanted to make them the focal point with the DSP die cut with the Nested Essentials Dies layered behind it. I was so happy with how all these elements came together!

Season’s Greetings, Merry Christmas, Happy Holidays, Feliz Navidad, Joyeux Noël, Happy Hanukkah, Happy Kwanzaa, Yuletide Greetings! However, you say it, I hope your holiday season is full of good cheer!

Supplies:

Stamps/Bundles/Dies: Christmas Classics Bundle (161977), Nested Essentials Dies (161597)

Inks: VersaMark Ink (102283)

Paper: Cherry Cobbler (119685), Basic White (159276), Shaded Spruce (146981), Joy of Christmas Designer Series Paper (161958), Joyful Specialty Designer Series Paper (161980)

Accessories: Merry Melody 3D Embossing Folder (156392), Simply Elegant Trim (155766), Metallics Embossing Powder (155555), Embossing Additions Tool Kit (159971), Heat Tool (129053), Loose Holly Gems & Sequins (161981), Bone Folder (102300), Stampin’ Dimensionals (104430), Stampin’ Seal (152813), Mini Glue Dots (103683), Mulitpurpose Liquid Glue (110755)
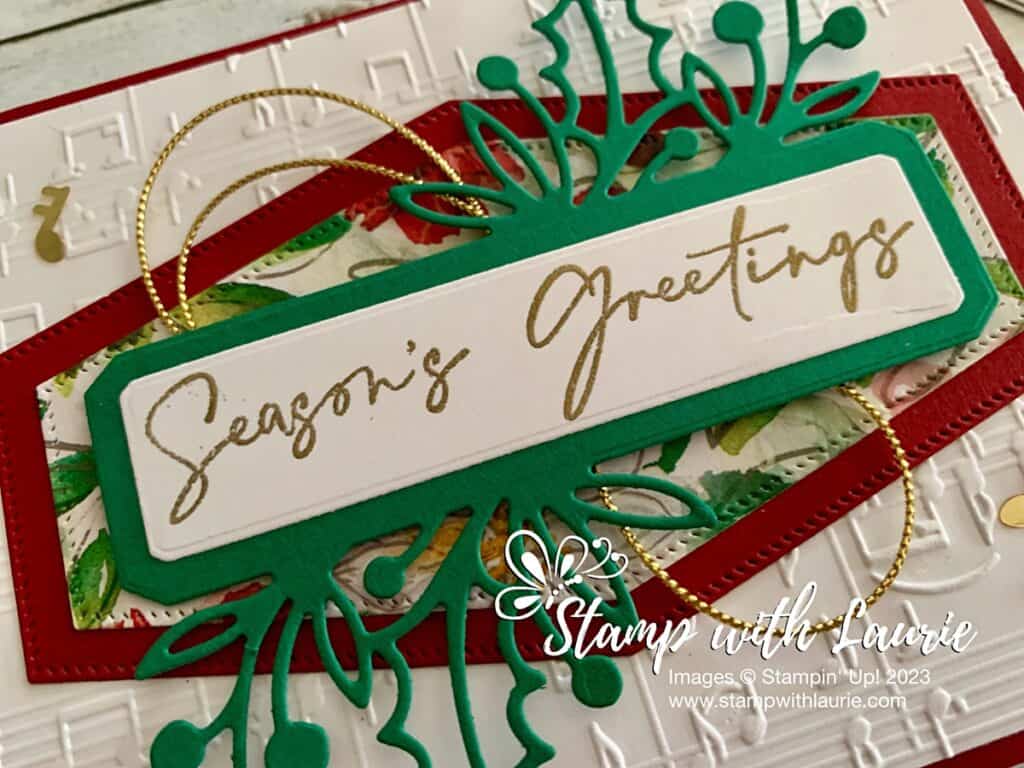
Close Up of Sentiment

Measurements: 

  • Cherry Cobbler: (2 pieces)
    • 8 ½” x 5 ½” scored at 4 ¼”
    • 2 ¾” x 5”
  • Basic White: (2 pieces)
    • 5 ¼” x 4”
    • 1” x 3 ¾” (Sentiment)
  • Crumb Cake:
    • 4” x 5 ¼”
  • Shaded Spruce:
    • 4” x 4”
  • Joy of Christmas Designer Series Paper:
    • 4 ½” x 2 ½””

More Information on My Classic Greetings Card:

For more of my Stampin’ Up! cards, please click here.

You will find the items listed above in my online store.

My Beary Christmas Cards 

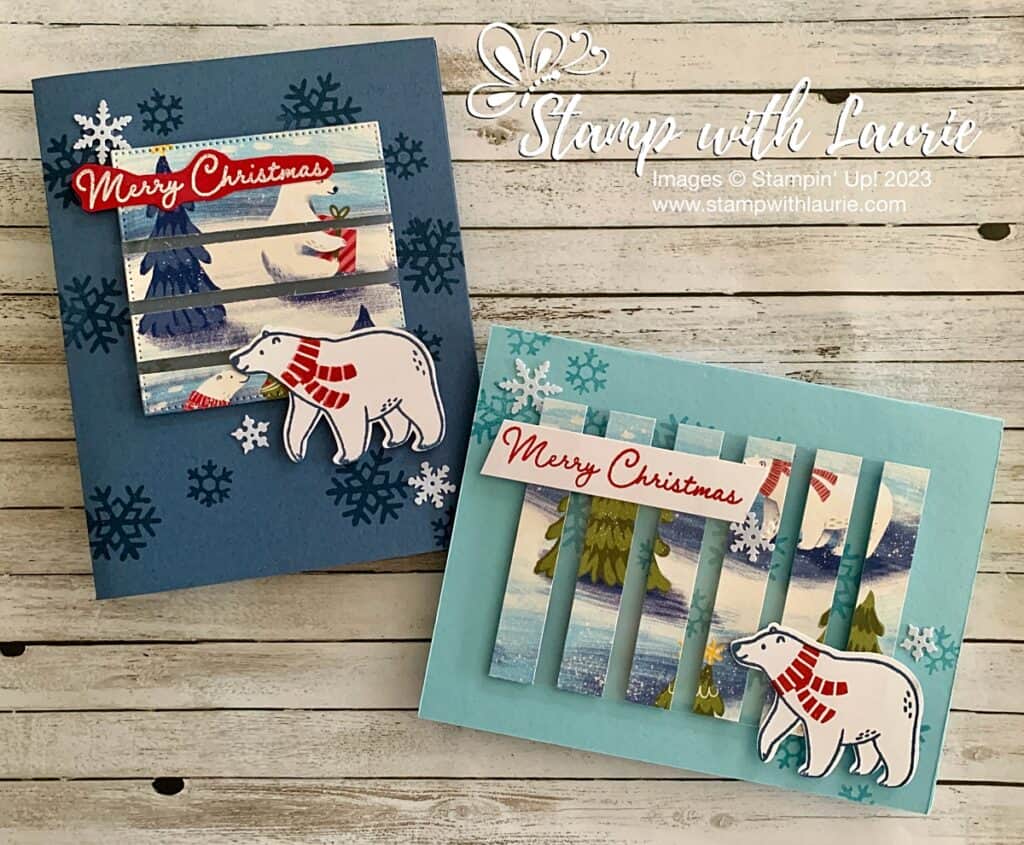
My Beary Christmas Cards  - two Christmas card with a Polar Bear and a wintery scene
My Beary Christmas Cards

Hello Crafty Friends! Laurie here again! I am sharing My Beary Christmas Cards using the Beary Cute Bundle by Stampin’ Up! which includes the Beary Cute Stamp Set and coordinating Beary Cute Punch. This bundle is retiring. So, make sure you get it before it’s too late!

The Details of My Beary Christmas Cards

For my cards, I decided to make a floating element using one of the scenes from the Beary Christmas Designer Series Paper. I had so much fun that I created two different cards with the same elements. For one, I used Misty Moonlight and the other, Balmy Blue card stock bases. A floating element uses acetate or window sheet on which you adhere strips of DSP leaving gaps between the pieces. Then you use dimensionals under the DSP to make it look like the element is floating.

The scene strips were cut at ½” width and lined up in order on my window sheet for placement before adhering them down. I started with the two end pieces and then the centre ones working out to the ends. Tip: use grid paper for an even gap between pieces. Since the DSP was ½ wide, it allowed me to place my dimensionals behind the paper. Thus, hiding them to complete my floating element.

Misty Moonlight Card

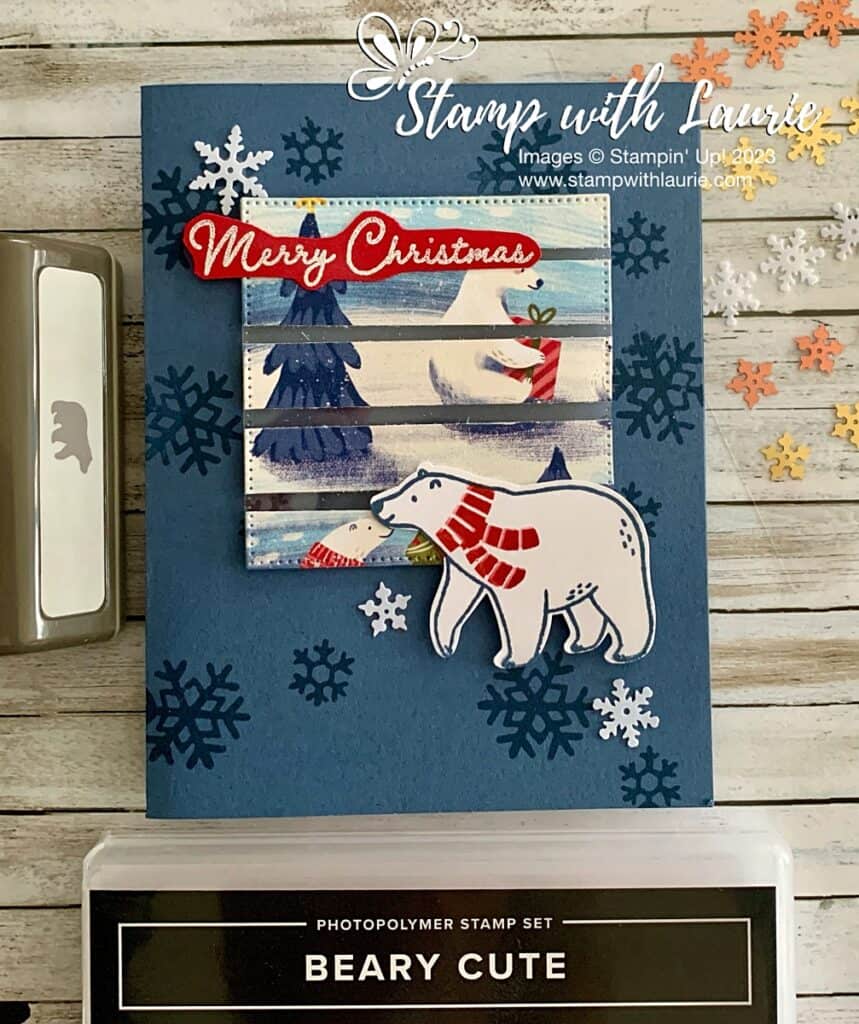
I made the Misty Moonlight card portrait and used the largest square from the Stylish Shapes Dies to die cut my square once I had adhered the 5 DSP scene pieces to the Window Sheet.

Misty Moonlight Card with a Polar Bear on it.
Misty Moonlight Card

I stamped snowflakes in Misty Moonlight for a tone-on-tone around my central focal point.

The sentiment was white embossed on some Real Red card stock and then fussy cut with my Paper Snips.

The polar bear was stamped in Misty Moonlight and Real Red for his scarf before it was punched out.

Balmy Blue Card

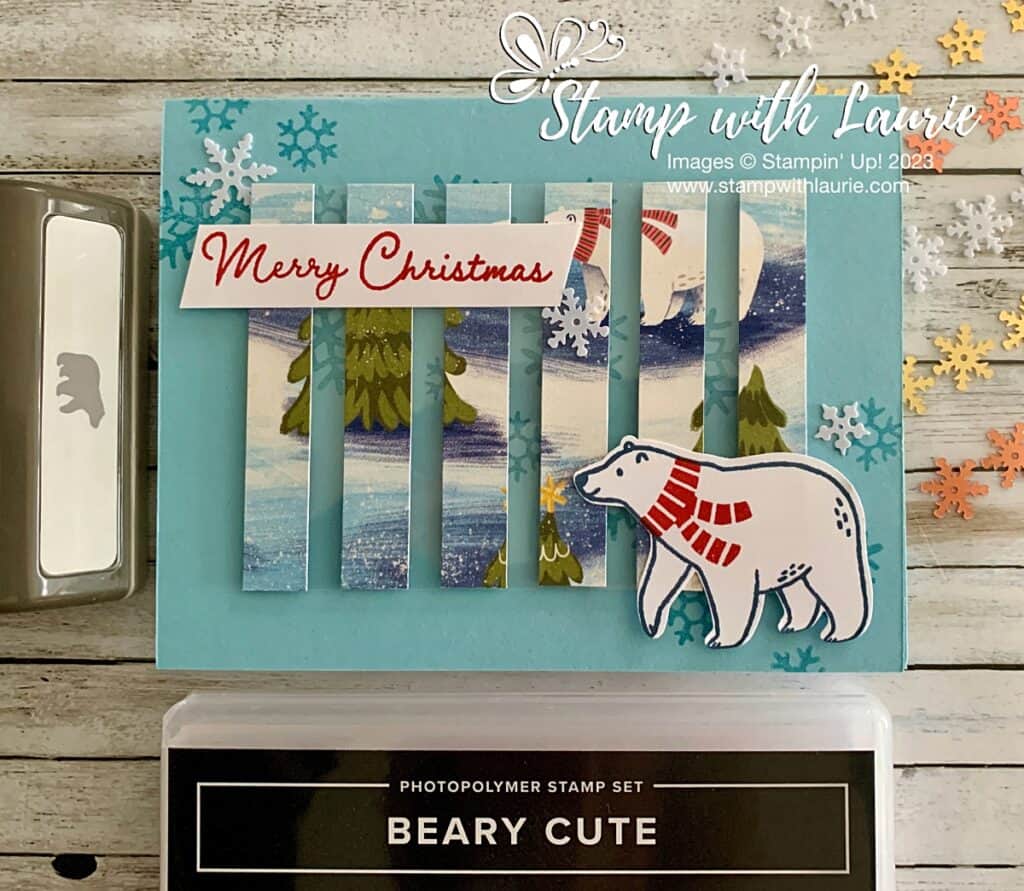
For my Balmy Blue card, I decided that I wanted to use more of the DSP. So, I made the floating element larger with 6 pieces of DSP and wider gaps. I stamped the Balmy Blue snowflakes at an angle through the centre of the card. This allowed the snowflakes to show through the Window Sheet!

Balmy Blue Card with a Polar Bear on it
Balmy Blue Card

The sentiment was stamped in Real Red and snipped on an angle with my Paper Snips.

For both cards, I used the white snowflakes from the Adhesive-Backed Snowflake Assortment as my embellishments.

Supplies:

Stamps/Bundles/Dies: Beary Cute Bundle (162023), Stylish Shapes Dies (159183)

Inks: Misty Moonlight Classic Stampin’ Pad (153118), VersaMark Ink (102283), Balmy Blue Classic Stampin’ Pad (147105), Real Red Classic Stampin’ Pad (147084)

Paper: Misty Moonlight (153081), Balmy Blue (146982), Window Sheets (142314), Real Red (102482), Basic White (159276), Beary Christmas Designer Series Paper (162015)

Accessories: Adhesive-Backed Snowflake Assortment (162129), Basics Embossing Powder (155554), Embossing Additions Tool Kit (159971), Heat Tool (129053), Paper Snips (103579), Grid Paper (130148), Bone Folder (102300), Stampin’ Dimensionals (104430), Mini Glue Dots (103683), Mulitpurpose Liquid Glue (110755)

Measurements: 

  • Misty Moonlight/Balmy Blue:
    • 8 ½” x 5 ½” scored at 4 ¼”
  • Window Sheet:
    • 3” x 3” (for Misty Moonlight Card)
    • 3” x 4 1/8” (for Balmy Blue Card)
  • Real Red:
    • Scrap
  • Basic White: (3 pieces)
    • 2” x 2 ½” (Polar Bears)
    • Scrap (Sentiment)
  • Beary Christmas Designer Series Paper:
    • 3” x 2 ½” (for Misty Moonlight Card)
    • 3” x 3” (for Balmy Blue Card)

More Information on My Beary Christmas Cards:

For more of my Stampin’ Up! cards, please click here.

You will find the items listed above in my online store

My Cup of Cheer Card 

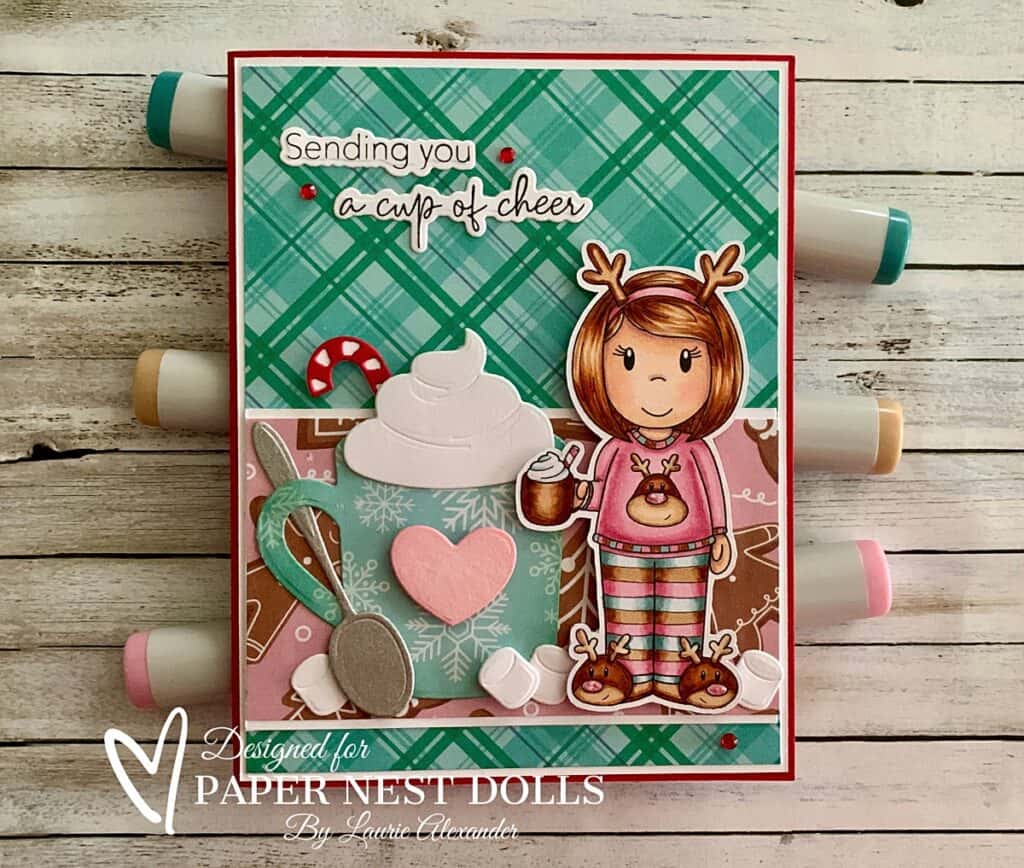
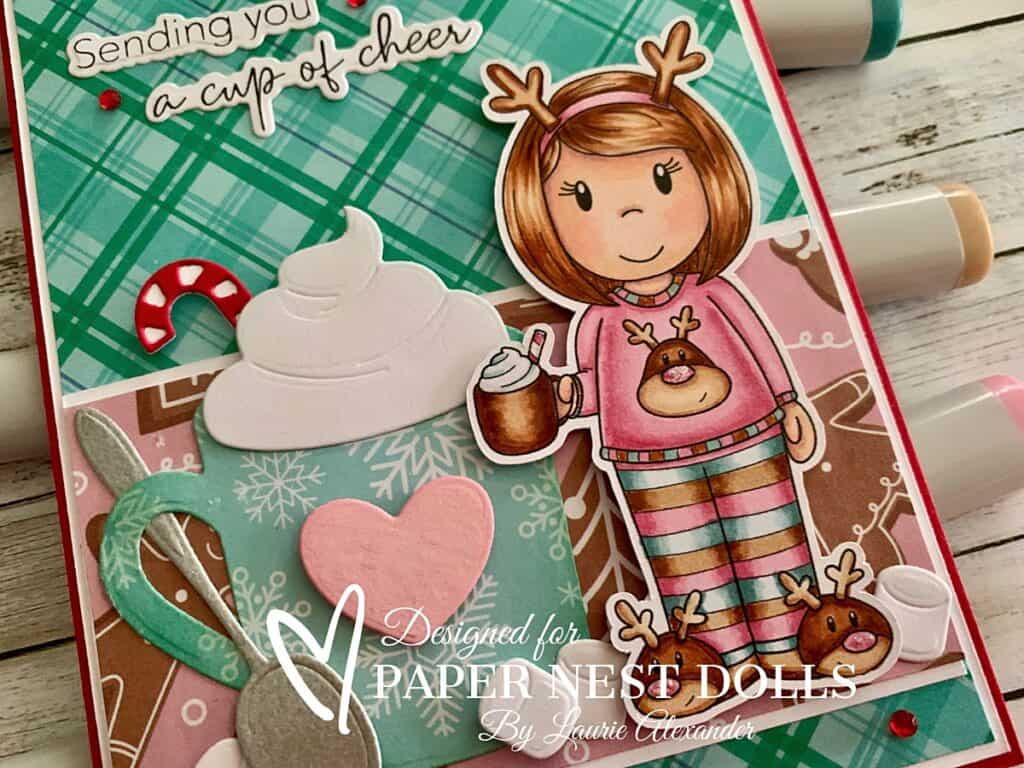
My Cup of Cheer Card - Christmas card with a girl holding a mug of hot chocolate
My Cup of Cheer Card

Hello Crafty Friends! It’s Laurie here! I am sharing My Cup of Cheer Card as my Design Team Inspiration Card for Paper Nest Dolls using the digital stamp called Emma in Reindeer PJ’s

The Details of My Cup of Cheer Card

I had so much fun colouring Emma in her cute PJs with my Copic markers to match my non-traditional paper choice! For my card, I thought the Christmas cookie paper would be perfect since cookies and hot chocolate are a great combination, especially gingerbread! Yum! The pretty plaid pattern paper really brought out the non-traditional colours of my card.

Isn’t that die cut mug just the cutest! For the mug, I knew I wanted to use the snowflake tag and found that the die just fit it. To add some dimension to my mug, I blended some Pool Party ink along the edges. I also blended some Pink Pirouette Ink along the edges of the heart. I thought it would be fun to add whipped cream and a candy cane just like Emma’s. The spoon was die cut from some metallic paper that I had. Of course, if you have hot chocolate, you need marshmallows! Lol!

Since there was a lot going on the card already, I went with a simple die cut sentiment with a few red rhinestones to match my candy cane.

Finally, I used Glossy Accents on Emma’s candy cane, Stardust Stickles on the reindeers’ noses and Wink of Stella on Emma’s and the mug’s whipped cream.

————————–

Copic Markers:

Skin: E000/E00/E21/E11/E04/R20
Hair: E37/E35/E33/E31
Pinks: R85/R83/R81
Browns: E37/E35/E33/E31
Blues: BG75/BG72/BG70
Headband: E30/E31/R85/R83/R81
Reindeers: E37/E35/E33/E31/E30/R85/R81
Whipped Cream: BG000/BG0000
Candy Cane: R27/C1/0

Close Up of Girl holding mug
Close Up of Emma in Reindeer PJ’s

————————–

Card Recipe for My Cup of Cheer Card:

Emma in Reindeer PJ’s, Paper Nest Dolls
Paper Basics – Stamper’s Select White Cardstock, Papertrey Ink
Sugar Plum Wishes 12” x 12” Paper, Paige Evans 
Hug in a Mug Honey Cuts, Honey Bee Stamps
Hug in a Mug Stamp Set, Honey Bee Stamps
Mugs & Kisses Honey Cuts, Honey Bee Stamps
VersaFine, Tsukineko
Pool Party Ink, Stampin’ Up!
Pink Pirouette Ink, Stampin’ Up!
Blending Brushes, Stampin’ Up!
Galvanized Metallic Paper, Stampin’ Up!
Red Rhinestone Basic Jewels, Stampin’ Up!
Stardust Stickles, Ranger
Clear Wink of Stella, Stampin’ Up!
Glossy Accents, Ranger
Basic White, Real Red, and Pink Pirouette Card Stock, Stampin’ Up!

Finished card size: 4 ¼” x 5 ½”

————————–

To view my other Paper Nest Dolls cards, please click here.

Hope you like my Design Team card using
Emma in Reindeer PJ’s by Paper Nest Dolls!

Thank you for stopping by!

Hugs,
Laurie

Yeti for the Holidays?

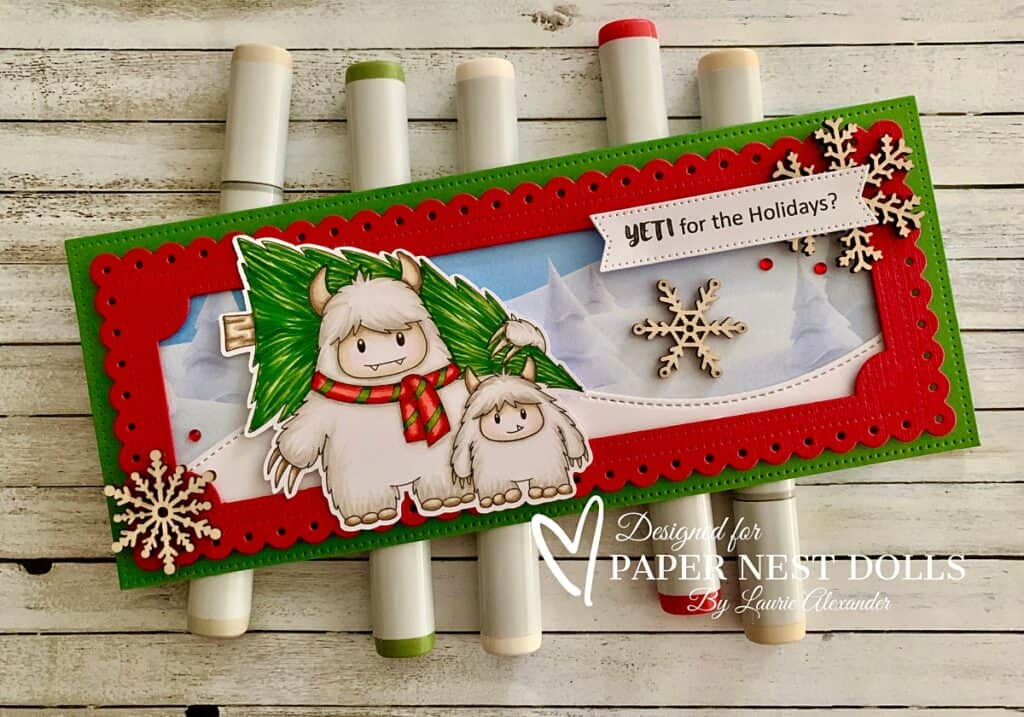
Yeti for the Holidays? - A Christmas Card with a Yeti Father and Son getting a Christmas Tree.
Yeti for the Holidays?

Hello Crafty Friends! It’s Laurie here! I am sharing my Yeti for the Holidays? as my Design Team Inspiration Card for Paper Nest Dolls using Yeti Father and Son. I just love these cuties. There is a Yeti Mom and Baby that you could add to this card for the whole family! Lol!

The Details of My Yeti for the Holidays?

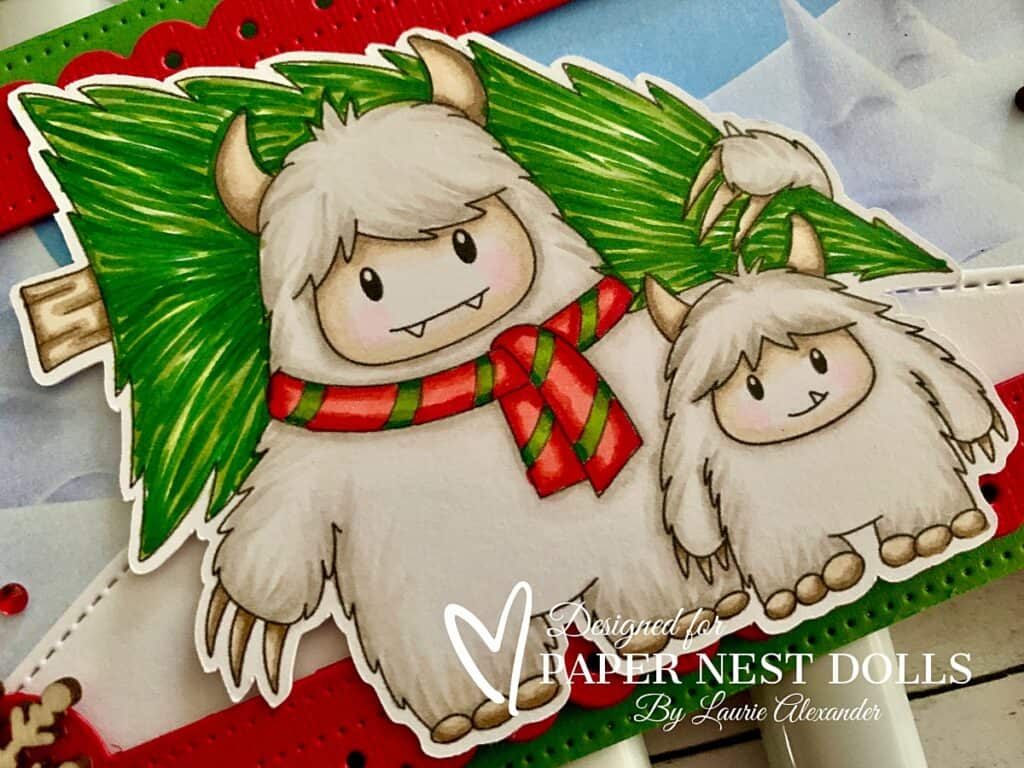
I had a lot of fun colouring these two with my Copic markers! I decided to create a fur texture with individual strokes in the shadows and left the highlights white. The tree was also coloured with individual strokes to create texture. The Father Yeti’s tie pulled together my colour scheme of red and green.

For my card, I wanted to use the Whimsy paper with these cuties. This paper is perfect for those wintery scenes! In fact, I used it for another card that I made a few years ago and will post it at the end.

So, I created a slimline card using the Dotted Slimline Dies by Studio Katia. I used all three dies that came in the set to create my card. I thought it would be fun having the yetis stepping out of the wintery scene with their Christmas tree.

To complete my wintery scene and to add interest, I used a Stitched Hillside Die to add an extra layer to the scene. I made sure that my “snowbank” did not cover up the snow-covered trees on the background.

Next, I typed and printed my sentiment out on my computer. There are so many great sentiments out there that it was hard to pick one! Lol! The sentiment was die cut out with another stitched die.

For embellishments, I used some wooden snowflakes that I had in my stash for that rustic look and a scattering of red rhinestones to add sparkle.

————————–

Copic Markers

Fur: W3/W1/W0/0
Faces: E43/E42/E41/E40/RV00/0
Horns/Nails/Tree Trunk: E44/E43/E42/E41
Reds: R29/R27/R24/R22
Greens: G29/YG63/YG03

Close Up of Yeti Father and Son Stamp
Close Up of Yeti Father and Son

————————–

Card Recipe for My Yeti for the Holidays?

Yeti Father and Son, Paper Nest Dolls
Paper Basics – Stamper’s Select White Cardstock, Papertrey Ink
Frozen Slimline Designer Paper Pack, Whimsy Stamps
Dotted Slimline Dies, Studio Katia
Slimline Stitched Hillside Border Dies, Lawn Fawn
Stylish Shapes Dies, Stampin’ Up!
Wooden Snowflake Embellishments, Stampin’ Up!
Red Rhinestone Jewels, Stampin’ Up!
Garden Green and Real Red Card Stock, Stampin’ Up!

Finished card size: 8 ½” x 3 ½”

Stamp Size: 3”

————————–

To view my other Paper Nest Dolls cards, please click here.

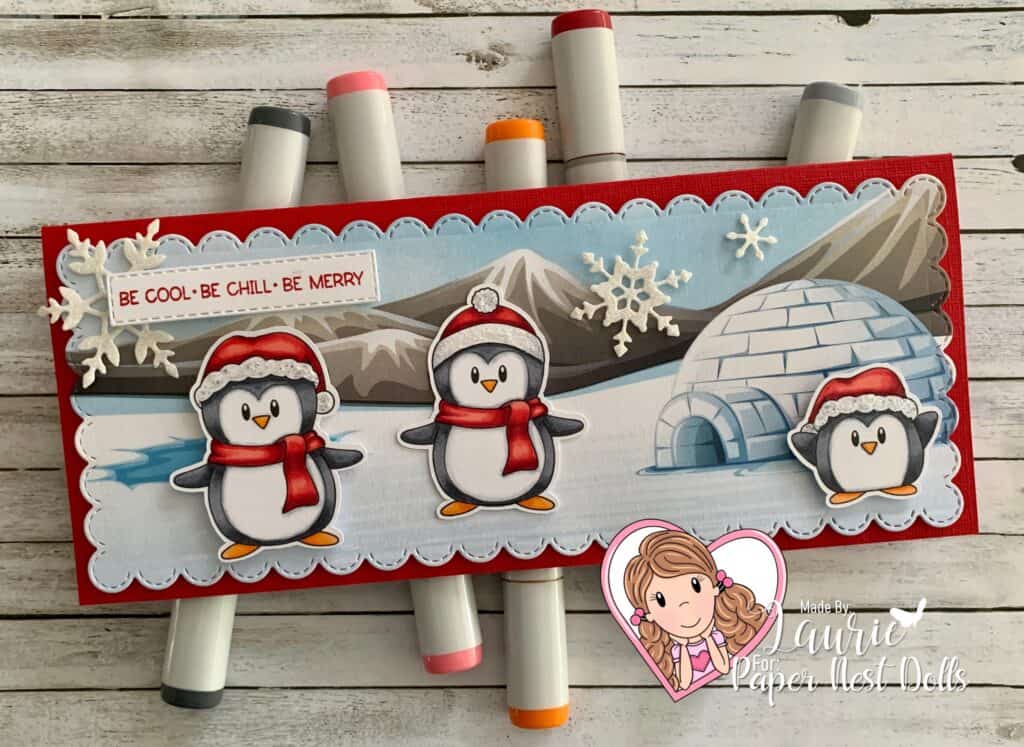
My Merry Penguins Card

For more information on my other card, please click here or on the photo.

My Design Team card with 3 Penguins on it.
My Merry Penguins Card

Hope you like my Yeti for the Holidays? Card using
Yeti Father and Son by Paper Nest Dolls!

Thank you for stopping by!

Hugs,
Laurie