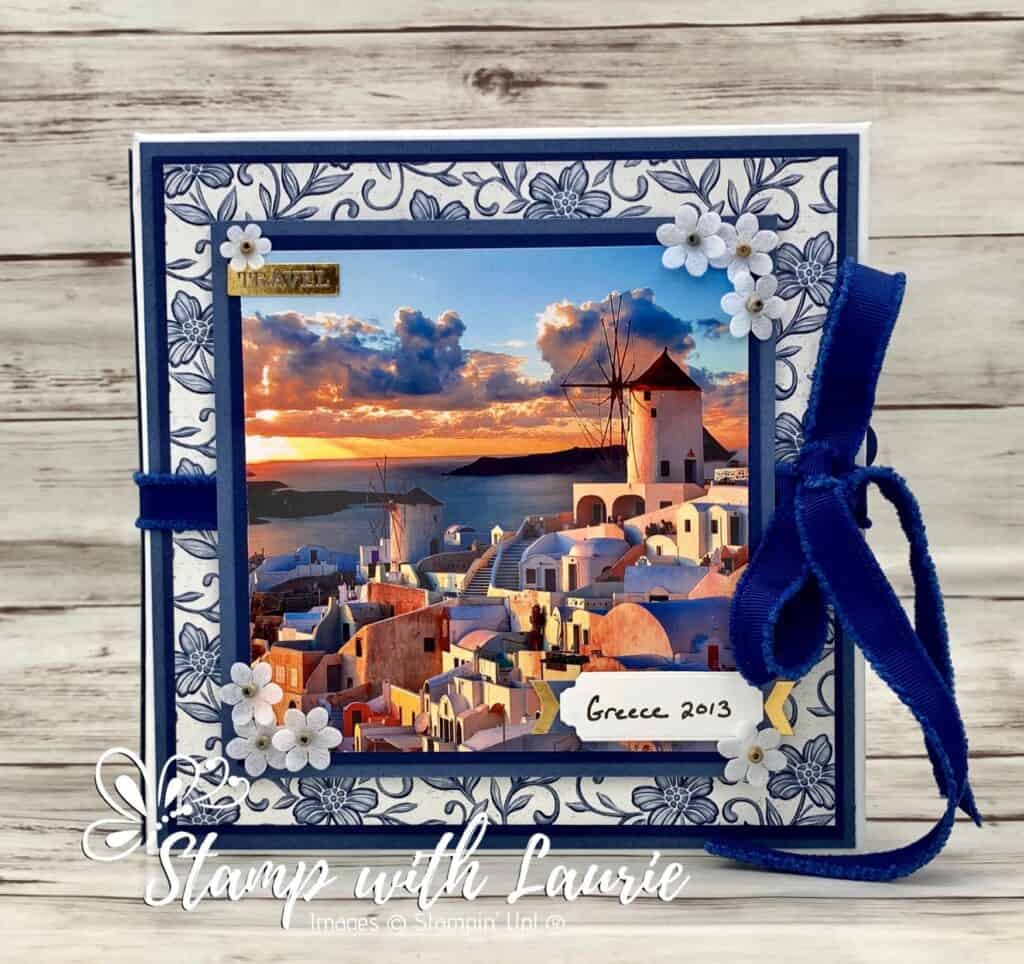
My Mini Interactive Photo Album

Cover of Mini Interactive Photo Album

Today is I am sharing something different than a card. I was asked by a fellow demonstrator to create a project with a Greek theme for a Demonstrator Playdate. I decided instead of creating a card that I would make a photo album from scratch of a past trip that my husband and I went on which started in Paris went on to Venice to catch a cruise visiting Dubrovnik, Corfu, Santorini, Athens, Katakolon and back to Venice. So, I am sharing my Mini Interactive Photo Album using photos from that trip.

Video of my Mini Interactive Photo Album

Video of my Mini Interactive Photo Album
Music Copyright – Moose Ca Ca, My Big Fat Greek Wedding

I had wanted to create one of these interactive albums for a long time. So, I googled how to create one and found a four part series of videos by Cal Summers with a PDF with the measurements. I will include links to her PDF and videos at the end of this post.

The Details of My Album

This kind of album is perfect for any 6” x 6” Designer Series Paper. But, since the colours of the Greek flag are blue and white, I decided to use the Boho Indigo Product Medley. The pretty little paper flowers that come in the Medley were perfect to decorate my cover. I used the World of Good Memories and More Cards and stickers with their travel theme to decorate my album along with the cut outs from the Boho Indigo Medley. The Scallop Tag Topper Punch was used for my tags and pull outs.

What is so nice about this album is that it is flexible to suit your needs. It uses the same 4 page designs twice giving you 8 pages that you can place in whatever order you like.
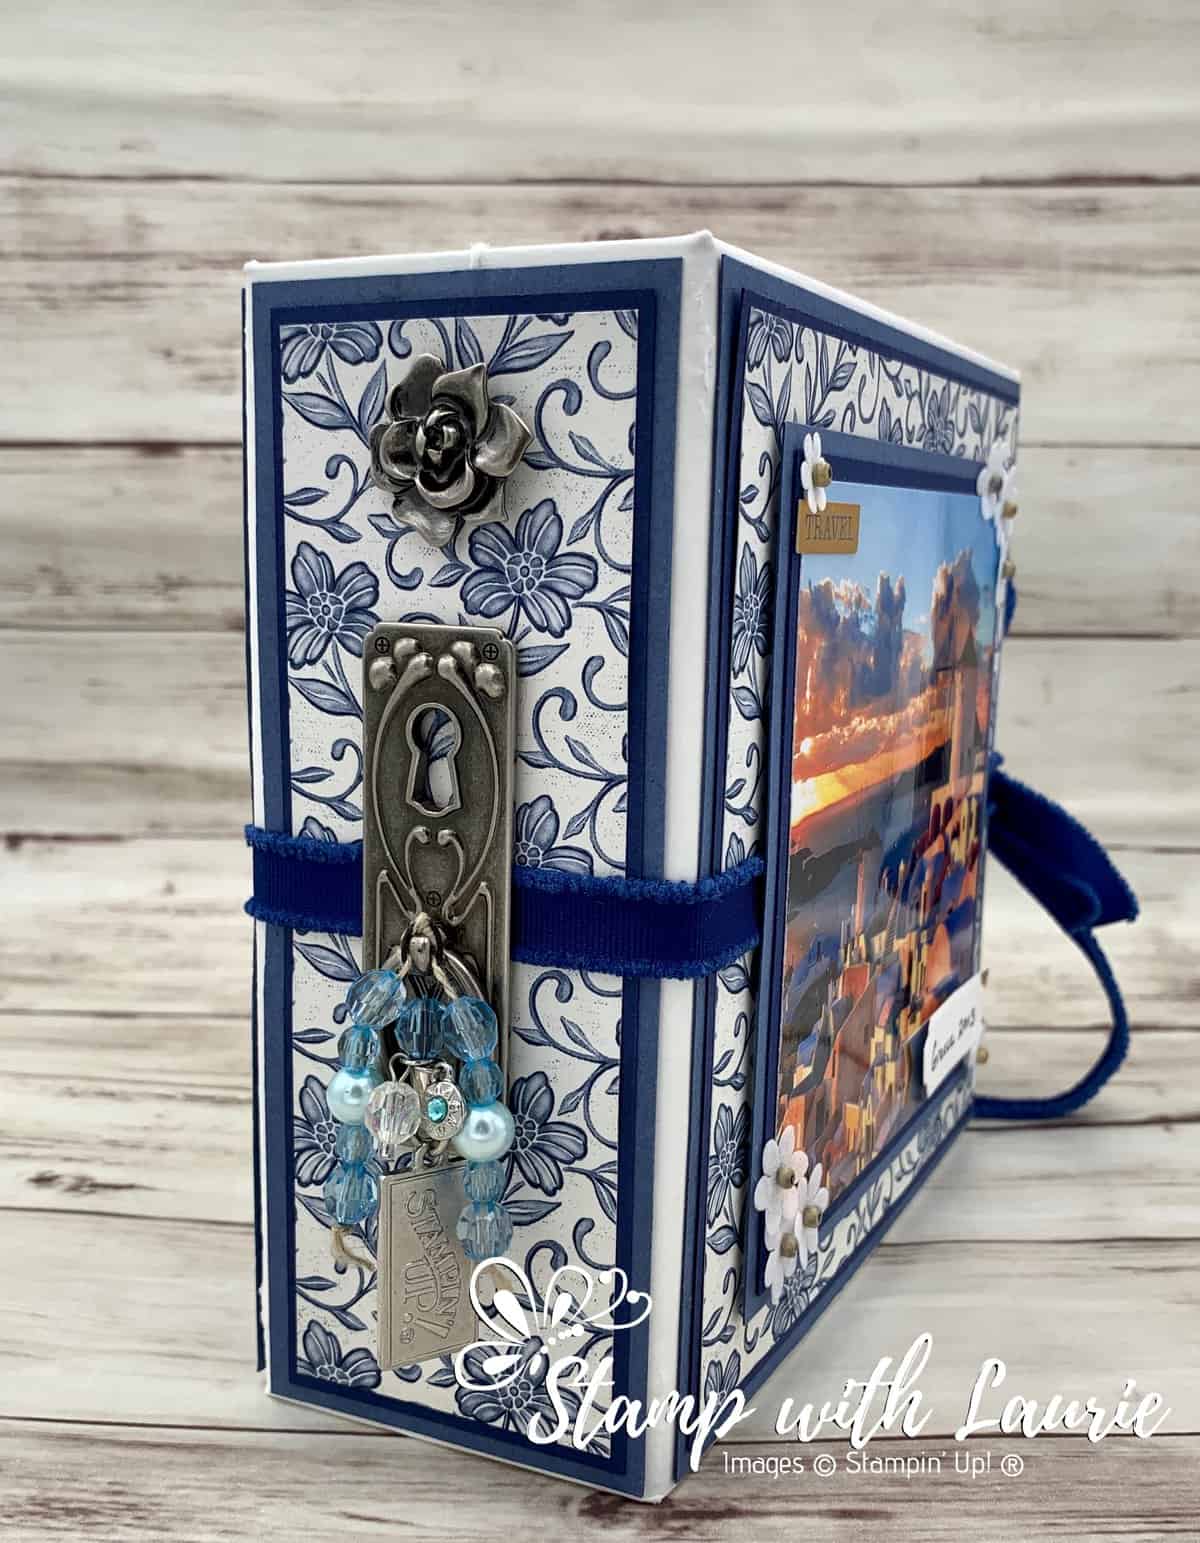
Spine of My Mini Album
Spine of My Mini Interactive Photo Album

I decorated my spine with a vintage metal key hole/latch with a rose that I bought from Michael’s Arts & Crafts a while back. The beads were from the dollar store and threaded on Whisper White Baker’s Twine from the Snail Mail Twine Combo Pack. I added a pretty charm with a blue stone to represent “Greece” and a Stampin’ Up! charm that I had from a key chain.

I also created a beaded bookmark with a key and Misty Moonlight Ribbon for the inside of my album.

Bookmark
Beaded Bookmark

Finally I decorated the back of the cover with the World of Good Designer Series Paper that has the golden globes on it. 
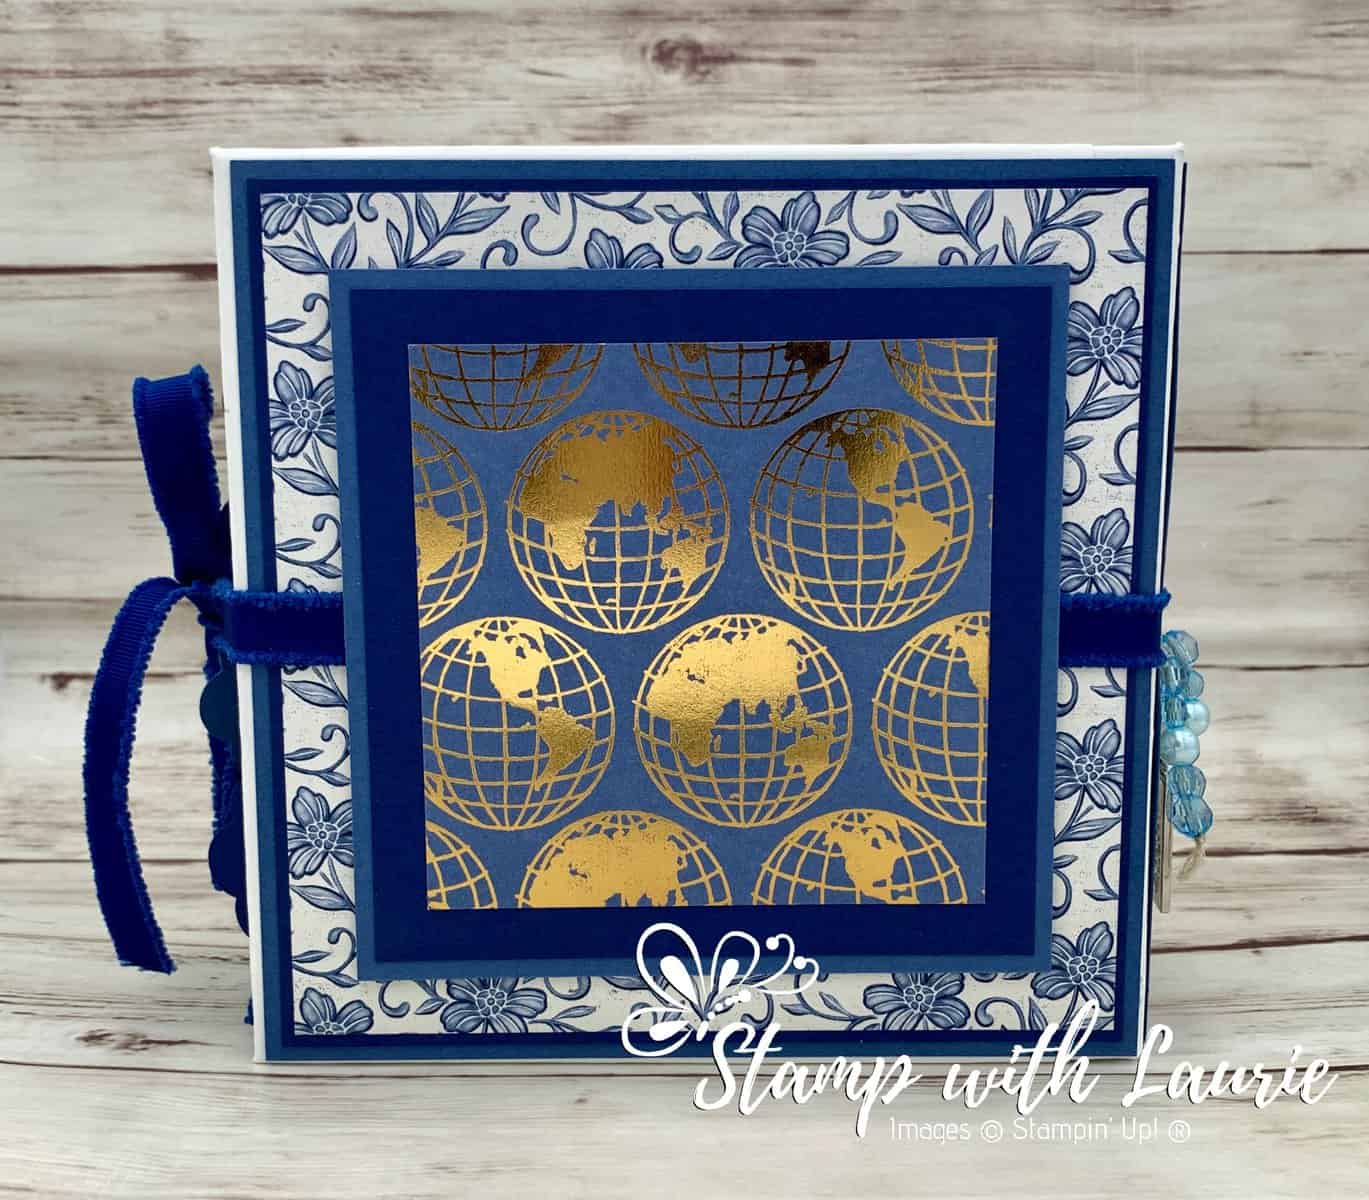
Back Cover
Back Cover of My Album

Some Tips

For my covers, I used the cardboard found with the instruction for the Paper Pumpkin Kits. I tend to keep them just in case I can recycle them somehow.

I didn’t have any Tyvek. So I used a used plastic mailing envelope that I cut down to the correct size. As long as it will not stretch or rip and is flexible, it should work.

Make sure that you secure the ribbon to tie your album closed to the cover before you add the decorative elements on the covers and spine. Lol!

Photos of the Inside of my Album
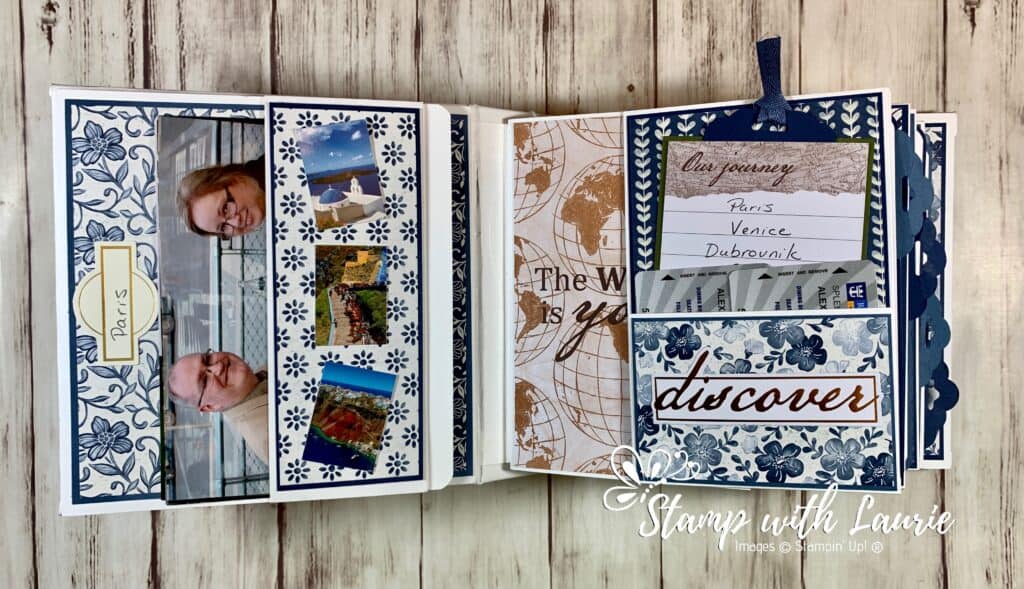
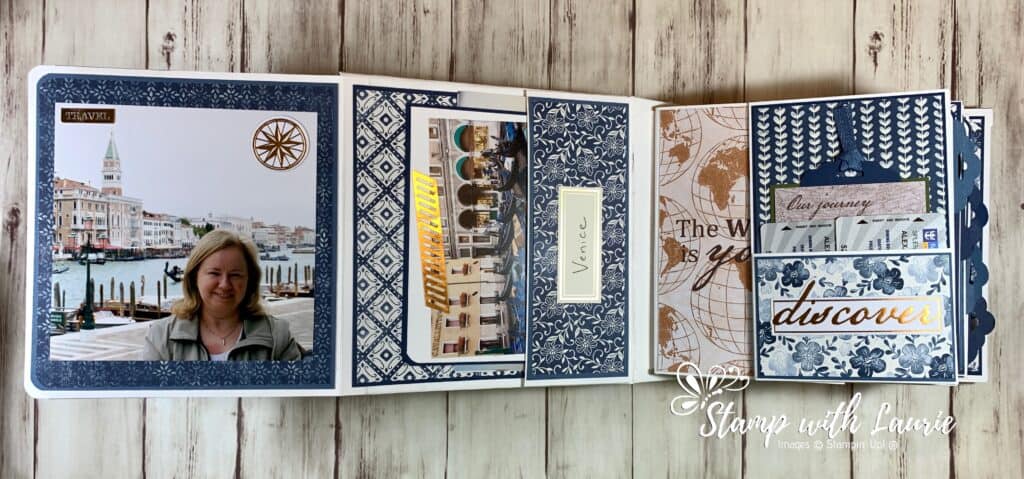
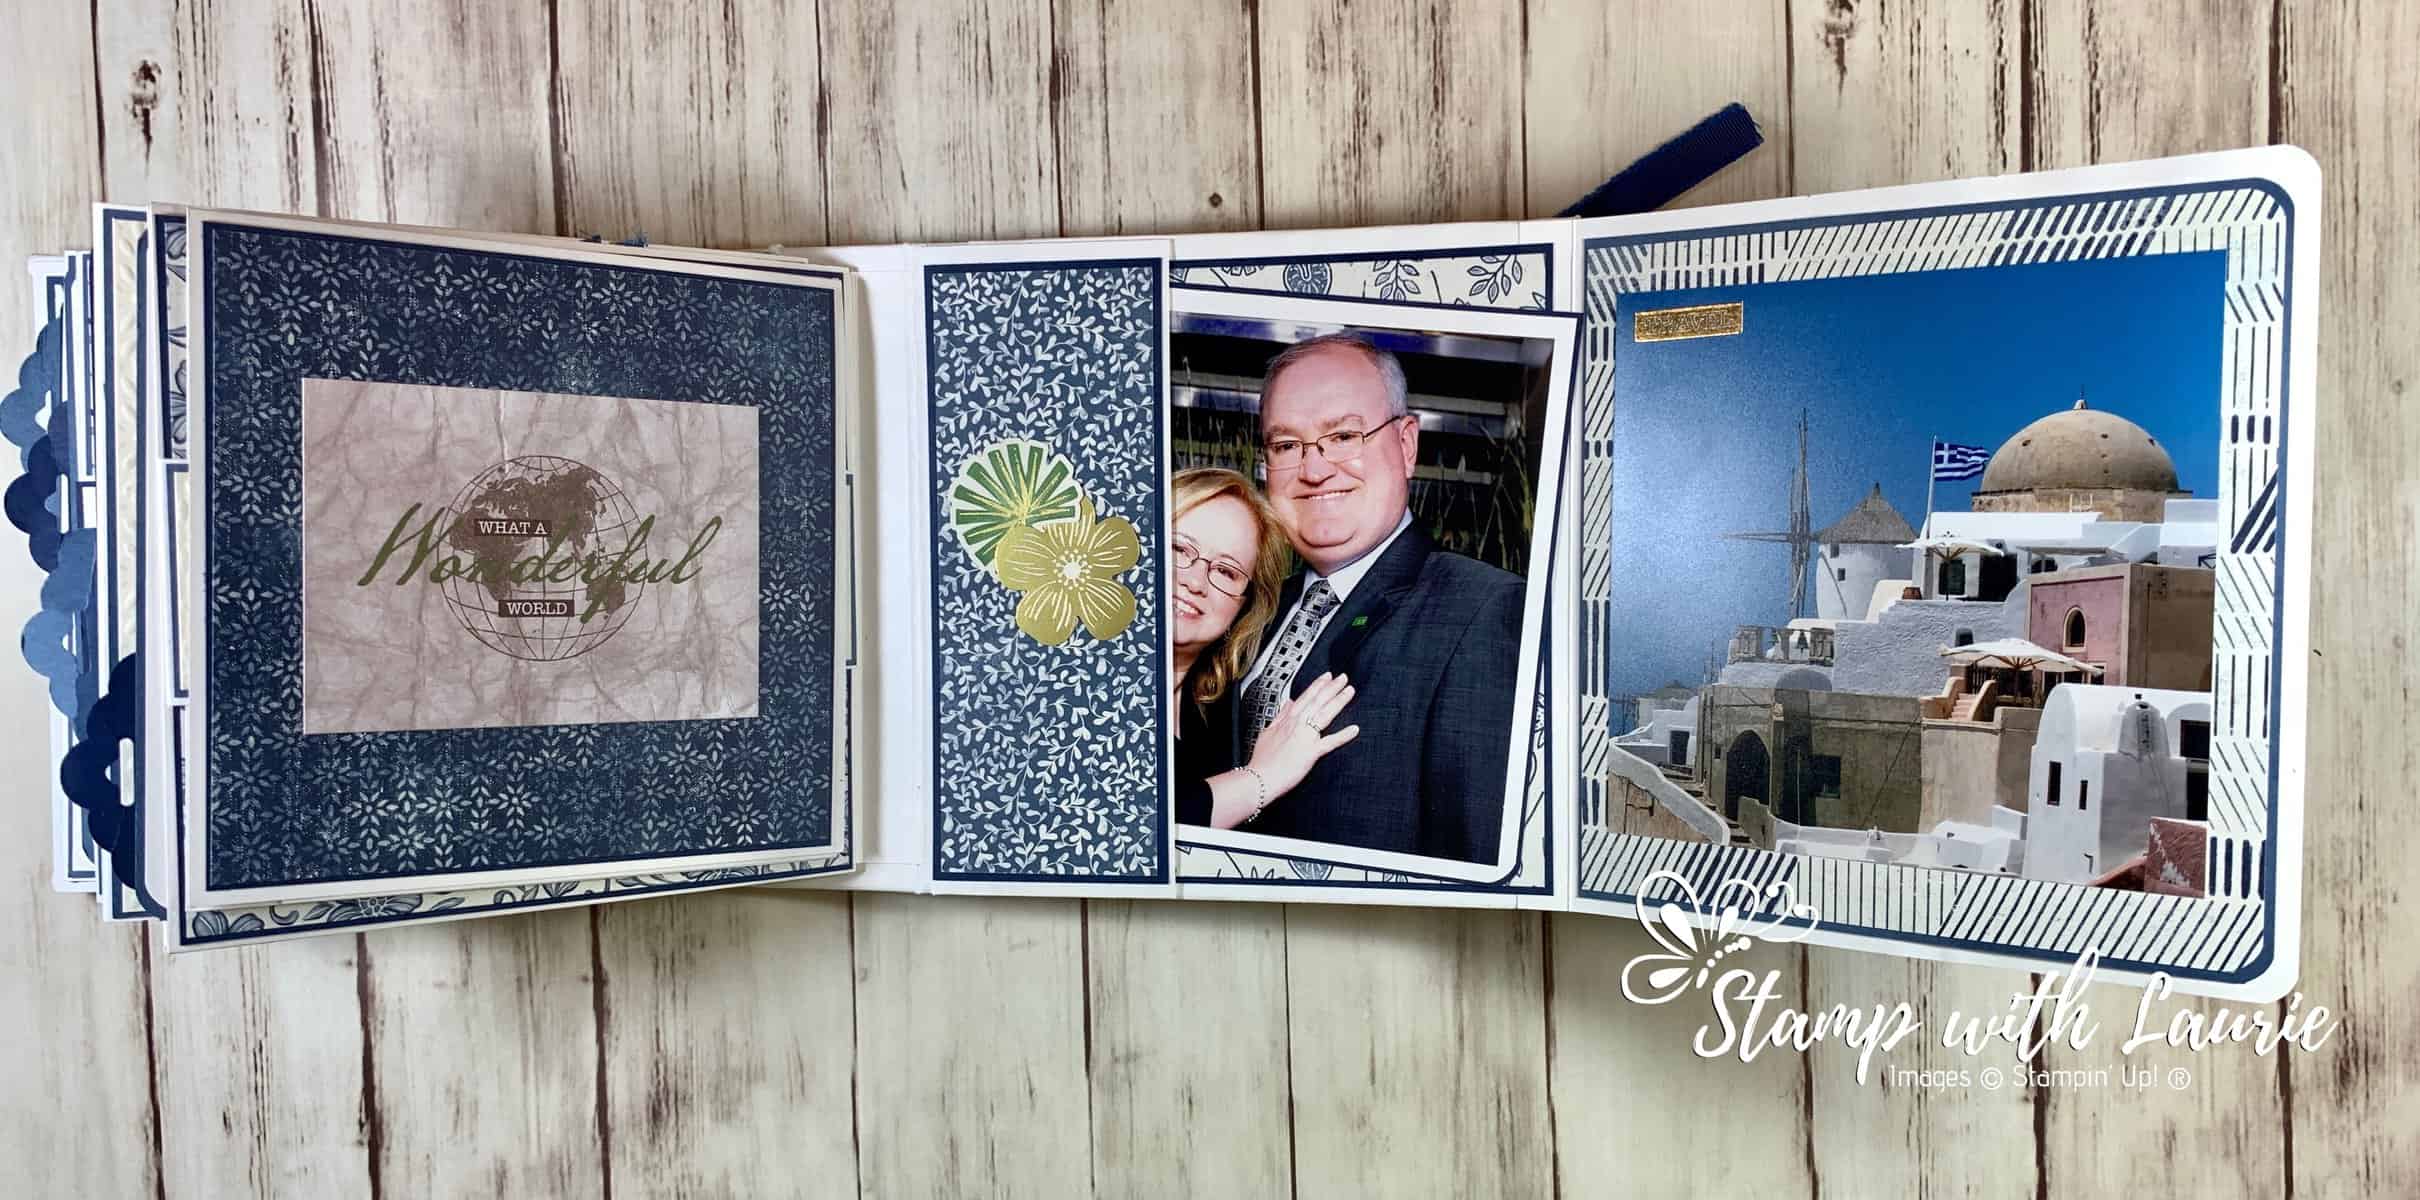
Inside Cover and Page 1
Paris – Spread of Inside Cover and Page 1
Inside Front Cover
Venice – Inside Front Cover
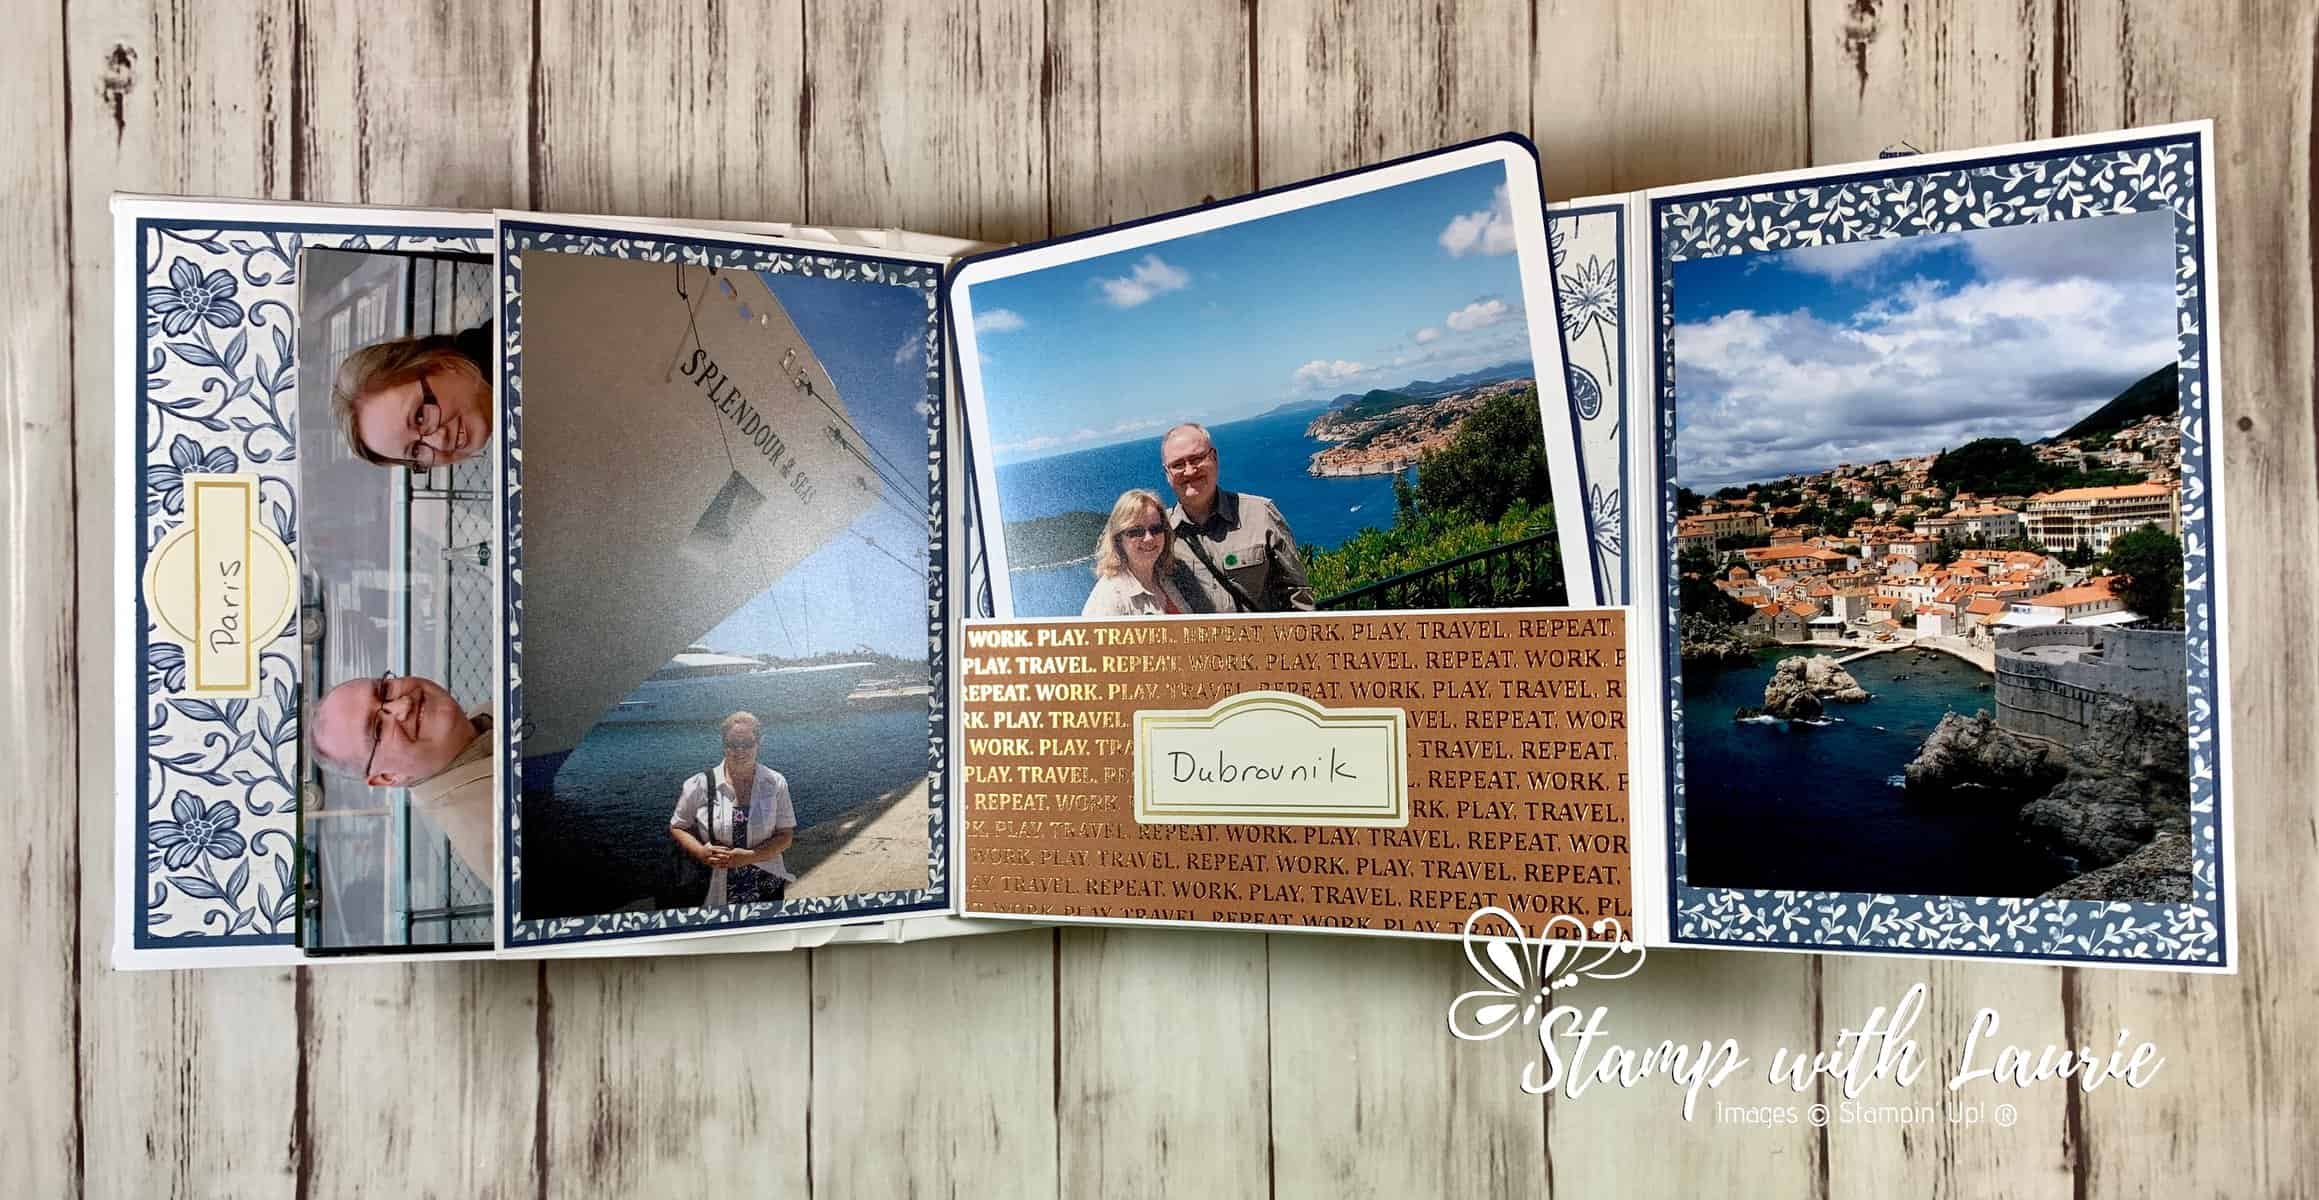
Page 1
Dubrovinik – Page 1
Page 2 and 3 Spread
Page 2 and 3 Spread
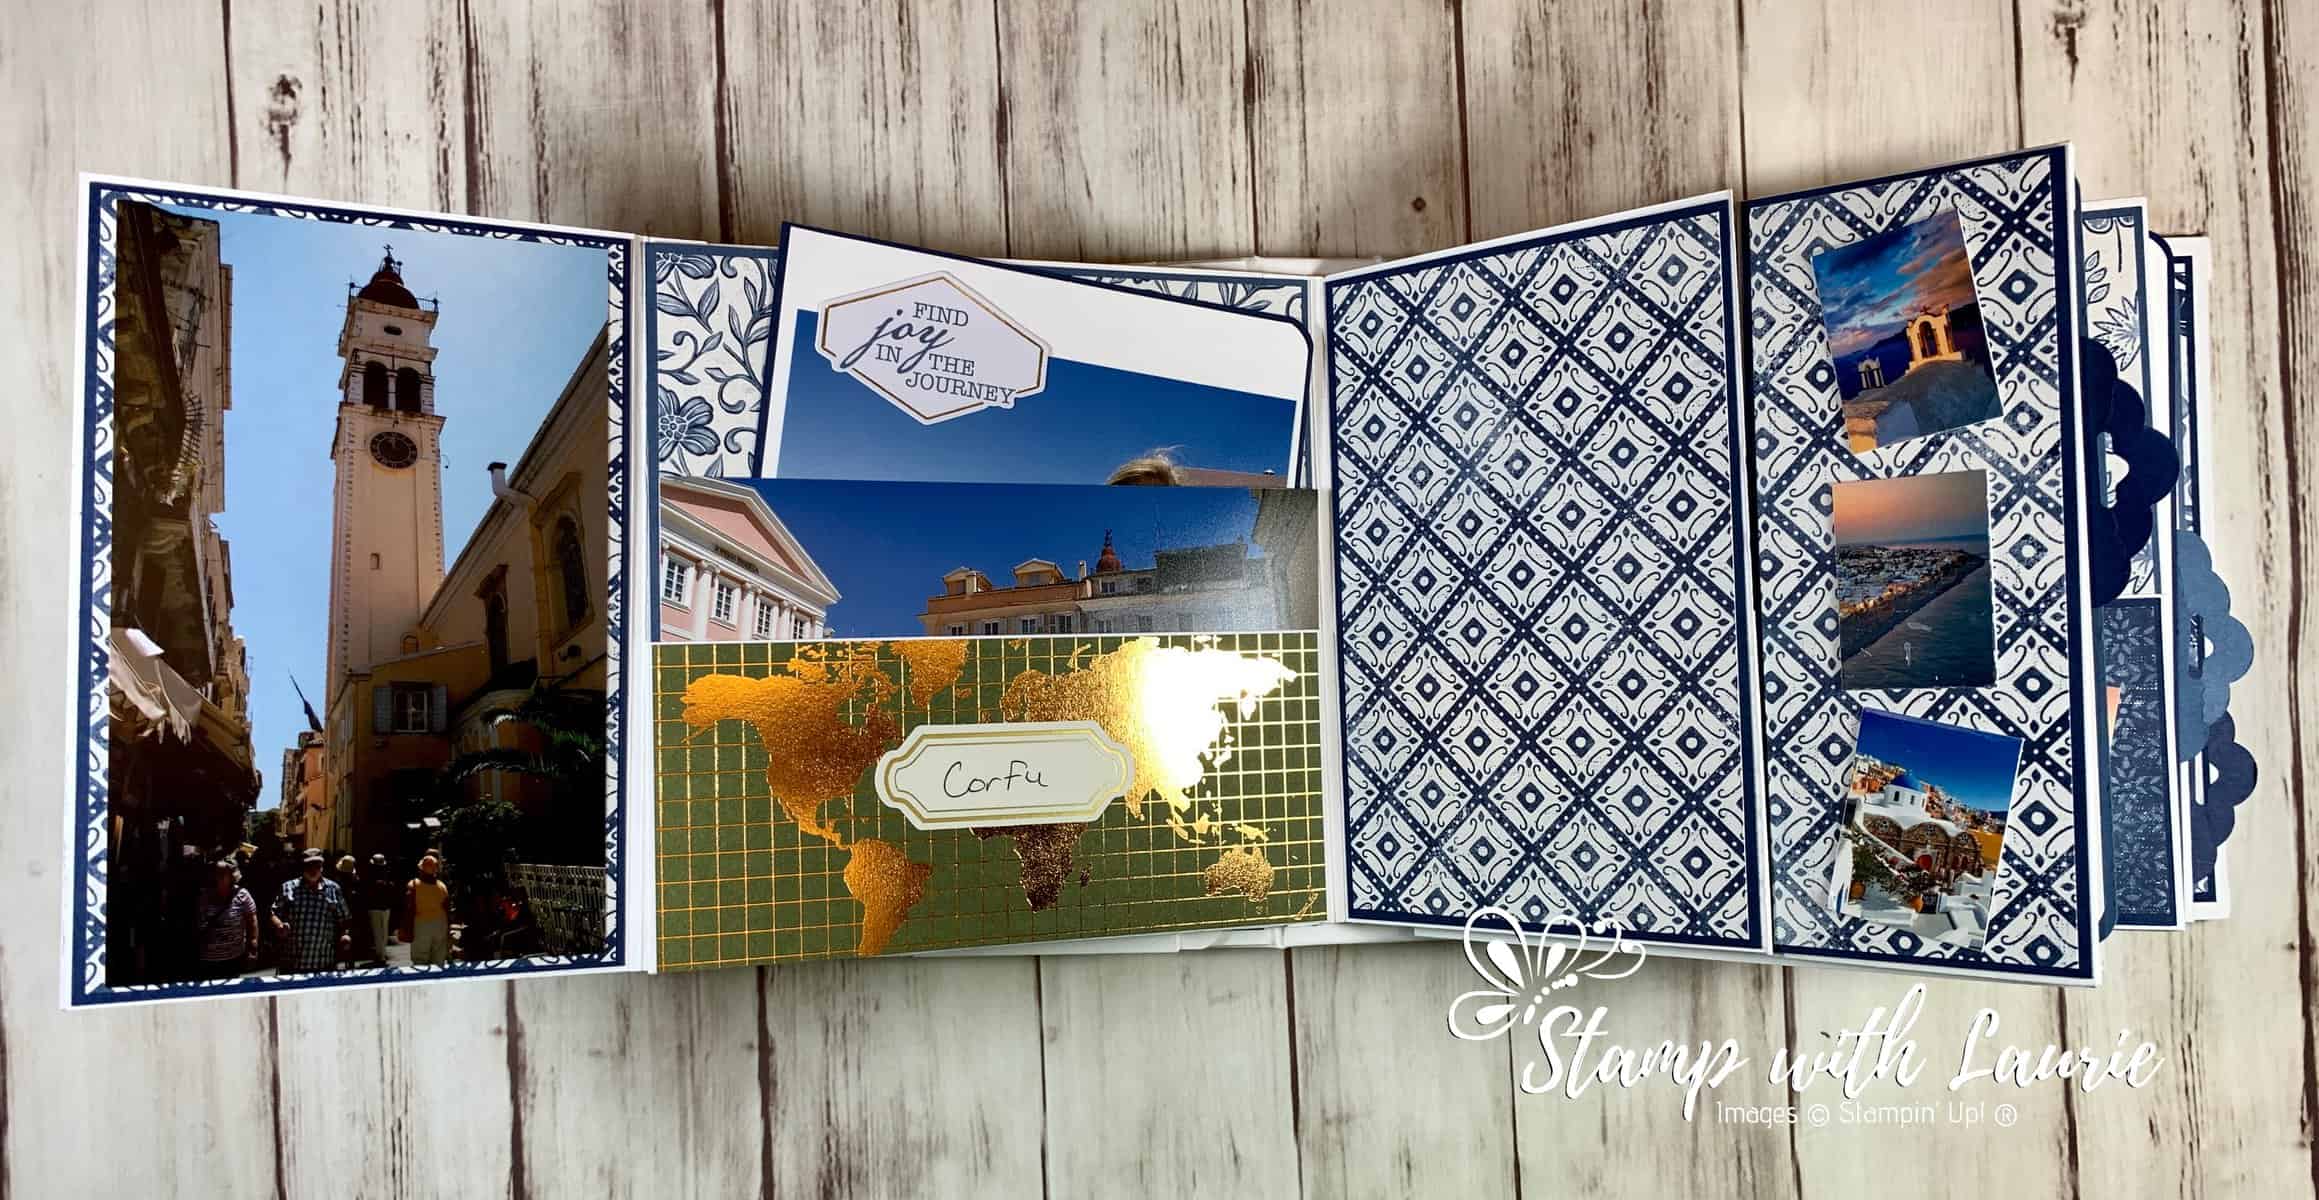
Page 1
Corfu – Page 2
Page 4 and 5 Spread
Page 4 and 5 Spread
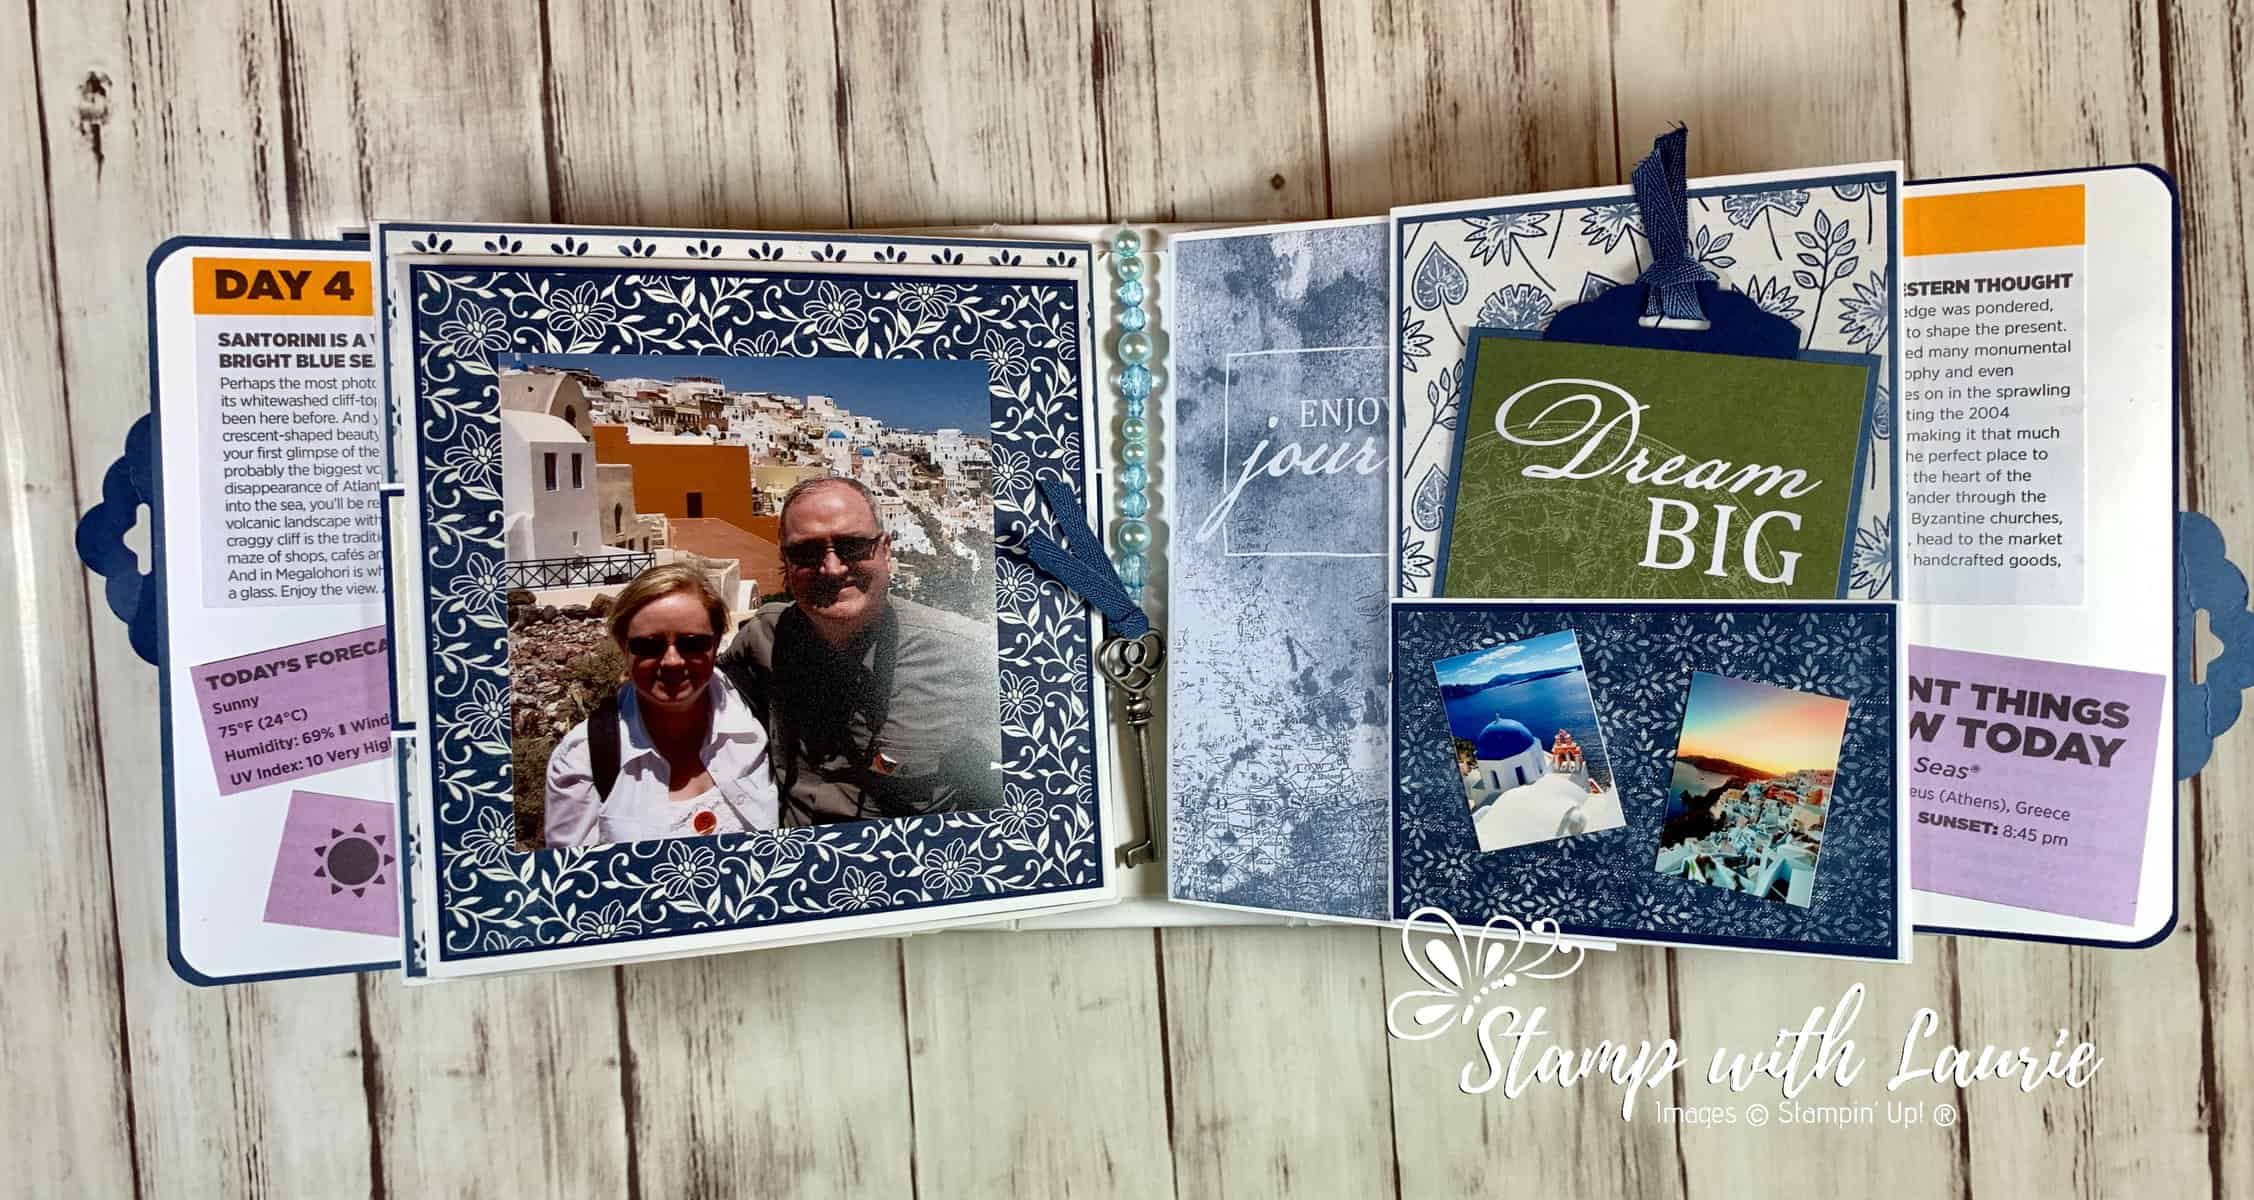
Page 4
Page 4 – Picture Folder
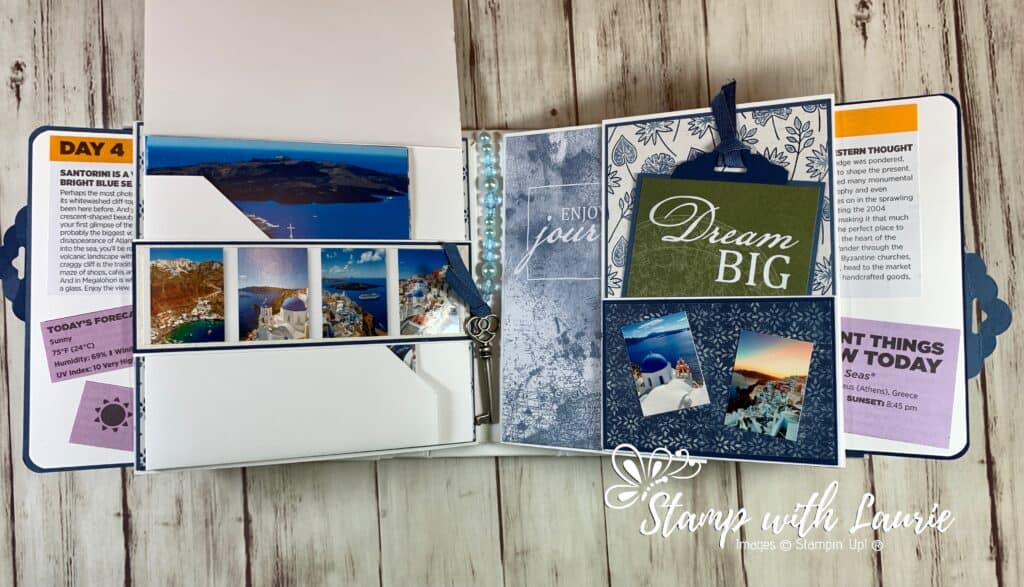
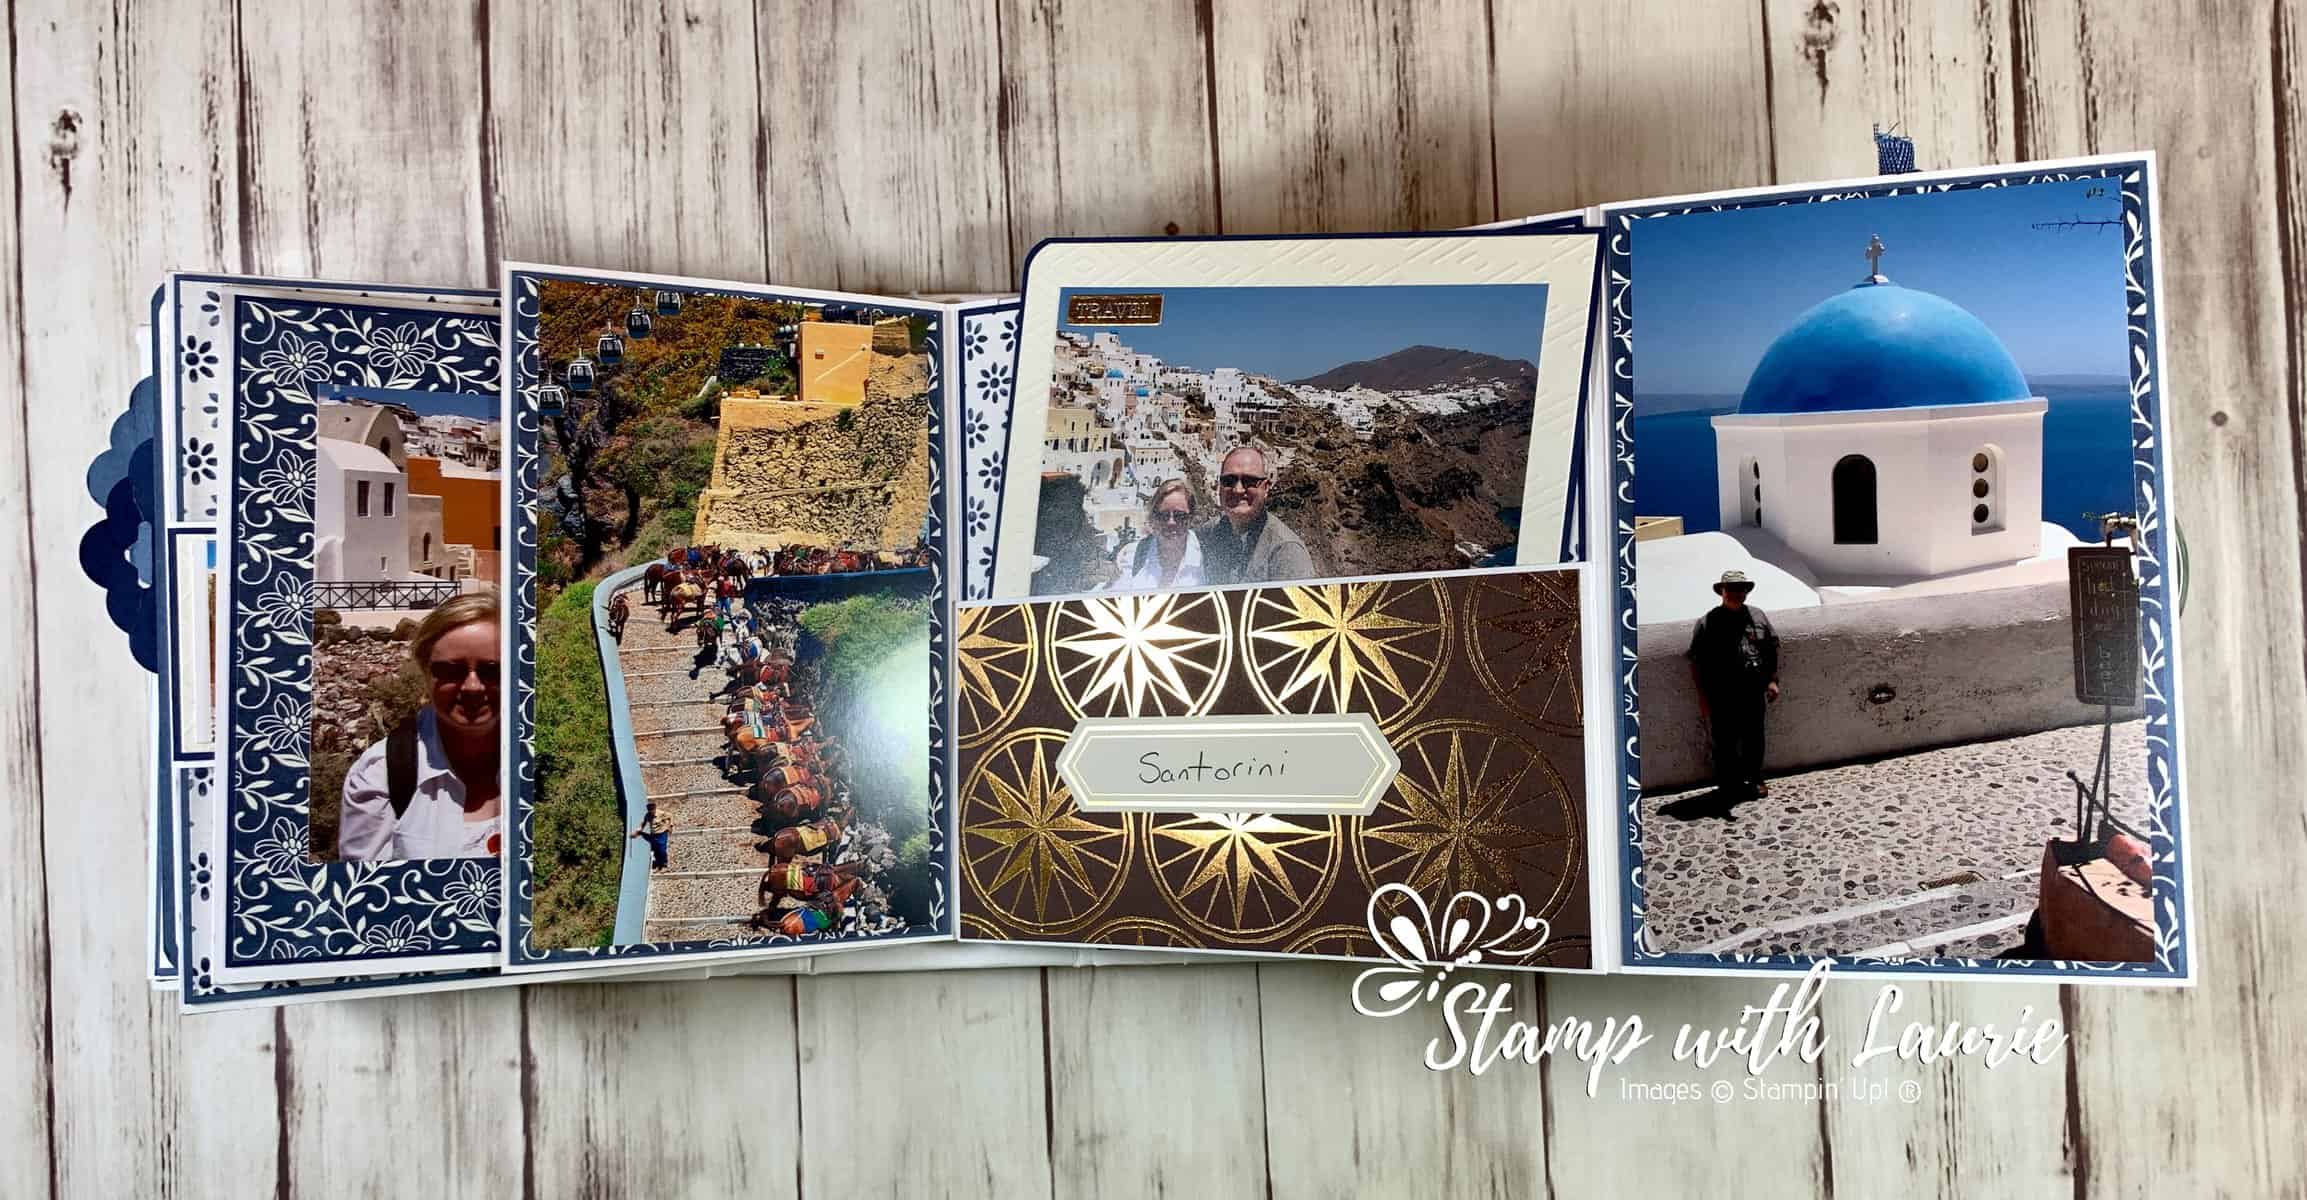
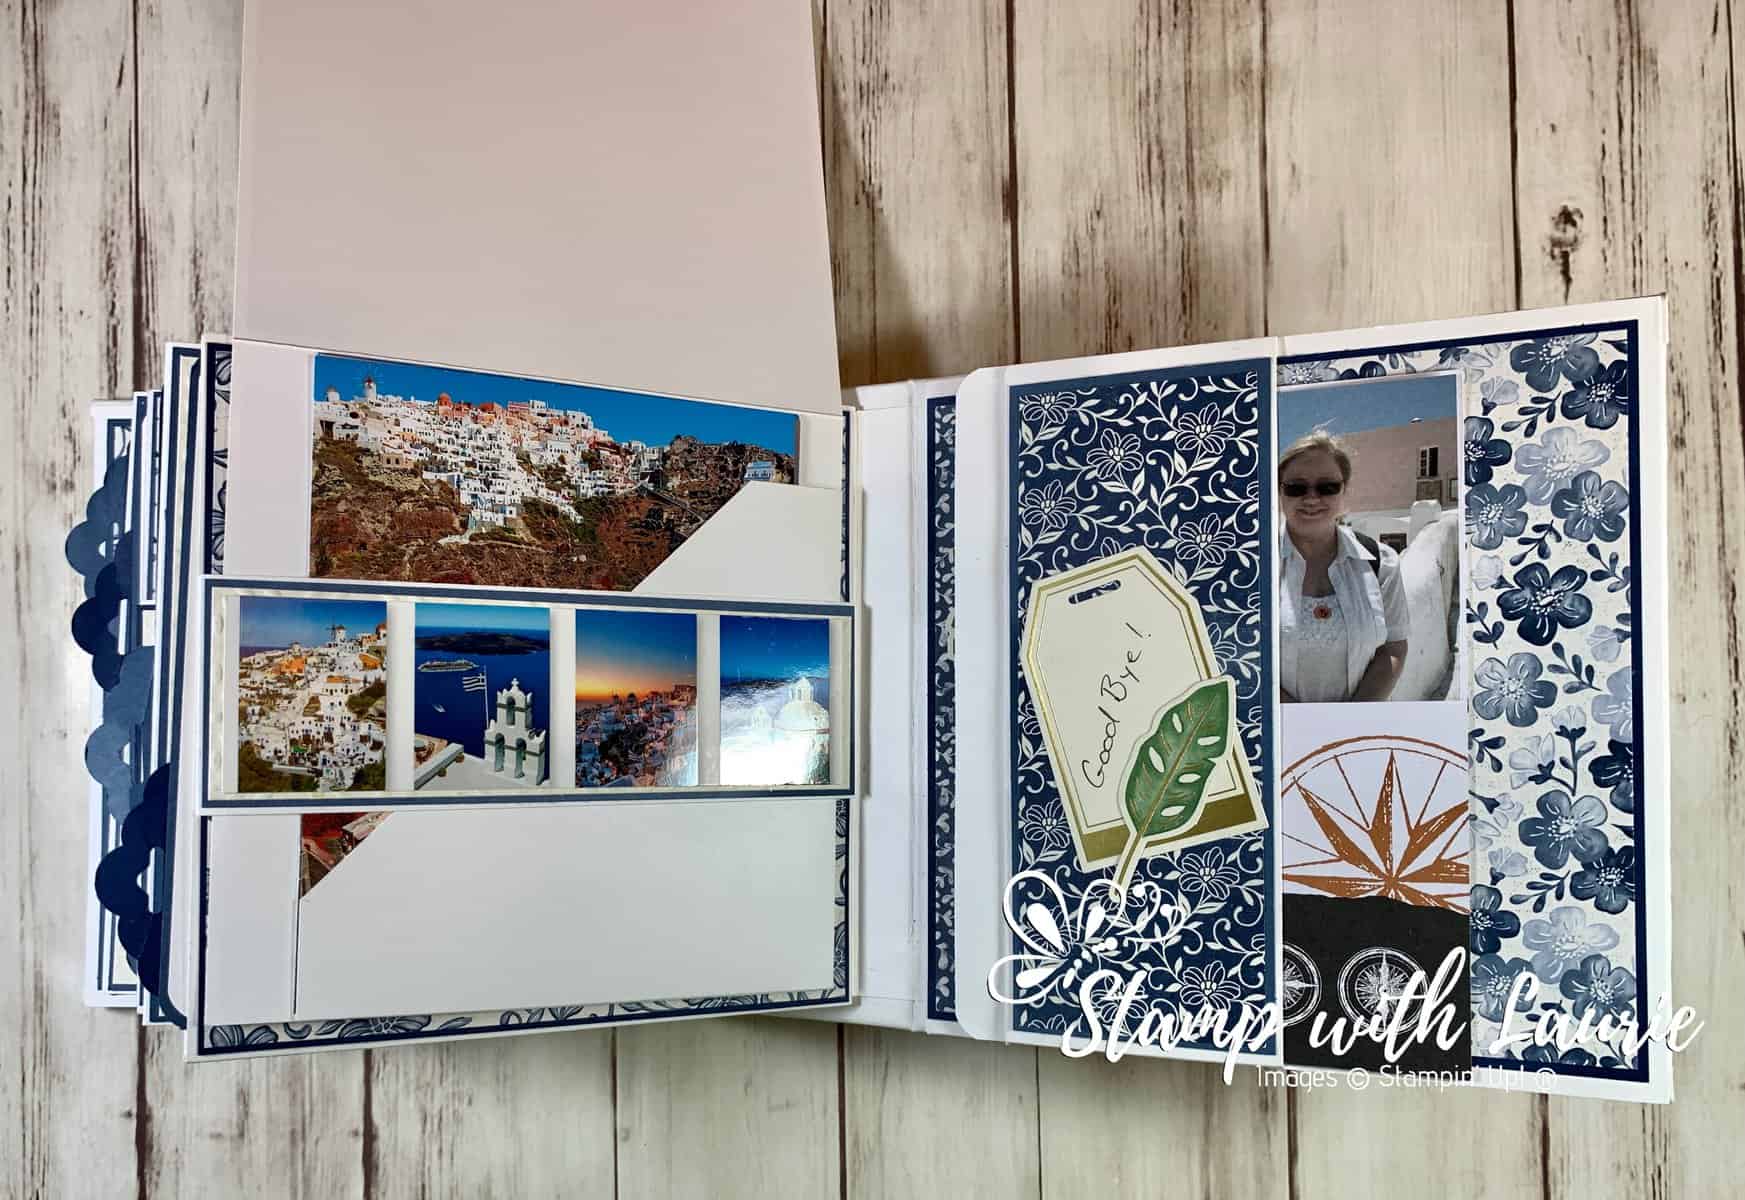
Page 5 - Santorini
Santorini – Page 5
Page 6 and 7 Spread
Page 6 and 7 Spread
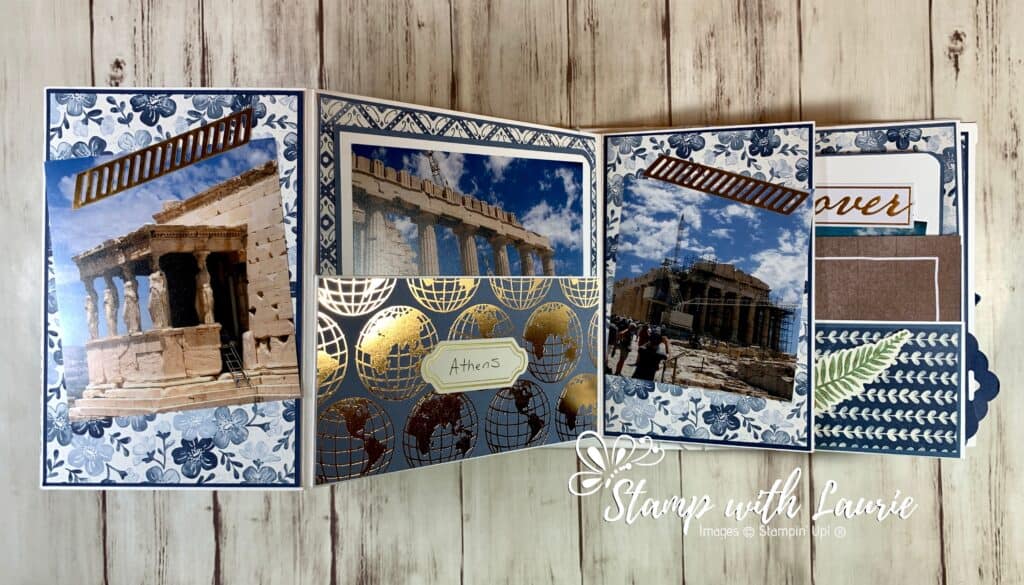
Page 6 - Athens
Athens – Page 6
Page 7
Page 7
Spread
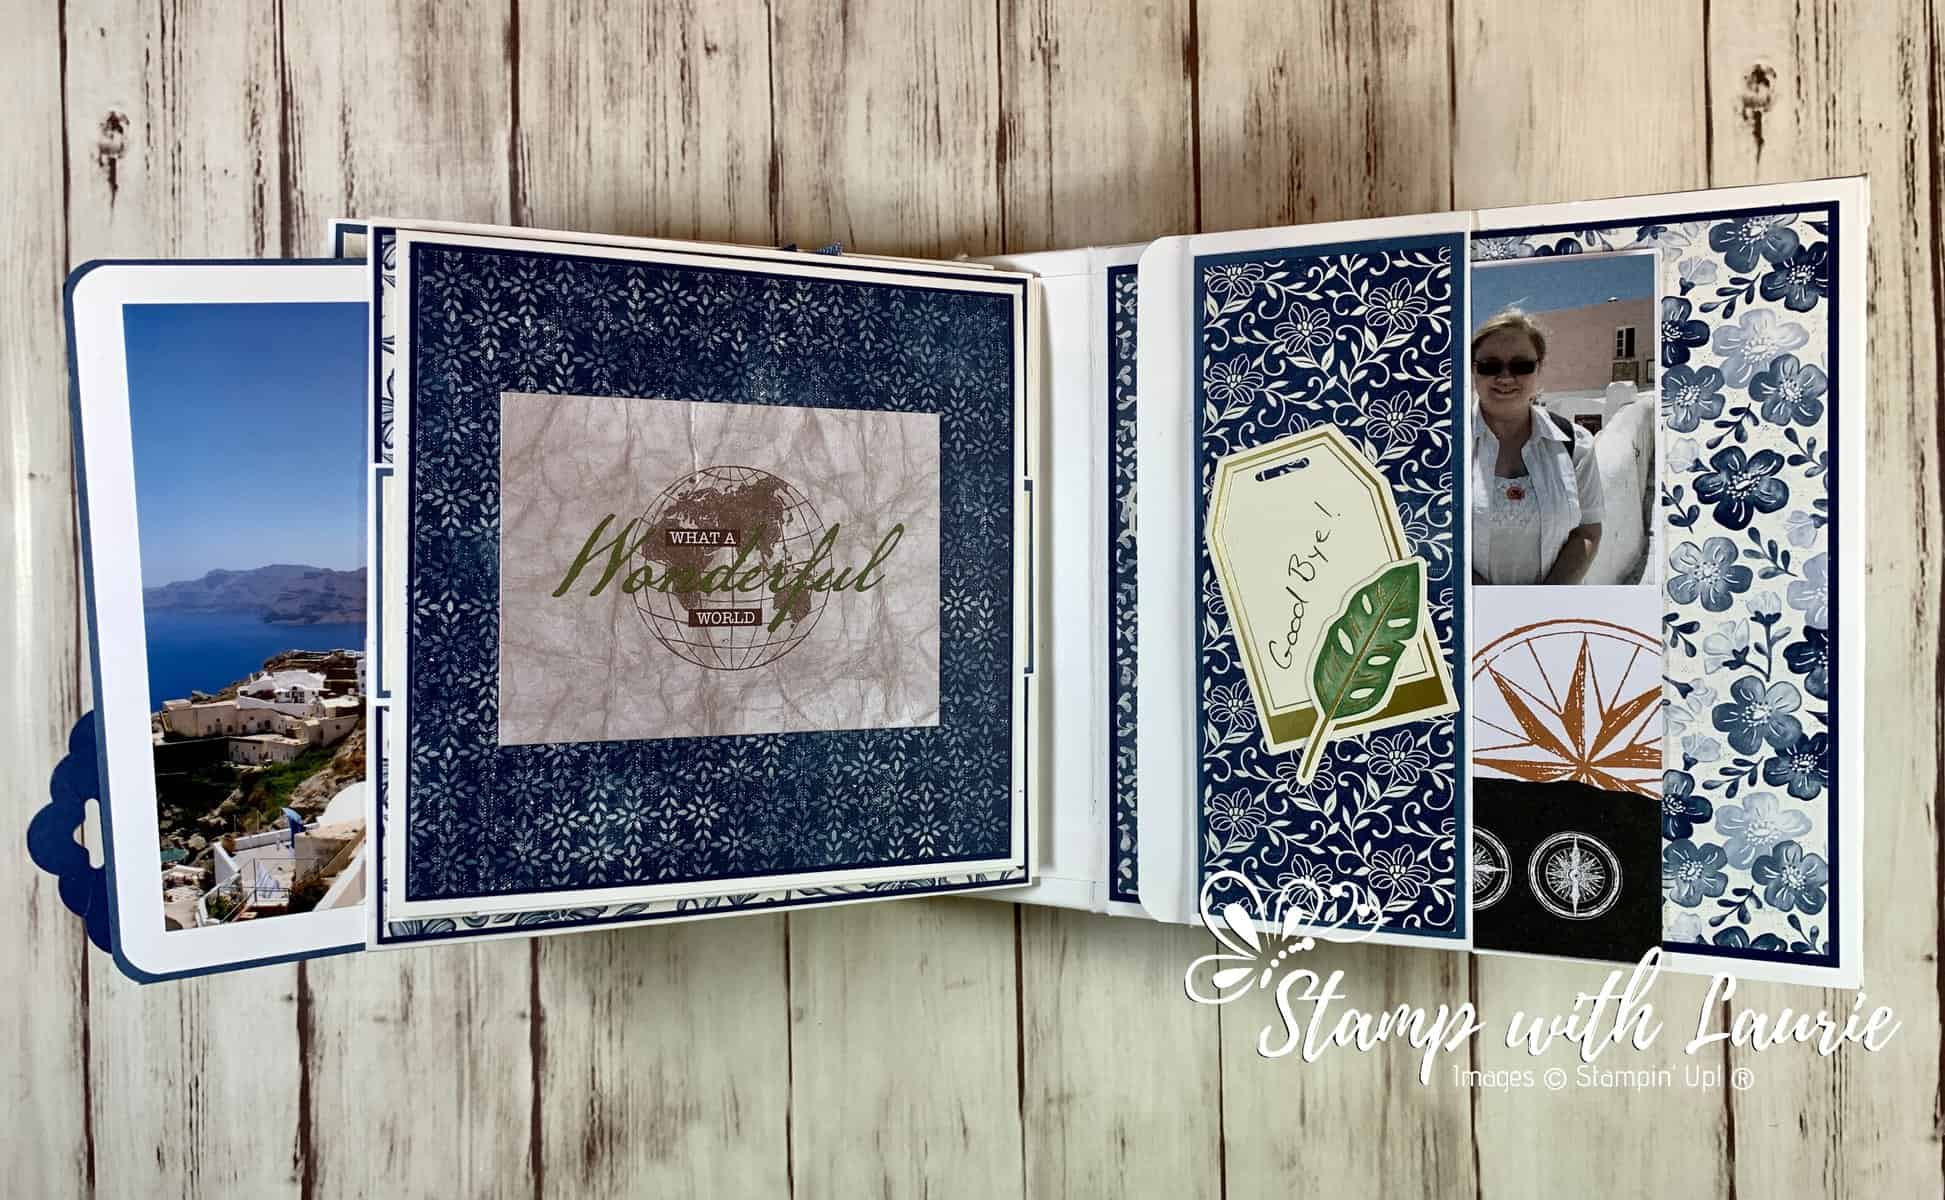
Spread of Page 8 and Inside Back Cover
Page 8
Page 8 – Picture Folder
Back Cover
Back Cover Opened

Supplies:

Stamps/Bundles/Dies: Boho Indigo Product Medley, Field Tiles Dies (152707)

Paper: Night of Navy (100867), Misty Moonlight (153081), Basic White 12″ x 12″ (159231), World of Good Memories and More (153600), World of Good Designer Series Paper (152491)

Accessories: Basic Black Stampin’ Write Marker (100082), Misty Moonlight 2020-2022 In Color Ribbon (153624), Snail Mail Twine Combo Pack (154579), Decorative Beads, Bead Shop, Crafts (Dollar Store), Vintage Romance Journal and Album Knobs, Recollections (Michael’s Arts & Crafts), Daintyfied Lunar Charm (Michael’s Arts & Crafts), Scallop Tag Topper Punch, Paper Snips (103579), Bone Folder (102300), Stampin’ Dimensionals (104430), Stampin’ Seal (152813), Glue Dots (103683), Multipurpose Liquid Glue (110755), Envelope Punch Board (for rounding the pull outs), Aleene’s Tacky Glue, Cardboard, Flexible Plastic Envelope
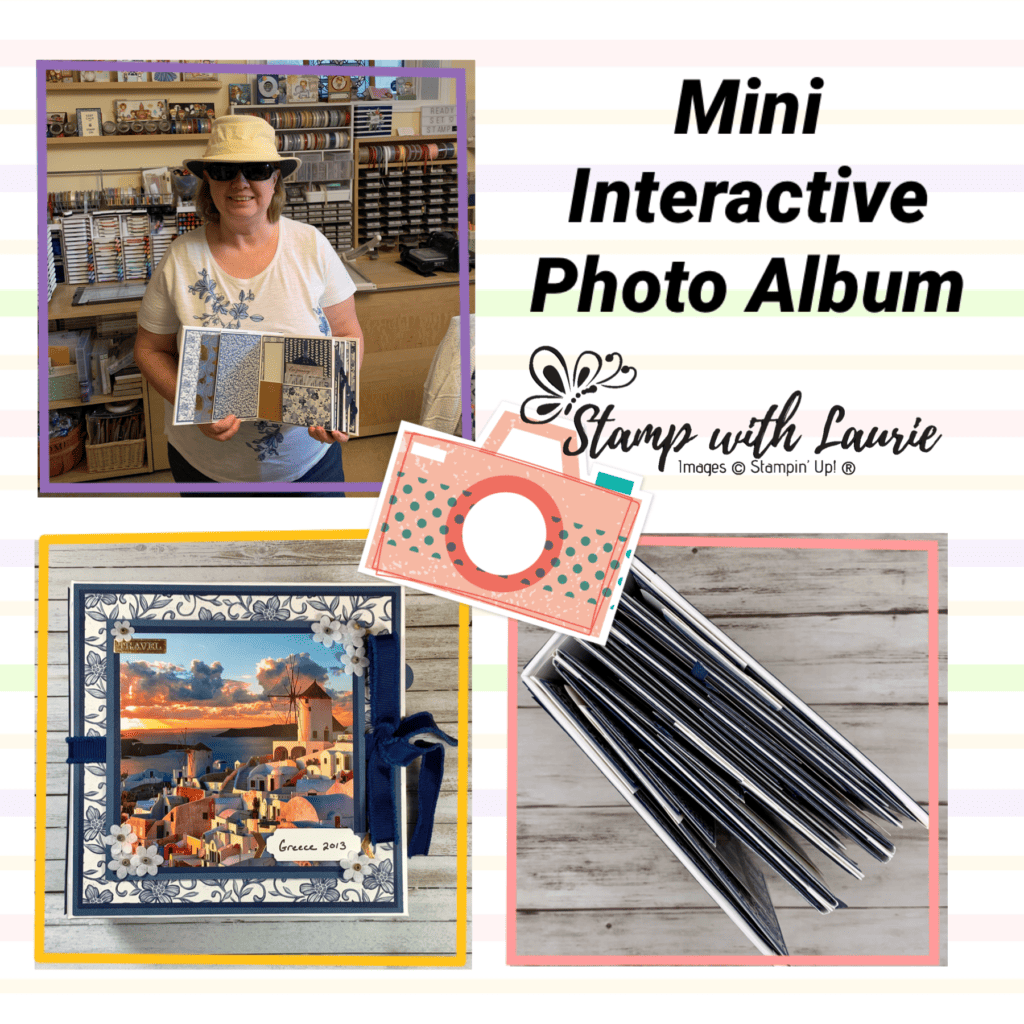
My Photo Album
My Mini Interactive Photo Album with me in my Greek Outfit Ready to Present

For Further Information:

PDF with measurements by Cal Summers:
https://stampwithlaurie.com/small-square-mini/

Videos by Cal Summers:
https://www.youtube.com/watch?v=jPGYq2KRELI
https://www.youtube.com/watch?v=twYJqHW9nUc
https://www.youtube.com/watch?v=TbhHUfQOdtE
https://www.youtube.com/watch?v=TlXFJomClmQ

She also has two Facebook Groups that you can join:
https://www.facebook.com/calsummersworkshops/
https://www.facebook.com/groups/paperscissorsstory/

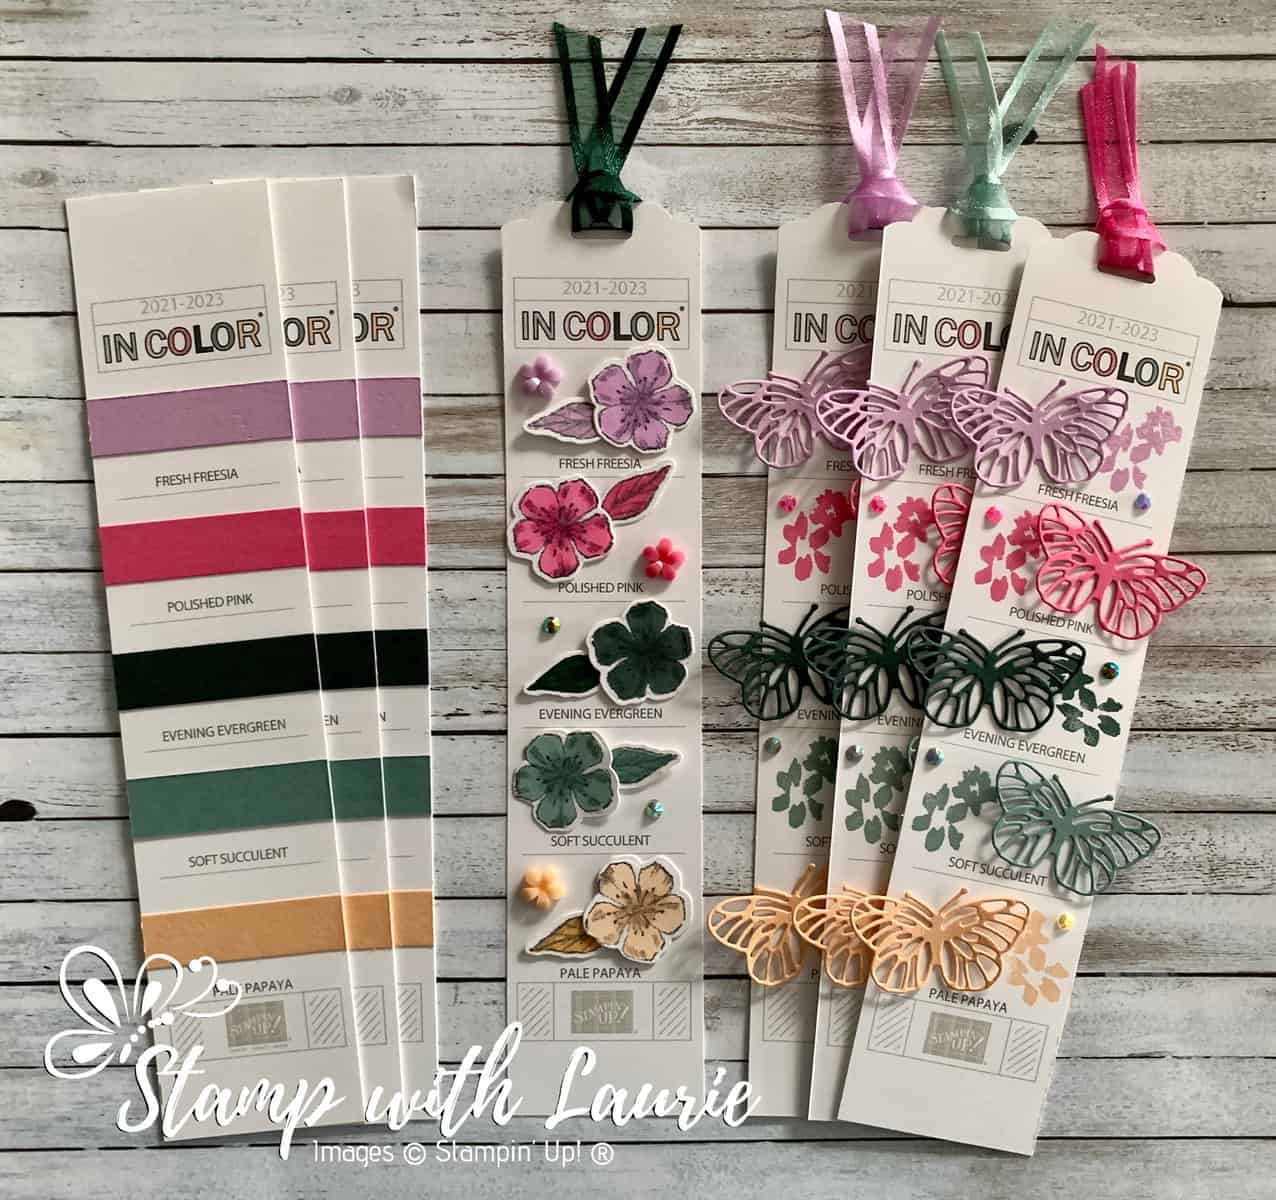
2021-23 In Color Bookmarks

My 2021-2023 In Color Bookmarks

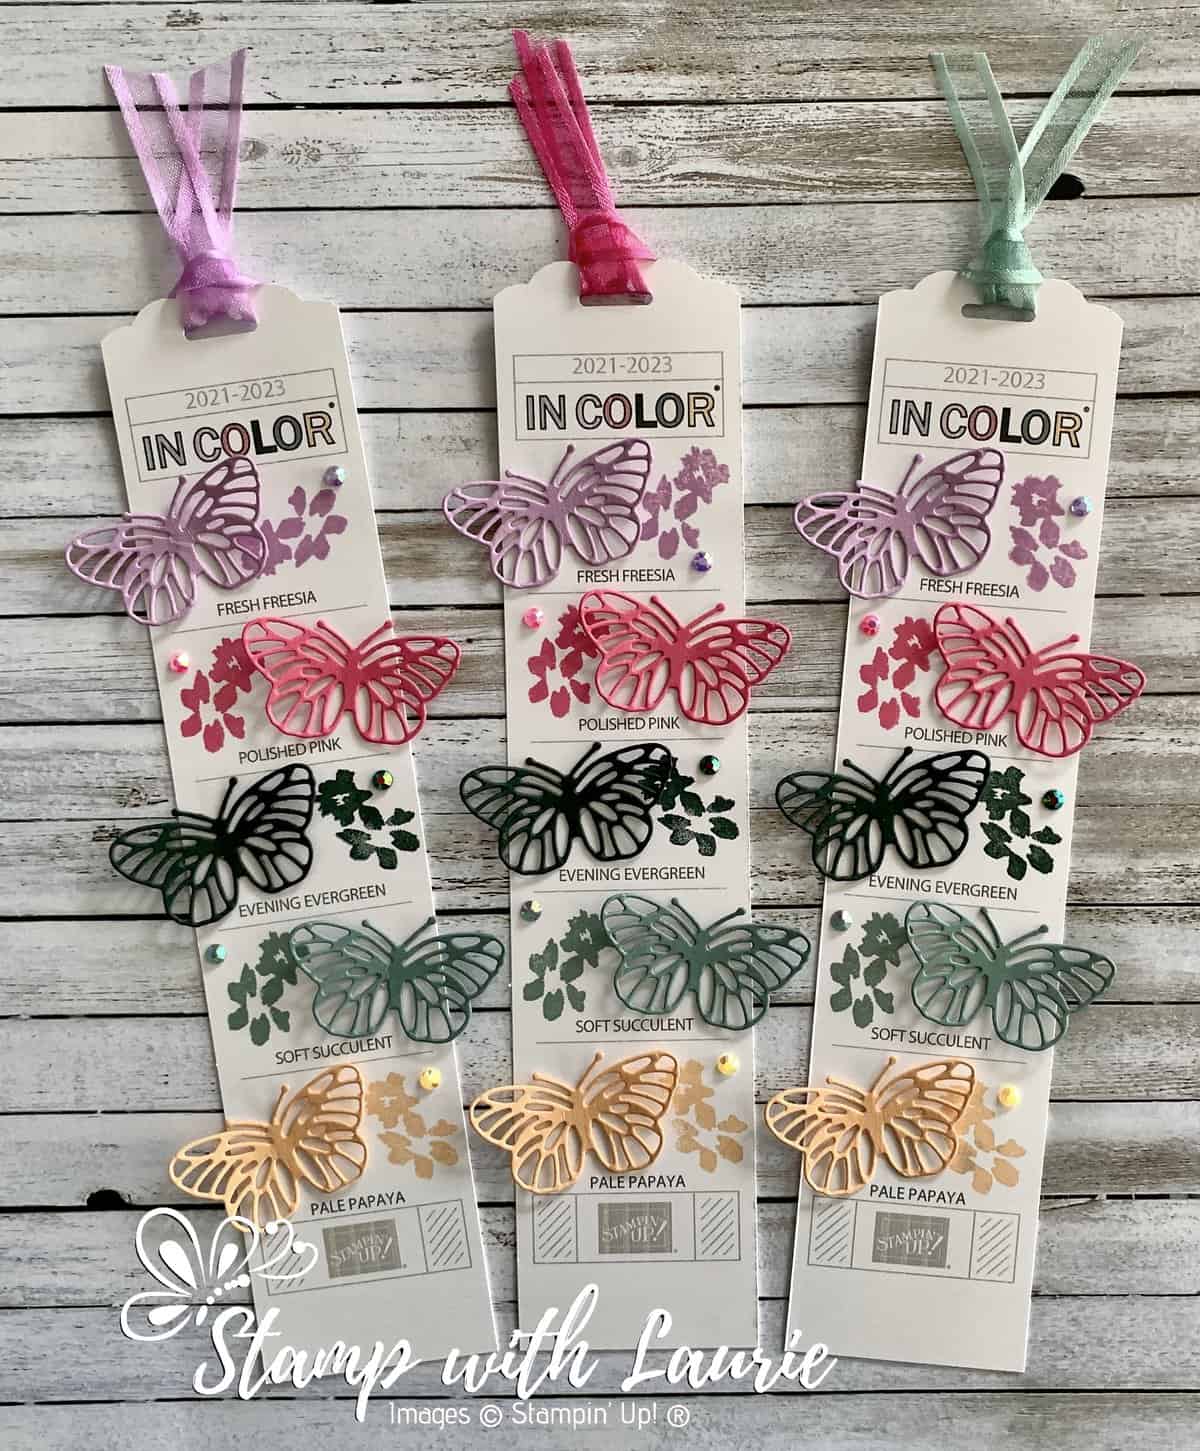
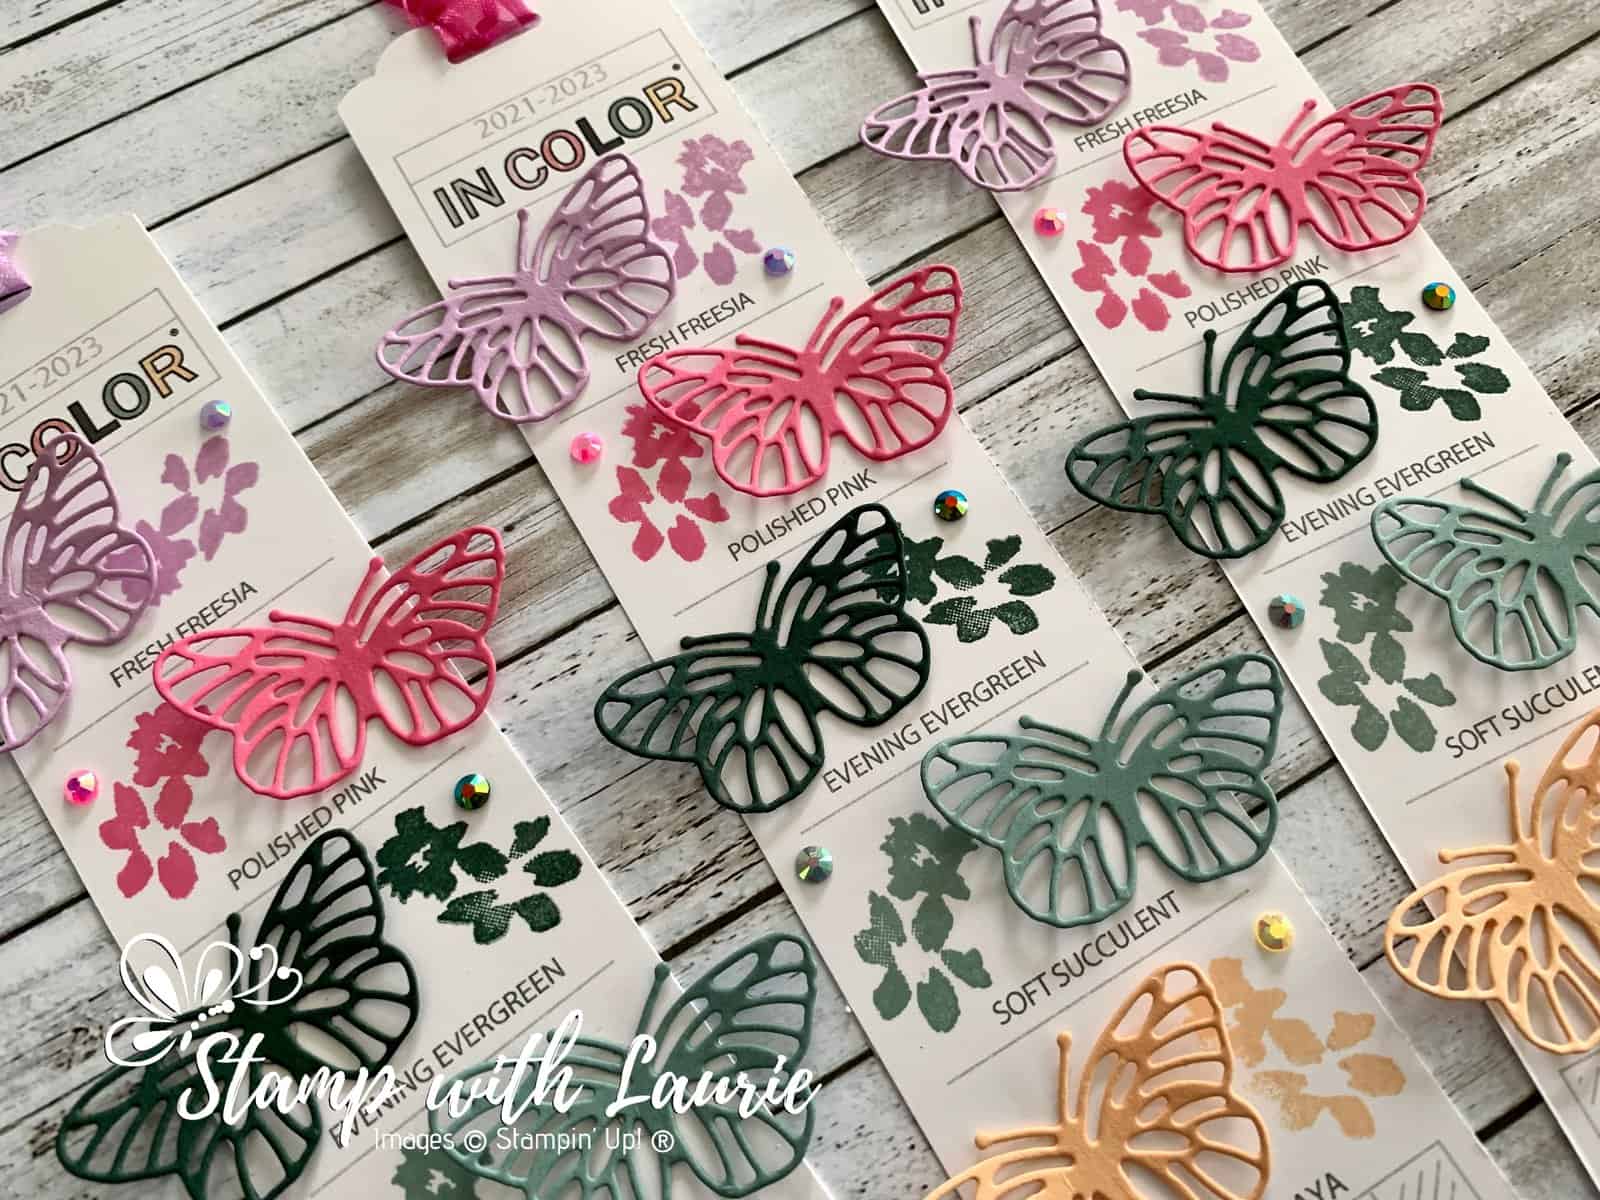
Every year I am asked to create a Stampin’ Up! In Color bookmark file. So I am sharing my 2021-23 In Color Bookmarks using my Stampin’ Up! 2021-23 In Color Bookmark file that I created for this purpose. Here are some examples of what can be done with them. These are only a few ideas. You could add the 2021-2023 In Color Shimmer Vellum or the In Color 6″ x 6″ Designer Series Paper Assortments. When you download the PDF files, print them with the fit to page setting in the Adobe Acrobat on Basic White. All files are at the end of this post including a German and French version, as well as the files for the 2020-2022 In Colors from last year.

Brilliant Wings Bookmarks

For the bookmarks with the Brilliant Wings butterflies, I die cut them from the In Color card stock and the stamped flowers from Hand-Penned Petals. I added an In Color Jewel for each colour and threaded some of the In Color Open Weave Ribbon through the hole created by the Scallop Tag Topper Punch. I only had the Scallop Tag Topper Punch, but you could use the Fancy Tag Topper Punch or the Delightful Tags Topper Punch instead. This is my favourite bookmark since the In Color Jewels really sparkle on it.

Version 1 of My 2021-2023 In Color Bookmarks
Version 1 of My 2021-2023 In Color Bookmarks Using Ink and Card Stock

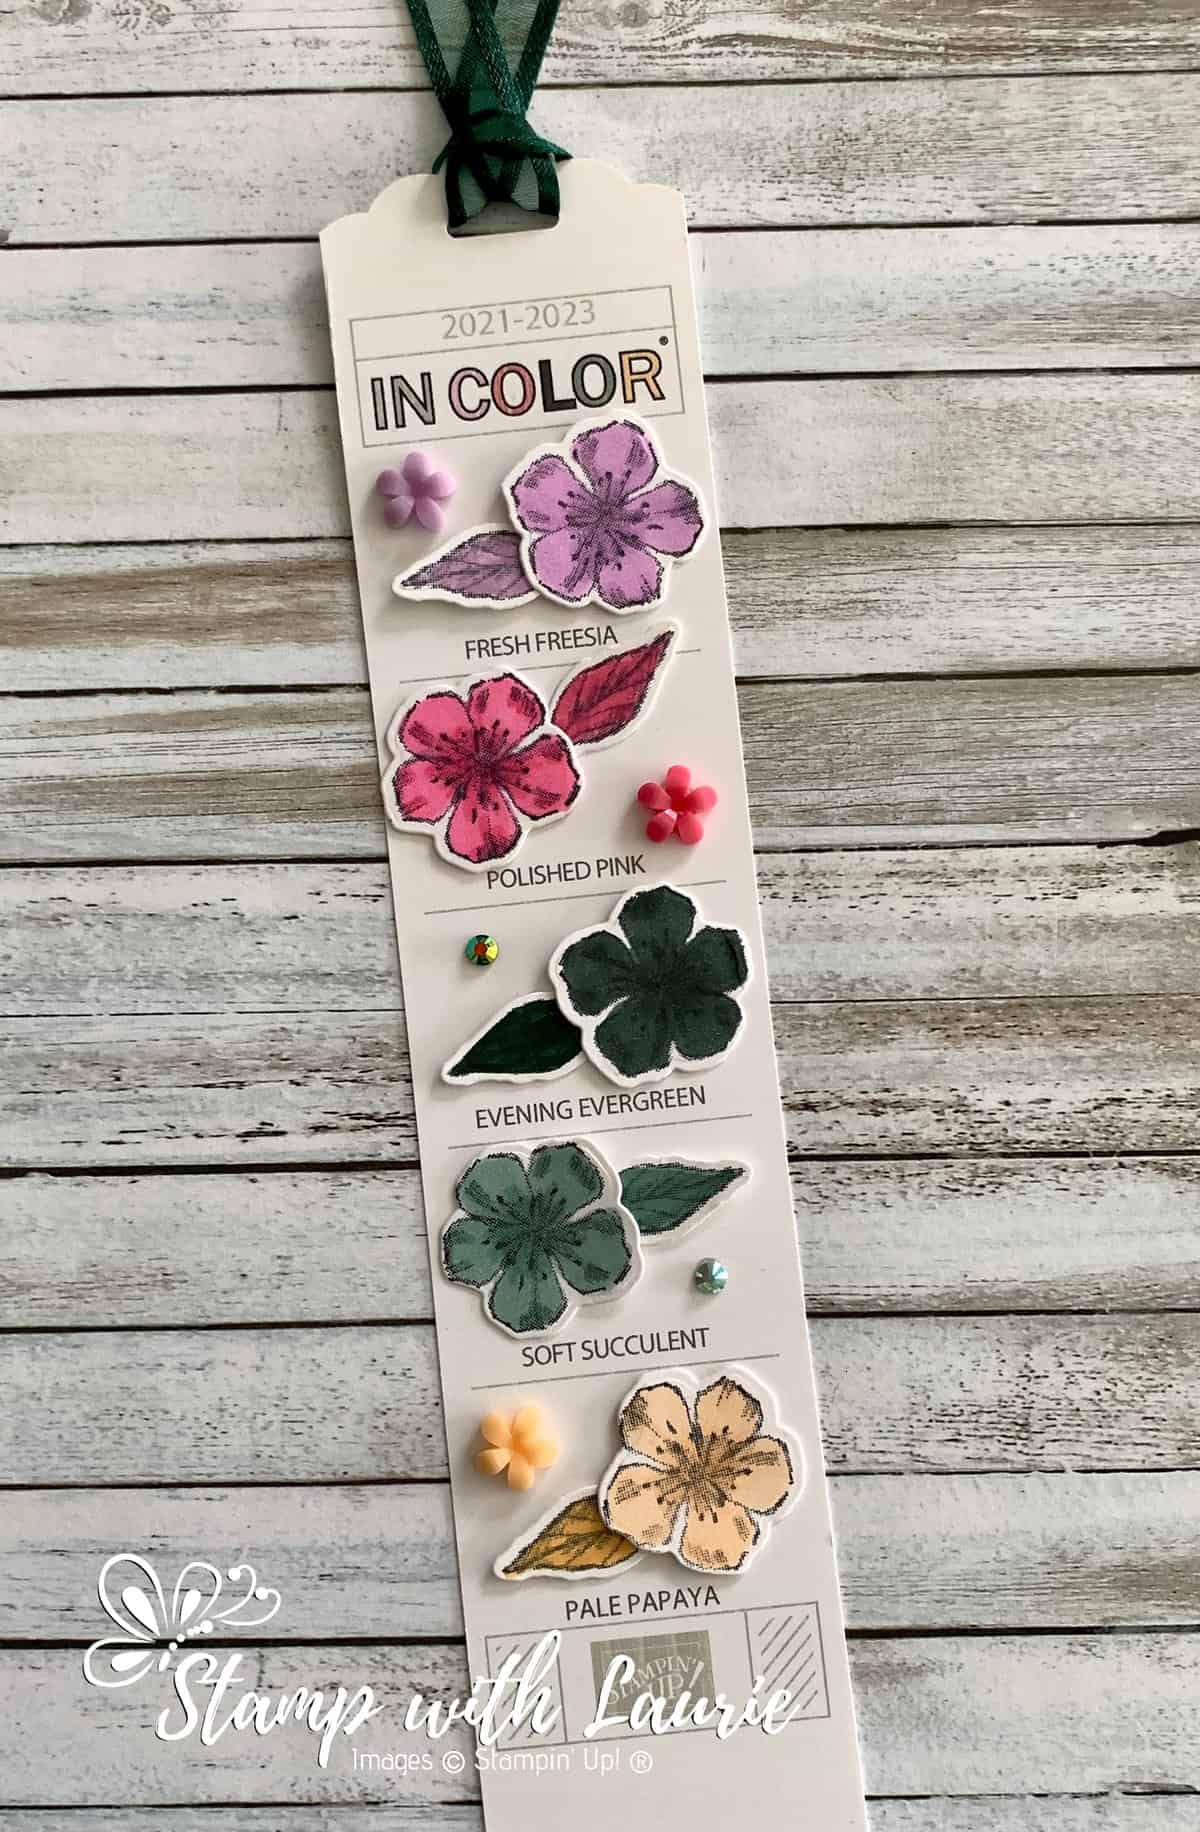
Stampin’ Up! Blends/Markers Bookmarks

For my next bookmark, I stamped in Memento Ink the images from the Forever Blossoms on Basic White card stock and used my Stampin’ Blends for the flowers and my Stampin’ Write Markers for the leaves. Then, I die cut them out with the Cherry Blossom Dies. I also added bling to them using the In Color Jewels and Loose Flower Flourishes. I finished them off with the ribbon the same way as the previous bookmarks.

Version 2 of my Bookmarks
Version 2 of my Bookmarks Using Stampin’ Up! Blends

Easy Card Stock Bookmarks

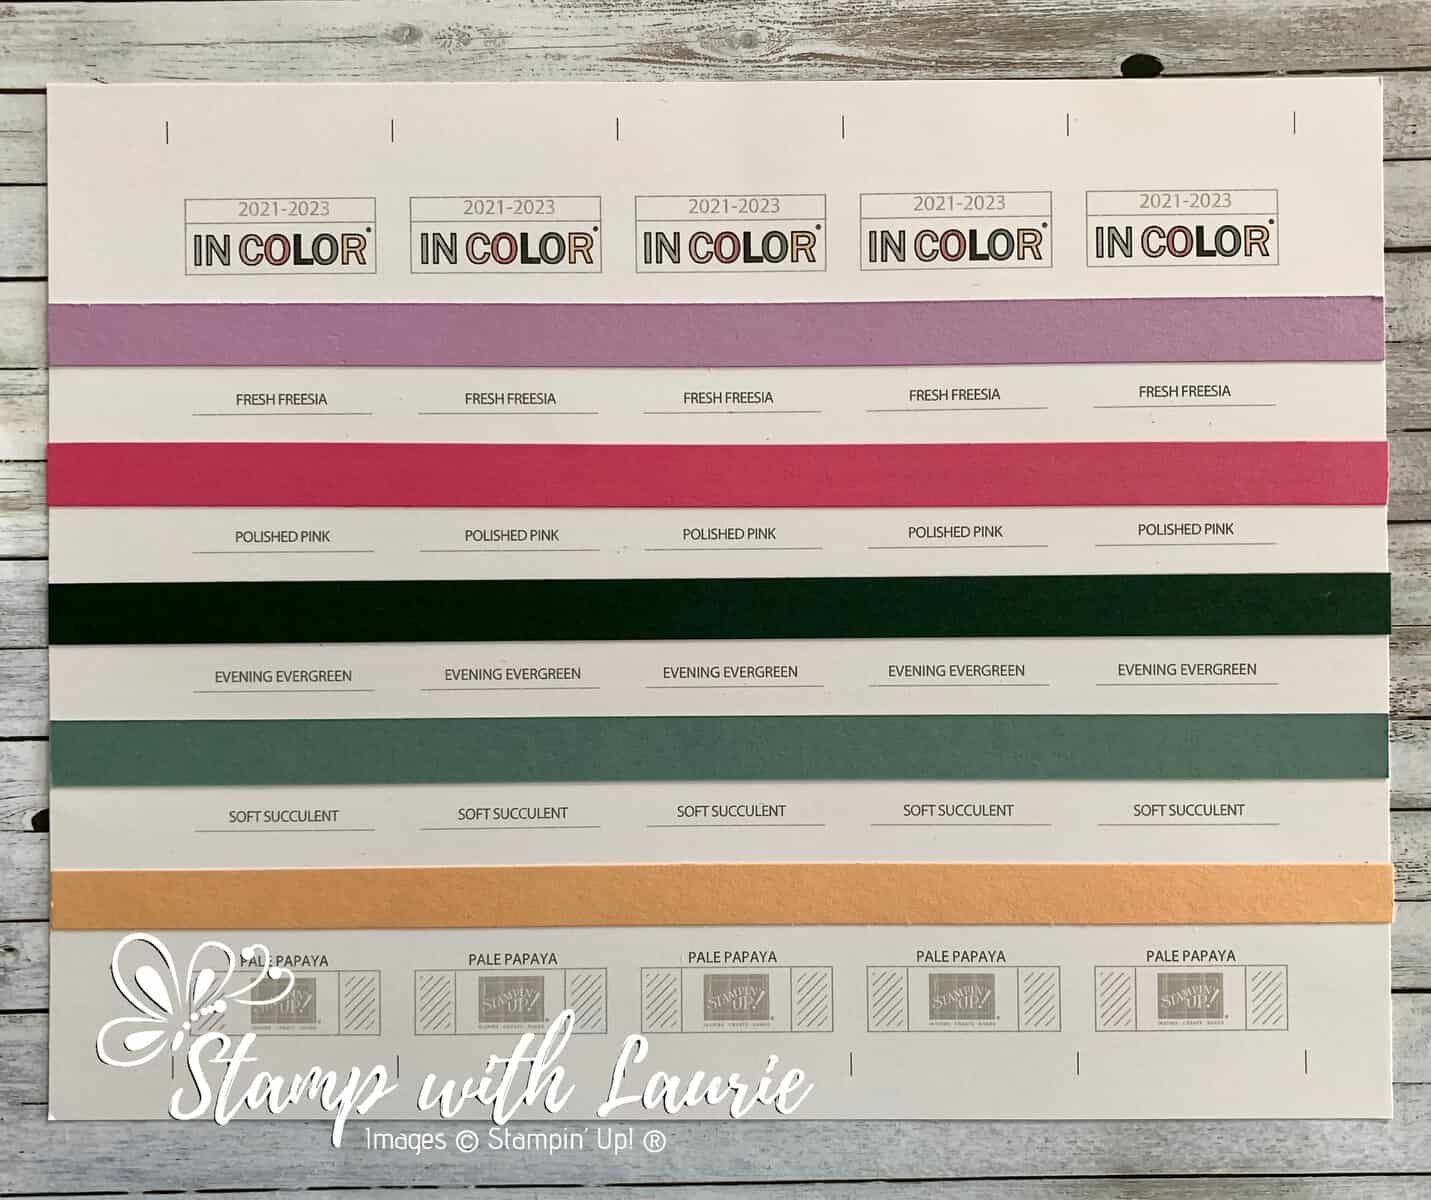
For my last set of bookmarks, I cut a ½” x 11” strip of card stock for each colour. I glue them directly to the print out before cropping the bookmarks down. I them cut them apart creating 5 bookmarks. Fast and easy!

Version 3 of My Bookmarks
Version 3 of My Bookmarks Using Card Stock

Supplies to Create My 2021-23 In Color Bookmarks:

Stamps: Hand-Penned Petals (155070), Forever Blossoms (151457)

Dies: Brilliant Wings Dies (155523), Cherry Blossoms Dies (151456)

Inks: Fresh Freesia Classic Stampin’ Pad (155611), Polished Pink Classic Stampin’ Pad (155712), Evening Evergreen Classic Stampin’ Pad (155576), Soft Succulent Classic Stampin’ Pad (155778), Pale Papaya Classic Stampin’ Pad (155670), Memento Ink (132708)

Paper: Basic White (159276), Fresh Freesia (155613), Polished Pink (155710), Evening Evergreen (155574), Soft Succulent (155776), Pale Papaya (155668)

Accessories: 2021-2023 In Color Jewels (155571), Loose Flowers Flourishes (155808), Fresh Freesia Open Weave Ribbon (155615), Polished Pink Open Weave Ribbon (155714), Evening Evergreen Open Weave Ribbon (155573), Soft Succulent Open Weave Ribbon (155780), Pale Papaya Open Weave Ribbon (155672), Fresh Freesia Stampin’ Blends Combo Pack (155518), Polished Pink Stampin’ Blends Combo Pack (155520), Evening Evergreen Stampin’ Blends Combo Pack (155517), Soft Succulent Stampin’ Blends Combo Pack (155521), Pale Papaya Stampin’ Blends Combo Pack (155519)

Close Up of Version 1 of My Bookmarks
Close Up of Version 1 of My Bookmarks – My Favourite Version

For Further Information on My 2021-23 In Color Bookmarks:

2021-2023 In Color Bookmark Files
English Version
German Version
French Version

2020-2022 In Color Bookmark Files
English Version
German Version
French Version

For more of my Stampin’ Up! cards and projects, please click here.

You will find the items listed above in my online store.

My Gingerbread Fun Fold Card

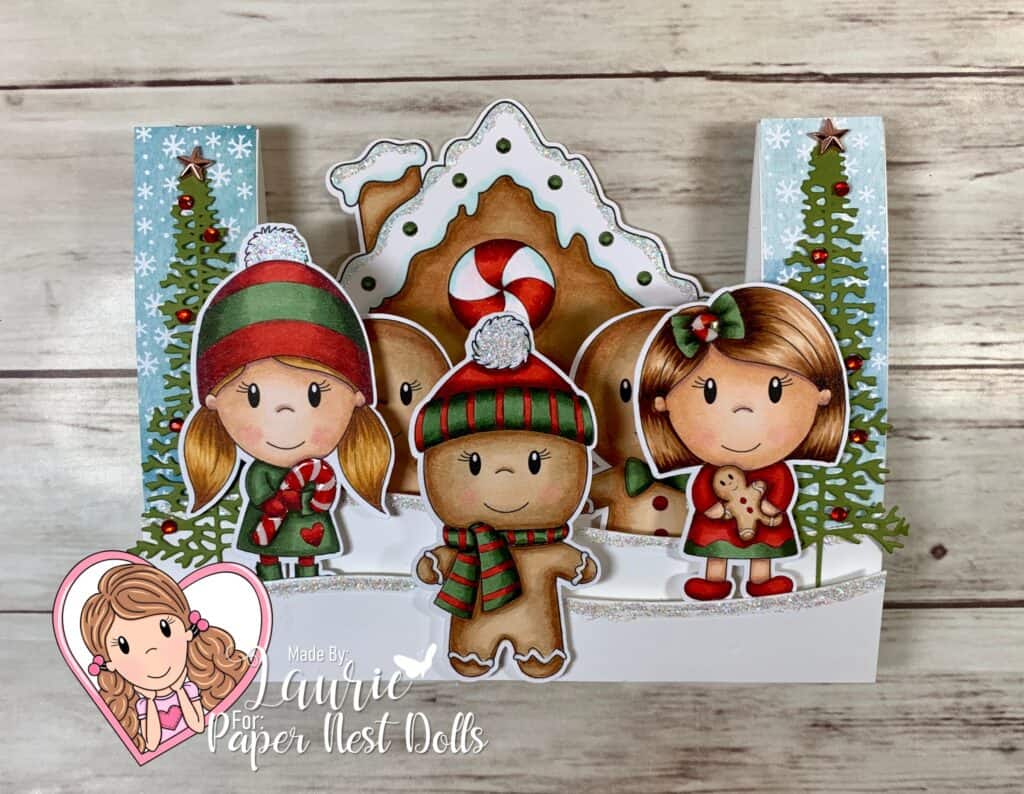
My Gingerbread Fun Fold Card

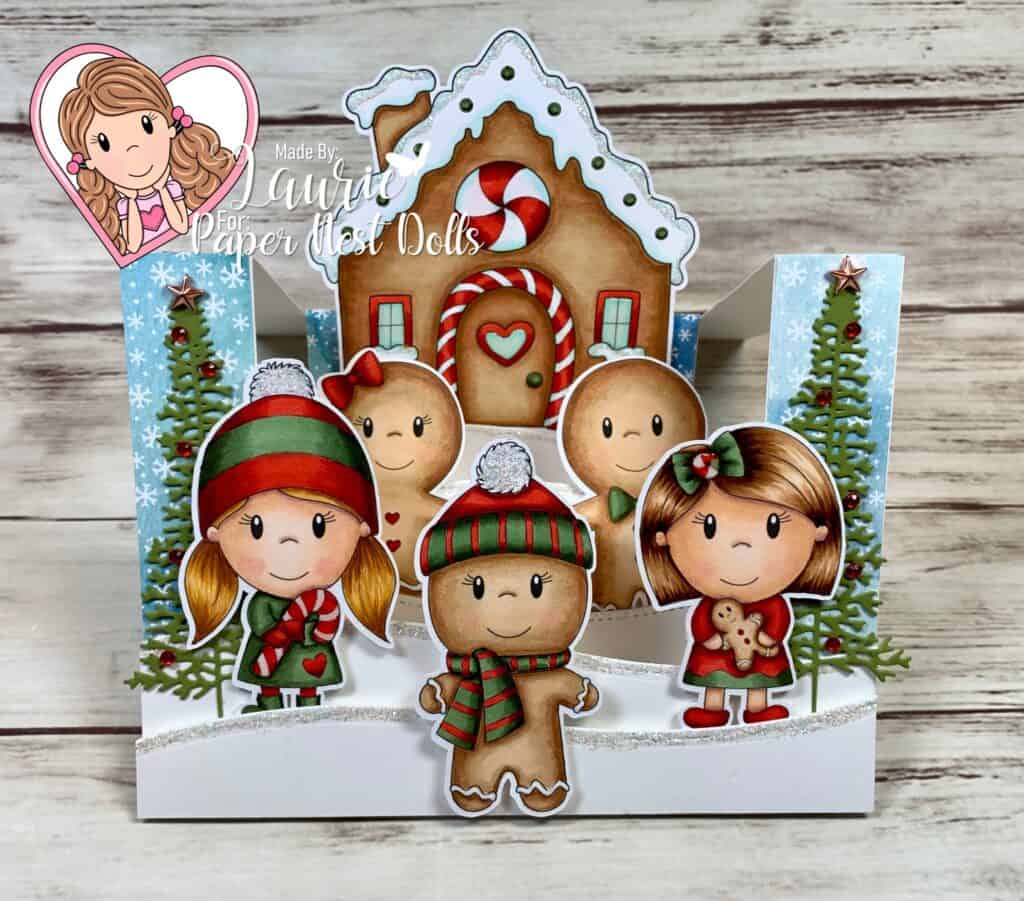
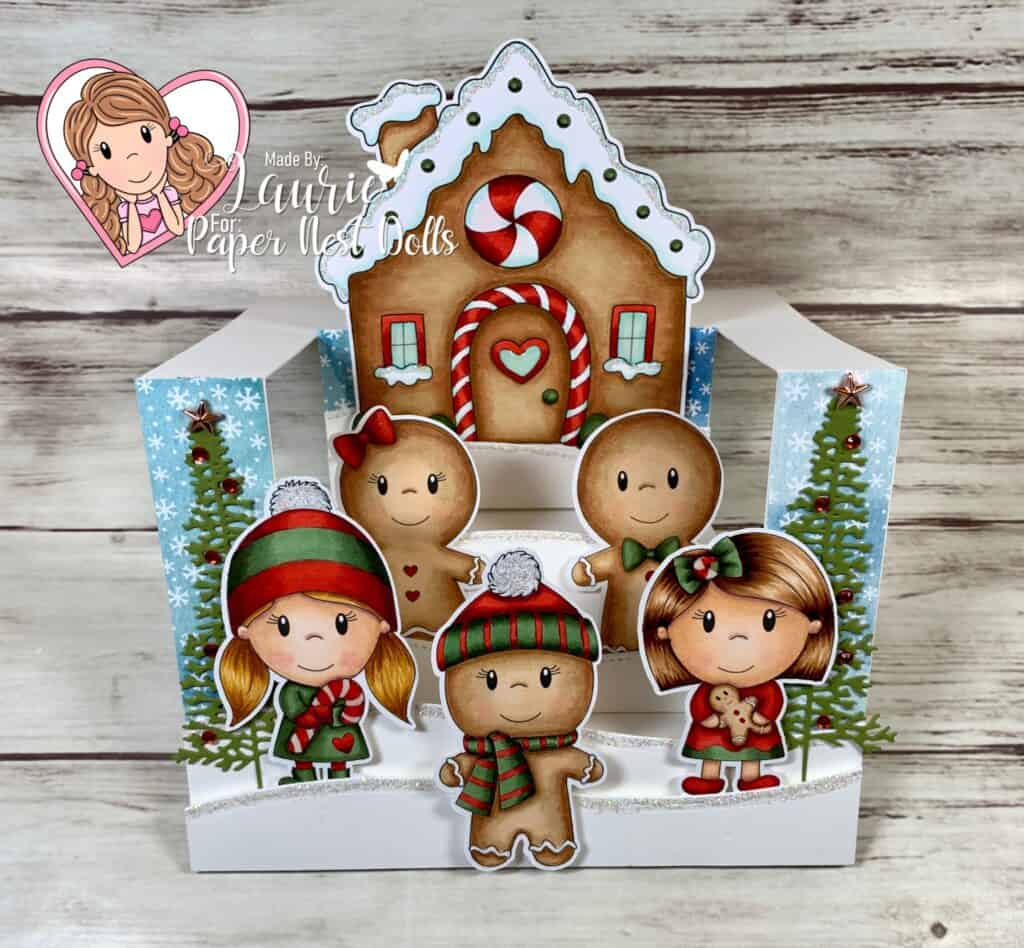
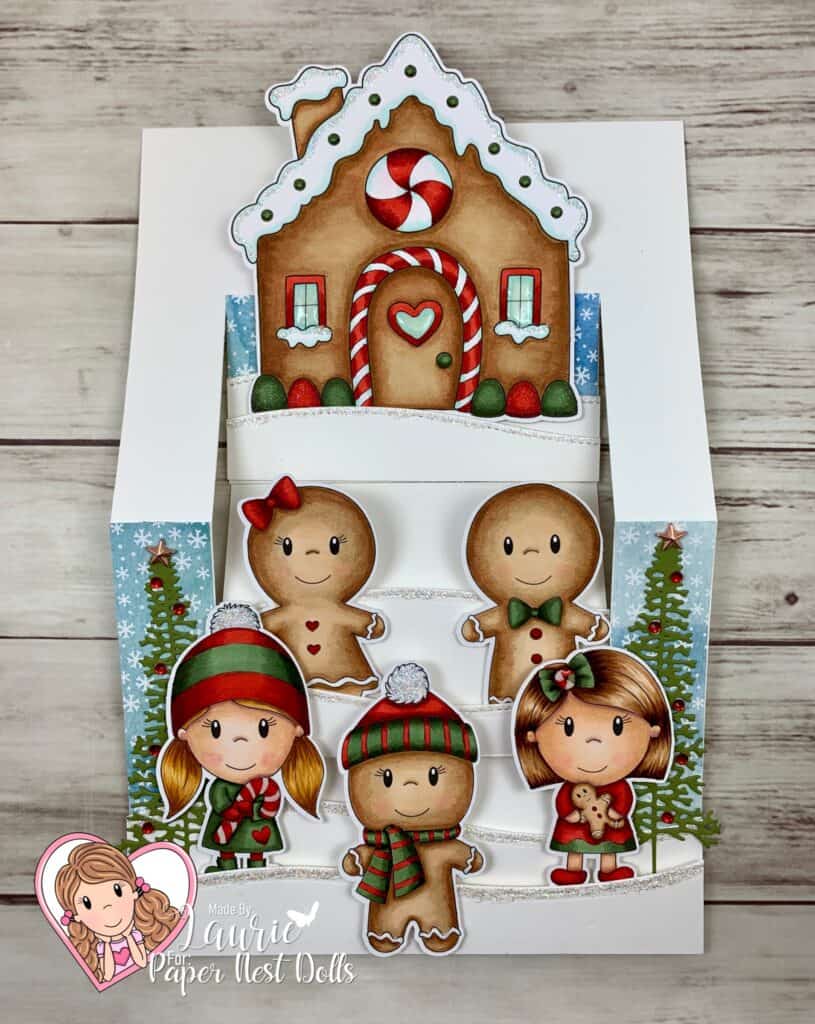
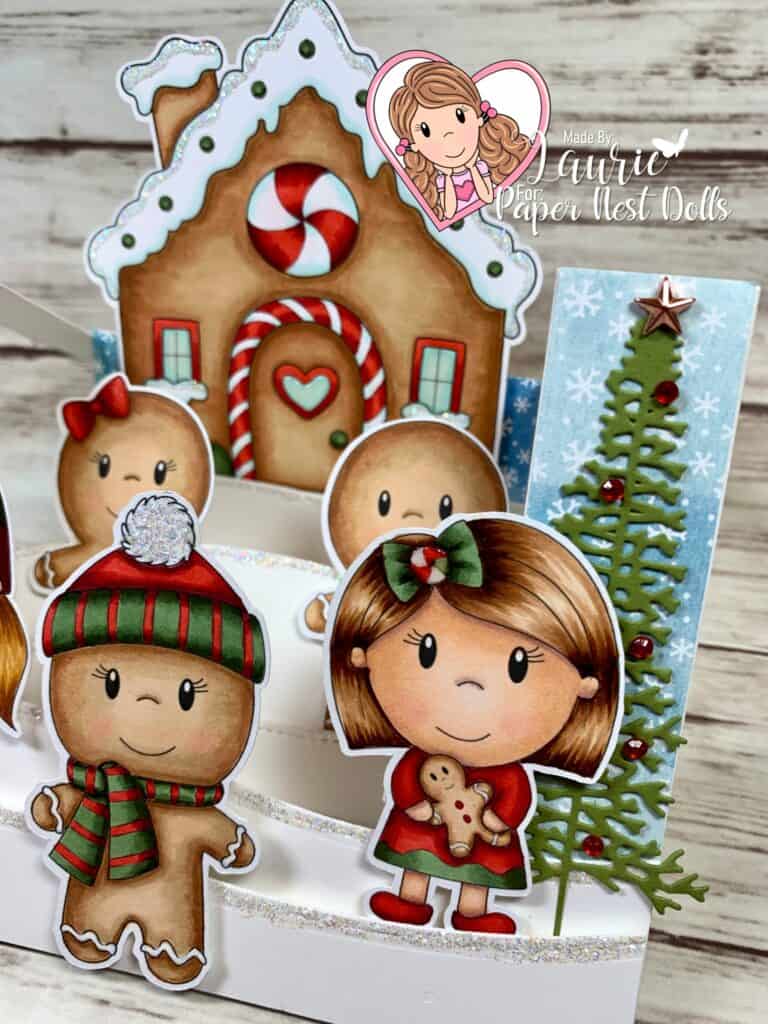
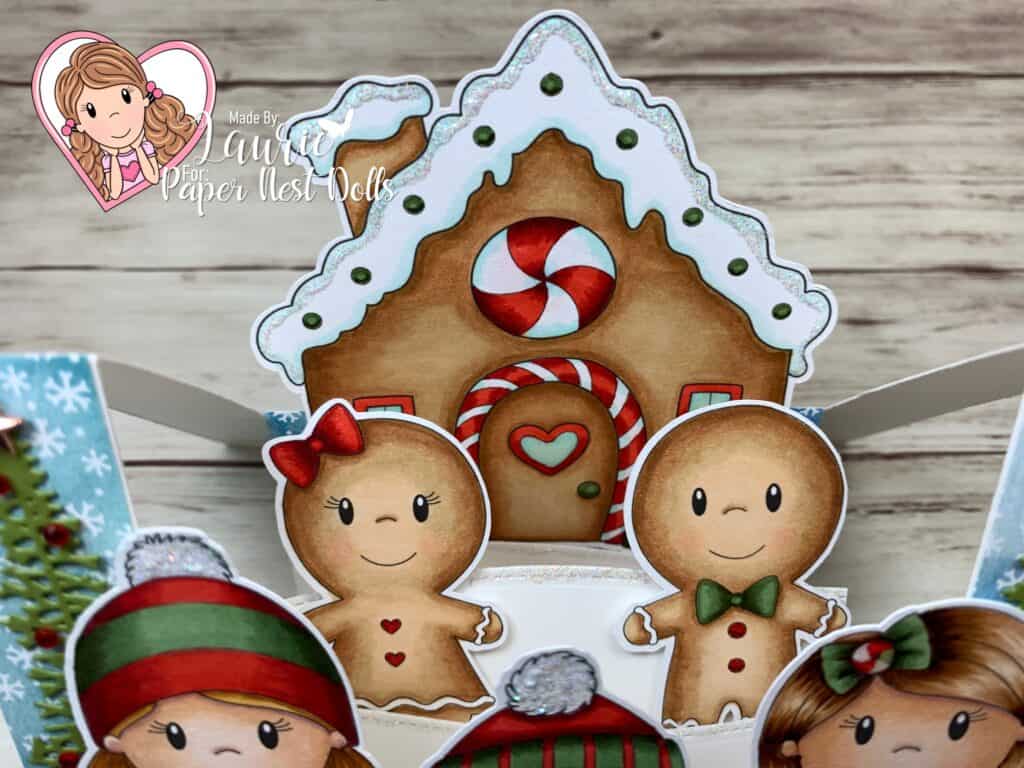
Hello Crafty Friends! It’s Laurie here sharing My Gingerbread Fun Fold Card for the Design Team of Paper Nest Dolls. I used a number of digital stamps to create my fun gingerbread card including Gingerbread HouseGingerbread BoyGingerbread GirlGingerbread Winter BoyTiny Emma with Cookie and Tiny Ellie with Candy Cane.

I had so much fun creating this wonderland of gingerbread. My idea was that I wanted to create a centre-step card and planned to use my colouring from the recent 30 Day Coloring Challenge to build my card. I’m so happy with how it turned out!

The Steps of My Gingerbread Fun Fold Card

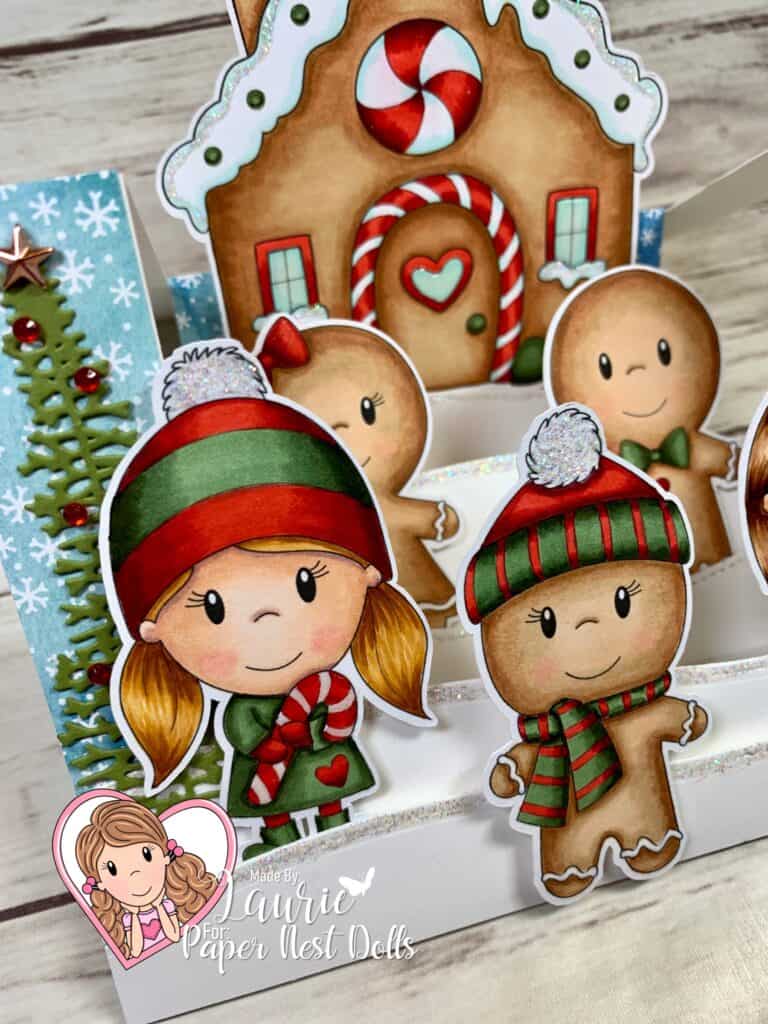
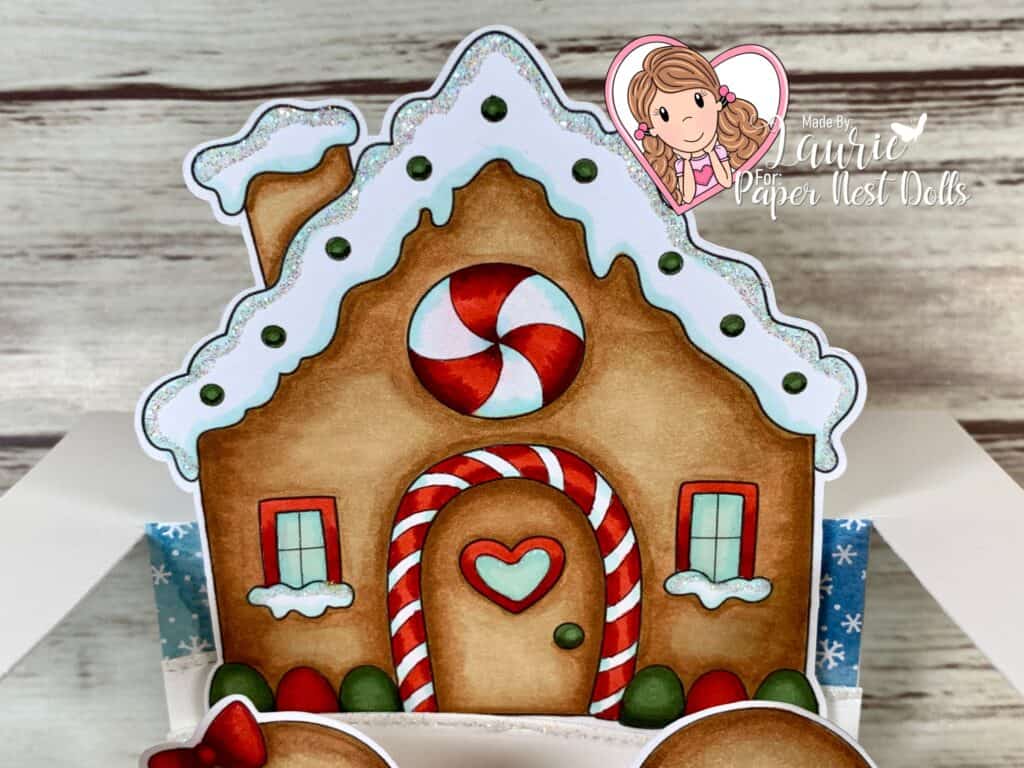
I created a ton of layers with the snow banks that all sparkle with Stardust Stickles and then layered my characters between them in the different folds. Of course, that is not all that sparkles! The windows of the house, Ellies’s candy cane and Emma’s peppermint candy bow all have glossy accents. I even added Clear Wink of Stella to the peppermint swirl on the house, the gum drops in front of the house, the Gingerbread Girl’s bow and hearts and the heart on Ellie’s dress! Can’t have a Christmas card without Christmas trees all dressed up for Christmas with stars and red Christmas lights! The Snowflake Splendor Designer Series Paper by Stampin Up! was perfect to create my snowy scene.

My Gingerbread Fun Fold Card Laid Flat

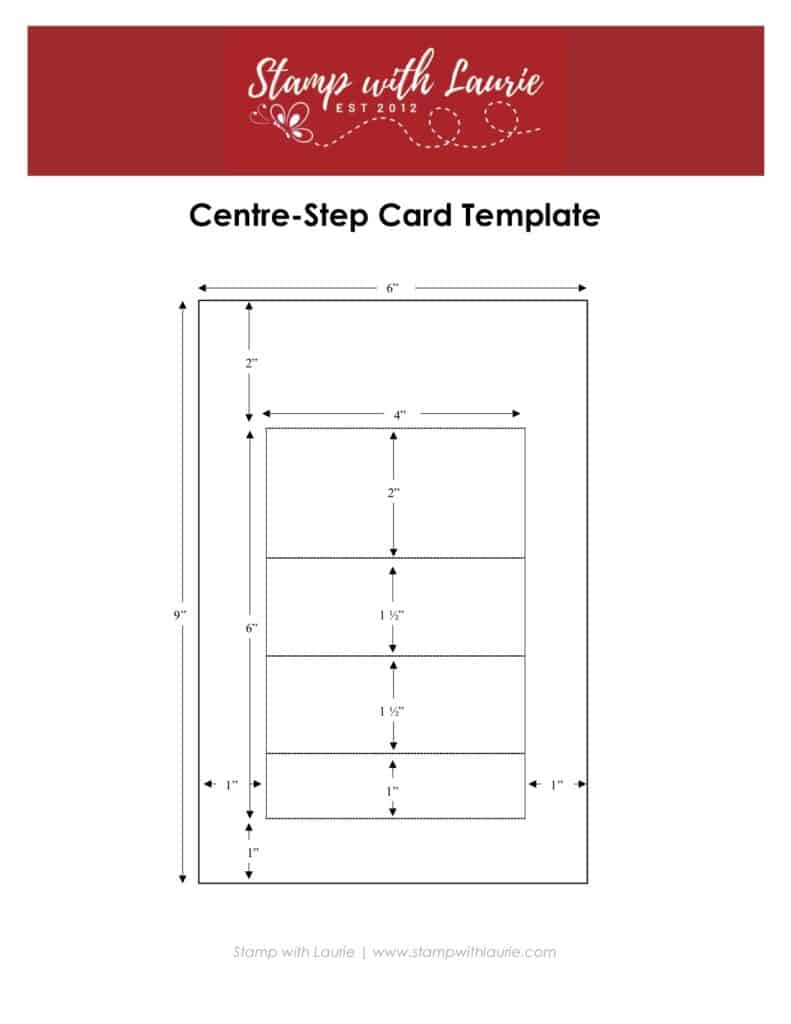
Here is a template that I created that gives you the measurements for the centre-step card that I made. There is also a link at the end of the post that you can download the PDF version.

My Centre-Step Template
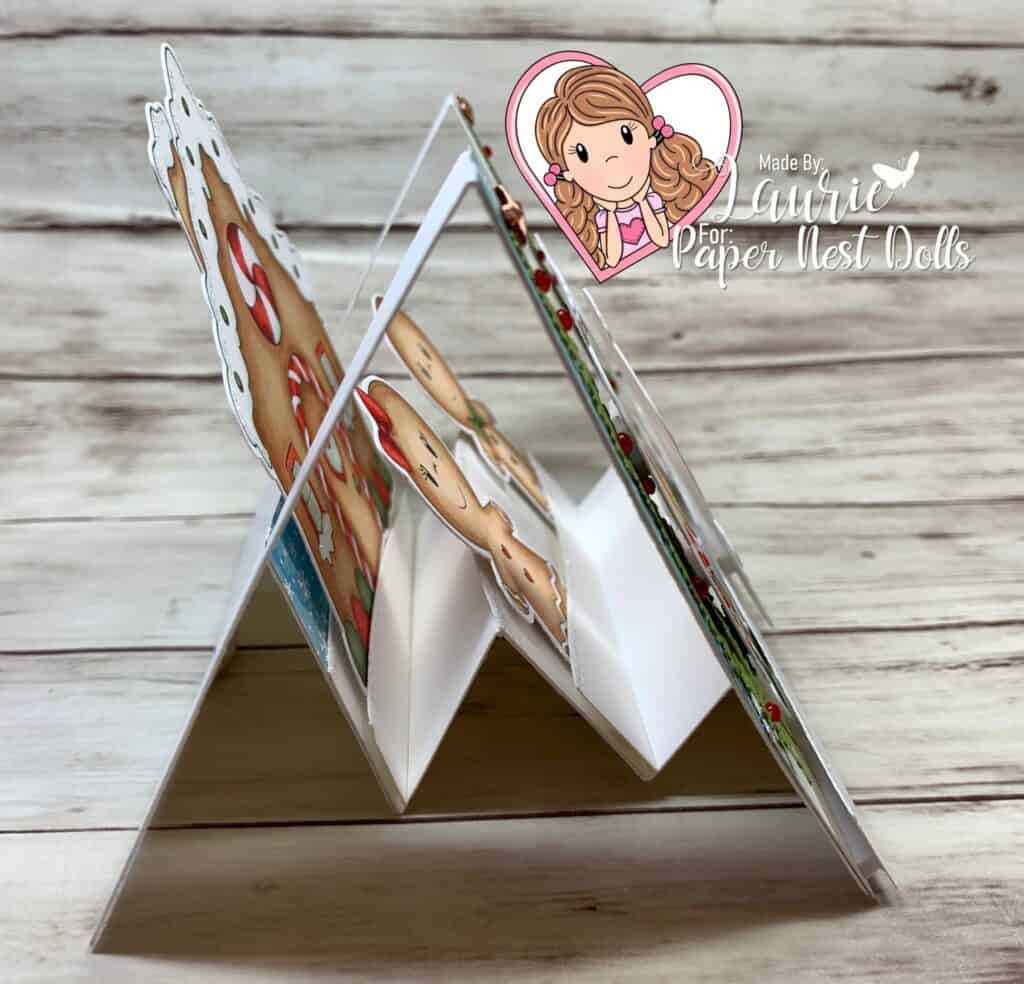
Side of my Centre-Step Card

————————–

Copic Markers:

Tiny Ellie with Candy Cane
Skin: E000/00/21/11/04/R20
Hair: E99/YR23/YR24
Reds: R39/R29/R27/R24
Greens: G99/G94/G21
Candy Cane: R39/R27/R24/C1/0, Glossy Accents
Stardust Stickles on Pompom

Tiny Ellie with Candy Cane and Gingerbread Winter Boy

Gingerbread Winter Boy
Cookie: E35/E33/E31/E30/R20
Reds: R39/R29/R27/R24
Greens: G99/G94/G21
Stardust Stickles on Pompom

Tiny Emma with Cookie
Skin: E000/00/21/11/04/R20
Hair: E37/E35/E33/E30
Reds: R39/R29/R27/R24
Greens: G99/G94/G21
Candy Bow: R39/R27/R24/C1/0/G99/G94/G2
Gingerbread Cookie: E30/E33/E35/R29/R20
Glossy Accents on Peppermint Swirl in Bow

Tiny Emma with Cookie

Gingerbread Girl:
Gingerbread: E35/E33/E31/E30/R20
Reds: R39/R29/R27/R24
Clear Wink of Stella on Bow

Gingerbread Boy:
Gingerbread: E35/E33/E31/E30/R20
Reds: R39/R29/R27/R24
Greens: G99/G94/G21

Gingerbread Boy and Girl

Gingerbread House:
House: E35/E33/E31
Reds: R39/R29/R27/R24
Greens: G99/G94/G21
Snow: BG11/BG10/0
Glossy Accents on Windows
Clear Wink of Stella on Gum Drops/Peppermint Swirl
Stardust Stickles on Snow

Gingerbread House
Gingerbread House

————————–

Card Recipe for My Gingerbread Fun Fold Card:

Gingerbread HouseGingerbread BoyGingerbread GirlGingerbread Winter BoyTiny Emma with Cookie and Tiny Ellie with Candy Cane, Paper Nest Dolls
Sweet Sentiment Premium Coloring Paper
Majestic Mountain Dies, Stampin’ Up!
Freezin’ Friends Dies, Stampin Up!
Snowflake Splendor Designer Series Paper, Stampin Up!
Star Designer Elements, Stampin Up!
Red Rhinestone Basic Jewels, Stampin’ Up!
Stardust Stickles
Glossy Accents
Clear Wink of Stella
Thick Whisper White Card Stock, Stampin’ Up!
Finished card size: 6” x 4 ½”

Closed Card Laid Flat

————————–

To view my other Paper Nest Dolls cards, please click here.

To download the Centre-Step Template, click here.

Hope you like My Gingerbread Fun Fold Card
using Gingerbread HouseGingerbread BoyGingerbread GirlGingerbread Winter BoyTiny Emma with Cookie and Tiny Ellie with Candy Cane by Paper Nest Dolls!

Thank you for stopping by!

Hugs,
Laurie

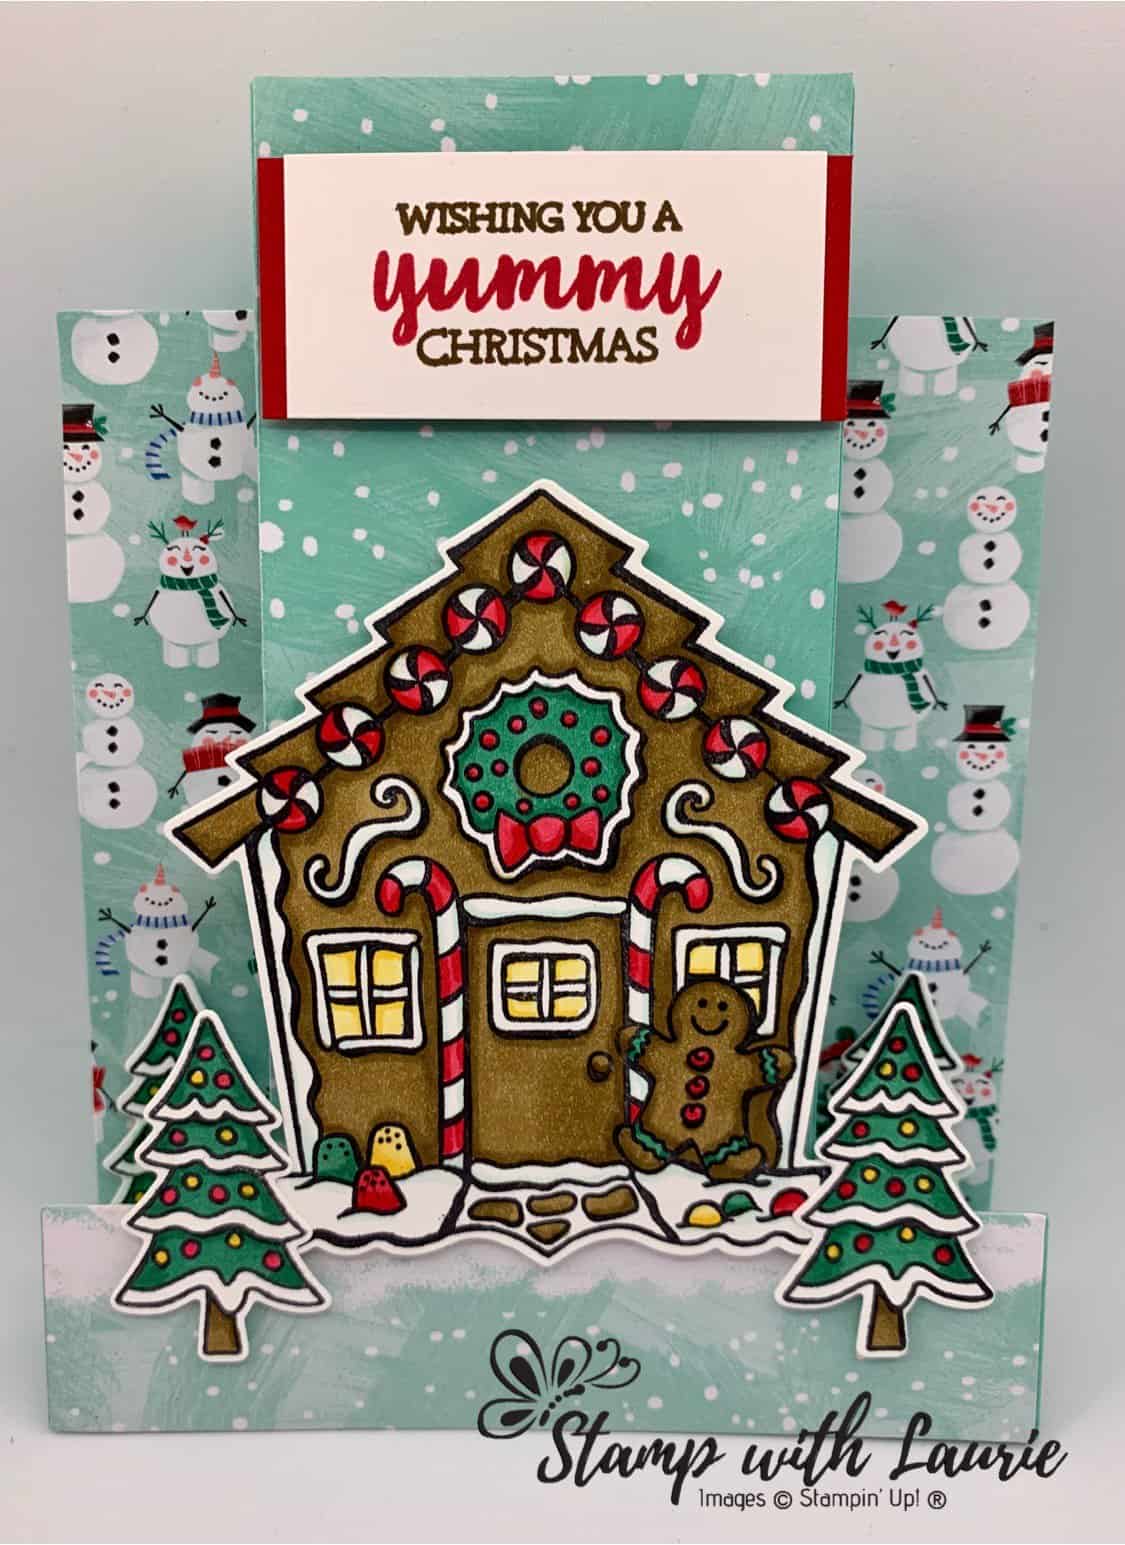
Gingerbread House Centre-Step Card

My Gingerbread House Centre-Step Card

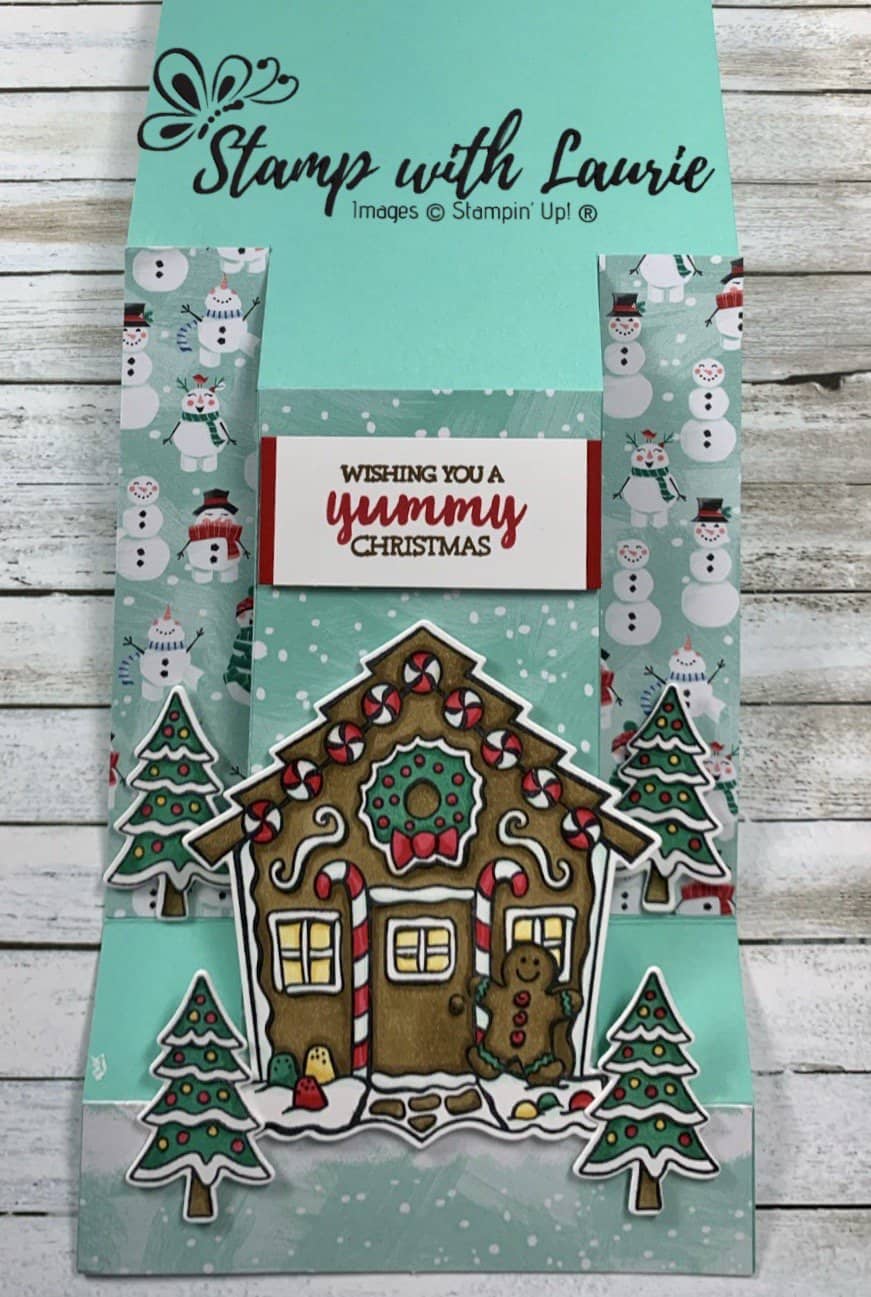
Today I am sharing with you my Gingerbread House Centre-Step Card using the Yummy Christmas Photopolymer Stamp Set and the Cuckoo Clock Dies to create a fun winter scene. This card uses a fun-fold called a centre-step and looks very impressive when the card is open. There is a link to the centre-fold template at the end of this document.

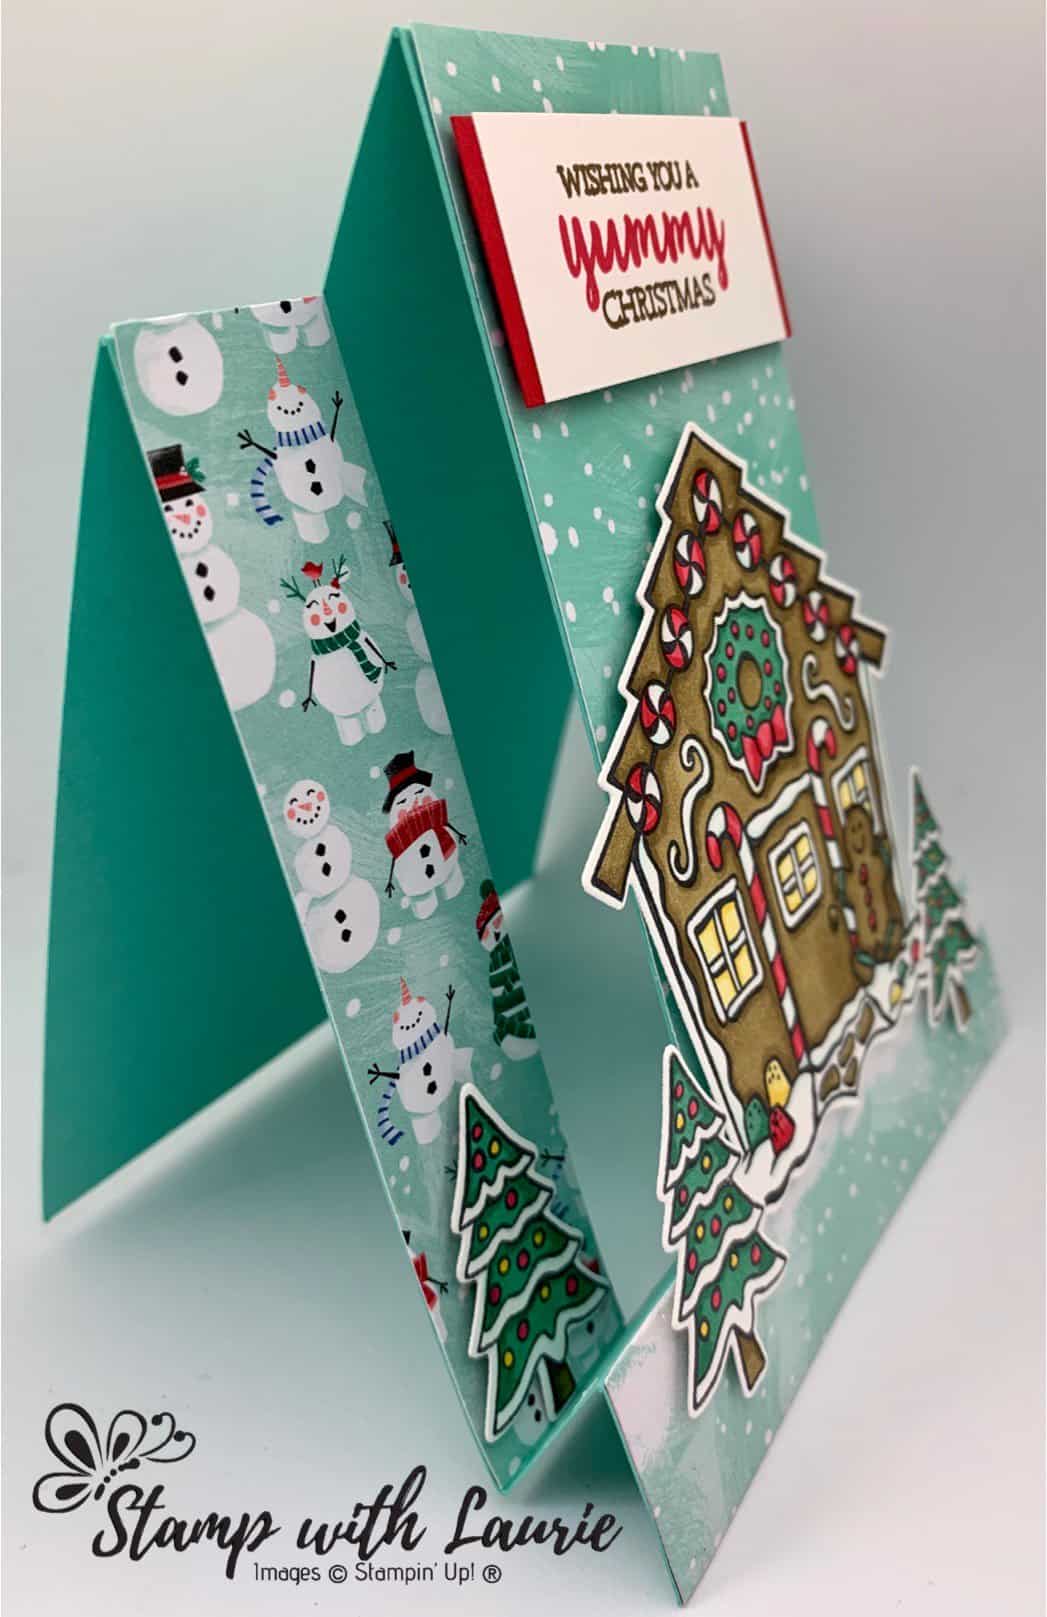
Side View of My Gingerbread House Centre-Step Card

I thought the Let It Snow Specialty Designer Series Paper with all the snow people would be perfect to create my scene. There was a lot of colouring involved in this card, but I love to colour and had fun making it!

Flat view of my Gingerbread House Card

Supplies:

Stamp: Yummy Christmas Photopolymer Stamp Set (150501)

Ink: Tuxedo Black Memento Ink Pad (132708), Real Red Classic Stampin’ Pad (147084), Soft Suede Classic Stampin’ Pad (147115)

Paper: Coastal Cabana (131297), Real Red (102482), Whisper White (100730)

Accessories:  Big Shot (143263), Cuckoo Clock Dies (149632), Let It Snow Specialty Designer Series Paper (150393), Real Red Combo Pack Stampin’ Blends (147935), Soft Suede Stampin’ Blends Markers Combo Pack (147273), Shaded Spruce Combo Pack Stampin’ Blends (147938), Daffodil Delight Stampin’ Blends Markers Combo Pack (144603), Pool Party Light Stampin’ Blends Marker (144595), Clear Wink Of Stella Glitter Brush (141897), Bone Folder (102300), SNAIL Adhesive (104332), Stampin’ Dimensionals (104430)

Measurements: 

  • Coastal Cabana: 4 ¼” x 11” (see template)
  • Let It Snow Specialty Designer Series Paper:
    • 2 pieces 4 ½” x 1” (snow people)
    • 4 ½” x 2 ¼” (falling snow for base of card)
    • 4 ¼” x 1” (snowbank from the larger snow people on DSP)
  • Real Red: 2 ¼” x 1”
  • Whisper White:
    • 2” x 1” (sentiment)
    • 3 ½” x 3 ½” (for gingerbread house)
    • scraps for trees

Instructions:

  1. Centre and stamp “Wishing you a …Christmas” in Soft Suede on the Whisper White.
  2. Stamp “yummy” in Real Red between the Soft Suede sentiment.
  3. Adhere the stamped sentiment to the Real Red cardstock.
  4. Stamp the gingerbread house and trees in Tuxedo Black Memento.
  5. Colour with the Blends the gingerbread house and trees.
  6. Use Wink of Stella on the peppermint candies and gumdrops.
  7. Cut the house and trees out with the Big Shot using the Cuckoo Clock Dies.
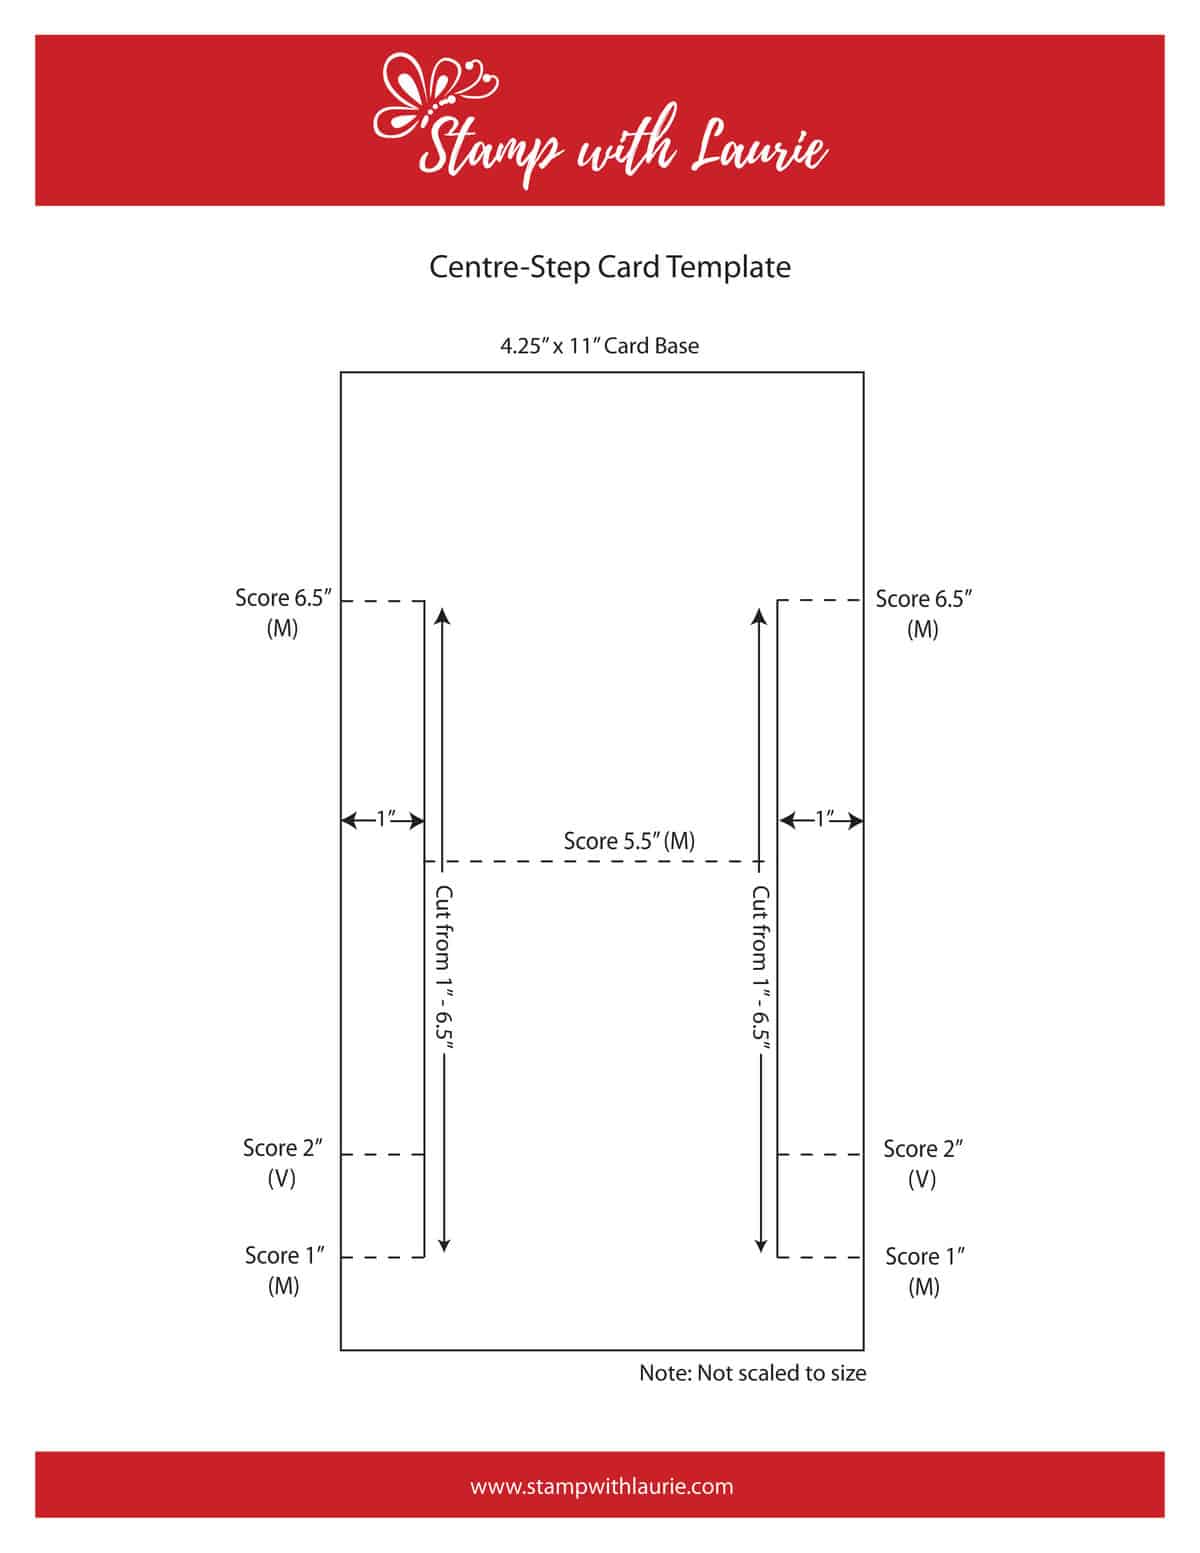
  8. Cut and score the base according to the template provided at end of this document.
  9. Attach the 2 pieces with snow people DSP (4 ½” x 1”) on the side panels of the card base with snail.
  10. Attach the snowbank DSP (4 ¼” x 1”) on the bottom card base panel.
  11. With snail, attach the falling snow DSP to the centre panel of the card base.
  12. Add the die cut ginger house to the centre panel with dimensionals.
  13. Attach the trees with dimensionals. Two in front of gingerbread house and 2 on side panels.
  14. Add the sentiment to the centre panel with dimensionals.

For Further Info:

Hope you like my Gingerbread House Card!

For a template on how to create a centre-step card, please click on the image.

Here is my Centre-Step Card Template with measurements for cutting and scoring your card base.
Centre-Step Card Template

You will find the items listed above in my online store at:
Shopping with Stamp with Laurie.