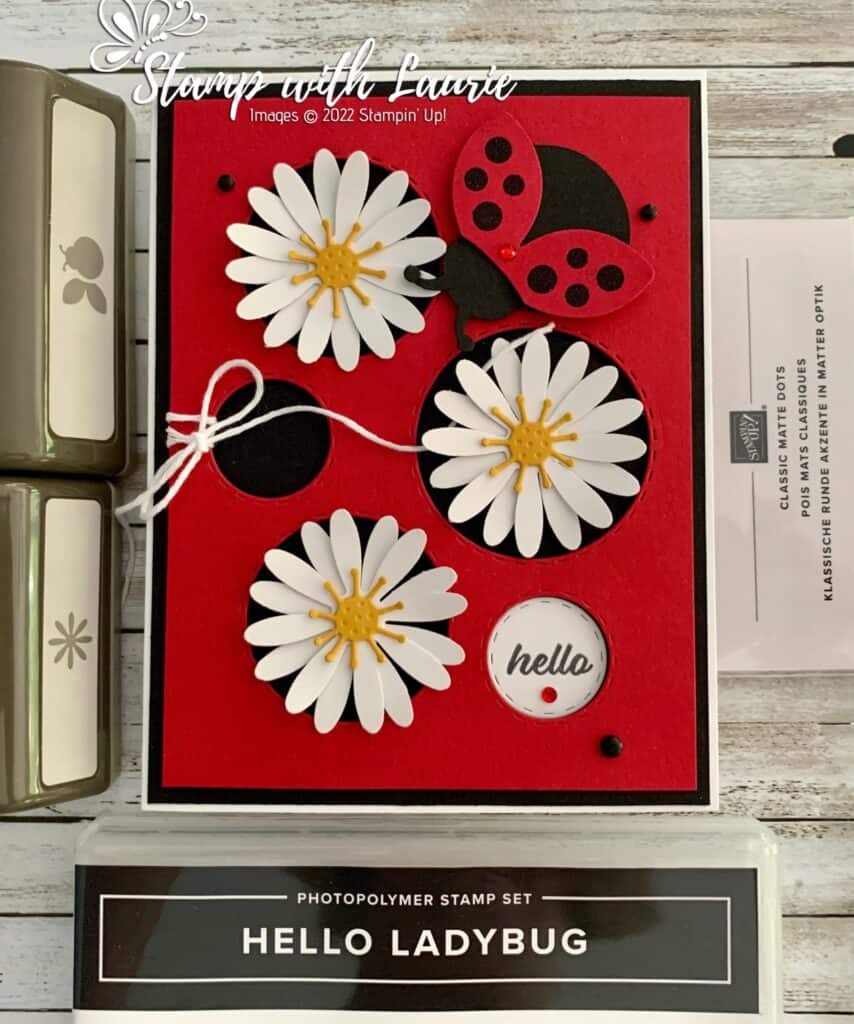
Hello Crafty Friends! Laurie here again! I am sharing my Hello Ladybug Card using the Hello Ladybug Stamp Set and matching Ladybug Builder Punch.
The Details of My Card
This card was for a swap, but the Annual Catty was retiring. We couldn’t use any retiring product on the card. So, my solution was lots of punches and embellishments that I knew would carry over!
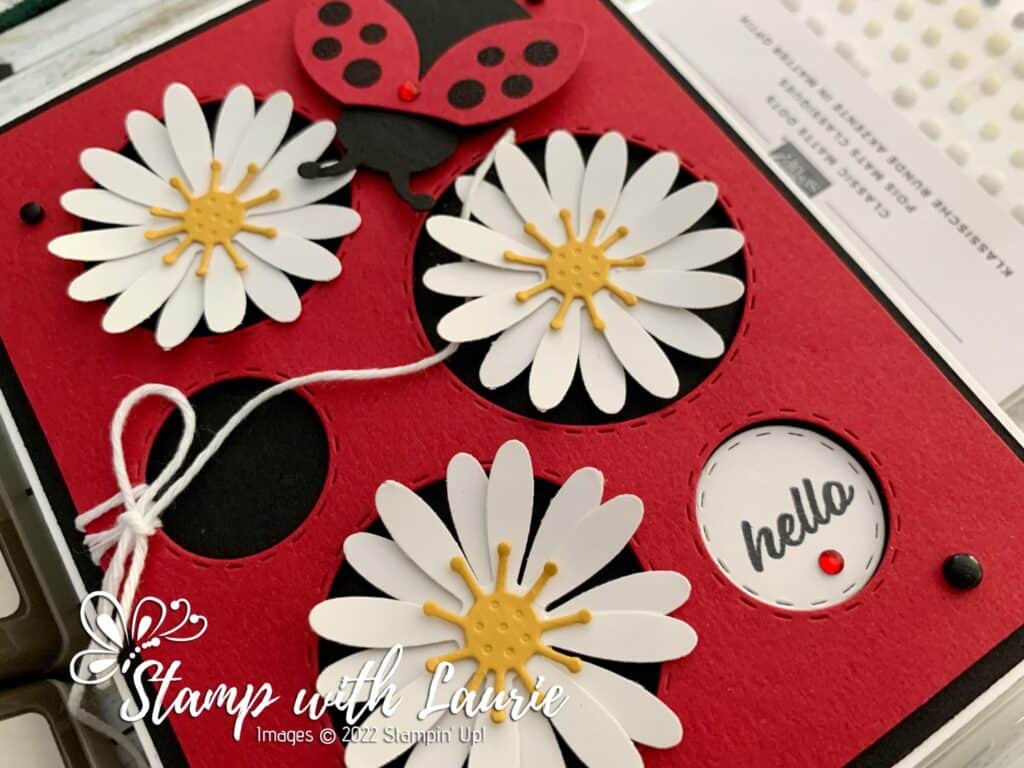
For my card, I decided to use the Picture This Dies again since it reminded me of the dots on the ladybug’s wings. These dies are so versatile, and I have used them for several cards! I used the circles die for this card and thought it would be neat having the daisies popping out of the holes!
Before adhering with dimensionals the die cut Real Red piece to the Basic Black mat, I wrapped white Baker’s twine around one of the holes and tied it in a bow.
After lots of punching and layering 2 sets of petals on top of each other followed by the flower centre from the Poppy Moments Dies, I had 3 sets of flowers for the holes.
Next came the ladybug. But first, I heat embossed in black the spots before I punch the wings out of Real Red cardstock. Then I punched out the body in Basic Black and assembled the ladybug.
Since the stamp set is photopolymer and I could line up my stamp easily, I die cut the smallest circle out of the Circles Die and then stamped the hello in black. Tip: only use the part of the die you want, not the whole thing to save paper. Another tip is use Multipurpose Liquid Glue to allow you time to slide the sentiment piece in place.
A scattering of black Classic Dots and Red Rhinestones tied in my ladybug theme.
Supplies:
Stamps/Bundles/Dies: Hello Ladybug Stamp Set (157693), Picture This Dies (155559), Poppy Moments Dies (151594)
Inks: Tuxedo Black Memento Ink Pad (132708), VersaMark ink (102283)
Paper: Basic White Thick (159229), Basic Black (121045), Basic White (159229) (159276), Real Red (102482), Crushed Curry (131199)
Accessories: Ladybug Builder Punch (157698), Medium Daisy Punch (149517), Baker’s Twine Essentials Pack (155475), Red Rhinestone Basic Jewels (146924), Classic Matte Dots (158146), Basics Embossing Powder (155554), Heat Tool (129053), Bone Folder (102300), Multipurpose Liquid Glue (110755Stampin’ Dimensionals (104430), Mini Stampin’ Dimensionals (144108), Stampin’ Seal (152813), Mini Glue Dots (103683)

Measurements:
- Basic White Thick:
- 5 ½” x 8 ½” scored a 4 ¼”
- Basic Black:
- 5 ¼” x 4”
- Scrap for Ladybug body
- Real Red:
- 5” x 3 ¾”
- Scrap for wings
- Basic White:
- 1 ¾” strip, enough to punch 6 flowers
- Hello: 1” x 1”
- Crushed Curry
- Scrap for flower centers x 3
More Information on My Hello Ladybug Card:
For more of my Stampin’ Up! cards, please click here.
You will find the other items listed above in my online store.


