Mother’s Day Birdhouse Card

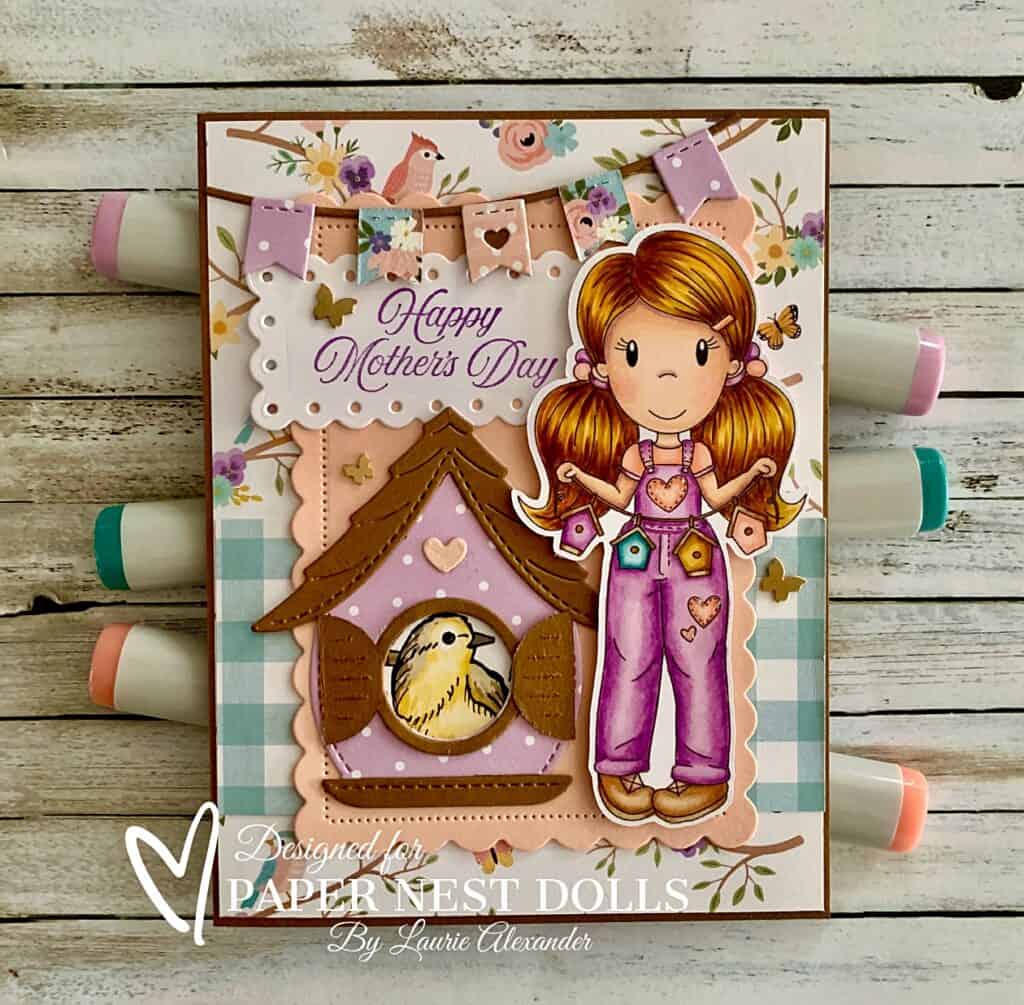
Mother’s Day Birdhouse Card - a Mother;s Day card with a little girl holding a banner of 4 birdhouses
Mother’s Day Birdhouse Card

Hello Crafty Friends! It’s Laurie here! Mother’s Day is only a few weeks away! So, I am sharing my Mother’s Day Birdhouse Card as my Design Team Inspiration Card for Paper Nest Dolls using Avery with Birdhouse Banner

The Details of My Mother’s Day Birdhouse Card

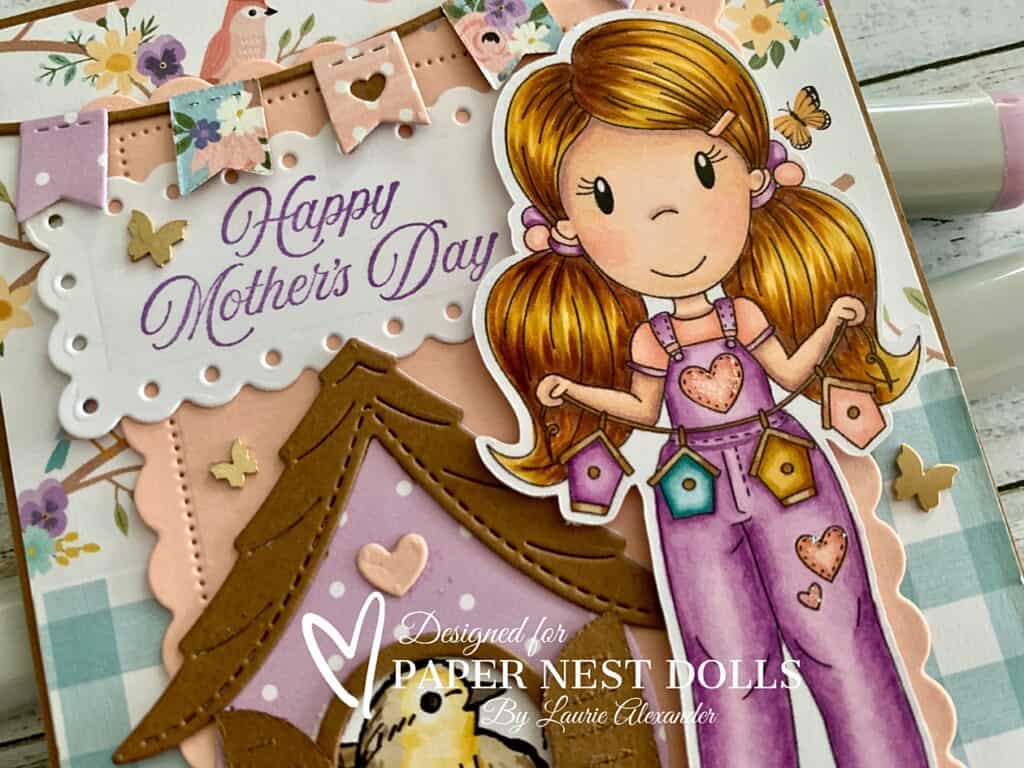
I just love this sweet image with her birdhouse banner! Perfect for a Mother’s Day gift from a little girl! I coloured Avery with my Copic markers in soft purples and pinks to match my Spring Echo Park paper.

For my card, I decided to add a cute die cut birdhouse using the Echo Park papers to match my colouring and Avery’s birdhouse banner. And I couldn’t resist placing a momma bird inside the house by using the Bird Ballet DSP especially since this was a Mother’s Day card!

Next, I added a banner using the different papers that match my colour scheme. This overlayed the stamped Highland Heather sentiment that was die cut with the Scallop Contours Dies. All this was layered onto a larger scalloped Petal Pink piece to complete my focal point.

Finally, for embellishments, I added some Brass Butterflies to match the butterflies on the paper, as well as, added Star Dust Stickles to the hearts on Avery’s outfit.

————————–

Copic Markers

Skin: E04/E11/E21/E00/E000/R20
Hair: E25/YR24/Y36/Y21
Pinks: R02/RV42/R01 
Blues: BG75/BG72/BG70
Purples: V15/V12/V01
Browns: E35/E33/E31/E30
Close Up of little girl
Close Up of Avery

————————–

Card Recipe for My Mother’s Day Birdhouse Card

Avery with Birdhouse Banner, Paper Nest Dolls
Paper Basics – Stamper’s Select White Cardstock, Papertrey Ink
It’s Spring Time 12” x 12” Collection Kit, Echo Park Paper Co.
Bird Ballard Designer Series Paper, Stampin’ Up!
Build-A-Birdhouse Dies, Lawn Fawn
Fishtail Banner Borders Dies, Lawn Fawn
Scallop Contours Dies, Stampin’ Up!
Celebrate You Stamp Set, Stampin’ Up!
Highland Heather Classic Ink, Stampin’ Up!
Brushed Brass Butterflies, Stampin’ Up!
Star Dust Stickles, Ranger
Petal Pink and Pecan Pie Card Stock, Stampin’ Up!

Finished card size: 5 ½” x 4 ¼”

Stamp Size: 4”

————————–

To view my other Paper Nest Dolls cards, please click here.

Hope you like my Design Team Inspiration Card using Avery with Birdhouse Banner by Paper Nest Dolls!

Thank you for stopping by!

Hugs,
Laurie

You Light the Way Card 

Light the Way Card - a card with a lantern and fireflies on it
Light the Way Card

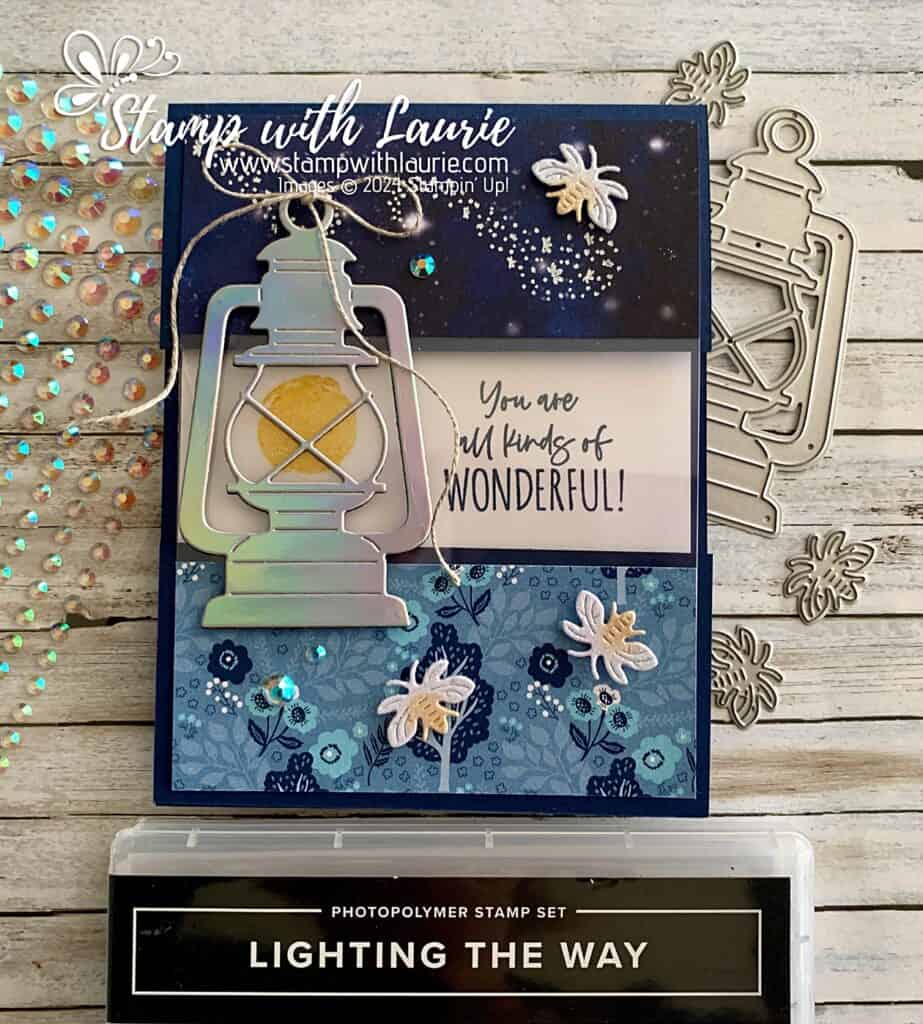
Hello Crafty Friends! Laurie here again! I am sharing my Light the Way Card using the Lighting the Way Stamp Set and the Lighting the Way Dies by Stampin’ Up! These are both set to retire end of this month. So, get yours while you can!

The Details of My Light the Way Card

This card was created for a swap, and I thought a split panel card with the lantern connecting the two pieces would be fun! I used a Window Sheet for the transparent window to give added stability.

For my card, I went with the Stargazing Designer Series Paper for the top half for the sky and the Countryside Inn Designer Series Paper for the bottom half for the ground. I die cut the fireflies in White Glimmer Specialty Paper and brushes some Crushed Curry to their tails to make them glow. Next, I embossed a trail of lights in the wake of the firefly on the Stargazing Designer Series Paper.

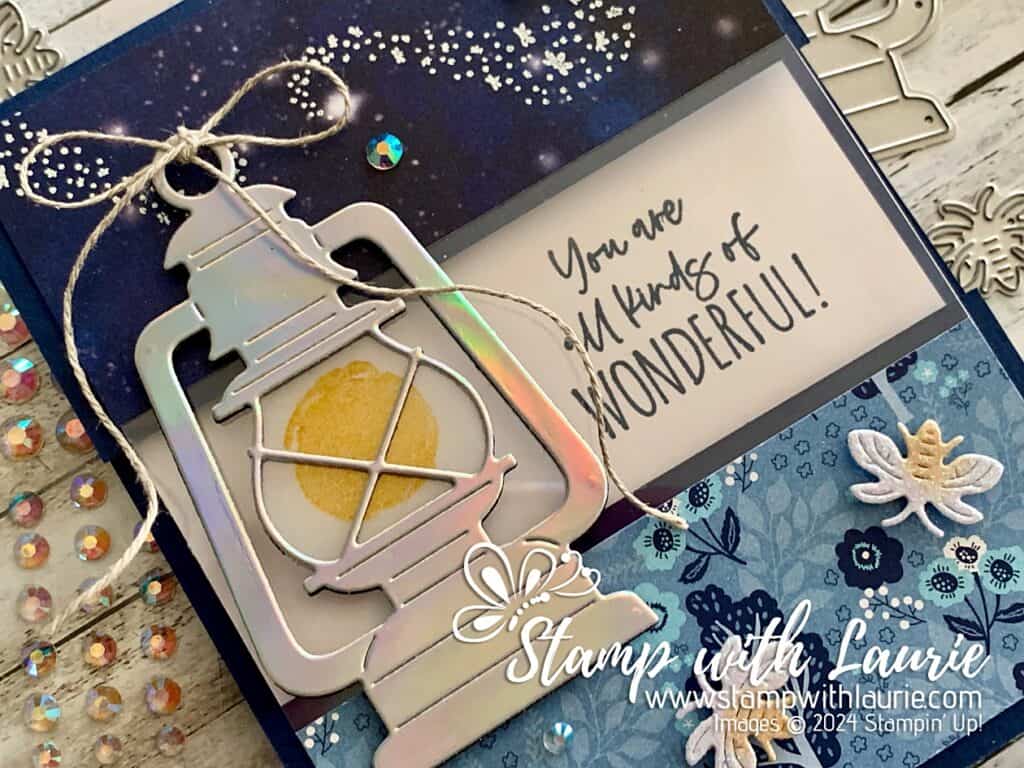
The lantern was die cut twice. Once in the Holographic Paper for the front and again in Basic Black for the back to give the lantern a finished look from inside. I added some vellum to the inside of the lantern on which I stamped the fire glow in Crushed Curry. A bow of Linen Thread added to the top of the lantern finished it off.

Tip: for the sentiment, adhere the Basic White piece inside and then using the Night of Navy card base pieces for placement, stamp the sentiment before decorating them.

Finally, to add a bit more magical shimmer, I used the Iridescent Rhinestone Basic Jewels scattered around my lantern. These are also retiring. So, make sure you get them before they are gone.

Close Up of Lantern on Card
Close Up of Lantern

Supplies:

Stamps/Bundles/Dies: Lighting the Way Stamp Set (160868), Lighting the Way Dies (160496)

Inks: Night of Navy (147110), VersaMark Ink Pad (102283), Crushed Curry (147087)

Paper: Night of Navy (100867), Basic White (159229), Basic Black (121045), Vellum (101856), White Glimmer Specialty Paper (163769), Holographic Trio Specialty Paper (161744), Window Sheets (142314), Stargazing Designer Series Paper (161175), Countryside Inn Designer Series Paper (161467)

Accessories: Linen Thread (104199), Iridescent Rhinestone Basic Jewels (158130), Basics Embossing Powder (155554), Heat Tool (129053), Blending Brushes (153611), Paper Snips (103579), Bone Folder (102300), Stampin’ Dimensionals (104430), Stampin’ Seal (152813), Mini Glue Dots (103683)

Measurements: 

  • Night of Navy:
    • 4 ¼” x 9 ½” scored a 5 ½”, fold and trim one side at 2”. Taking the separate piece, trim 2” off keeping this for the bottom panel.
  • Basic White:
    • 5 ¼” x 4” (inside of card)
  • Window Sheet:
    • 5 ¼” x 4”
  • Holographic Trio Specialty Paper (Lantern):
    • 3 ½” x 2”
  • Basic Black (Lantern):
    • 3 ½” x 2”
  • Vellum:
    • Scrap
  • White Glimmer Specialty Paper:
    • Scrap
  • Stargazing DSP:
    • 4” x 1 ¾”
  • Countryside Inn DSP:
    • 4” x 1 ¾”

More Information on My Light the Way Card

For more of my Stampin’ Up! cards, please click here.

You will find the items listed above in my online store

My Purr-Fect Day Card 

My Purr-Fect Day Card - a birthday card with a cat holding balloons as he floats up
My Purr-Fect Day Card

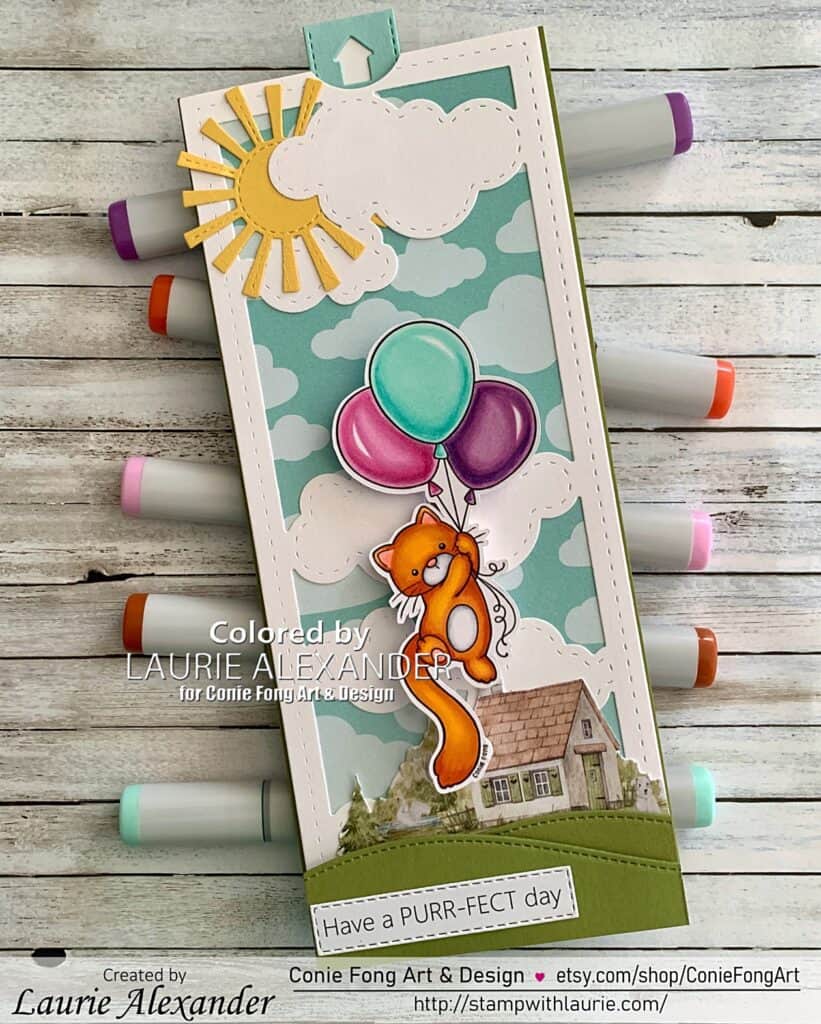
Hello Crafty Friends! It’s Laurie here! I am sharing My Purr-Fect Day Card as my Design Team Inspiration Card for Conie Fong Art & Design using the new release Cat With Balloons. Isn’t he just the cutest floating with his balloons!

The Details of My Purr-Fect Day Card

For my card, I decided to create a slimline slider card so that the cat looked like he was floating up as the mechanism was pulled!

So, I created a scene with the slimline clouds die from Whimsy and the stitched sun from the Spring Showers Dies. Next, I layered the Sunny Days Designer Series Paper behind it to add more clouds. Once that was done, I added a house that I fussy cut from the P13 paper and layered a few stitched hills in front.

To keep my card simple since I didn’t want to detract from the slider, I added a sentiment die cut with a stitched rectangle.

Now that the front of the card was done, it was time to create the mechanism for the slider using the Slimline Pull Tab Dies by Heffy Doodle. Tip: I used the Foam Adhesive Strips by Stampin’ Up! to create enough dimension between the front of the card and the card base to help the slider mechanism to move smoothly.

————————–

Copic Markers:

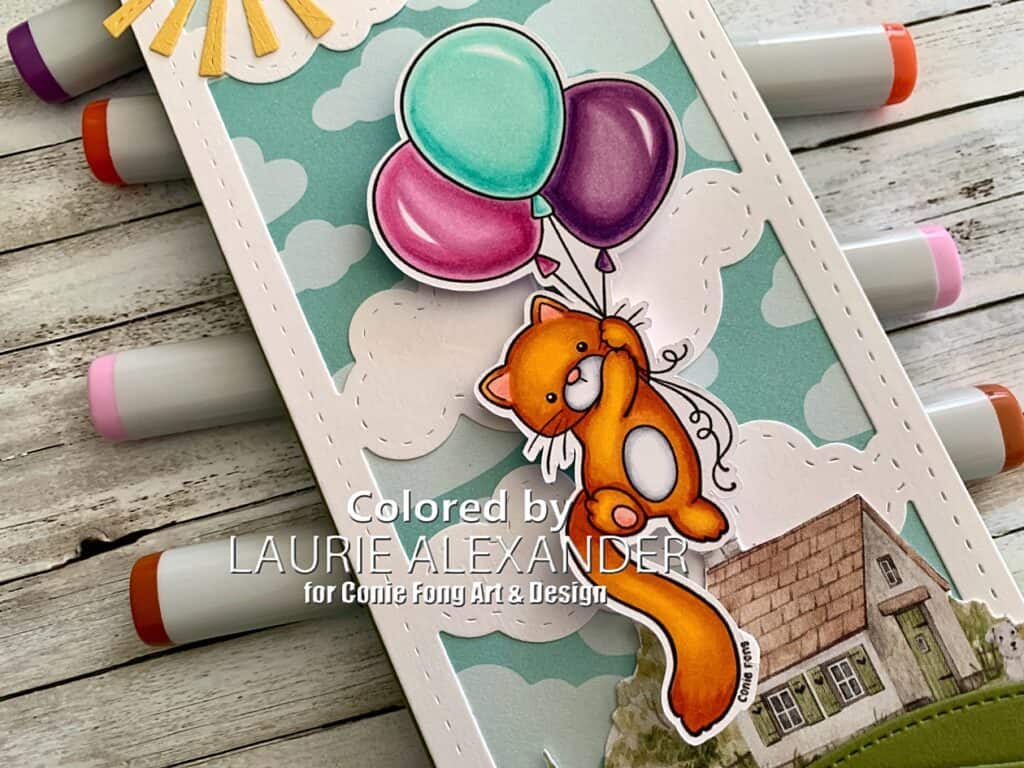
Cat: YR18/YR14/YR12/Y17/R22/R22/C3/C1/C0/0
Pink Balloon: RV66/RV55/RV63/RV52
Blue Balloon: BG13/BG11/BG10
Purple Balloon: V17/V15/V12/V01

Close Up of Cat With Balloons

————————–

Card Recipe for My Purr-Fect Day Card:

Cat With Balloons, Conie Fong Art & Design
Paper Basics – Stamper’s Select White Cardstock, Papertrey Ink
Sunny Days Designer Series Paper, Stampin’ Up!
Hello Summer 6” x 6” Paper Pad, P13
Clouds Slimline Die Set, Whimsy Stamps
Slimline Pull Tab Dies, Heffy Doodle
Slimline Stitched Hillside Borders Dies, Lawn Fawn
Stitched Rectangle Dies Stampin’ Up!
Spring Showers Dies, Lawn Fawn
Paper Snips, Stampin’ Up!
Foam Adhesive Strips, Stampin’ Up!

Old Olive, Pool Party, Daffodil Delight and Thick Basic White Card Stock, Stampin’ Up!

Finished card size: 8 ½” x 3 ½”

————————–

To view my other Conie Fong Art & Design projects, please click here.

Hope you like my Design Team Inspiration Card using Cat With Balloons for Conie Fong Art & Design!

Thank you for stopping by!

Hugs,
Laurie
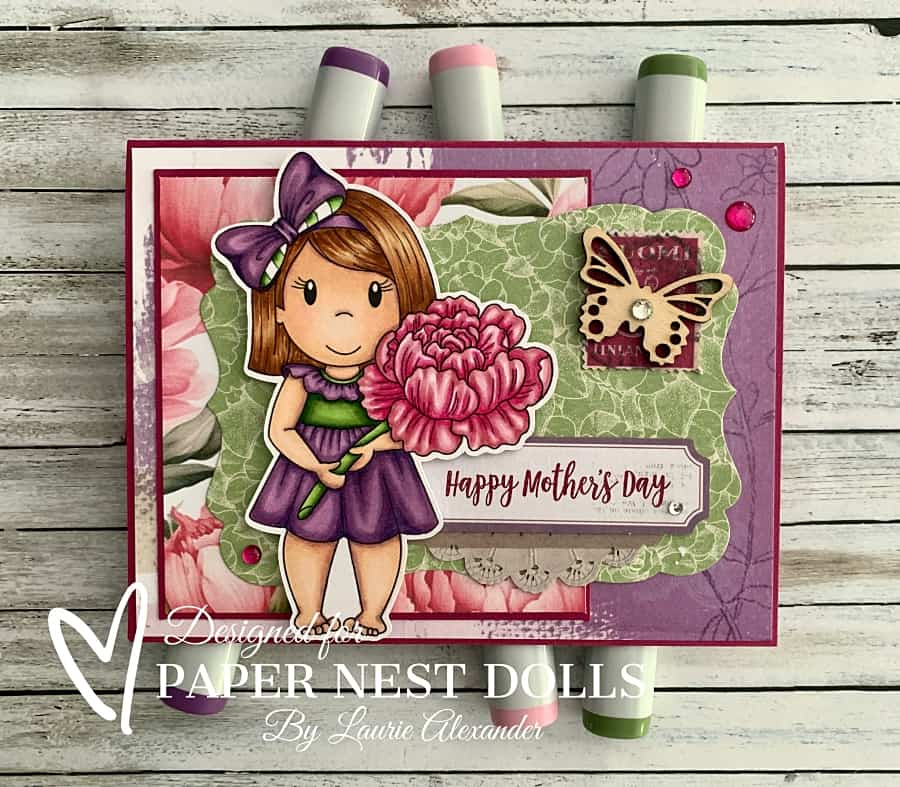
Happy Mother’s Day Card

A Mother's Day Card with a girl holding a peony
Happy Mother’s Day Card

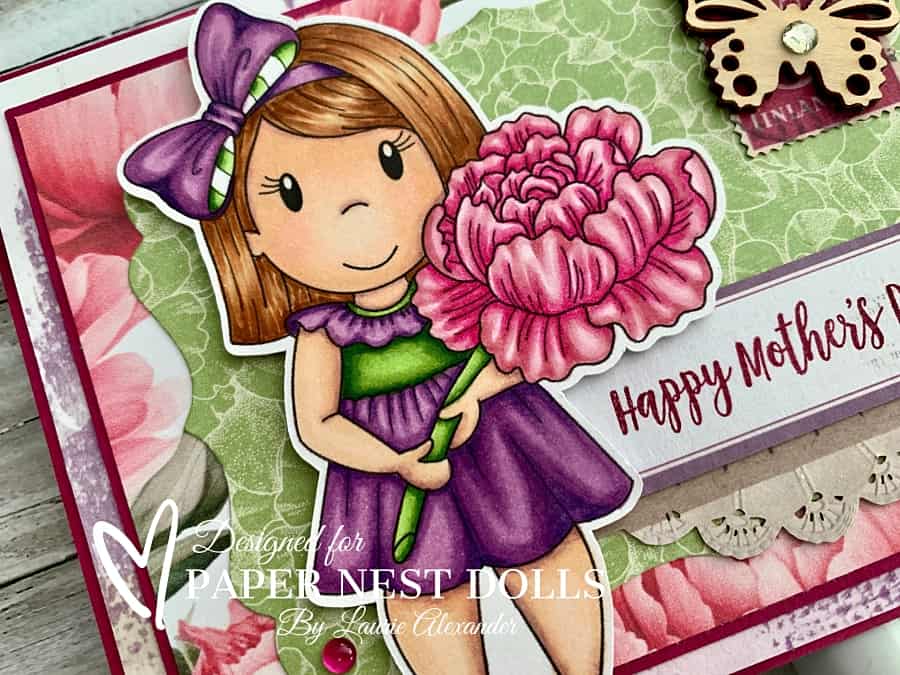
Hello Crafty Friends! It’s Laurie here! I am sharing my Happy Mother’s Day Card as my Design Team Inspiration Card for Paper Nest Dolls using Lulu with Peony. I decided to make a Mother’s Day card since tomorrow is Mother’s Day, but Lulu would be great for so many other cards like birthday, thinking of you, and more!

The Details of My Card

For my card, I decided to colour the peony a hot pink colour using my RV Copic markers. We have peonies in our garden that are this gorgeous colour and I just love them! I went with purples and greens for Lulu since these colours go so well with the peony colour!

When I looked through my papers, I didn’t have any peonies the particular colour. So, I went online and found some digital papers to match my colouring. This is a great resource for papers that you may wish to find. It’s amazing how many digital papers are available!

The other papers were pulled from my stash to match the purple and green of Lulu’s dress. I already had the Graphic 45 die cut green piece leftover from another project. So, I decided it would work for this card to give Lulu a nice backdrop from the peony paper.

The sentiment was stamped in Berry Burst onto a tag that came from the Artistry Collector’s Edition Vol 2. The doily under the sentient and stamp also came from that Collection. I love it when you get a collection that has all these fun elements that match the papers!

I added a wooden butterfly layered on top of the stamp to add interest. The rhinestones and glossy dots added some sparkle to the card. Clear Wink of Stella was added to her bow and to the peony for shimmer.

————————–

Copic Markers

Skin: E04/E11/E21/E00/E000/R20
Hair: E37/E35/E33/E31
Peony: RV09/RV04/R83/R81/RV000 
Purples: V17/V15/V12
Greens: YG67/YG63/YG11

Close Up of girl holding peony
Close Up of Lulu

Card Recipe for My Happy Mother’s Day Card

Lulu with Peony, Paper Nest Dolls
Paper Basics – Stamper’s Select White Cardstock, Papertrey Ink
Mystique Paper, Vintage Artistry Collector’s Edition Vol 2, 49 and Market
Tag, Stamp and Doily, Artistry Collector’s Edition Vol 2, 49 and Market
Botanical Tea 8” x 8” Paper Pad, Graphic 45
Watercolor Peonies Digital Paper, PrintsDigitalDecor
Labels Eight Dies, Nestabilities, Spellbinders
Berry Burst Ink Pad, Stampin’ Up!
Dressed to Impress Stamp Set, Stampin’ Up!
Glossy Dots Assortment, Stampin’ Up!
Butterfly Elements, Stampin’ Up!
Basic Rhinestone Jewels, Stampin’ Up!
Clear Wink of Stella, Stampin’ Up!

Finished card size: 5 ½” x 4 ¼”

Stamp Size: 4”

————————–

To view my other Paper Nest Dolls cards, please click here.

Hope you like my Design Team Inspiration Card using Lulu with Peony by Paper Nest Dolls!

Thank you for stopping by!

Hugs,
Laurie
My Happy Mother’s Day Card

Card with a bear holding a rose
My Happy Mother’s Day Card

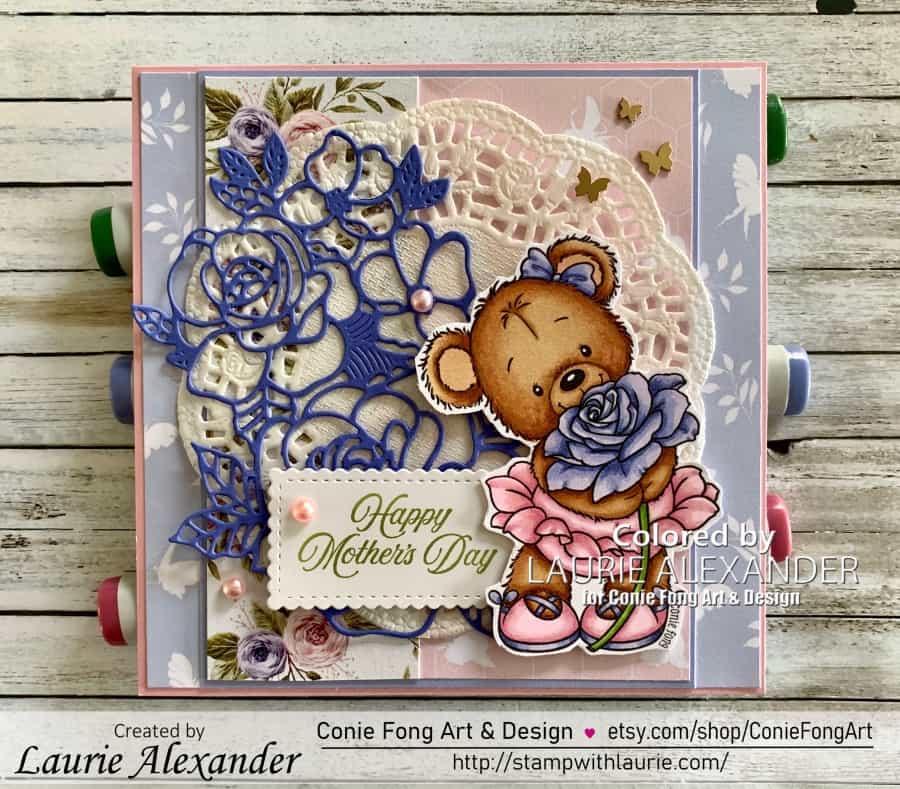
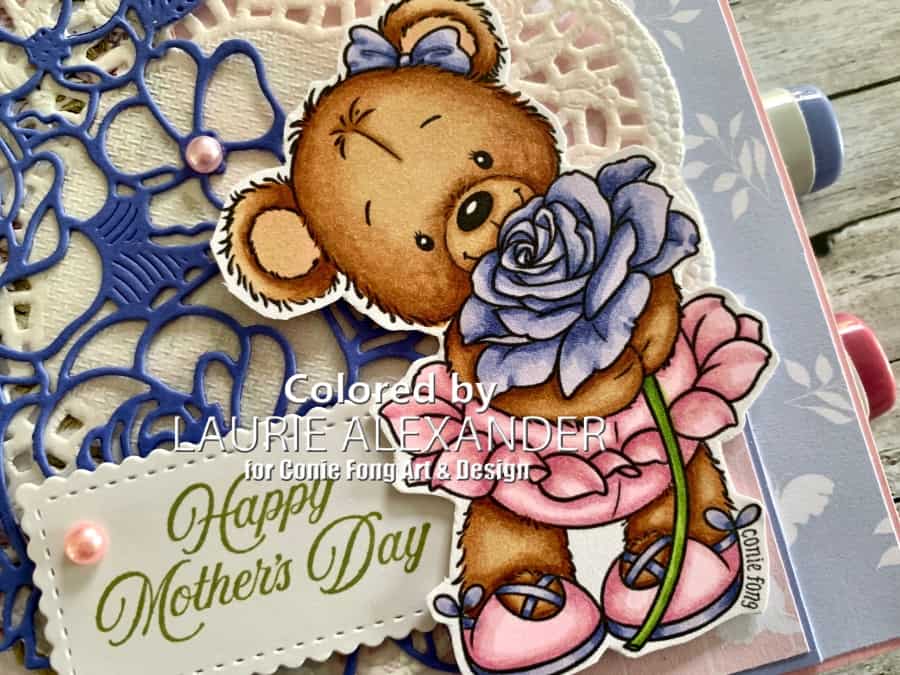
Hello Crafty Friends! It’s Laurie here! I am sharing My Happy Mother’s Day Card as my Design Team Inspiration Card for Conie Fong Art & Design using Bella With Rose.

The Details of My Card

For my card, I thought Bella With Rose would make a perfect Mother’s Day Card! She is such a cutie and Mother’s Day is only a few weeks away!

I decided to go with soft pastel colours to match the beautiful Spring papers from The Paper Boutique. The Stitched with Love Paper Pad matched this colour scheme well and it had purple roses that I used for inspiration to colour my rose.

To me nothing says Mother’s Day like a beautiful doily and this one had roses on it. Perfect for my rose theme and to center my focal point!

I have been wanting to use the beautiful rose die from Paper Roses for a while and thought this was ideal for my card!

A scattering of pink pearls and butterflies to match my paper completed my card. 

————————–

Copic Markers:

Fur: E37/E35/E33/E31/R20
Rose: BV04/BV02/BV00
Pinks: RV34/RV32/RV00
Stem: YG67/YG63/YG03

Close Up of bear holding rose
Close Up of Bella With Rose

————————–

Card Recipe for My Happy Mother’s Day Card:

Bella With Rose, Conie Fong Art & Design
Paper Basics – Stamper’s Select White Cardstock, Papertrey Ink
Spring Whispers Coloured Card Collection A4, The Paper Boutique
Spring Whispers 8” x 8” Paper Pack, The Paper Boutique
Stitched with Love 6” x 6” Paper Pad, P13
Rose Bloom Die, Paper Roses
Stitched So Sweetly Dies, Stampin’ Up!
Celebrating You Stamp Set, Stampin’ Up!
Pear Pizzazz Classic Ink Pad, Stampin’ Up!
4.5” Fancy Doily, Color Fantastik
Pastel Pearls, Stampin’ Up!
Brushed Brass Butterflies, Stampin’ Up!
Clear Wink of Stella, Stampin’ Up!

Finished card size: 5.25” x 5.25”

————————–

To view my other Conie Fong Art & Design projects, please click here.

Hope you like my Design Team Inspiration Card using
Bella With Rose for Conie Fong Art & Design!

Thank you for stopping by!

Hugs,
Laurie
My Pansy Hello Card

My Stampin' Up! Card Using the Pansy Petals Suite
My Pansy Hello Card

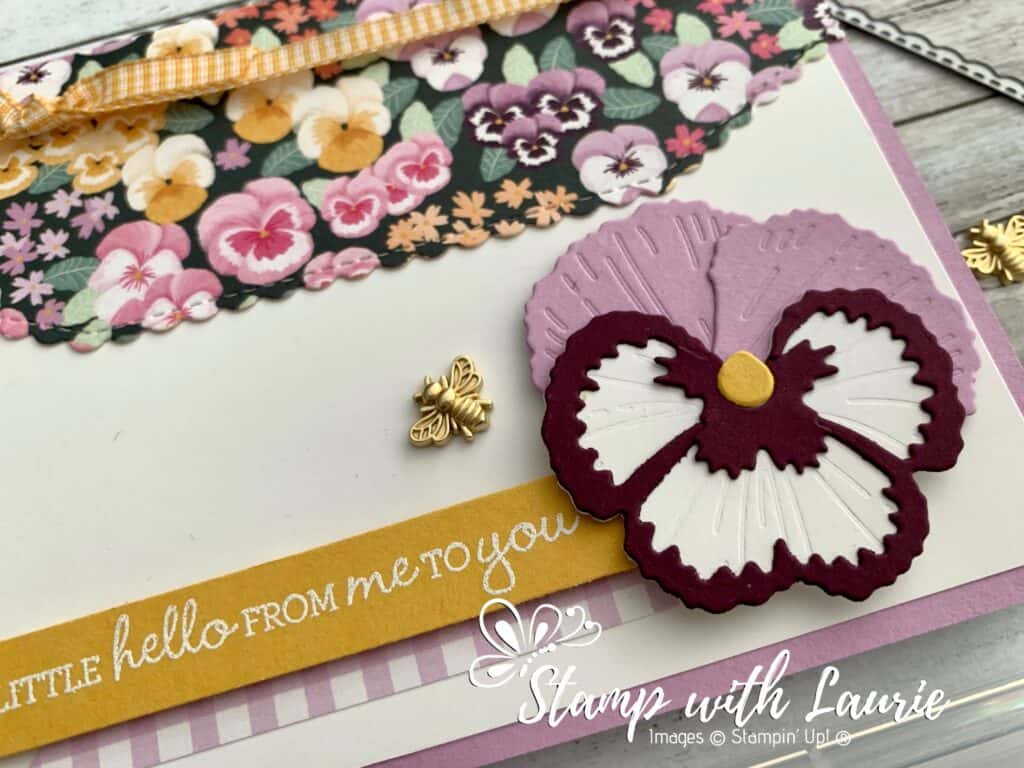
Hello Crafty Friends! Laurie here again! I am sharing My Pansy Hello Card using the Pansy Petals Suite which includes the Pansy Patch Stamp Set, Pansy Dies, Pansy Petals Designer Series Paper and Bumblebee Trinkets by Stampin’ Up! Don’t you just love the details of that layered 3D pansy!

Close Up of the 3D Pansy Die

For my card, I knew that I wanted to use the Basic Border Dies with the beautiful DSP! So, I created an envelope liner look that allowed me to wrap the Bumblebee Gingham Ribbon around it. I pulled my colours from the DSP to create my gorgeous pansy. There are so many different colour combinations that you can create with the dies. There is even a die that can cut out some of the pansies in the DSP. I embossed the sentiment in white on a strip of Bumblebee card stock that I had left over from another project. I always save them just in case I can use them. What do you do with these scraps? The finishing touch was the sweet Bumblebee Trinket!

Supplies:

Stamps/Bundles/Dies: Pansy Petals Bundle (155674), Basic Borders Dies (155558)

Inks: VersaMark Ink (102283)

Paper: Fresh Freesia (155613), Basic White (159276), Blackberry Bliss (133675), Bumblebee (153077), Pansy Petals Designer Series Paper (155807)

Accessories: Basics Embossing Powder (155554), Bumblebee Trinkets (155568), Bumblebee Gingham Ribbon (153658), Heat Tool (129053), Bone Folder (102300), Stampin’ Dimensionals (104430), Stampin’ Seal (152813), Mini Glue Dots (103683), Paper Snips (103579)

Close Up of My Card
Close Up of My Card

Measurements: 

  • Fresh Freesia: 2 pieces
    • 5 ½” x 8 ½” scored at 4 ¼”
    • Scrap for pansy
  • Basic White: 2 pieces
    • 4” x 5 ¼”
    • Scrap for pansy
  • Blackberry Bliss: Scrap for pansy
  • Bumblebee: 2 pieces
    • 3 ½” x ½”
    • Scrap for pansy
  • Pansy Petals Designer Series Paper: 5 ½” x 2 ¼”
  • Bumblebee Gingham Ribbon: 6” and 4”

More Information on My Pansy Hello Card:

For more of my Stampin’ Up! cards, please click here.

Here is a video showing the Pansy Petals Suite: https://www.youtube.com/watch?v=dUT3h4xOCnY

You will find the items listed above in my online store.

My Summer Dreams Card

Hello Crafty Friends! It’s Laurie here! I can’t believe that Summer is almost over! So, in the hopes of making the summer last a little bit longer, I am sharing My Summer Dreams Card as my Design Team Card for Conie Fong Art & Design. My card is using the sweet Summer Dreams. This image would be perfect for so many occasions like Birthday, Mother’s Day, Thinking of You, Wedding to name just a few!

Details of My Card

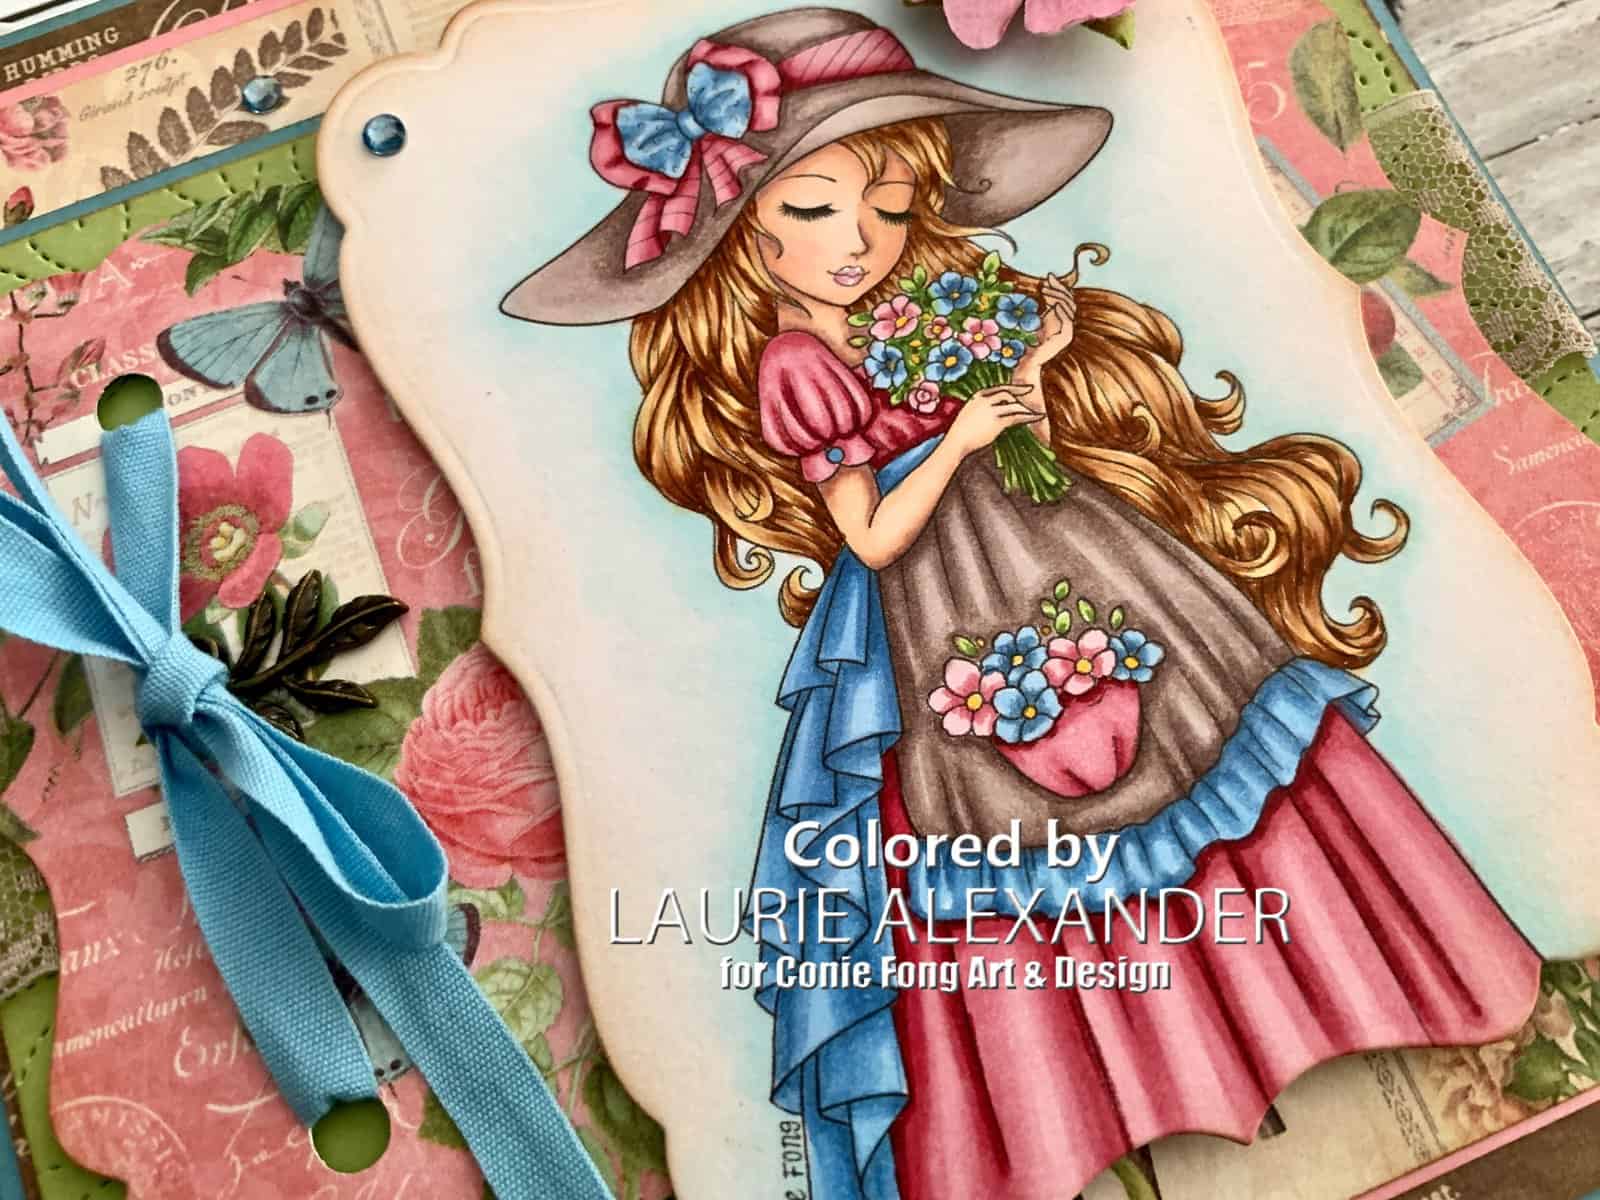
For my card, I coloured this sweet image with my Copic markers to match the beautiful Botanical Tea paper by Graphic 45. I had a lot of fun colouring all those waves and curls in her hair and look at those pleats! Omgoodness! Such colouring fun!

I have been wanting for a while to use the Stitched Greenery Dies by Stampin’ Up! and thought that they would make a perfect subtle mat for my focal point. I die cut the Botanical Tea paper and my coloured image with the Labels Seventeen in two consecutive layering dies. I used my Blending Brush to add some Vintage Photo ink to the edges of all my paper and die cuts. Next, I turn the larger one on its side and punched two holes in it at one end and threaded ribbon through the holes for an unexpected touch.

To add to the botanical theme, I added a leaf trinket so that it looks like it is attached to the ribbon. I found a paper flower that matched my colouring perfectly. To add some matching blue embellishments, I coloured rhinestones with my B34 Copic markers and scattered them here and there.

————————–

Copic Markers:

Skin: E000/E00/E21/E11/E04/R20
Hair: YR31/E33/E35/E37
Pinks: R81/R83/R85/R89
Blues: B34/B23/B32
Browns: E70/E71/E74/E77
Flowers: B34/B32/R85/R81/Y17
Stems: YG03/YG63/YG67/G99
Sky: BG000/BG0000
Rhinestones: B34

Close Up of my Design Team Card

————————–

Card Recipe for My Summer Dreams Card:

Summer Dreams, Conie Fong Art & Design
Paper Basics – Stamper’s Select White Cardstock, Papertrey Ink
Botanical Tea Paper Pad, Graphic 45
Pink Buttons 6” x 6.5” Card Stock Paper, Recollections, Michaels Arts & Crafts
Nestabilities Labels Seventeen, Spellbinders
Stitched Greenery Dies, Stampin’ Up!
¼” Handheld Hole Punch, In my Stash
Marina Mist ¼” Cotton Ribbon, Stampin’ Up!
Tip Top Taupe Dotted Lace Trim, Stampin’ Up!
Bird Ballad Trinkets, Stampin’ Up!
Paper Flowers, Recollections, Michaels Arts & Crafts
Vintage Photo Distress Inks, Ranger
Blending Brushes, Stampin’ Up!
Basic Rhinestone Jewels, Stampin’ Up!
White Gelly Roll Pen
Marina Mist Card Stock, Stampin’ Up!

Finished card size: 5.75” x 5.75”

————————–

To view my other Conie Fong Art & Design cards, please click here.

Hope you like my Design Team Inspiration Card using
Summer Dreams for Conie Fong Art & Design!

Thank you for stopping by!

Hugs,
Laurie
My Santorini Window Card

My Welcoming Window Card
My Santorini Window Card

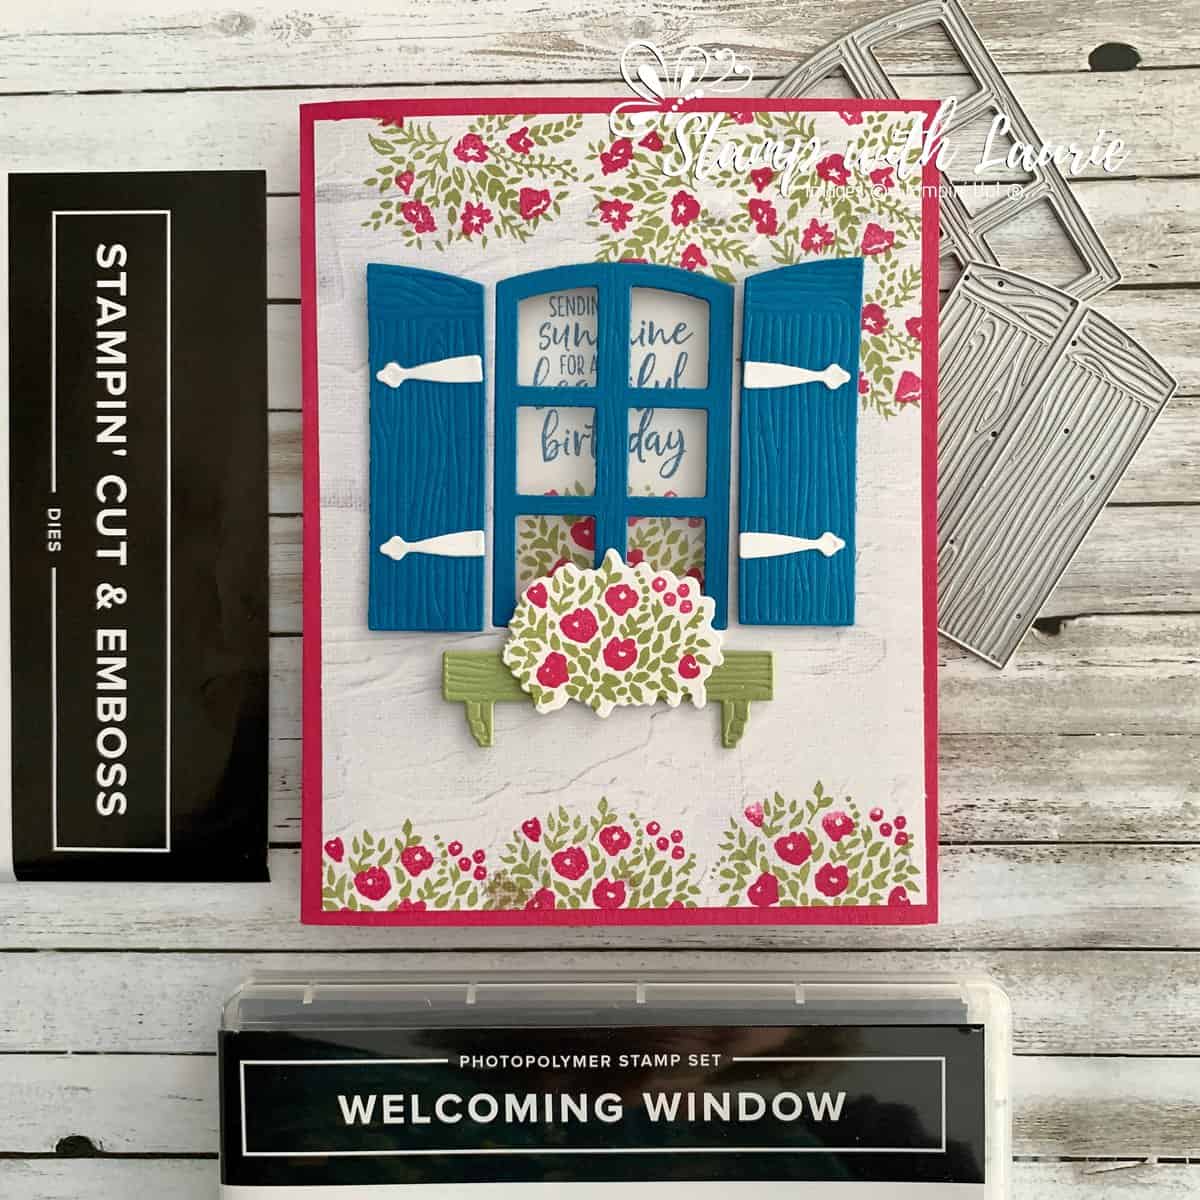
Today I am sharing my Santorini Window Card using the Welcoming Window Bundle by Stampin’ Up! I love that you can make different cards depending on which sentiment you use. This one is a birthday card, but I also made a Mother’s Day card for my mom too.

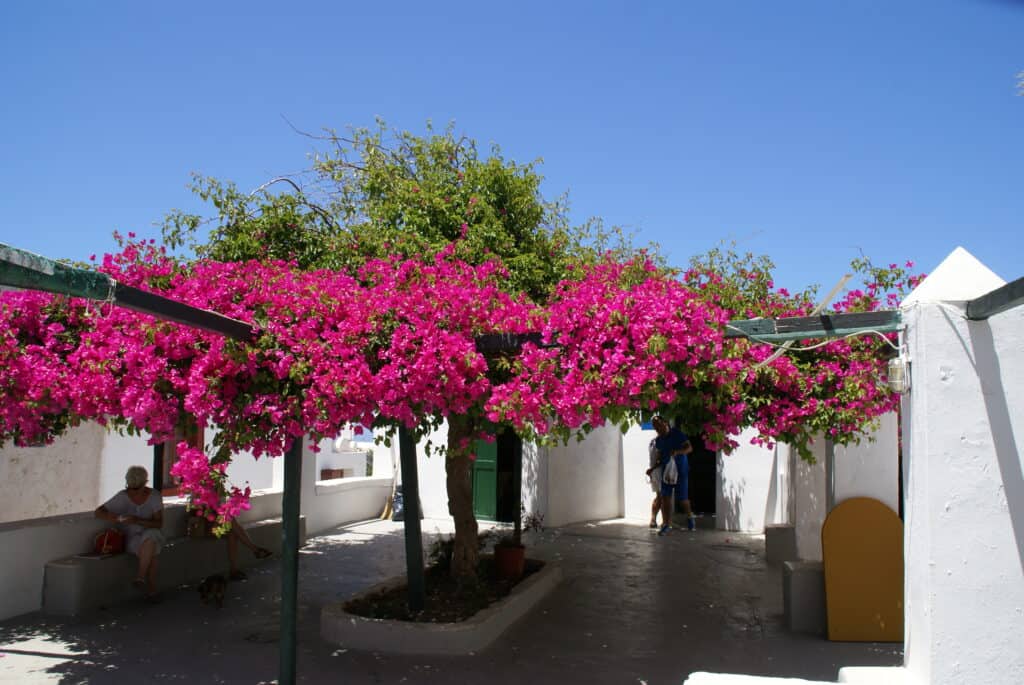
When I saw this bundle, I immediately thought of creating a window that shows the inside of the card. I went with bright colours that were inspired by a photo from our Greece trip to Santorini with the bright pink bougainvillea flowers against a white building. 

Santorini
Pink Bougainvillea Flowers in Santorini

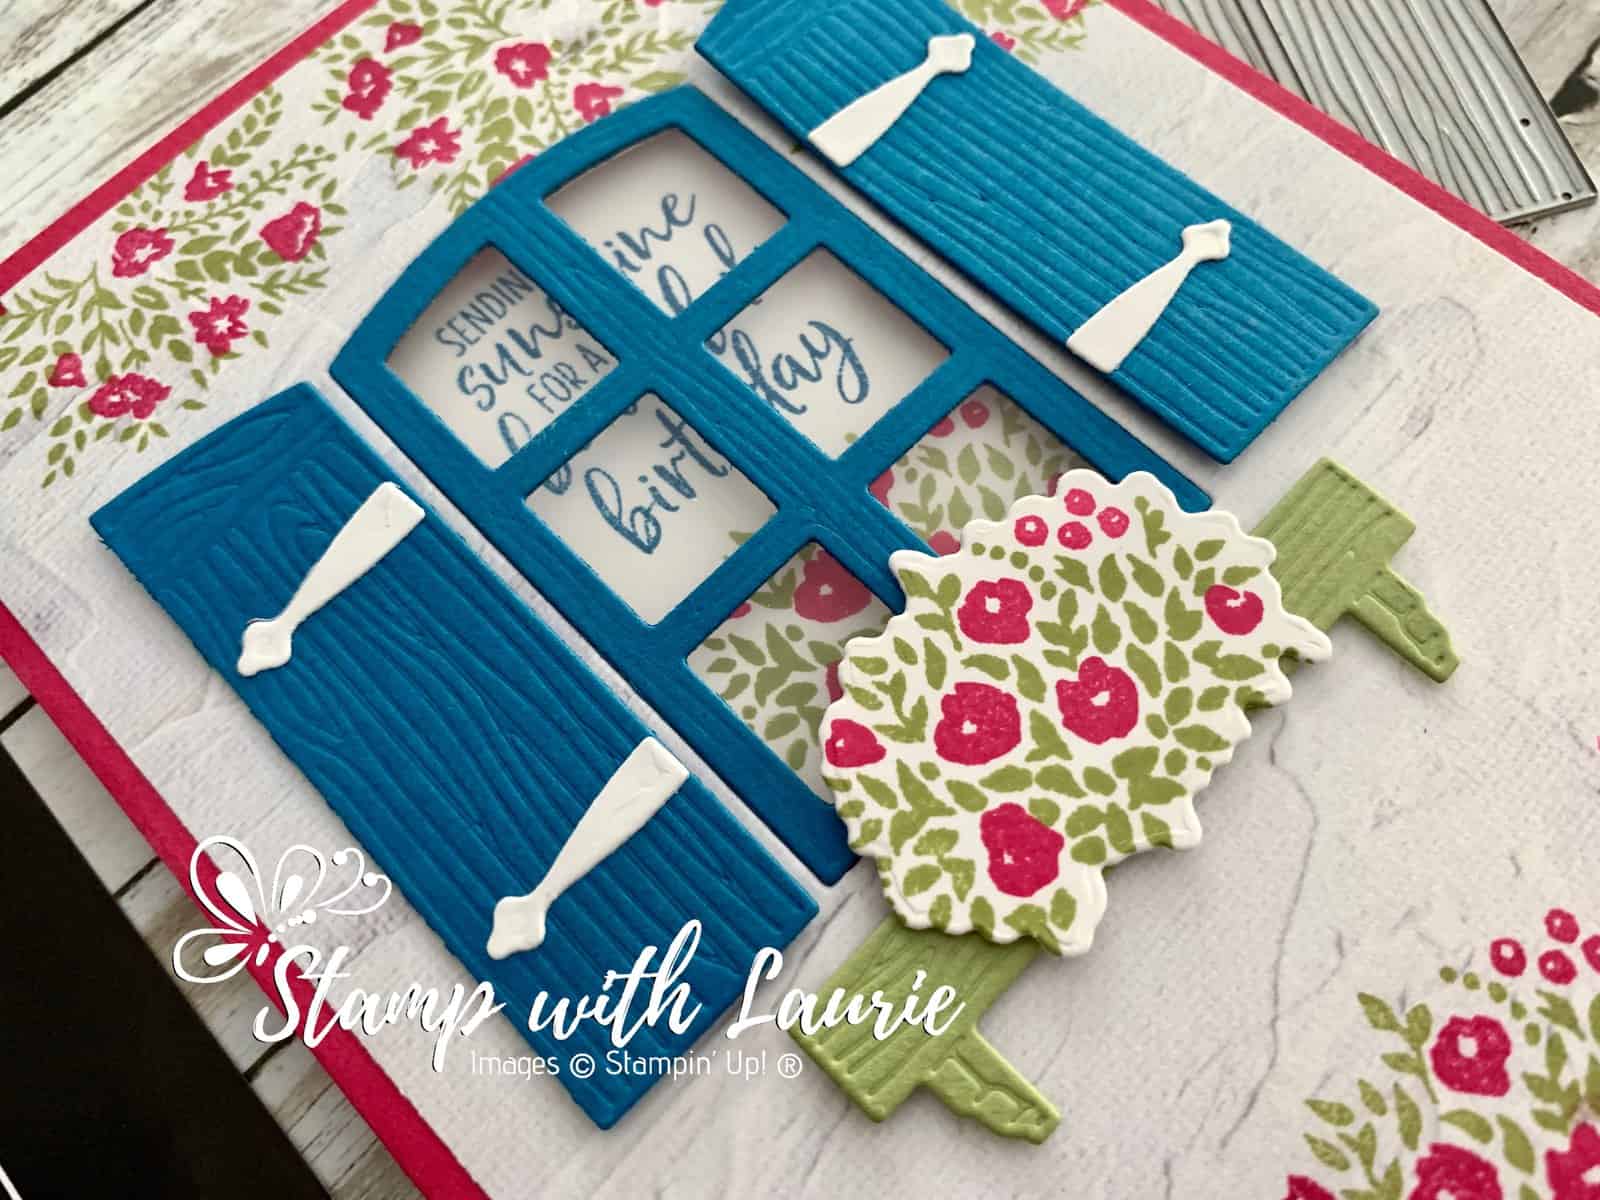
I stamped directly onto the In Good Taste Designer Series Paper that carried over to the new Annual Catalogue. The white stucco sheet of DSP was perfect for my card. The shutters and window frame just had to be in Pacific Point since that colour reminds me of Santorini! To create my window, I used a piece of wind sheet between the window panes. I even used the part of the DSP that I cut of the window on the inside of my card. Then you would not see the glue that I used to adhere the Pacific Point frame on the front.

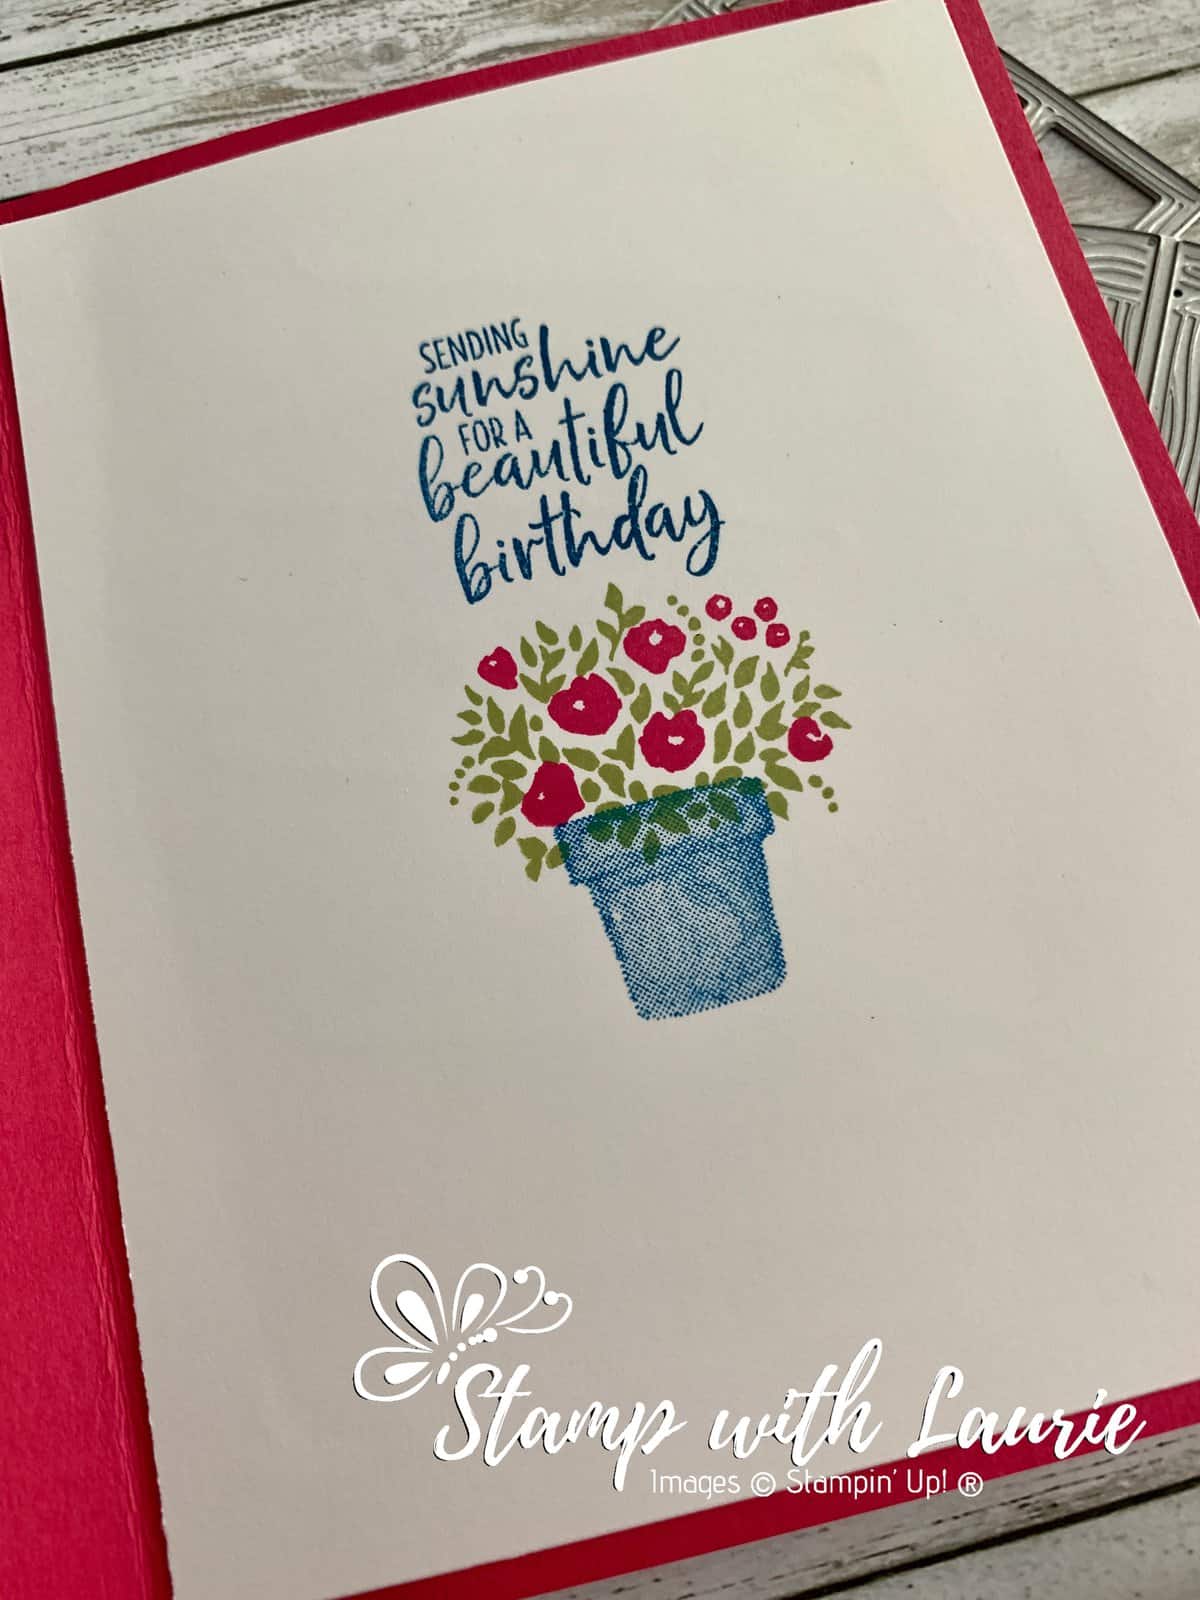
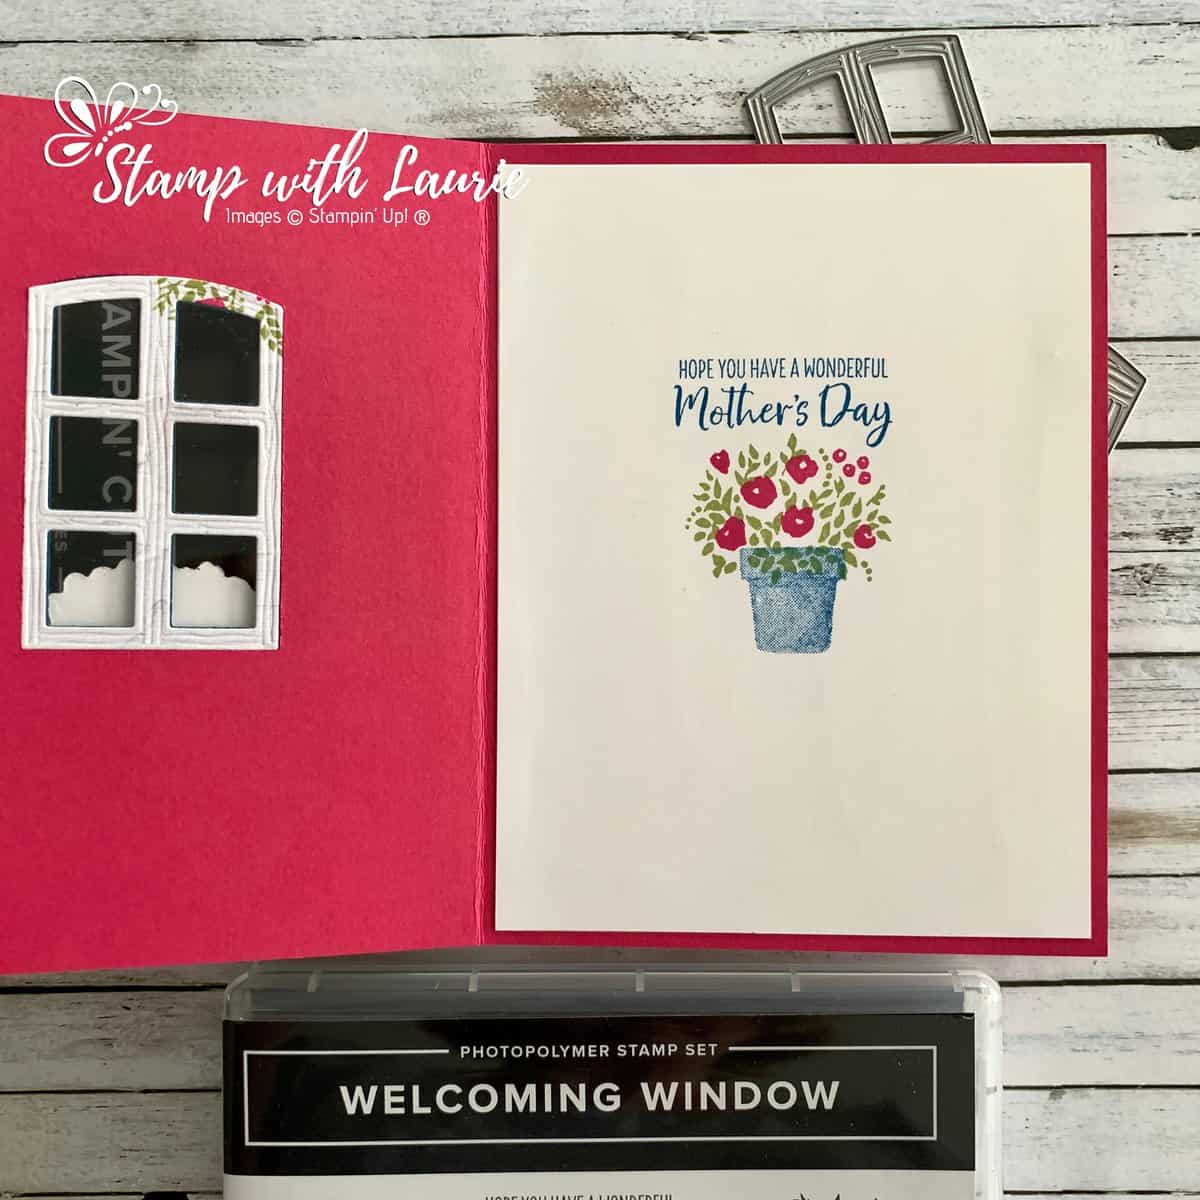
Inside of my Birthday Card

For the inside, I stamped my images centred on the page so that I can be seen through the window.

Inside of My Card
Inside of My Mother’s Day Card

Supplies:

Stamps/Bundles/Dies: Welcoming Window Bundle (159529)

Inks: Melon Mambo Classic Stampin’ Pad (147051), Pacific Point Classic Stampin’ Pad (147098), Pear Pizzazz Classic Stampin’ Pad (147104)

Paper: Melon Mambo (115320), Pacific Point (111350), Pear Pizzazz (131201), Basic White (159276), In Good Taste Designer Series Paper (152494)

Accessories: Window Sheets (142314), Bone Folder (102300), Stampin’ Dimensionals (104430), Stampin’ Seal (152813), Multipurpose Liquid Glue (110755)

Close Up of My Welcoming Window Card

Measurements: 

  • Melon Mambo: 5 ½” x 8 ½” scored at 4 ¼”
  • In Good Taste Designer Series Paper: 4” x 5 ¼”
  • Basic White: 4” x 5 ¼” (inside of card)
    • 1 1/8” x 1 ½” (for flowers)
    • Scraps (for hinges)
  • Pacific Point: 1 5/8” x 2 3/8” (window)
    • 1 9/16” x 2 3/8” (shutters)
  • Pear Pizzazz: 5/8” and 2 ¼”
  • Window Sheets: 2” x 3”

For Further Info:

For more of my Stampin’ Up! cards, please click here.

You will find the items listed above in my online store.

My Sweet Maisy Card

My Design Team Card
My Sweet Maisy Card

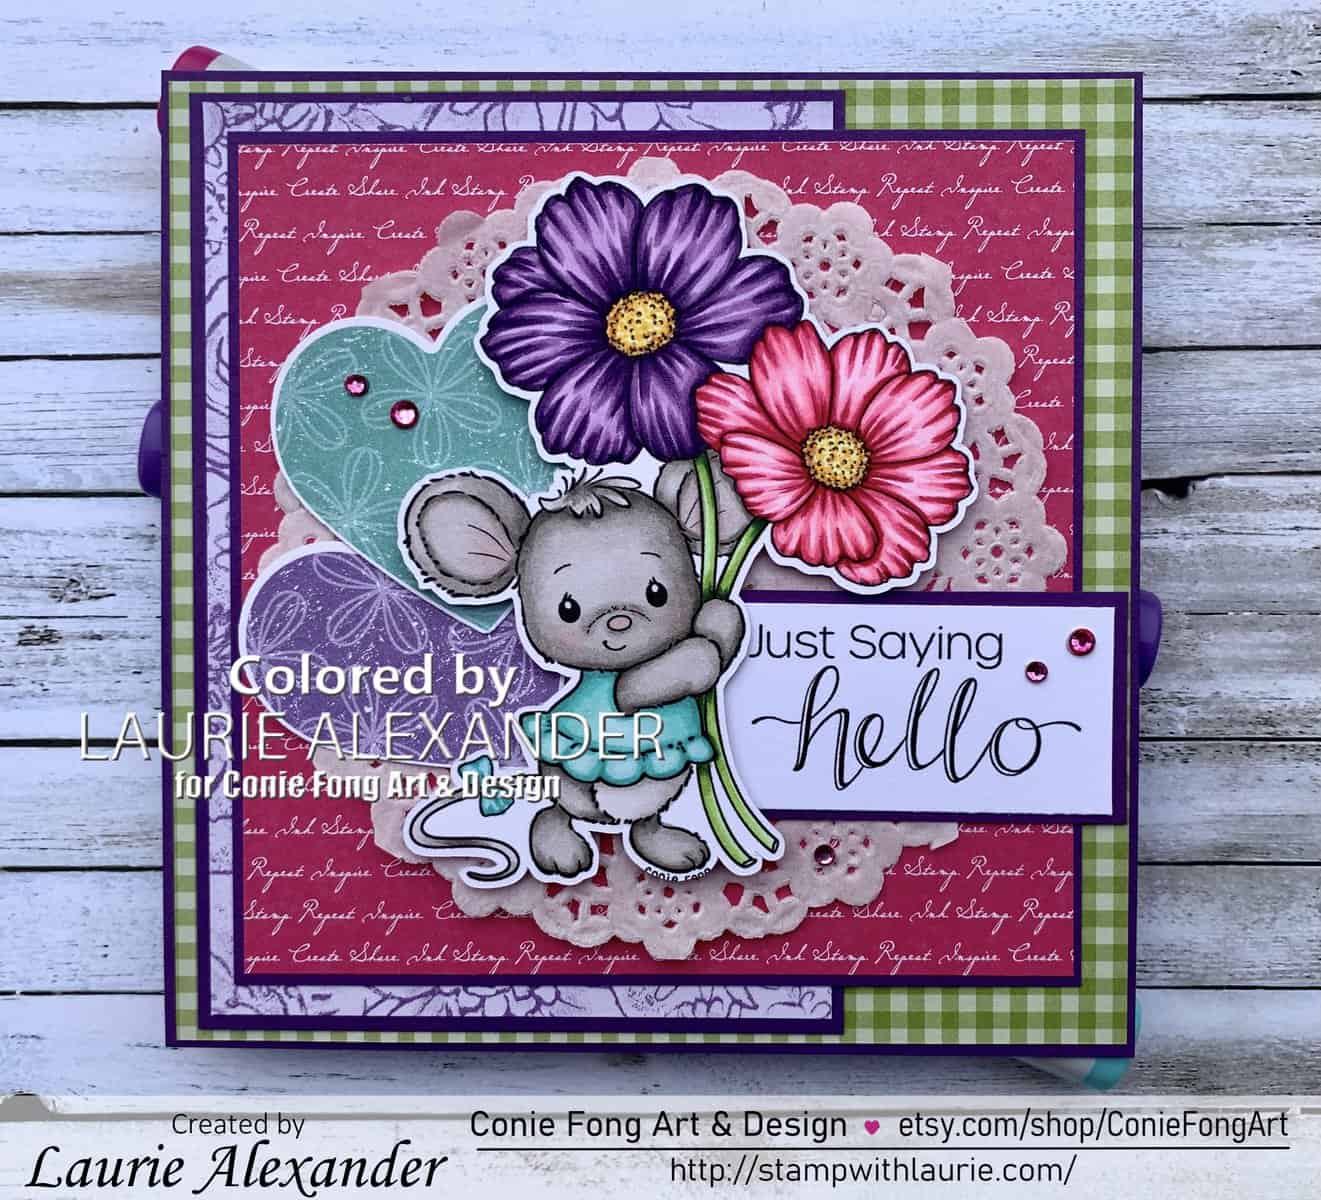
Hello Crafty Friends! It’s Laurie here! I am sharing My Sweet Maisy Card as my Design Team Card for Conie Fong Art & Design. This digital stamp bundle is called Maisy and Cory Mice Bundle and comes with six images including two mice and 4 sentiments.

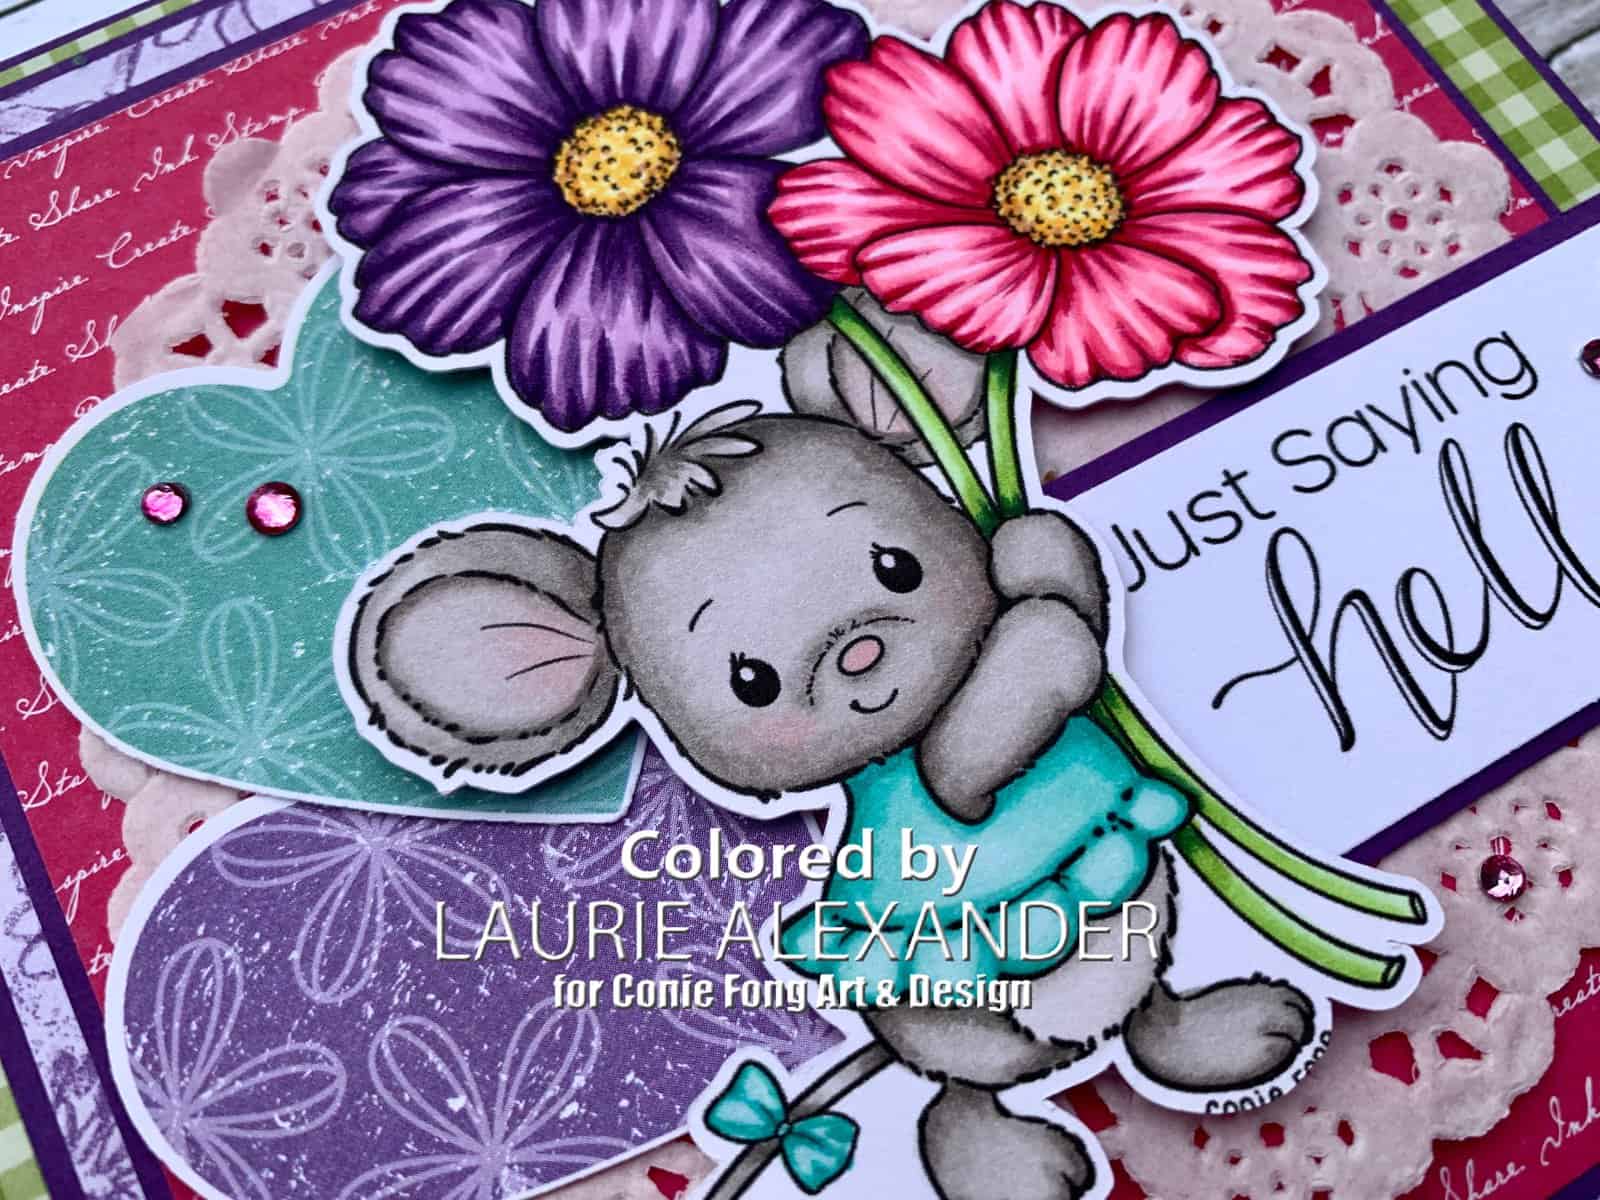
I just coloured Maisy with my Copic markers for my card thinking it would make a sweet Mother’s Day card. My cosmos flowers came out vibrant and bright to create a nice cheery card. I used Granny Apple Green and Melon Mambo Designer Series paper from the Brights Collection by Stampin’ Up! to match my bright and cheery colours. The doily I found loose in my stash and thought it created a perfect backdrop for Maisy. The hearts were punched out from the Please as Punch Designer Series Paper to be layered behind Maisy. I love the sentiments that come with the bundle and thought that “Just saying hello” could be used for so many different occasions. To add some bling to my card, I wanted to use some rhinestones but tie in the pink. So, I coloured them with my RV 19 Copic marker. Voila! Instant matching embellishments!

————————–

Copic Markers:

Maisy’s Fur: W5/W3/W1/0/R20
Maisy’s Dress: BG15/BG13/BG11/BG10
Purple Cosmo Flower: V09/V17/V15/V12
Pink Cosmo Flower: RV29/RV25/RV23/RV21
Flower Centers: E13/Y15/Y11/Y22
Stems: YG11/YG23/YG25/G28
Rhinestones: RV19

Close Up of My Design Team Card

————————–

Card Recipe for My Sweet Maisy Card:

Maisy and Cory Mice Bundle, Conie Fong Art & Design
Paper Basics – Stamper’s Select White Cardstock, Papertrey Ink
Brights 6” x 6” Designer Series Paper, Stampin’ Up!
Pleased as Punch Designer Series Paper, Stampin’ Up!
Botanical Butterfly Designer Series Paper, Stampin’ Up!
4.5” Doily, from my Stash
Heart Punch Pack, Stampin Up!
Rhinestone Basic Jewels, Stampin’ Up!
Clear Wink of Stella, Stampin’ Up!
Gorgeous Grape Card Stock, Stampin’ Up!
Finished card size: 5.5” x 5.5”

————————–

To view my other Conie Fong Art & Design cards, please click here.

Hope you like my Design Team card using
Maisy and Cory Mice Bundle for Conie Fong Art & Design!

Thank you for stopping by!

Hugs,
Laurie
My Mother’s Day Card

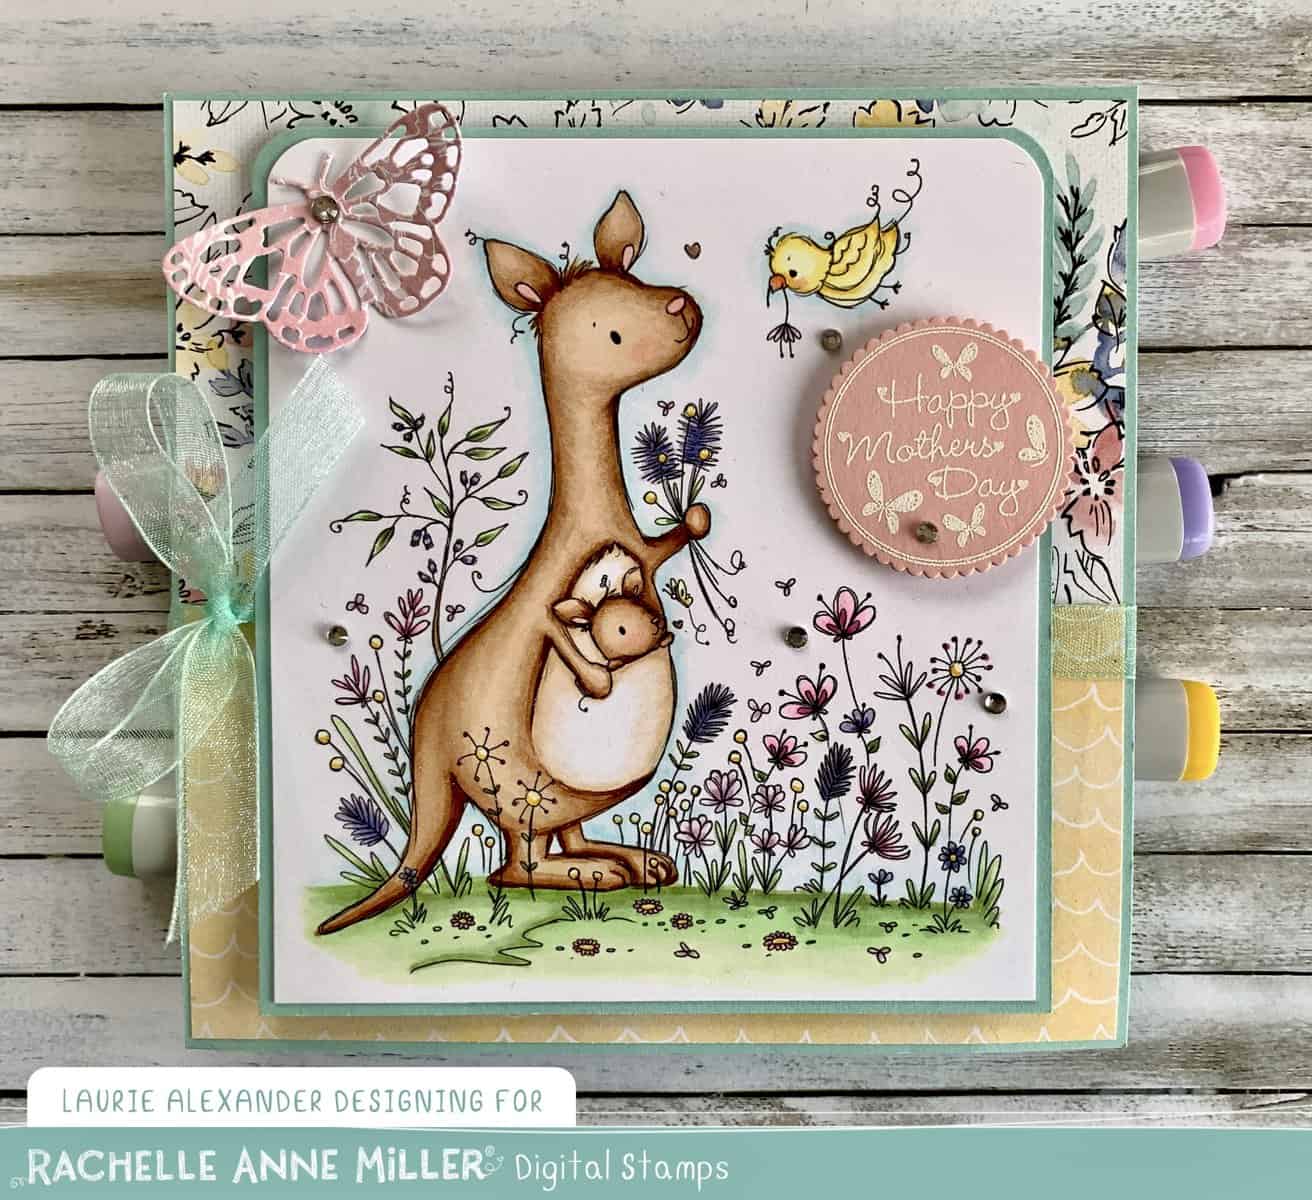
My Design Team Card for Mother's Day using Kangaroo Digital Stamp by Rachelle Anne Miler Creative Studios
My Mother’s Day Card

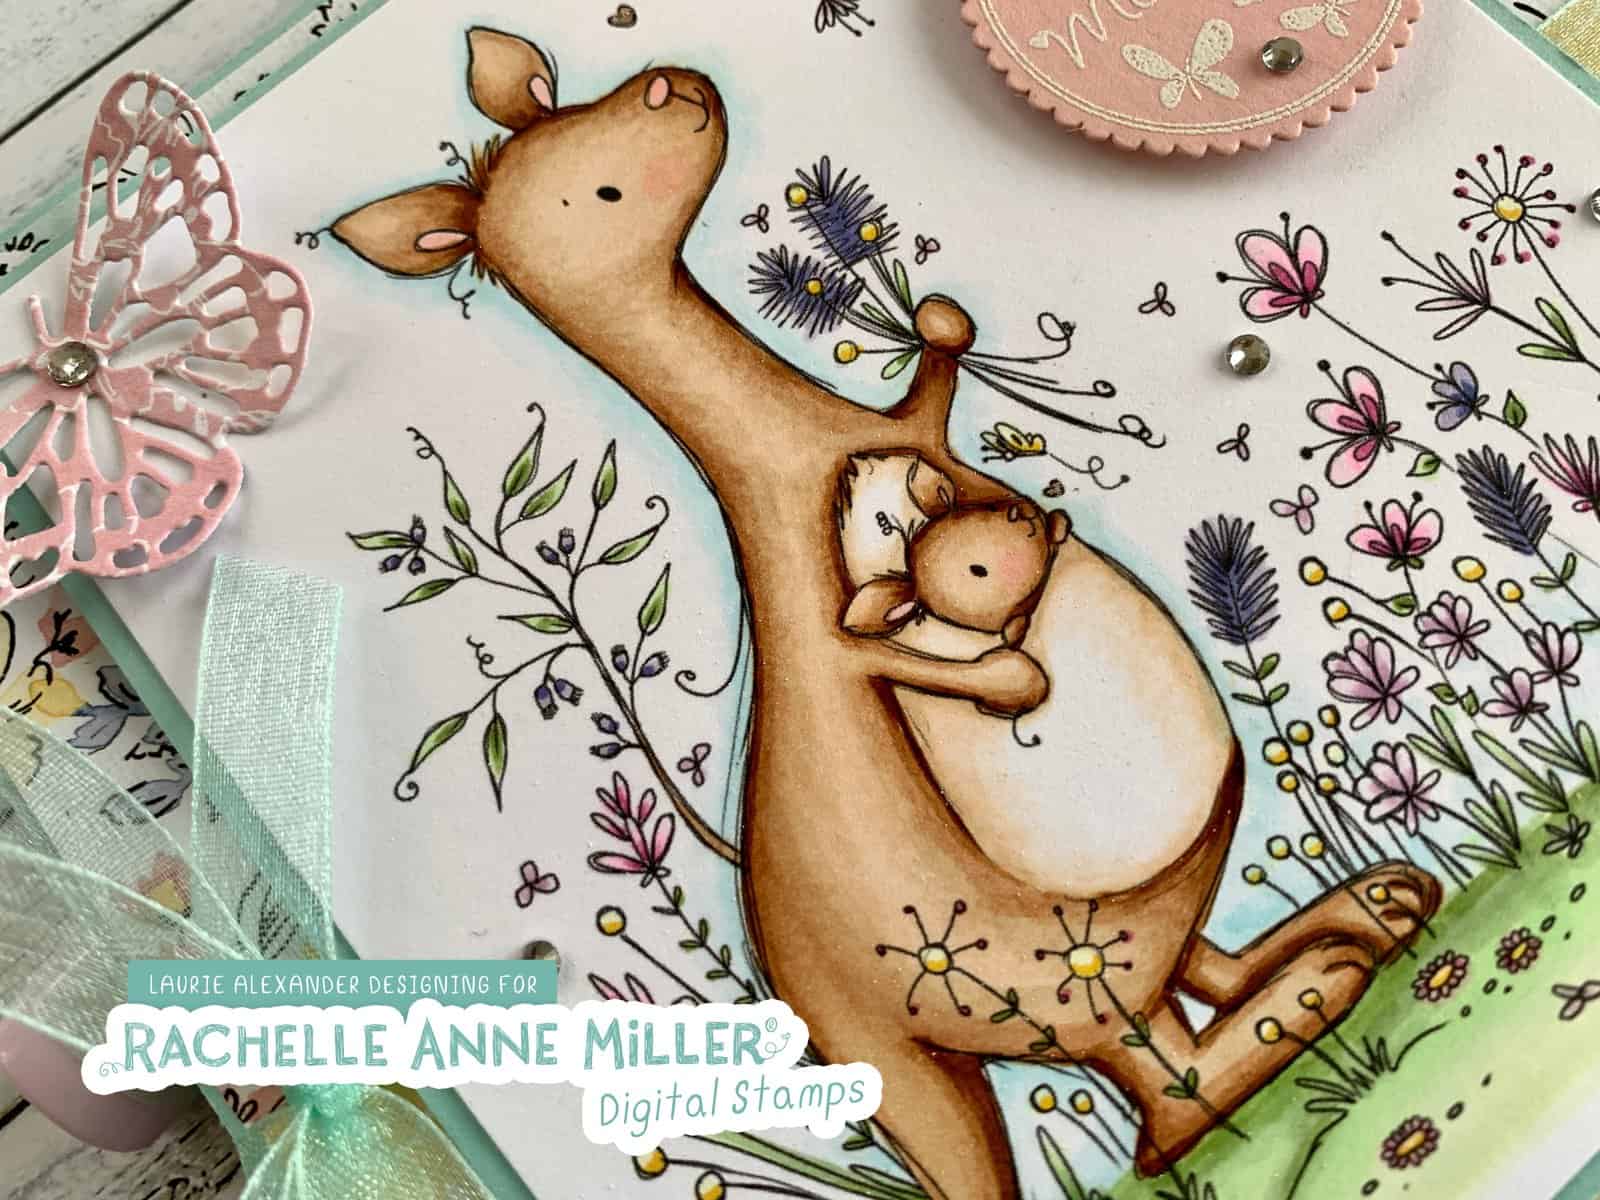
Hello Crafty Friends! It’s Laurie here with My Mother’s Day Card using the digital stamp called ‘Kangaroo’ Digital Stamp by Rachelle Anne Miller Creative Studios. Mother’s Day is just around the corner and this stamp is perfect for that special mom!

I coloured this sweet digital stamp with my Copic markers in Spring like colours. Don’t you just love how the little Roo is hanging out of his mummy’s pouch! Sneak peek…the Designer Series Paper I used is from the new Stampin’ Up! Annual Catalogue that starts in May 2021! It was sitting on my desk with it’s pretty colours just begging to be used! Lol! The butterfly from the Brilliant Wings Dies was die cut from the DSP as well. The Pool Party Sheer Ribbon  tied in a pretty bow went perfectly with the DSP! The sentiment was embossed in white and then die cut with a scallop die from the Layering Circle Dies. A scattering of rhinestones, Wink of Stella and Clear Star Gelly Roll Pen add some sparkle to the card.

————————–

Copic Markers:

Kangaroos: E30/E31/E33/E35/E37/R20
Bird: Y00/Y11/Y15/YR02/YR04
Dark Purples: BV04/BV02/BV00
Light Purples: V0000/V000/V01
Pinks: RV55/RV02/RV00
Yellows
: Y00/Y15
Grass: G43/G21/G20/YG11
Sky: BG0000/BG000

Close Up of My Design Team Card for Mother's Day using Kangaroo Digital Stamp by Rachelle Anne Miler Creative Studios
Close Up of My Mother’s Day Card

————————–

Card Recipe for My Mother’s Day Card:

‘Kangaroo’ Digital Stamp, Rachelle Anne Miller Creative
Paper Basics – Stamper’s Select White Cardstock, Papertrey Ink
Spring Trinkets Stamp Set, Kraftin’ Kimmie Stamps
Hand Penned Designer Series Paper, Stampin’ Up!
Brilliant Wings Dies, Stampin’ Up!
Layering Circles Dies, Stampin’ Up!
VersaMark Ink, Stampin’ Up!
White Stampin’ Emboss Powder, Stampin’ Up!
Rhinestone Basic Jewels, Stampin’ Up!
Pool Party Sheer Ribbon, Stampin’ Up!
Clear Wink of Stella, Stampin’ Up!
Clear Star Gelly Roll Pen
Pool Party and Blushing Bride Card Stock, Stampin’ Up!

Finished card size: 5.5” x 5.5”

————————–

To view my other Rachelle Anne Miller Creative Studios cards, please click here.

Hope you like my Design Team Card using ‘Kangaroo’ Digital Stamp!
Thank you for stopping by!

Hugs,
Laurie