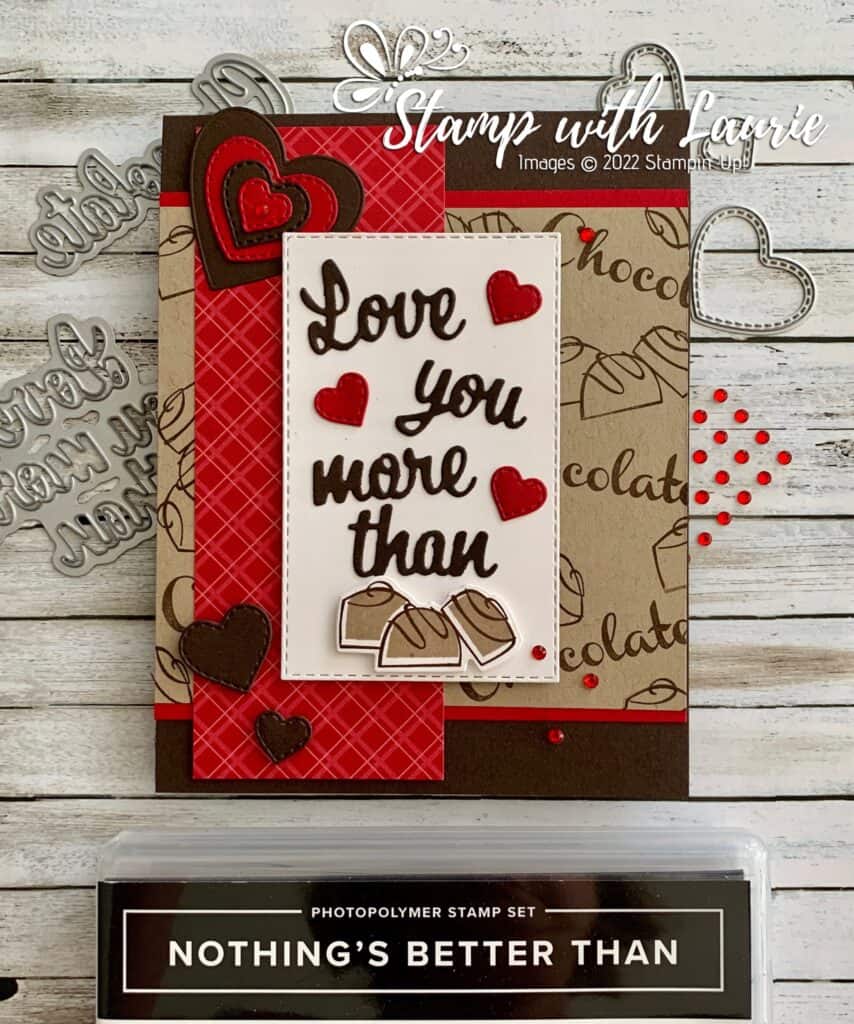
Love You More Than Chocolate Card

My Valentine Card with Chocolates on it.
Love You More Than Chocolate Card

Hello Crafty Friends! Laurie here again! I am sharing my Love you More Than Chocolate Card using the Nothing’s Better Than Stamp Set and matching Love You More Than Dies by Stampin’ Up! I have been meaning to play with this set and thought it would be perfect for a Valentine’s Day card!

The Details of My Card

For my card, I decided that I wanted to go with Early Espresso, Crumb Cake and Real Red for my colour scheme since they reminded me of a box of chocolates. 

I love how fun it is to replace the word “Chocolate” with the stamped image of the chocolates. Giving the receiver a subtle hint of what the card is all about. And just in case they miss that, I stamped in Early Expresso the word Chocolate and the outline of the chocolates on the Crumb Cake piece. For the stamped chocolates on the Basic White Card Stock, I used two-step stamping before die cutting them to create depth and dimension with Early Espresso for the outline and Crumb Cake for the silhouette.

To tie in the Real Red Designer Series Paper from the Regals Pack, I used Real Red for my hearts and Red Rhinestones to add sparkle. The stitched hearts were from the Give It a Whirl Dies. A favourite of mine for those little accents!

Supplies:

Stamps/Bundles/Dies: Nothing’s Better Than (158295), Love You More Than Dies (152698), Give It a Whirl Dies (154336), Stitched Rectangles Dies (151820)

Inks: Early Espresso Classic Stampin’ Pad (147114), Crumb Cake Classic Stampin’ Pad (147116)

Paper: Early Espresso (119686), Basic White (159276), Crumb Cake (120953), Real Red (102482), Regals 6″ x 6″ Designer Series Paper (155227)

Accessories: Red Rhinestone Basic Jewels (146924), Bone Folder (102300), Stampin’ Dimensionals (104430), Stampin’ Seal (152813), Mini Glue Dots (103683), Multipurpose Liquid Glue (110755)
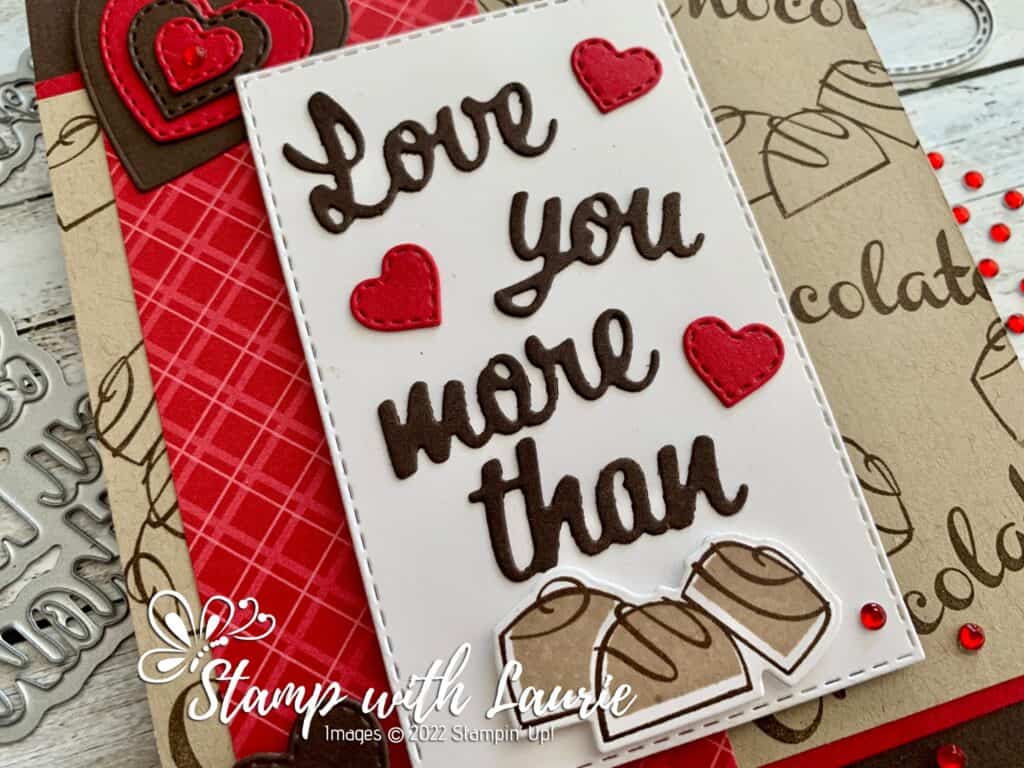
Close Up of My Card
Close Up of My Card

Measurements: 

  • Early Espresso: 11” x 4 ¼” scored at 5 ½”
    • 2 7/8” x 1 7/8” (Words)
    • Scraps for hearts
  • Real Red: 4 ¼” x 4 ¼”
    • Scraps for hearts
  • Crumb Cake: 4” x 4 ¼”
  • Basic White: 2 ¼” x 3 5/8”
    • 1 ½” x ¾” (Chocolates Die)
  • Regals Designer Series Paper: 5 ¼” x 2”

More Information on my Love You More Than Chocolate Card:

For more of my Stampin’ Up! cards, please click here.

You will find the items listed above in my online store.

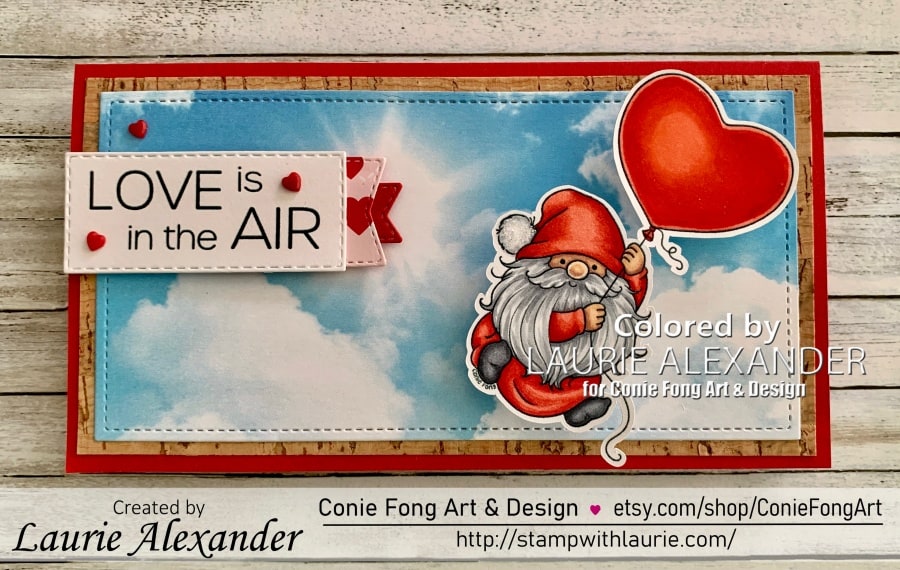
My Love Is In The Air Card

A card with a gnome flying with a balloon
My Love Is In The Air Card

Hello Crafty Friends! It’s Laurie here! I am sharing My Love Is In The Air Card as my Design Team Inspiration for Conie Fong Art & Design using the Gnome With Balloon and Sentiment Bundle. If you need a fast Valentine card, then this is it!

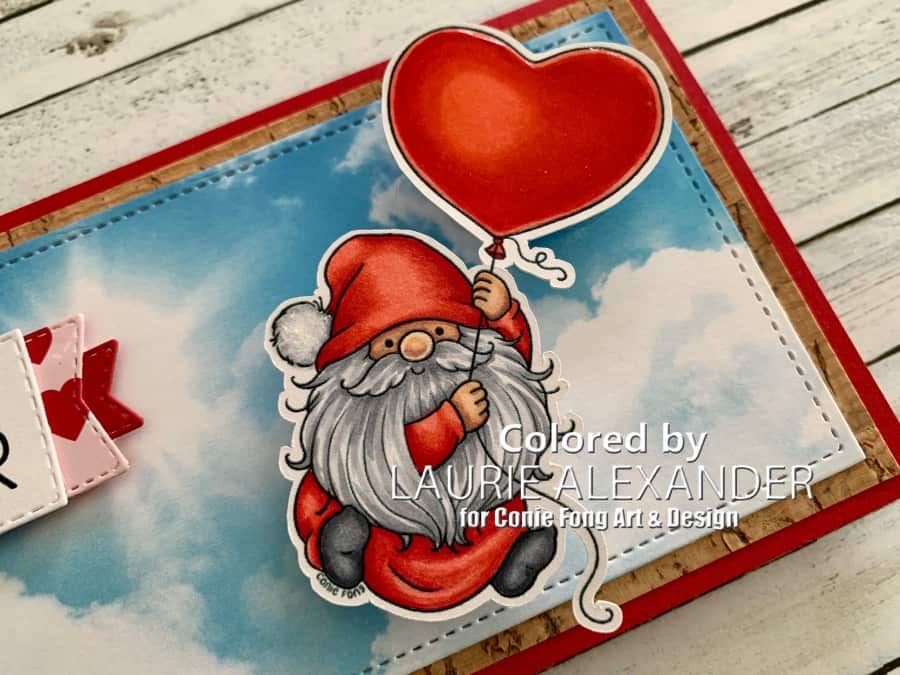
I had great fun colouring this cutie for a birthday card (link) that I thought he would make a fun Valentine card with his heart balloon! He comes with 9 stamps including a choice of heart balloon or round balloon, with or without grass and 5 sentiments that consist of Hello Love, Love Is In The Air (2 different styles), Happy Valentine’s Day and Heart Full Of Love in JPG. You can also get him in PNG.

Details of My Card

I decided that I wanted to use the Glorious Sky Slimline Paper for my background, but I die cut it down to fit a Mini Slimline card instead. This paper is awesome in that it completes the scene with minimal fuss. All I had to do was add my die cut sentiment with some Valentine flags and my coloured image which I popped onto an Action Wobble. What is more fun than an interactive card and this one is super cute!

My Card in Action

————————–

Copic Markers:

Skin: E000/E00/E21/E11/E04
Hair: C4/C3/C1
Reds: R29/R27/R24/R22
Shoes: C7/C5/C4/C3
Pom Pom: C3/C1/0/Star Dust Stickles

Close Up go Gnome with his balloon
Close Up of Gnome with Balloon

————————–

Card Recipe for My Love Is In The Air Card:

Gnome With Balloon and Sentiment Bundle, Conie Fong Art & Design
Paper Basics – Stamper’s Select White Cardstock, Papertrey Ink
Glorious Sky Slimline Paper Pack, Whimsy Stamps
From My Heart Designer Series Paper, Stampin’ Up!
Cork Specialty Paper, Stampin’ Up!
Large Mini Slimline Stackables Dies, Lawn Fawn
Stitched Rectangle Dies, Stampin’ Up!
Tasteful Labels Dies, Stampin’ Up!
Resin Hearts Embellishments, Stampin’ Up!
Action Wobble Spring
Star Dust Stickles, Ranger
Real Red and Basic White Card Stock, Stampin’ Up!

Finished card size: 6.5” x 3.5”

————————–

To view my other Conie Fong Art & Design projects, please click here.

Hope you like my Design Team Inspiration Card using
Gnome With Balloon and Sentiment Bundle for Conie Fong Art & Design!

Thank you for stopping by!

Hugs,
Laurie

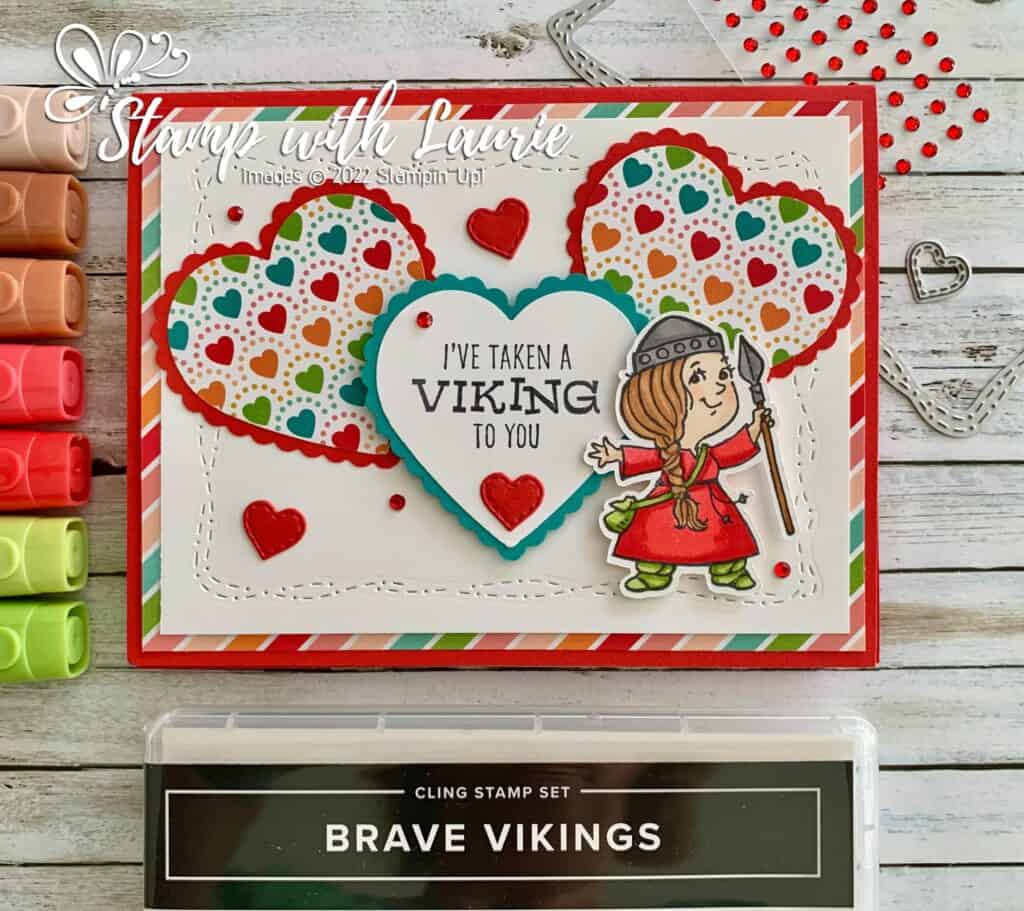
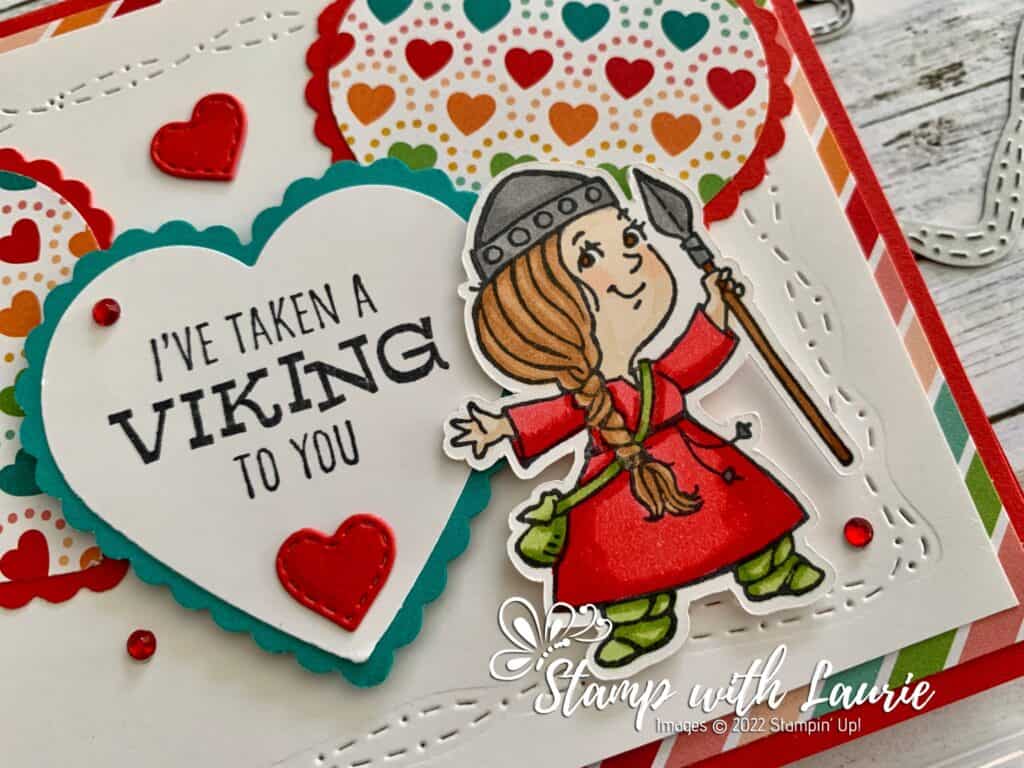
My Viking Love Valentine Card

A Viking Girl surrounded by hearts
Viking Love Valentine Card

Hello Crafty Friends! Laurie here again! I am sharing My Viking Love Valentine Card using the Brave Vikings Stamp Set by Stampin’ Up! My Hubby loves history and especially Vikings! He even has a Viking outfit with sword tor Society for Creative Anachronisms events. So, it was a given that I would get this stamp set as soon as I saw it.

The Details of My Card

For my card, I decided to use the Pattern Party Designer Series Paper that you can get for free with a qualifying hostess party. This paper is awesome! It has so many patterns for different occasions and seasons, and you get 48 sheets (4 each of 12 double-sided designs)! The colourful hearts are perfect for a Valentine card and the diagonal stripe paper matches those colours perfectly!

I used the Heart Punch Pack to punch out my DSP and matching scallop hearts. The little Poppy Parade stitched hearts are from the Give It a Whirl Dies. I scattered the hearts willy-nilly to mirror to the whimsey of the Stitched with Whimsey Die on the Basic White. 

Once I stamped the Viking girl in Tuxedo Black Memento Ink, I pulled out my Stampin’ Blends to colour her using the colours pulled from the DSP. I then fussy cut her out. I placed her on the card so that she is pointing at the sentiment like she is saying the words. A scattering of Red Rhinestone Basic Jewels adds a bit of sparkle to the card.

Supplies:

Stamps/Bundles/Dies: Brave Vikings (157926), Stitched with Whimsey Dies (155314), Give It a Whirl Dies (154336)

Inks: Tuxedo Black Memento Ink (132708)

Paper: Poppy Parade (119793), Basic White (159276), Bermuda Bay (131197), Pattern Party Designer Series Paper (155426)

Accessories: Heart Punch Pack (151292), Poppy Parade Stampin’ Blends Combo Pack (154958), Granny Apple Green Stampin’ Blends Combo Pack (154885), Cinnamon Cider Stampin’ Blends Combo Pack (153105), Smoky Slate Stampin’ Blends Combo Pack (154904), Bronze & Ivory Stampin’ Blends Combo Pack (154922), Petal Pink Stampin’ Blends Combo Pack (154893), Red Rhinestone Basic Jewels (146924), Bone Folder (102300), Stampin’ Dimensionals (104430), Stampin’ Seal (152813), Mini Glue Dots (103683), Multipurpose Liquid Glue (110755), Paper Snips (103579)

Close Up of Viking Girl

Measurements: 

  • Poppy Parade: 5 ½” x 8 ½” scored at 4 ¼”
    • 2 Scallop Hearts: 2 3/16” x 2 1/8”
    • Scraps for Stitched Heart Die
  • Bermuda Bay: 2 3/16” x 2 1/8”
  • Basic White (3 pieces):
    • 5” x 3 ¾”
    • 1 15/16” x 1 7/8”
    • 2 ¼” x 1 ¾” (Viking Girl)
  • Pattern Party Peach Designer Series Paper: 5 ¼” x 4”
    • 1 15/16” x 1 7/8” (2 pieces)

More Information on My Viking Love Valentine Card:

For more of my Stampin’ Up! cards, please click here.

You will find the items listed above in my online store.
My Peachy Keen Birthday Card

A Birthday Card with Peaches on it.
Peachy Keen Birthday Card

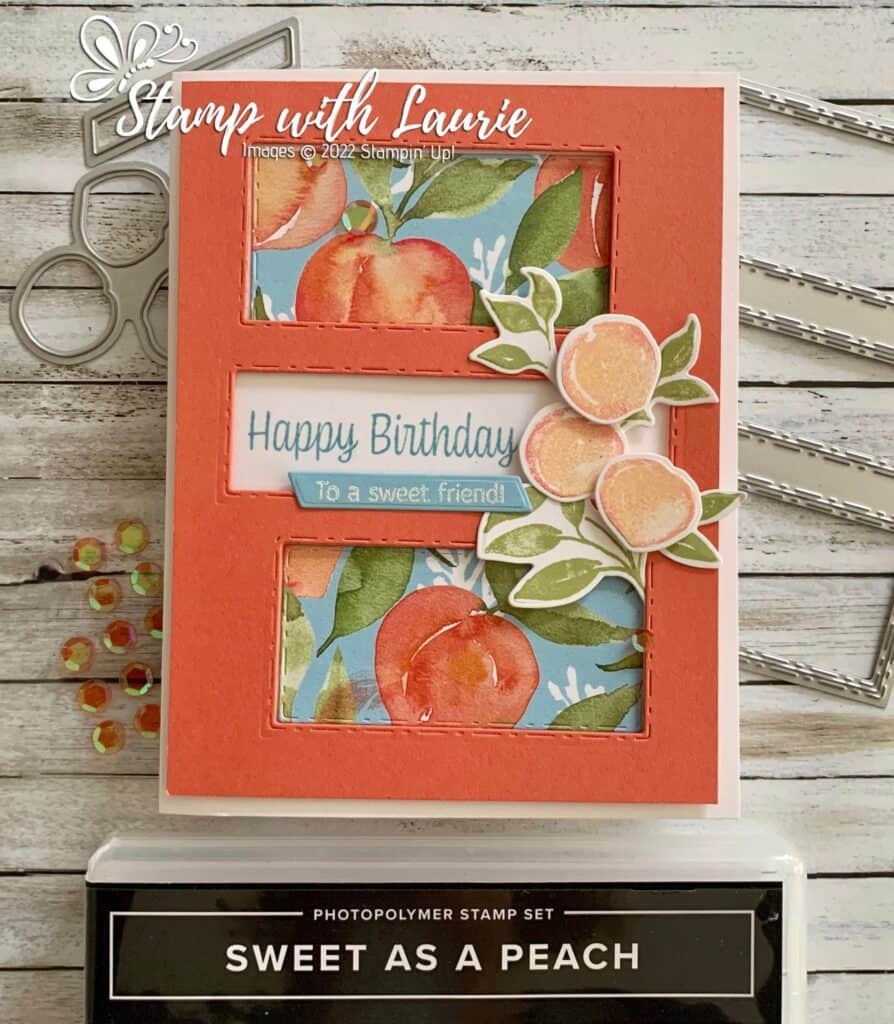
Hello Crafty Friends! Laurie here again! I am sharing My Peachy Keen Birthday Card using the Sweet As a Peach Bundle which includes the Sweet As a Peach Stamp Set and the matching Peach Dies.

The Details of My Card

For my card, I love the colours of the pretty You’re a Peach Designer Series Paper and decided that I wanted to pair it with the Picture This Dies.

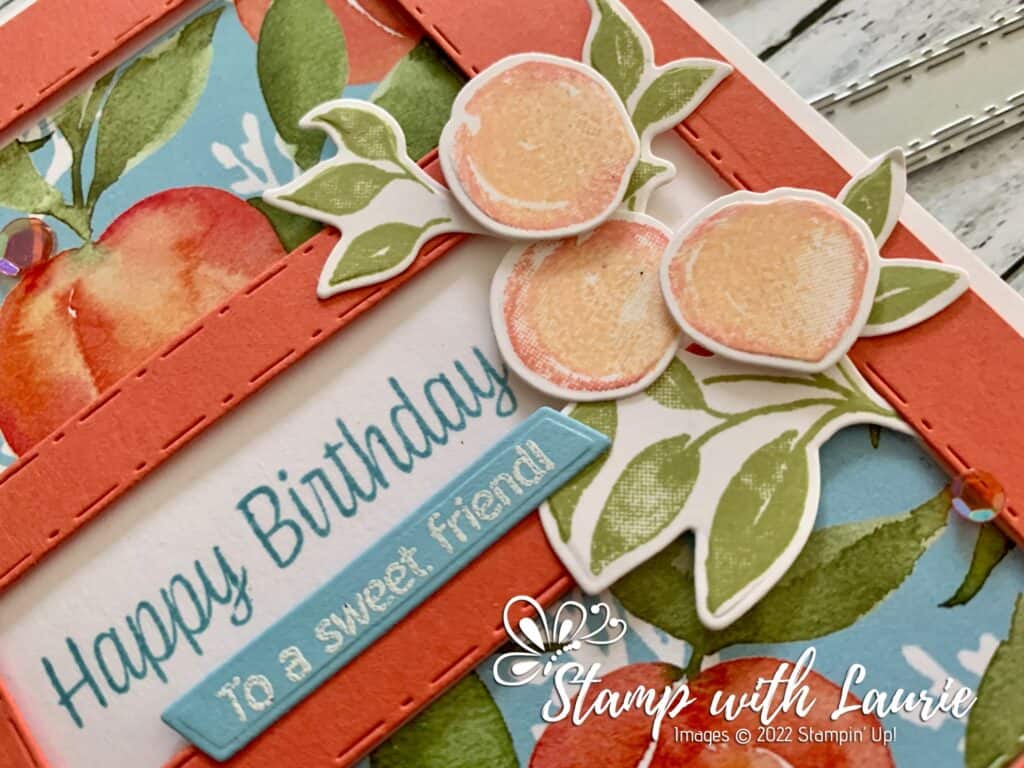
For the sentiment, I positioned the die cut Calypsol Coral piece, without adhering it, on the card base and stamped the sentiment directly onto the Thick Basic White card base. Next, I popped up the Calypso Coral card stock with dimensionals onto the card base. I then used liquid adhesive on the DSP shifting them into place to allow them to peek through the two of the openings. For the Balmy Blue sentiment, I white embossed it with my heat gun to make it pop.

I decide that I wanted the Pear Pizzazz leaves to be exploding from the Picture This Dies frame onto the sentiment with the stamped peaches layered on top.

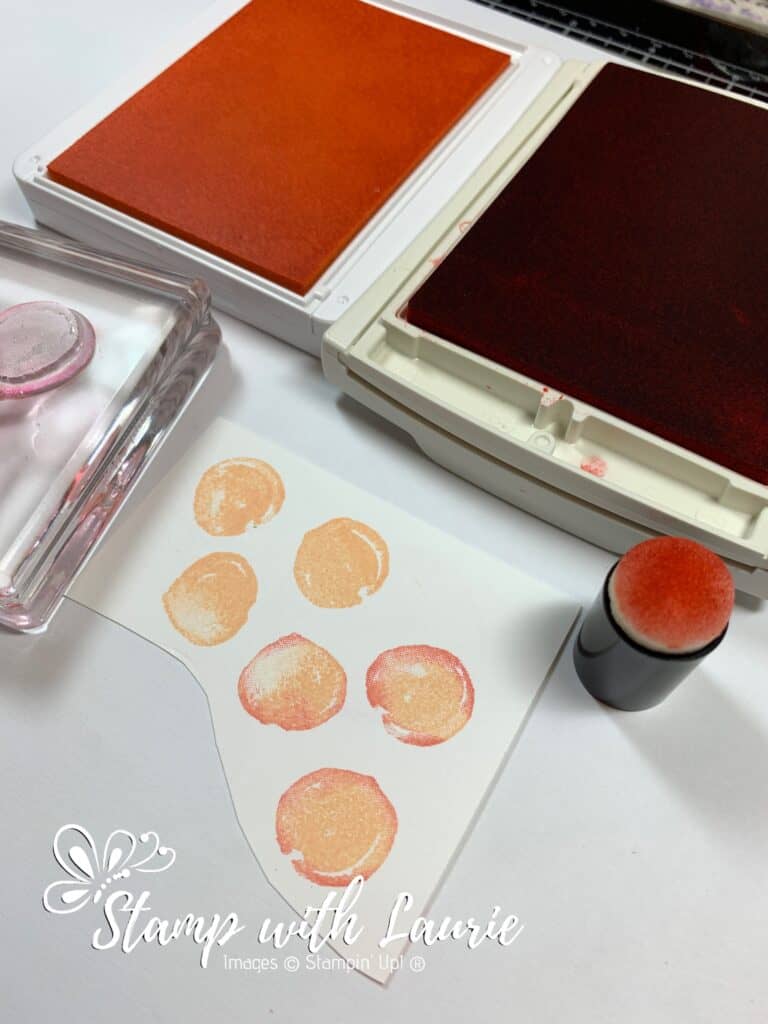
For the peaches, I used a technique where you use a sponge dauber to add a second colour to your stamps and create dimension. I stamped the peaches from the Sweet as a Peach stamp set twice. The top three are in Pale Papaya. The bottom three are Pale Papaya with Calypso Coral daubed on the edges after inking them with the Pale Papaya. What a difference it makes!

Technique to add second colour to the peaches.
Sponge Dauber Technique to Add Second Colour to Stamp

A couple of Calypso Coral Artistry Blooms Sequins tie in the colour scheme and add a bit of sparkle.

Supplies:

Stamps/Bundles/Dies: Sweet As a Peach Bundle (155823), Picture This Dies (155559)

Inks: Calypso Coral Classic Stampin’ Pad (147101), Pale Papaya Classic Stampin’ Pad (155670), Balmy Blue Classic Stampin’ Pad (147105), Pear Pizzazz Classic Stampin’ Pad (147104), VersaMark Ink (102283)

Paper: Calypso Coral (122925), Thick Basic White (159229), Basic White (159276), Balmy Blue (146982), You’re a Peach Designer Series Paper (155686)

Accessories: Basics Embossing Powder (155554), Sponge Daubers (133773), Artistry Blooms Sequins (152477), Bone Folder (102300), Stampin’ Dimensionals (104430), Stampin’ Seal (152813), Mini Glue Dots (103683), Multipurpose Liquid Glue (110755), Heat Tool (129053)

Close Up of My Card with Peaches on it
Close Up of My Card

Measurements: 

  • Thick Basic White: 5 ½” x 8 ½” scored at 4 ¼”
  • Calypso Coral: 5 ¼” x 4”
  • Basic White (2 pieces):
    • 1 ¾” x 1 ½” (Peaches)
    • 2 ¾” x 2 ¼” (Leaves)
  • You’re a Peach Designer Series Paper (2 pieces): 2 11/16” x 1 5/16”
  • Balmy Blue: 1 3/16” x ¼”

More Information on My Peachy Keen Birthday Card:

For more of my Stampin’ Up! cards, please click here.

You will find the items listed above in my online store.
My Let’s Go A-Viking Card

A card with a Viking on it.
My Let’s Go a Viking Card

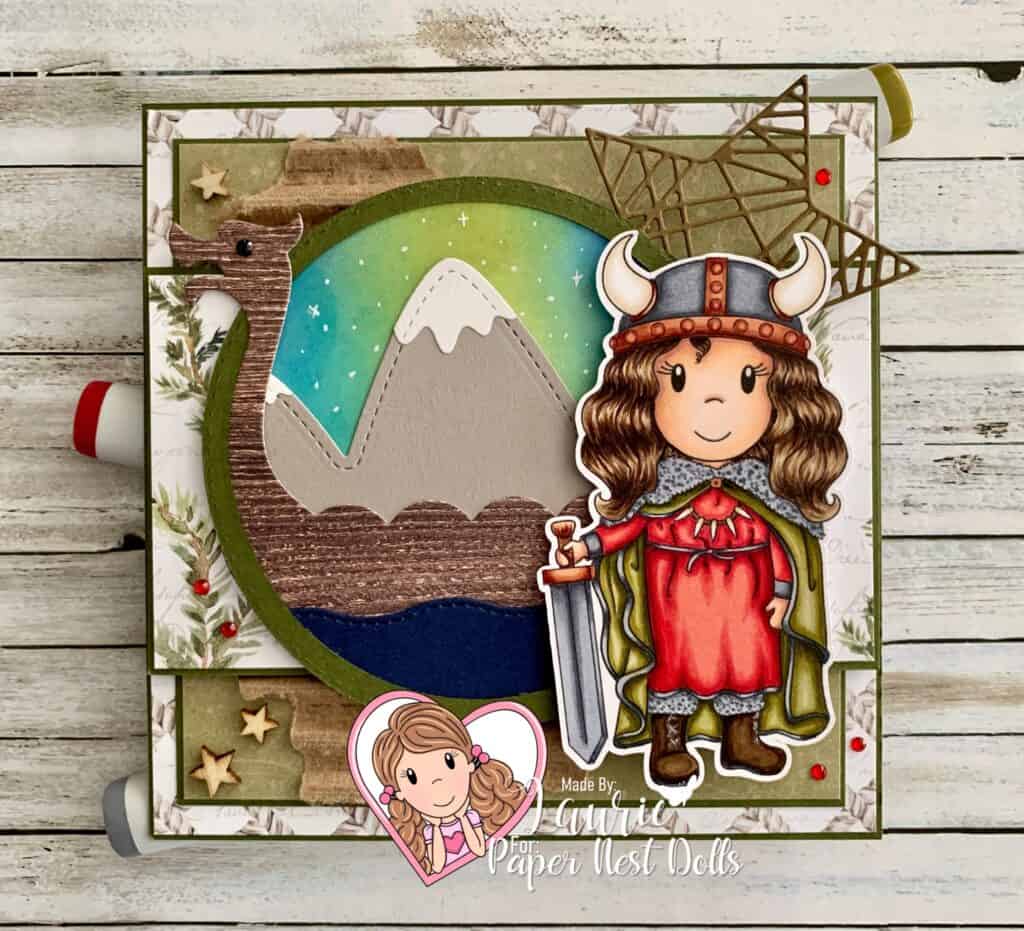
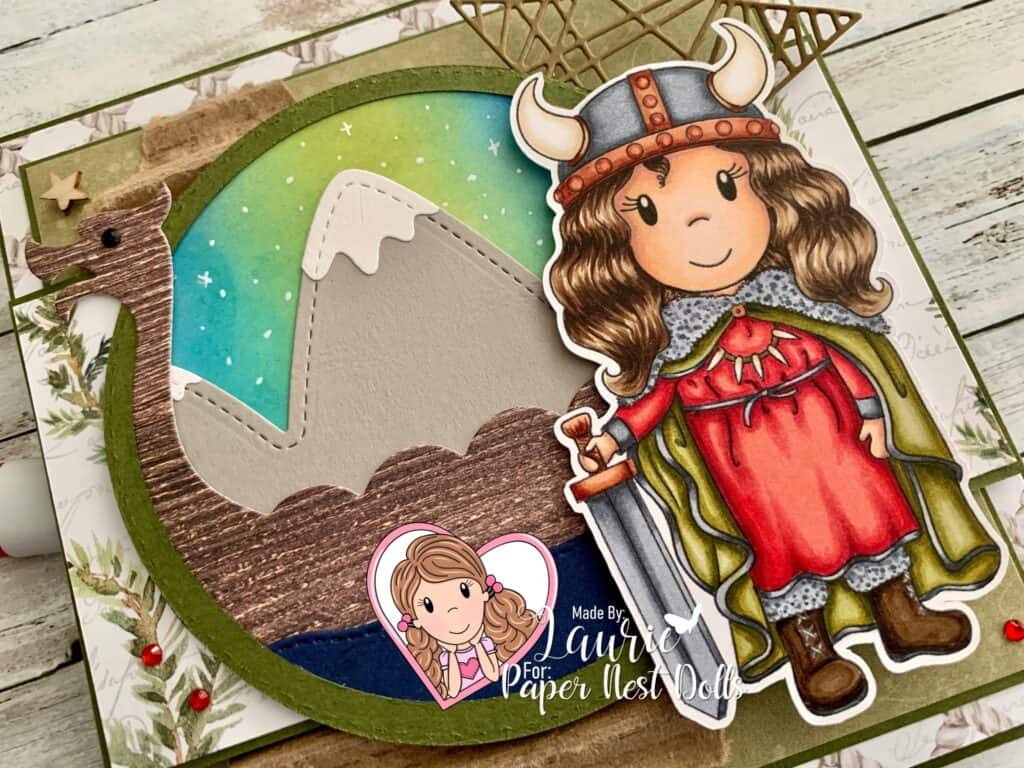
Hello Crafty Friends! It’s Laurie here! I was so excited to have been asked to present at the Paper Nest Dolls’ New Year’s Day Party this past weekend! So, I am sharing My Let’s Go A-Viking Card that I coloured and created for this event! It is using the stamp created exclusively by Paper Nest Dolls for the event and is called Viking Tina after our very own Tina Day Goodwin from the PND Design Team! 

Details of my Card

I had so much fun colouring with my Copic markers this cutie in what my Hubby called “Viking colours”! Lol!

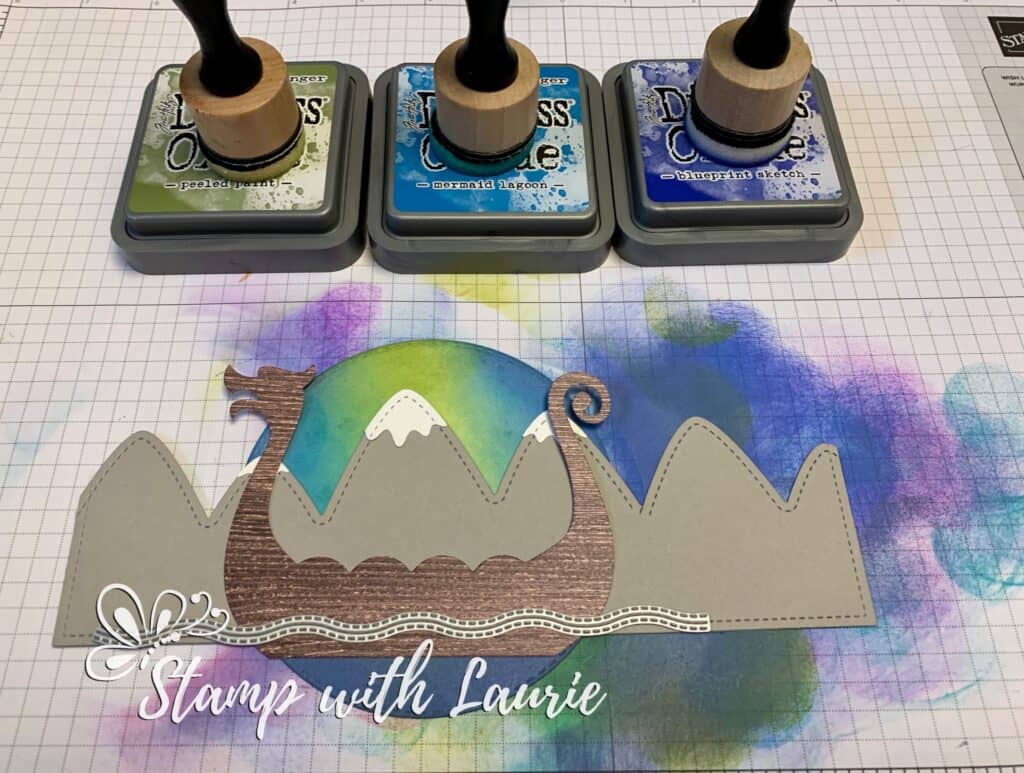
For my card, I decided that I wanted to create a Norwegian fjord vignette as a backdrop for my Viking Tina. So, I pulled out my Distressed Oxide Inks and Blending tools to create the Aurora Borealis night sky. I love the “wooden” Viking ship by Stamp AnnieThing poking out of the green frame! A couple of mountains and a water die completed my vignette. Going on a cruise to see the fjords and the aurora borealis are on my bucket list.

Distress Inks for Aurora Borealis Night Sky

The P13 paper was perfect for my Norwegian theme and matched my Viking colour scheme! To add to the rustic feel, I added some recycled carboard, a rustic star and small wooden stars. A scattering of red rhinestones tied in the red of Viking Tina’s dress.

————————–

Viking Tina:

Skin: E04/E11/E21/E00/E000/R20
Hair: E49/E47/E44/E43/E42
Brass: E18/E15/E11
Horns on Helmet: E42/E41/E40/0
Steel: C7/C5/C3
Dress: R39/R37/R35/R32
Cape: YG99/YG97/YG95/YG93/YG91
Cape Button: E15
Fur/Trim on Cape/Dress: C7/C5/C3
Boots: E49/E47/E44/C7/C5
Laces: C3
Necklace: E44/E43/E42/E41

Close Up of Viking Tina by Paper Nest Dolls
Close Up of Viking Tina

————————–

Supplies for My Let’s Go A-Viking Card:

Viking Tina, Paper Nest Dolls
Paper Basics – Stamper’s Select White Cardstock, Papertrey Ink
140 lbs Hot Press Watercolor Paper, Fabriano
Cozy Winter 12” x 12” Designer Paper Pack, P13
In Good Taste Designer Series Paper, Stampin’ Up!
4” and 3 5/8” Stitched Layering Circle Dies, Memory Box
Build a Viking Ship Dies, Stamp AnnieThing
Stitched Mountain Borders, Lawn Fawn
Breaking Waves Border Dies, Heffy Doodle
Christmas Trimming Dies, Stampin’ Up!
Peeled Paint Distress Oxide Ink, Ranger Ink
Mermaid Lagoon Distress Oxide Ink, Ranger Ink
Blueprint Sketch Distress Oxide Ink, Ranger Ink
Mini Ink Blending Tool, Ranger Ink
White Gelly Roll Pen
Ripped Cardboard 5” x 2 ½”
Wooden Star Shapes, From my Stash
Red Rhinestone Basic Jewels, Stampin’ Up!
Black Rhinestone for eye of boat
Mossy Meadow, Gray Granite, Night of Navy,
Soft Suede and White Card Stock

Finished card size: 5 ½” x 5 ½”

————————–

To view my other Paper Nest Dolls cards, please click here.

Hope you like My Let’s Go A-Viking Card using
Viking Tina by Paper Nest Dolls!

Thank you for stopping by!

Hugs,
Laurie

My Wintery Birthday Wishes Card

A winter card with a girl holding a penguin
Wintery Birthday Wishes Card

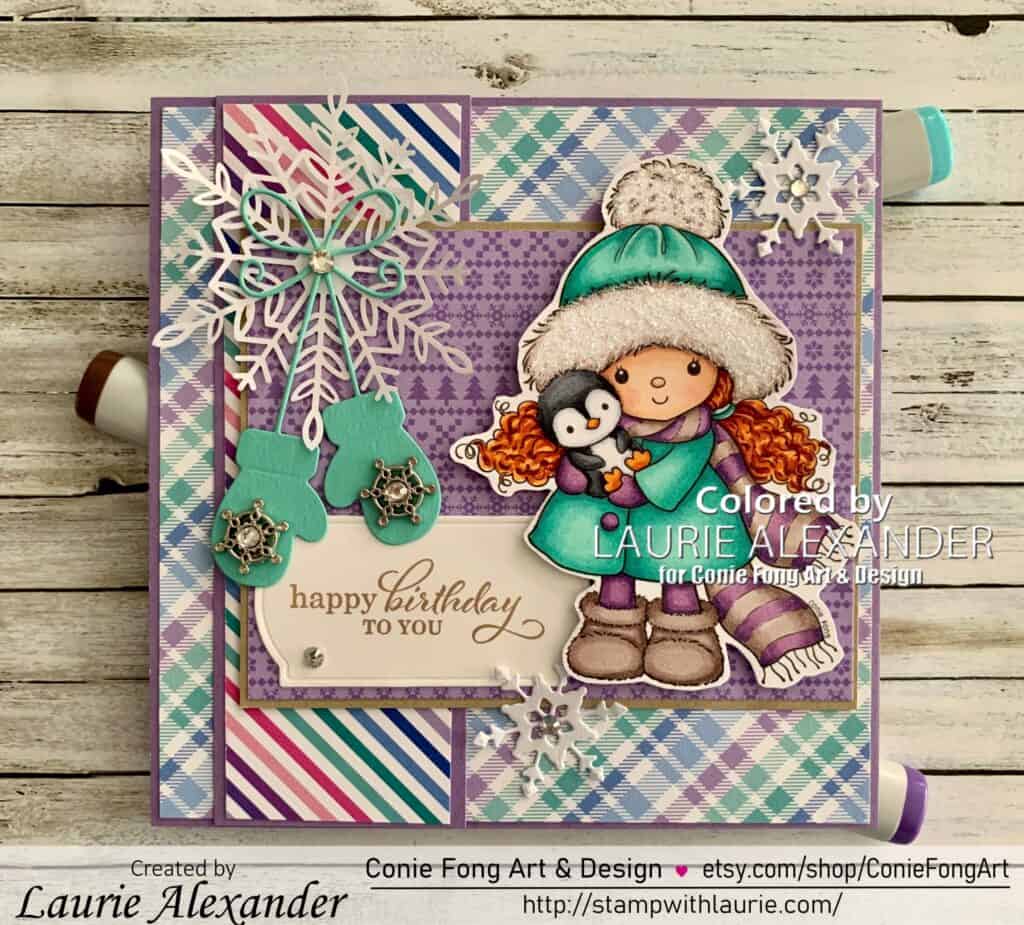
Hello Crafty Friends! Happy New Year! It’s Laurie here! I am sharing My Wintery Birthday Wishes Card as my first 2022 Design Team Inspiration Card for Conie Fong Art & Design using the sweet Emily with Penguin. She comes with 6 stamps including a choice of curly hair or braids and 2 sentiments that consist of Believe in the magic of Christmas and Sending Christmas Joy in PNG and JPG.

Details of My Card

For my card, Emily comes with Christmas sentiments, but I thought she would make a sweet winter birthday card! I have six birthdays, including mine, this month alone! So, I needed to get busy making birthday cards! 

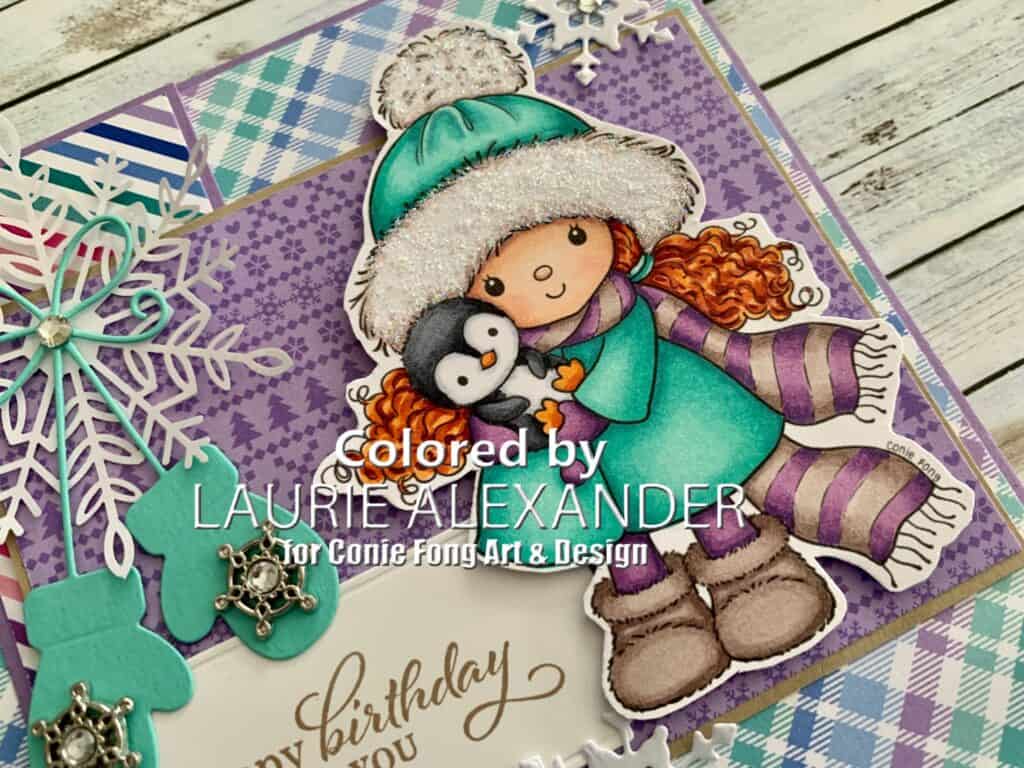
I love the soft pastel colours of the Doodlebug paper! So, I used that beautiful palette to colour the digital stamp with my Copic marker. The large Wonderful Snowflake has a beautiful iridescent foil card stock look to it. Once I punched out the large snowflake, I used the leftover scraps of the foil card stock to die cut my smaller snowflakes to match it. By adding a few rhinestones to the centre of the snowflakes, I created even more shimmer. Aren’t those mittens just the cutest! Perfect for a winter card! And to add a bit of sparkle to them, I added some embellishments that look like snowflakes! Finally, I couldn’t resist using Stickles to Emily’s trim on her hat for even more sparkle! A birthday sentiment was all the card needed!

————————–

Copic Markers:

Skin: E000/E00/E21/E11/E04
Hair: E18/E08/YR18/YR14
Blues: BG57/BG13/BG23/BG11
Purples: V12/V15/V17
Browns: E74/E71/E70
Penguin: C9/C7/C5/C3/C1/C0/0
Penguin Feet/Beak: YR14/YR18

Close Up of Digital Stamp
Close Up of Emily with Penguin

————————–

Card Recipe for My Wintery Birthday Wishes Card:

Emily with Penguin, Conie Fong Art & Design
Paper Basics – Stamper’s Select White Cardstock, Papertrey Ink
Winter Wonderland 6” x 6” Paper Pad, Doodlebug Designs Inc.
Best Year Yet Stamp Set, Stampin’ Up!
So Many Snowflakes Dies, Stampin’ Up!
Painted Labels Dies, Stampin’ Up!
Wonderful Snowflakes, Stampin’ Up!
Precious Mittens Die, Memory Box
Winter Wonderland Embellishments, Stampin’ Up!
Rhinestone Basic Jewels, Stampin’ Up!
Star Dust Stickles, Ranger

Finished card size: 5.5” x 5.5”

————————–

To view my other Conie Fong Art & Design projects, please click here.

Hope you like my Design Team Inspiration Card using
Emily with Penguin for Conie Fong Art & Design!

Thank you for stopping by!

Hugs,
Laurie

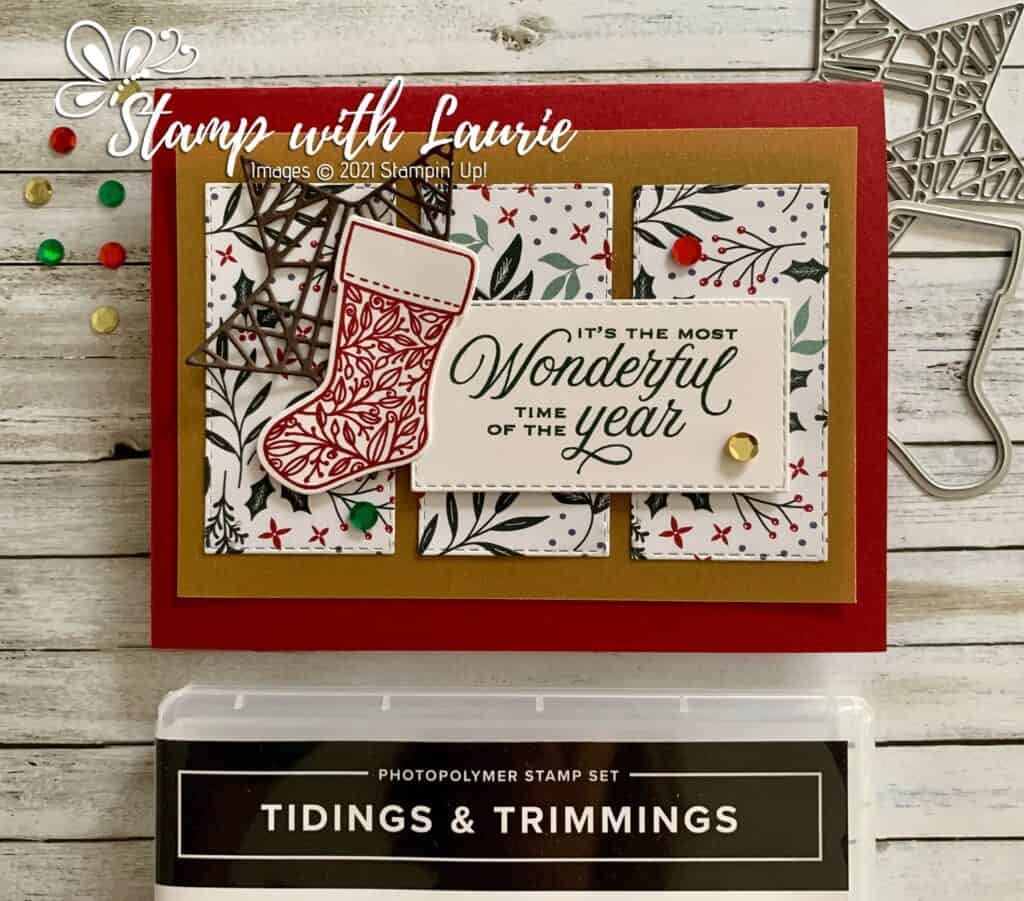
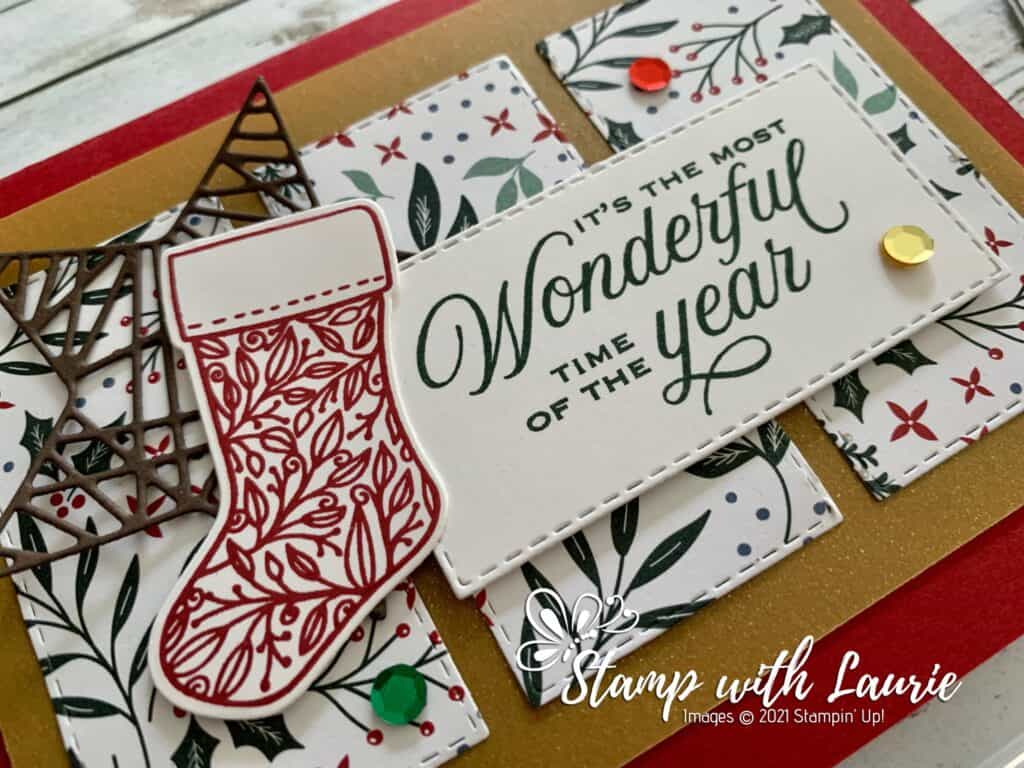
It’s The Most Wonderful Time of The Year!

A Christmas Card with a stocking on it that says It’s The Most Wonderful Time of The Year!
It’s The Most Wonderful Time of The Year!

Hello Crafty Friends! Laurie here again! I am sharing one last Stampin’ Up! Christmas card called It’s The Most Wonderful Time of the Year! using the Tidings & Trimmings Bundle. This bundle includes the Tidings & Trimmings Stamp Set and the Christmas Trimmings Dies.

The Details of My Card

For my card, I was inspired by a card made by Lisa Hardie, another Stampin’ Up! Demonstrator. So, I used the layout and added my own flair to it. I love the Gold Shimmer Vellum! Perfect for a bit of Christmas sparkle! It’s hard to see in the photo, but it beautiful when the light catches it!

There are so many different patterns in the Tidings of Christmas Designer Series, and you get 8 of each pattern! Great for mass producing your Christmas cards!

I used the same Stitched Rectangle Die for my DSP and my sentiment which I stamped in Evening Evergreen. The stocking was stamped in Cherry Cobbler and die cut out with the matching die. Both colours are perfect for a Christmas card and matched the DSP!

I die cut the star from Early Espresso since it reminded me of those wooden stars that are so rustic. A scattering of sequins added a bit more sparkle to the card!

Supplies:

Stamps/Bundles/Dies: Tidings & Trimmings Bundle (155576), Stitched Rectangles Dies (151820)

Inks: Evening Evergreen Classic Stampin’ Pad (147111), Cherry Cobbler Classic Stampin’ Pad (147083)

Paper: Cherry Cobbler (119685), Basic White (159276), Early Espresso (119686), Tidings of Christmas Designer Series (155718), Gold Shimmer Vellum (156471)

Accessories: Sequins For Everything (153556), Bone Folder (102300), Stampin’ Dimensionals (104430), Stampin’ Seal (152813), Mini Glue Dots (103683)

Close Up of My Card
Close Up of My Card

Measurements: 

  • Cherry Cobbler: 5 ½” x 8 ½” scored at 4 ¼”
  • Gold Shimmer Vellum: 5” x 3 ½”
  • Basic White (2 pieces):
    • 2 ¾” x 1 3/8” (Sentiment)
    • 1 ¼” x 2 1/8” (Stocking)
  • Tidings of Christmas Designer Series (3 pieces): 2 ¾” x 1 3/8”
  • Early Espresso: 2 ½” x 2 5/8”

More Information on my It’s The Most Wonderful Time of the Year! Card:

For more of my Stampin’ Up! cards, please click here.

You will find the items listed above in my online store.
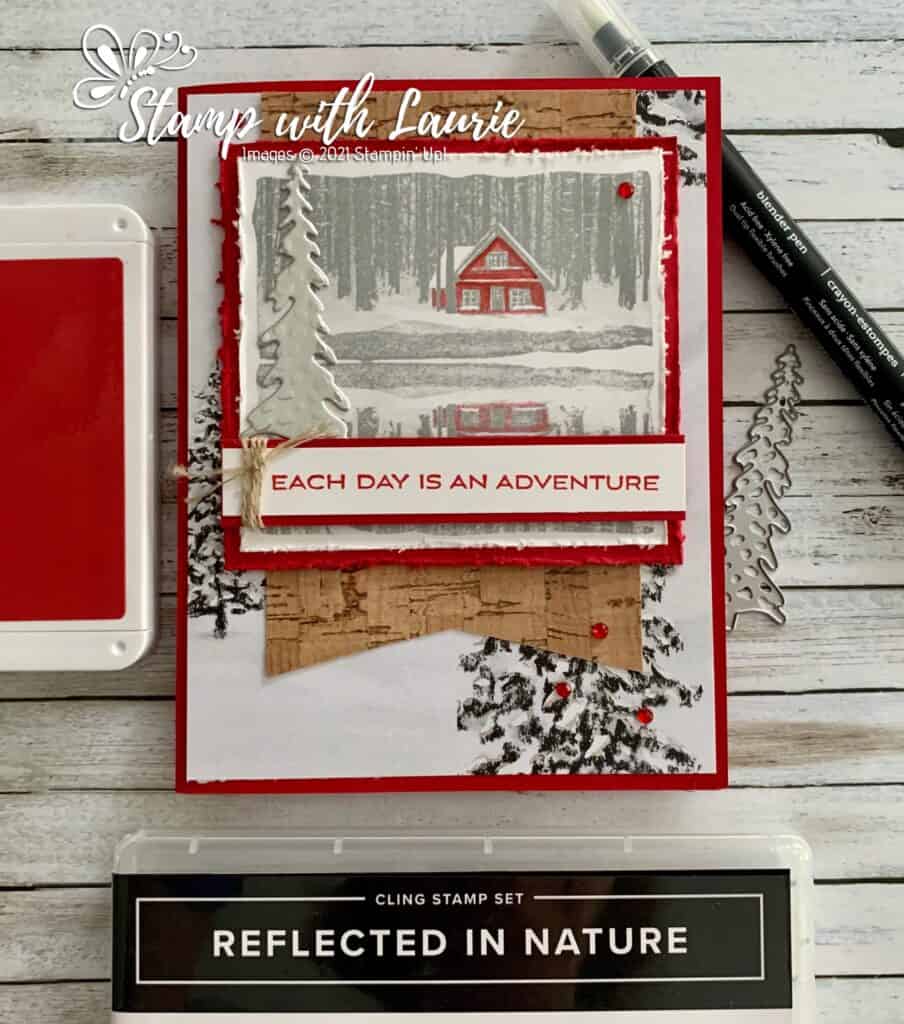
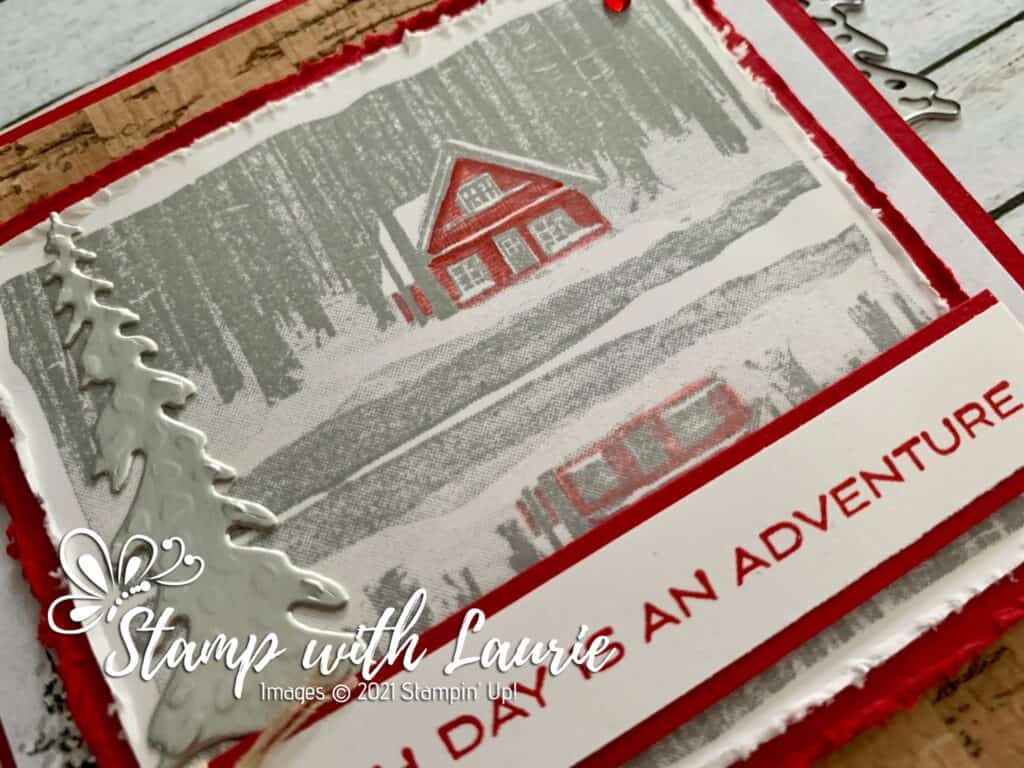
Nature is an Adventure Card

A Cabin in the forest on a card
Nature is an Adventure Card

Hello Crafty Friends! Laurie here again! I am sharing my Nature is an Adventure Card using the Reflected in Nature Stamp Set by Stampin’ Up!

The Details of My Card

The inspiration for my card is the prints that you see which have one pop of red in amongst a black/white scene. To create this, I pulled out my Blender Pen once I had stamped the image. I took the pen and dipped it into my Real Red 

Ink Pad to pick up some ink. I started in the shadow areas, like under the roof line, and moved out from there. As you use the pen, the ink gets lighter and lighter until there is no more ink on it. I love this softer look that suited the stamped image! As the ink runs out, you get lots of dimension with the shadows, mid-tones, and highlights. I haven’t done this technique in a long time.

To match my rustic cottage in the woods theme, I distressed the edges of my stamped image and the Real Red mat with my Paper Snips. The Peaceful Place Designer Series Paper is gorgeous with its unexpected silver accents and perfect for my theme! I thought that adding a flag of the Cork Paper behind my focal point would add a bit of colour and interest. To match the silver accents on the DSP, I added a Silver Foil die cut tree from the Cabin Dies. For embellishments, I used Linen Thread wrapped around my sentiment and a scattering of Red Rhinestones to add some colour.

Supplies:

Stamps/Bundles/Dies: Reflected in Nature Stamp Set (156437), Cabin Dies (156404)

Inks: Real Red Classic Stampin’ Pad (147084), Smoky Slate Classic Stampin’ Pad (131202)

Paper: Real Red (102482), Basic White (159276), Cork 12″ x 12″ Specialty Paper (156393), Peaceful Place Designer Series Paper (156394), Silver Foil 12″ x 12″ Specialty Pack (156457)

Accessories: Blender Pens (102845), Linen Thread (104199), Red Rhinestone Basic Jewels (146924), Paper Snips (103579), Bone Folder (102300), Stampin’ Dimensionals (104430), Stampin’ Seal (152813), Mini Glue Dots (103683)

Close Up of the Cabin on my card
Close Up of the Cottage on My Card

Measurements: 

  • Real Red: 3 pieces
    • 5 ½” x 8 ½” scored at 4 ¼”
    • 3 ½” x 3 ¼”
    • 3 ½” x 5/8” (Sentiment)
  • Peaceful Place Designer Series Paper: 4” x 5 ¼”
  • Basic White: 2 pieces:
    • 3 ¼” x 3”
    • 3 ¼” x ½” (Sentiment)
  • Cork Specialty Paper: 2 7/8” x 4 ½”
  • Silver Foil Specialty Pack: scrap

More Information on My Nature is an Adventure Card:

For more of my Stampin’ Up! cards, please click here.

Here is a video on the Peaceful Place Suite:
https://youtu.be/bYaJWfSgoEQ

You will find the items listed above in my online store.

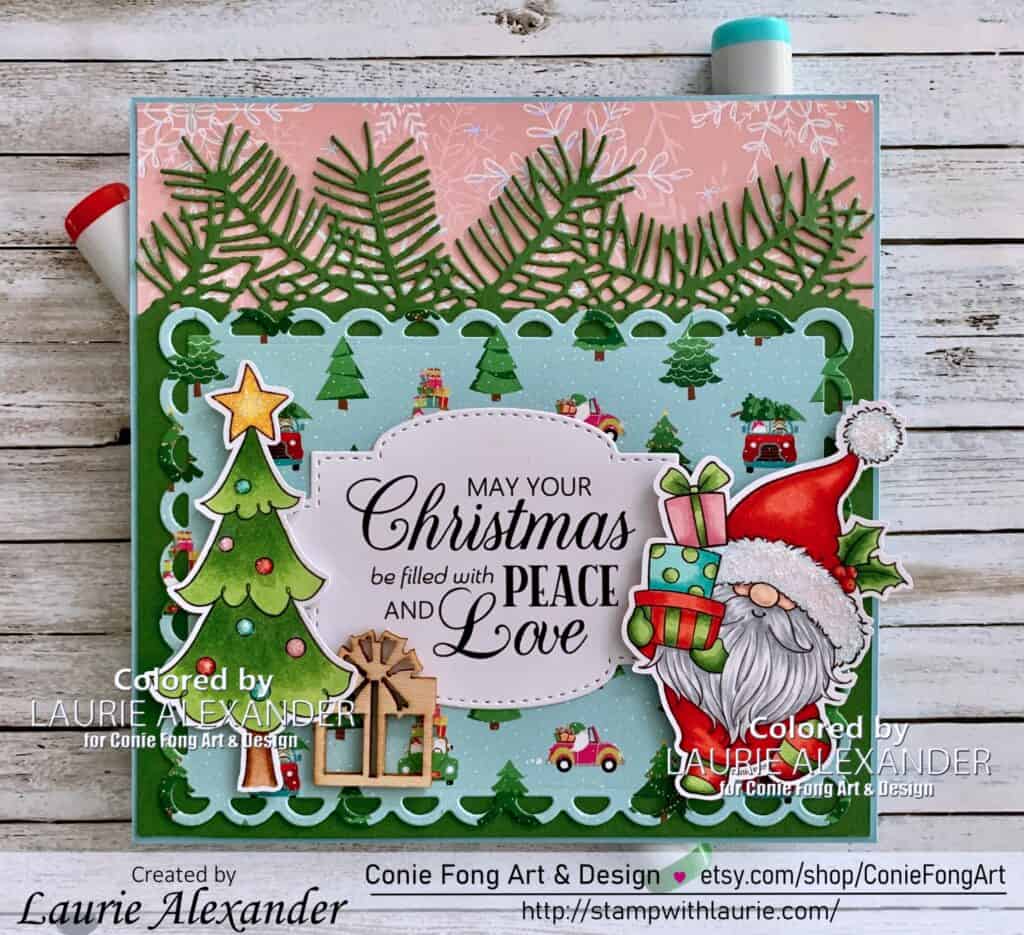
Happy Christmas Presents Card

My Design Team Card for Conie Fong Art & Design
Happy Christmas Presents Card

Hello Crafty Friends! It’s Laurie here! I am sharing my Happy Christmas Presents Card as my Design Team Card for Conie Fong Art & Design using the cute Christmas Present Gnome and Sentiment Bundle. This bundle comes with 9 stamps including Christmas Present Gnome PNG JPG format, Christmas Present Gnome with Tree JPG format, Christmas Tree PNG/JPG format, Sentiment May Your Christmas Be Filled with Peace and Love PNG/JPG format and Sentiment Season’s Greeting PNG/JPG format.

Details of My Card

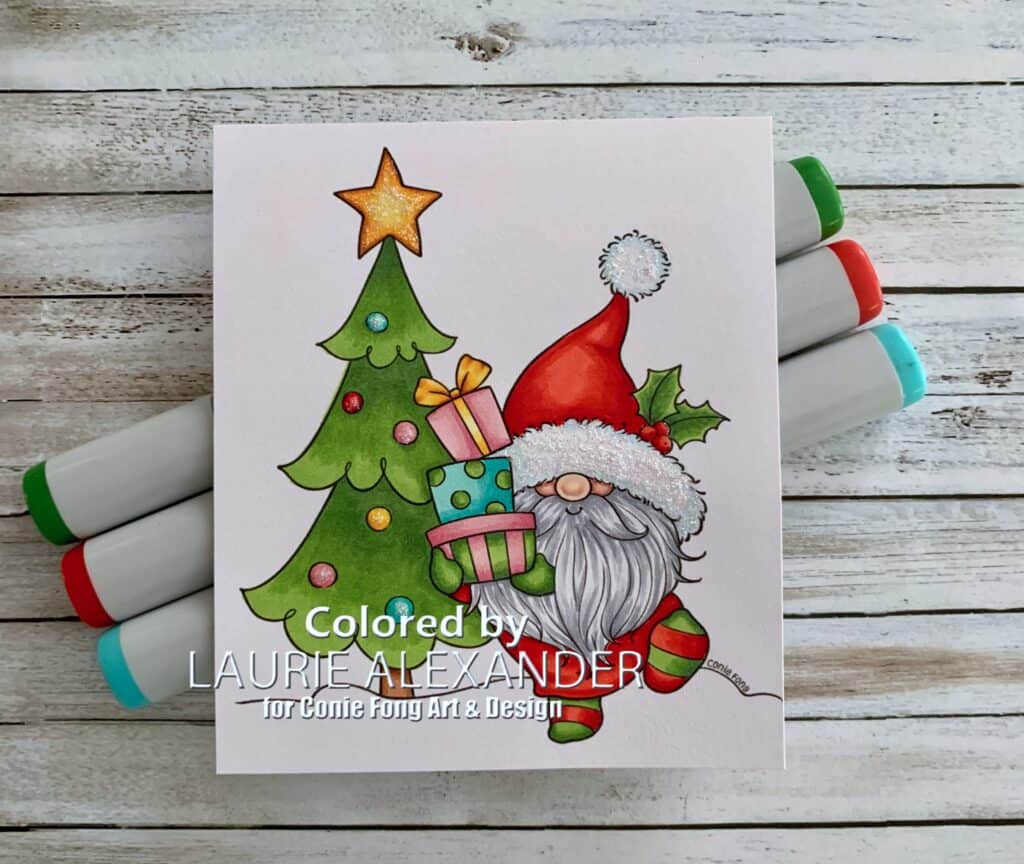
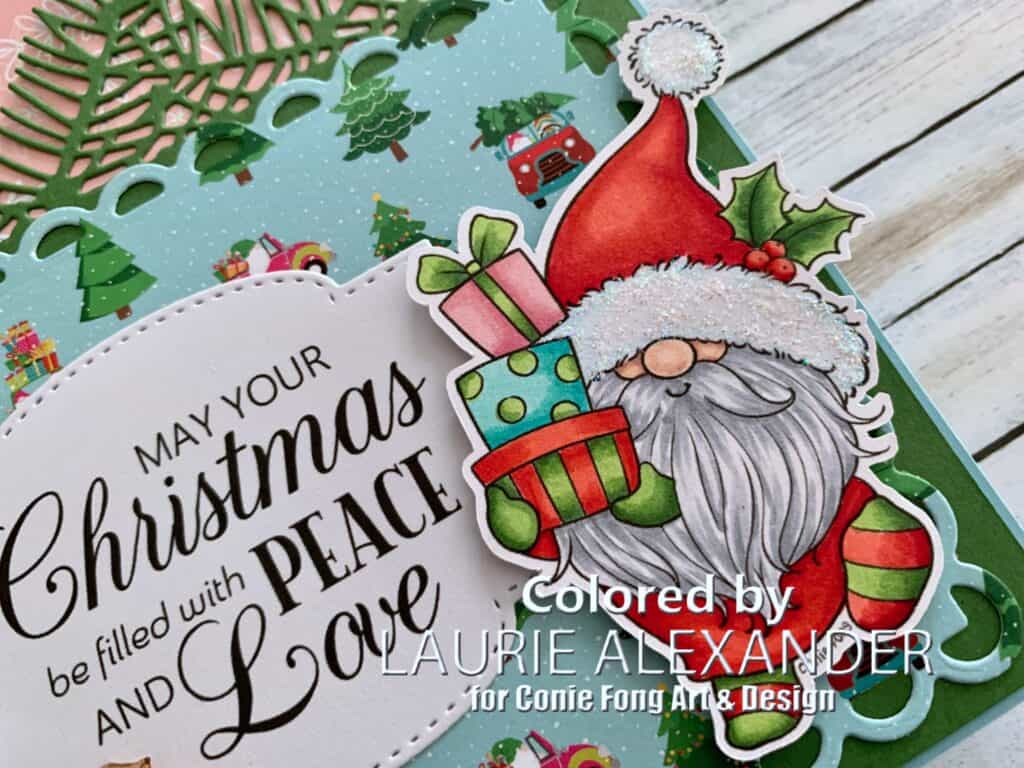
I had so much fun colouring this sweet gnome with my Copic markers that I coloured him twice. Once with him and the tree separately and then him with the tree. Stay tune for a card with my second colouring later.

A coloured digital stamp of a gnome and Christmas tree
My Coloured Christmas Present Gnome

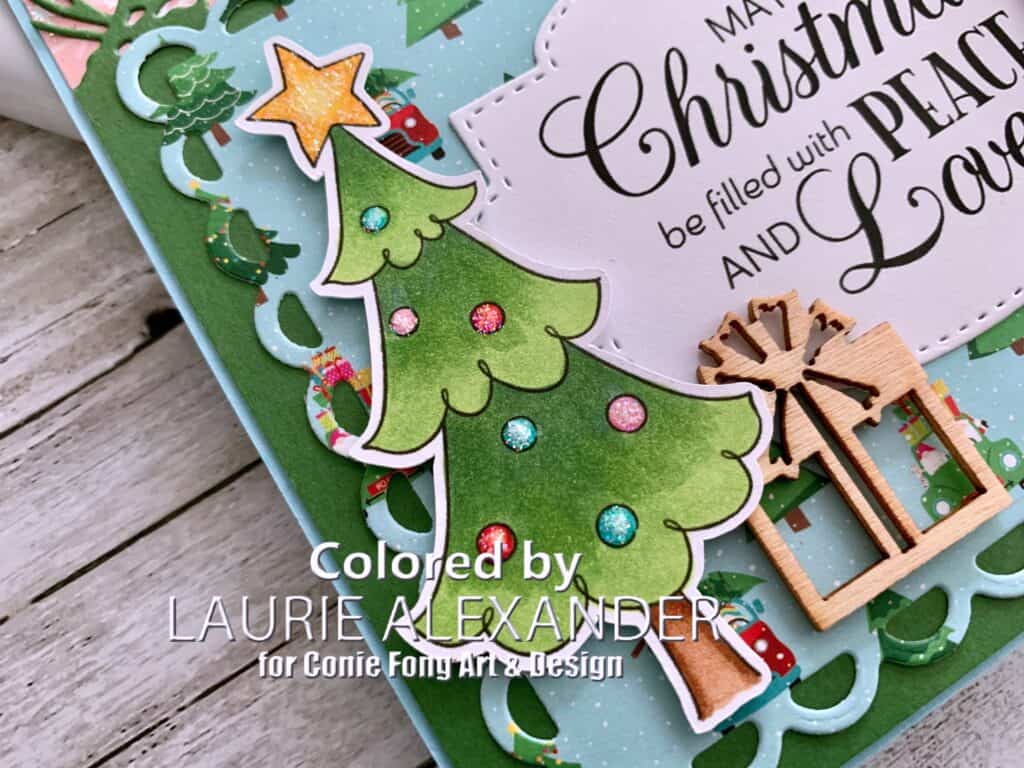
I love the Tulla & Norbert’s Christmas Party paper! If you look closely, you will see gnomes with presents and Christmas trees driving in convertible cars! So fun and perfect for my card! Since the paper had a lot going on, I made my layers simple for the card with the pine branches and the pink snowflake paper. The only embellishment that I used was the wooden present under the tree since you need presents under a Christmas tree!

————————–

Copic Markers:

Skin: E000/E00/E21/E11/E04
Hair: C4/C3/C1
Reds: R29/R27/R24/R22
Greens: G46/YG17/YG23
Pink: RV11/RV32/RV34
Blue: BG11/BG13/BG15
Yellow: Y17/Y15/Y11/E15
Tree Trunk: E37/E35/E33
Snow: BG000/Star Dust Stickles

Close Up of Gnome on My Card

————————–

Card Recipe for My Happy Christmas Presents Card:

Christmas Present Gnome and Sentiment Bundle, Conie Fong Art & Design
Paper Basics – Stamper’s Select White Cardstock, Papertrey Ink
Tulla & Norbert’s Christmas Party 6” x 6” Paper Pad, Photo Play Paper
Whimsey & Wonder 12” x 12” Designer Series Paper, Stampin’ Up!
Pine Needles Border Die, Memory Box
Scalloped Contour Dies, Stampin’ Up!
Stitched So Sweetly Dies, Stampin’ Up!
Finishing Accents Wood Shapes – Christmas, Darcie
Star Dust Stickles, Ranger
Glossy Accents, Ranger
Clear Wink of Stella, Stampin’ Up!
Balmy Blue Card Stock, Stampin’ Up!

Finished cards size: 5.75” x 5.75”

Close Up of Christmas Tree on my Card

————————–

To view my other Conie Fong Art & Design cards, please click here.

Hope you like my Design Team Inspiration Card using
Christmas Present Gnome and Sentiment Bundle for Conie Fong Art & Design!

Thank you for stopping by!

Hugs,
Laurie

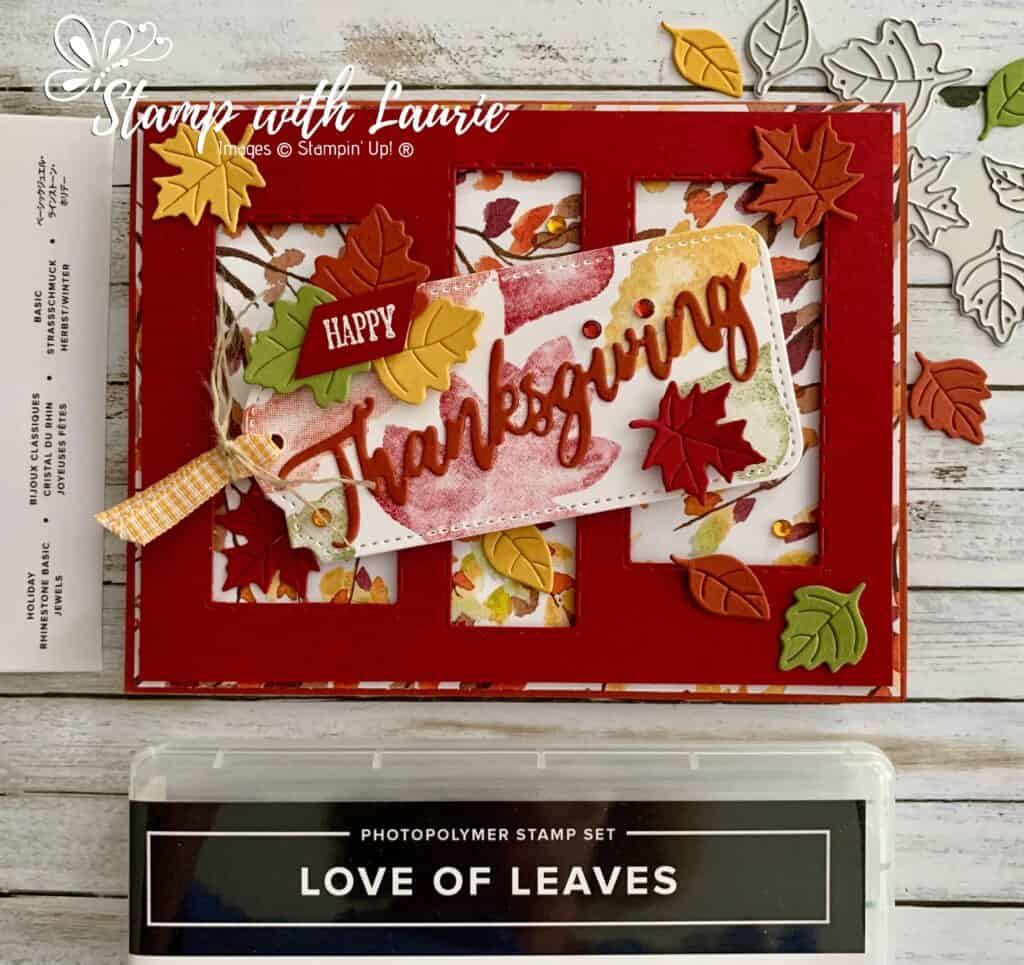
My Happy Thanksgiving Card

A Thanksgiving Card with Leaves on It
My Happy Thanksgiving Card

Happy Thanksgiving to my Canadian Crafty Friends! Laurie here again! I am sharing My Happy Thanksgiving Card using several dies, including Tailor Made Tags Dies, Giving Gifts Dies, Picture This Dies and Word Wishes Dies to create my festive card.

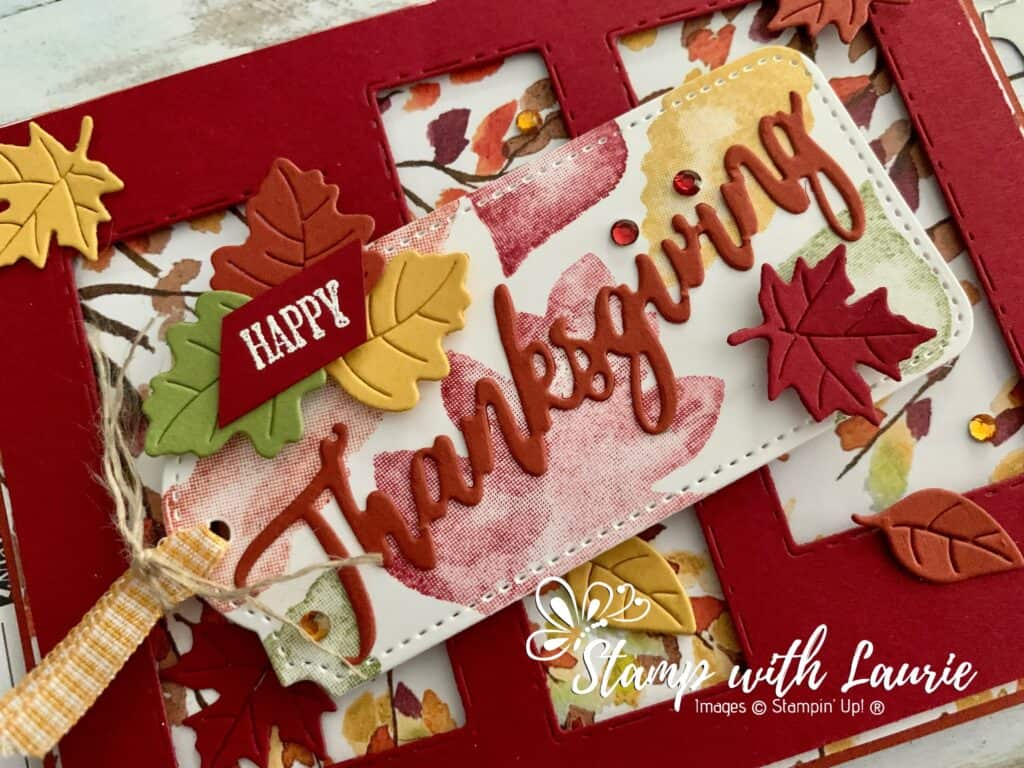
For my card, I wanted to create a very Autumnal card for this time of year. So, I pulled out Cherry Cobbler, Cajun Craze, Bumblebee and Old Olive to create my Fall wonderland card. I stamped each leaf off before stamping it onto my tag. I wanted a subtle background for my die cut word and leaves. The HAPPY was white embossed onto a scrap of Cherry Cobbler and layered onto a pile of leaves. I added to the tag, the Gingham Ribbon, and the Linen Twine which I frayed to create a rustic look.

The Beauty of the Earth Designer Series Paper has the perfect Fall paper in it that was destined for my card. I thought that the Picture This Dies would be a great way to have this DSP poking out. A scattering of die cut leaves and rhinestones make this card feel like there is movement to the falling leaves.

Supplies:

Stamps/Bundles/Dies: Tailor Made Tags Dies (155563), Giving Gifts Dies (156563), Picture This Dies (155559), Word Wishes Dies (149629), A Wish for Everything Stamp Set (149320)

Inks: VersaMark Ink Pad (102283), Cherry Cobbler Classic Stampin’ Pad (147083), Cajun Craze Classic Stampin’ Pad (147085), Bumblebee Classic Stampin’ Pad (153116), Old Olive Classic Stampin’ Pad (147090)

Paper: Cajun Craze (119684), Cherry Cobbler (119685), Basic White (159276), Bumblebee (153077), Old Olive (100702), Beauty of the Earth Designer Series Paper (155841)

Accessories: Basics Embossing Powder (155554), Bumblebee Gingham Ribbon (153658), Holiday Rhinestone Basic Jewels (150457), Linen Thread (104199), Bone Folder (102300), Stampin’ Dimensionals (104430), Stampin’ Seal (152813), Mini Glue Dots (103683), Heat Tool (129053)

Close Up of my Card
Close Up of My Thanksgiving Card

Measurements: 

  • Cajun Craze: 3 pieces
    • 5 ½” x 8 ½” scored at 4 ¼”
    • 3 ½” x 1” (Sentiment)
    • Scraps for leaves
  • Beauty of the Earth Designer Series Paper: 4 1/8” x 5 3/8”
  • Cherry Cobbler: 4” x 5 ¼”
    • Scraps for leaves
  • Basic White: 3 7/8” x 1 13/16”
  • Bumblebee: Scraps
  • Old Olive: Scraps

More Information on My Happy Thanksgiving Card:

For more of my Stampin’ Up! cards, please click here.

You will find the items listed above in my online store.
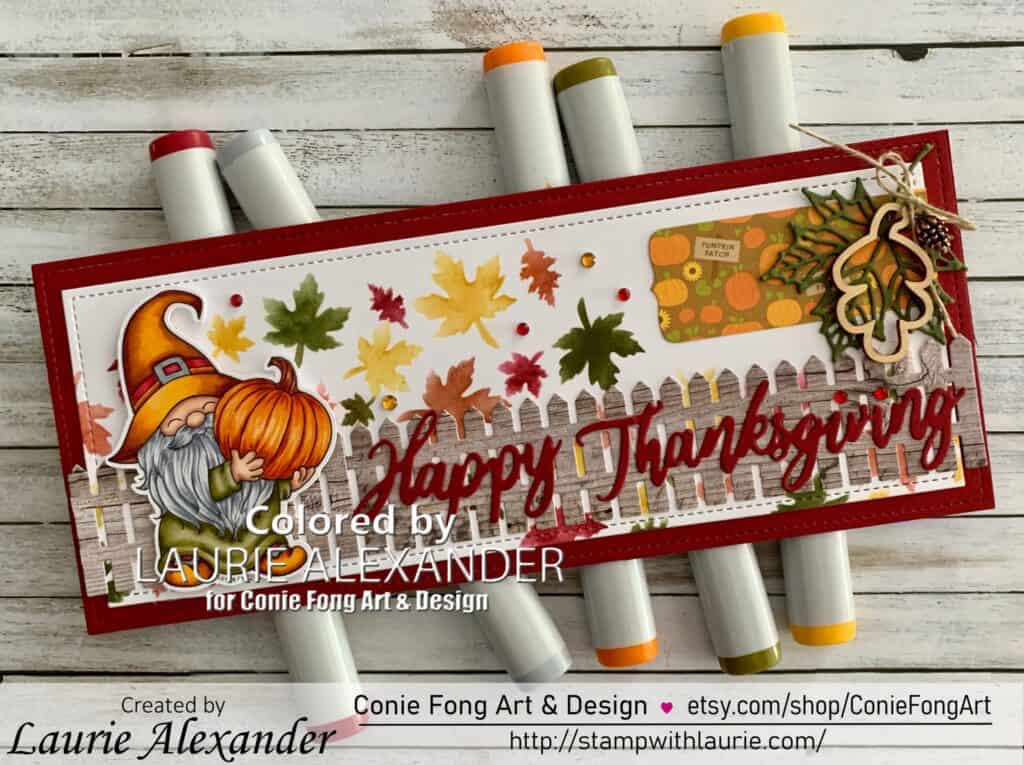
My Happy Thanksgiving Slimline Card

My Design Team Card
My Happy Thanksgiving Card

Hello Crafty Friends! It’s Laurie here! The Canadian Thanksgiving is less than two weeks away. So, I am sharing my Happy Thanksgiving Slimline Card as my Design Team Card for Conie Fong Art & Design using the new release Pumpkin Gnome. He comes with 6 images including the sentiment Sending Pumpkin Wishes.

Details of My Card

For my card, I coloured with my Copic Markers my sweet Gnome in Autumnal colours. To match these colours, I pulled out my Stampin’ Up! inks, fine blending brushes and the Kraftin’ Kimmie Stamps Falling Leaves Stencil to create my Fall background.

The die cut wooden fence was the perfect backdrop for my sentiment. I added a flag with Doodlebug paper that tied in my gnome’s pumpkin. A die cut leaf and a couple of embellishments added balance to that corner. The finishing touch was a scattering of rhinestone in matching colours.

————————–

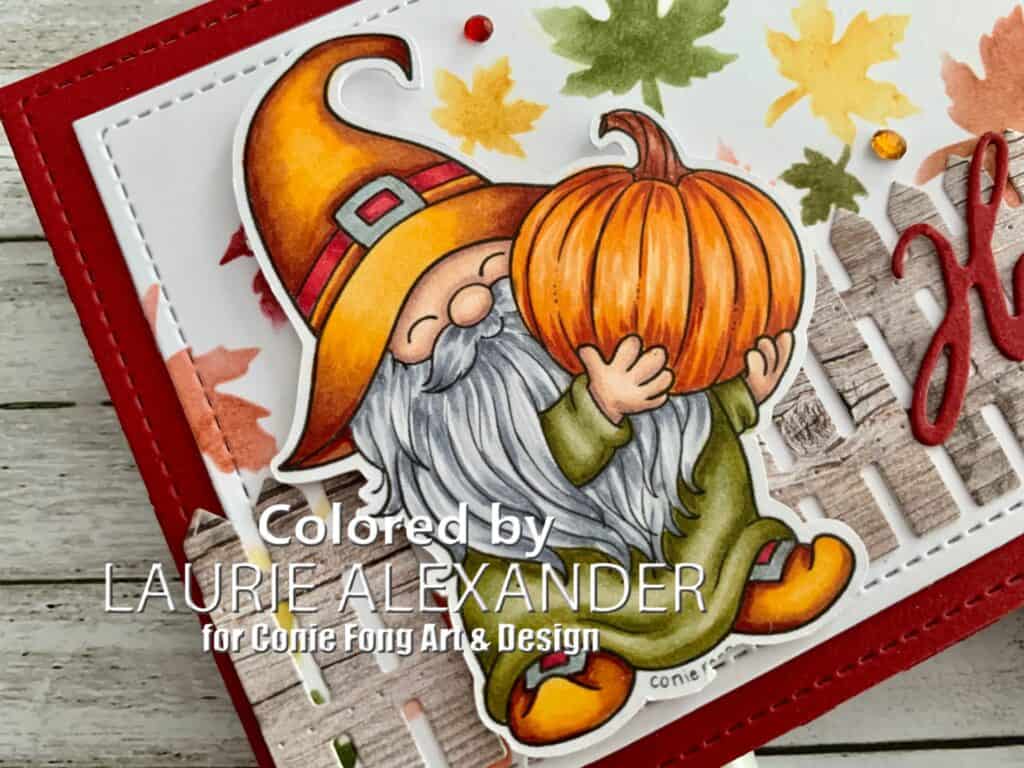
Copic Markers:

Skin: E000/E00/E21/E11/E04
Hair: C5/C3/C2
Pumpkin: YR21/YR12/YR16/E07
Pumpkin Stem: E19/E18/E13
Robe: YG99/YG97/YG95/YG93/YG91
Hat/Shoes: E18/E15/Y38/Y35/R39/R37/R35
Silver Gelly Roll Pen on Buckles

Close Up of my Card
Close Up of Pumpkin Gnome on my Card

————————–

Card Recipe for My Happy Thanksgiving Slimline Card:

Pumpkin Gnome, Conie Fong Art & Design
Paper Basics – Stamper’s Select White Cardstock, Papertrey Ink
Fall Friends 6” x 6” Paper Pad, Doodlebug Design Inc.
In Good Taste Designer Series Paper, Stampin’ Up!
Large Slimline with Sliders Dies, Lawn Fawn
Small Slimline with Lift Flaps Dies, Lawn Fawn
Picket Fence Die-namics, My Favorite Things
Word Wishes Dies, Stampin’ Up!
Seasonal Layers Thinlits, Stampin’ Up!
Falling Leaves Stencil, Kraftin’ Kimmie Stamps
Fine Blender Assortment, Picket Fence Studios
Cherry Cobbler Classic Stampin’ Pad
Mossy Meadow Classic Stampin’ Pad
Cajun Craze Classic Stampin’ Pad
Crushed Curry Classic Stampin’ Pad
Red Rhinestone Basic Jewels, Stampin’ Up!
Holiday Rhinestones Basic Jewels, Stampin’ Up!
Linen Thread, Stampin’ Up!
Mini Pinecones Embellishments, Stampin’ Up! 
Autumn Wooden Embellishments, Stampin’ Up!
Silver Gelly Roll Pen
Cherry Cobbler and Mossy Meadow Card Stock, Stampin’ Up!

Finished card size: 3.5” x 8.5”

————————–

To view my other Conie Fong Art & Design cards, please click here.

Hope you like my Design Team Inspiration Card using
Pumpkin Gnome for Conie Fong Art & Design!


Thank you for stopping by!

Hugs,
Laurie

My Welcome Fall Card

My Welcome Fall Card

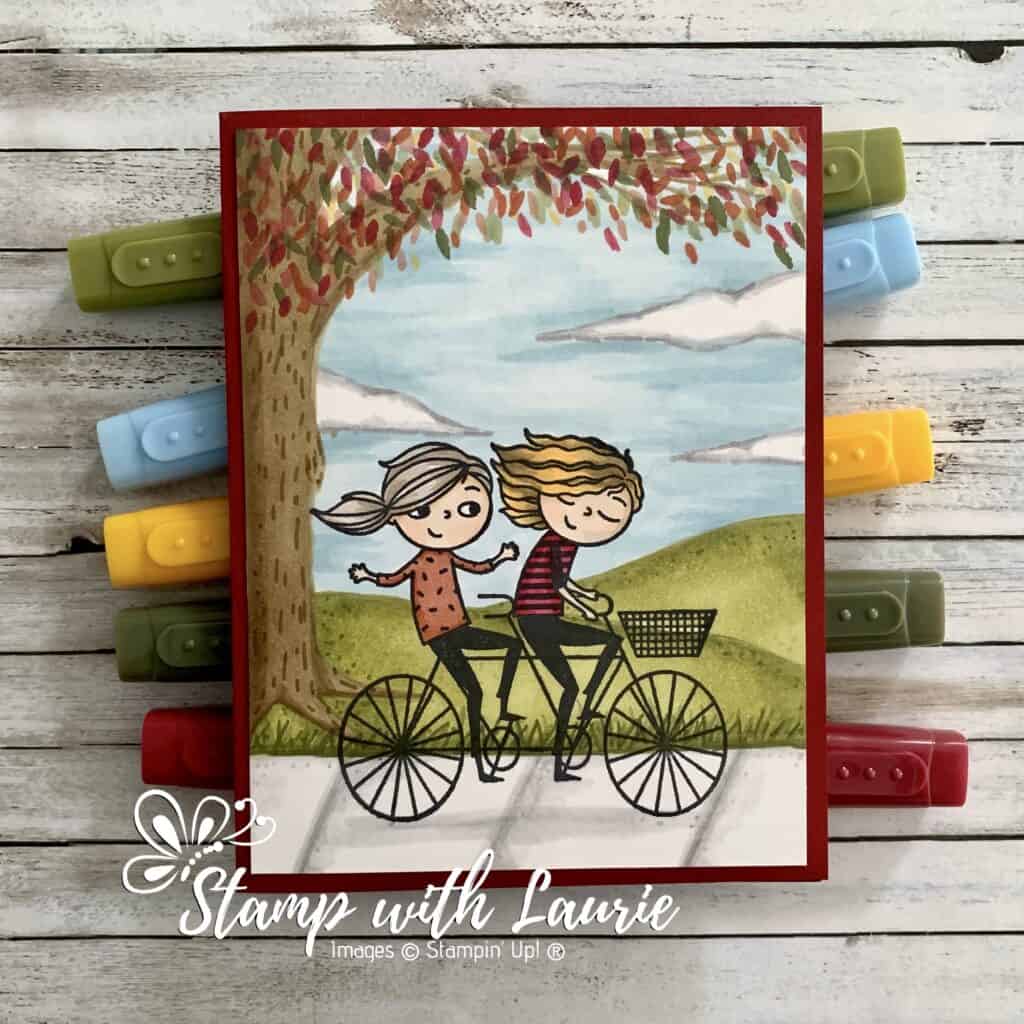
Welcome Fall! Hello Crafty Friends! Laurie here again! I was honoured to have been asked to present my colouring using Stampin’ Blends at a playdate this past weekend for fellow Stampin’ Up! demonstrators. So, I thought I would share my card and first YouTube video with you on the First Day of Fall. For My Welcome Fall Card, I used the Right Behind You Stamp Set and a ton of Stampin’ Blends including the Color Lifter which I used a lot in this video!

I mentioned another video and notes in my presentation. I have included those notes and several videos from that presentation at the end of this post for your reference.

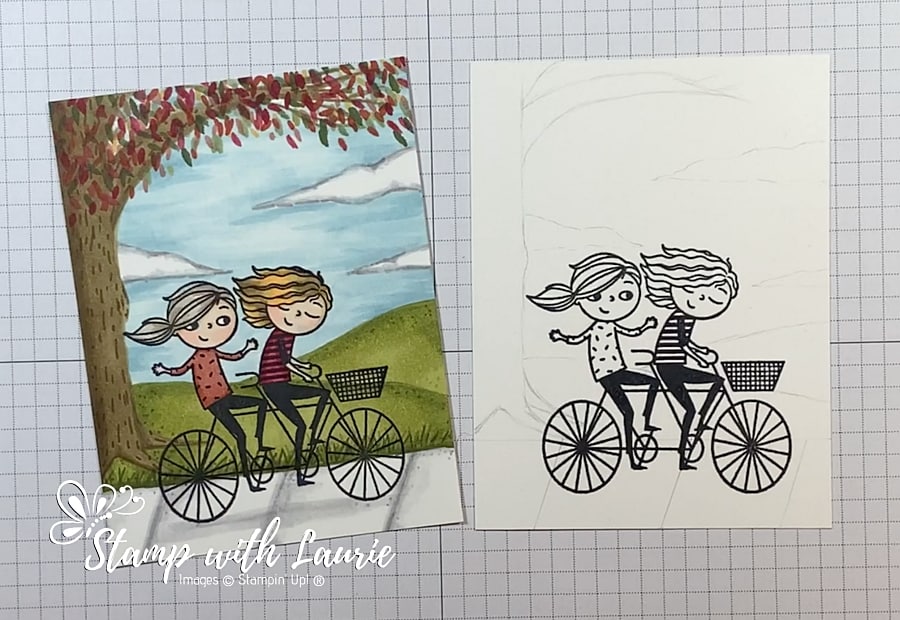
Pencil Sketch of Scene

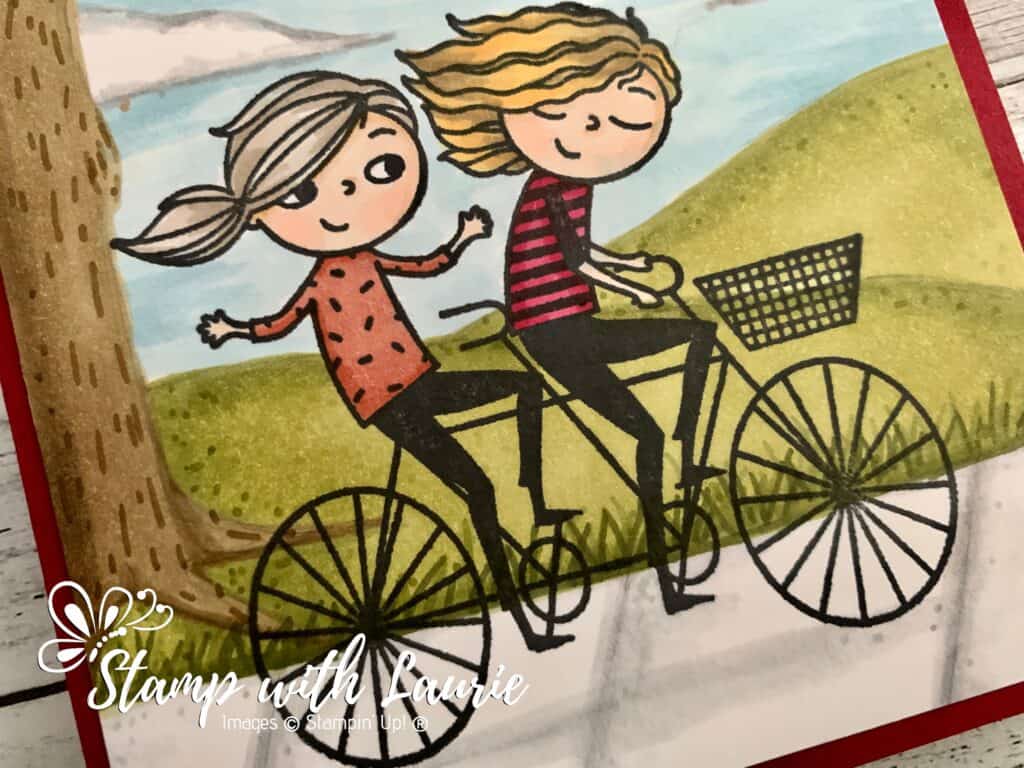
For my card, I stamp multiple times the girls riding the bicycle in Tuxedo Black Memento Ink on my Stamparatus to get a good coverage of ink on their pants. Next, I lightly drew in as a guide a simple scene with a sidewalk, a tree, some hills, and clouds. Once I did that, I started my colouring. Here is my very first YouTube video so that you can follow along:

YouTube Video
YouTube Video of How to Create a Scene With Stampin’ Blends

Stampin’ Blends:

Skin: Ivory/Petal Pink Dark
Ponytail Girl’s Hair: Crumb Cake Light/Dark
Sweater: Cajun Craze Light/Dark
Second Girl’s Hair: Soft Suede Light/Dark/Mango Melody Dark
Shirt: Cherry Cobbler Light/ Dark
Sidewalk/Clouds: Gray Granite Light/Dark/Color Lifter
Sky: Balmy Blue Light/Dark/Color Lifter
Grass: Old Olive Light/Dark/ Mossy Meadow Light/Dark
Tree Trunk: Soft Suede Light/Dark
Leaves: Cherry Cobbler Light/Dark
Cajun Craze Light/Dark
Old Olive Light/Dark
Mossy Meadow Light/Dark
Mango Melody Dark

Supplies:

Stamp: Right Behind You Cling Stamp Set (155790

Ink: Tuxedo Black Memento Ink Pad (132708)

Paper: Basic White (159276), Cherry Cobbler (119685)

Accessories: Stamparatus (146276), Stampin’ Blends Color Lifter (144608), Bronze & Ivory Stampin’ Blends Combo Pack (154922), Petal Pink Stampin’ Blends Combo Pack (154893), Crumb Cake Stampin’ Blends Combo Pack (154882), Old Olive Stampin’ Blends Combo Pack (154892), Balmy Blue Stampin’Blends Combo Pack (154830), Soft Suede Stampin’ Blends Combo Pack (154906), Gray Granite Stampin’ Blends Combo Pack (154886), Cherry Cobbler Stampin’ Blends Combo Pack (154880), Cajun Craze Stampin’ Blends Combo Pack (154879), Mossy Meadow Stampin’ Blends Combo Pack (154890), Bone Folder (102300), Stampin’ Dimensionals (104430), Stampin’ Seal (152813)

Measurements: 

  • Cherry Cobbler: 5 ½” x 8 ½” scored at 4 ¼”
  • Basic White: 4” x 5 ¼”
Close Up of my Card
Close Up of The Stamped Girls on my Card

More Information on My Welcome Fall Card:

To watch my YouTube video of my presentation on how to create a scene with Stampin’ Blends:
https://youtu.be/6w4fkxgA9rg

How to Use Stampin’ Blends
https://stampwithlaurie.com/wp-content/uploads/2020/08/Stampin-Up-Blends-2020.pdf

Part 1Whiskey Business Card using Blending Different Colours Technique
Video Tutorial: Blending Different Colours Together

Part 2Country Harvest Card using Light to Dark Technique
Video Tutorial: Light to Dark/Dark to Light Colouring

Part 3Beautiful Poppy Birthday Card using Smooth Colouring Technique
Video Tutorial: Smooth Colouring

Part 4Let’s Gather Together Card using Tip to Tip Blending Technique
Video Tutorial: Tip to Tip Colouring

Part 5So Grateful Cardinal Card using Flicking Colouring Technique
Video Tutorial: Flicking Colouring

Part 6Let’s Celebrate You Card using Flicking of Different Colours Technique
Video Tutorial: Flicking of Different Colours Technique

No-Lines Technique CardsMy Cardinal Anniversary Card and My Cardinal Card

For more of my Stampin’ Blends cards, please click here.

For more of my Stampin’ Up! cards, please click here.

You will find the items listed above in my online store

My Otter-ly Love Anniversary Card

My Anniversary Card for my Hubby
My Otter-ly Love Anniversary Card

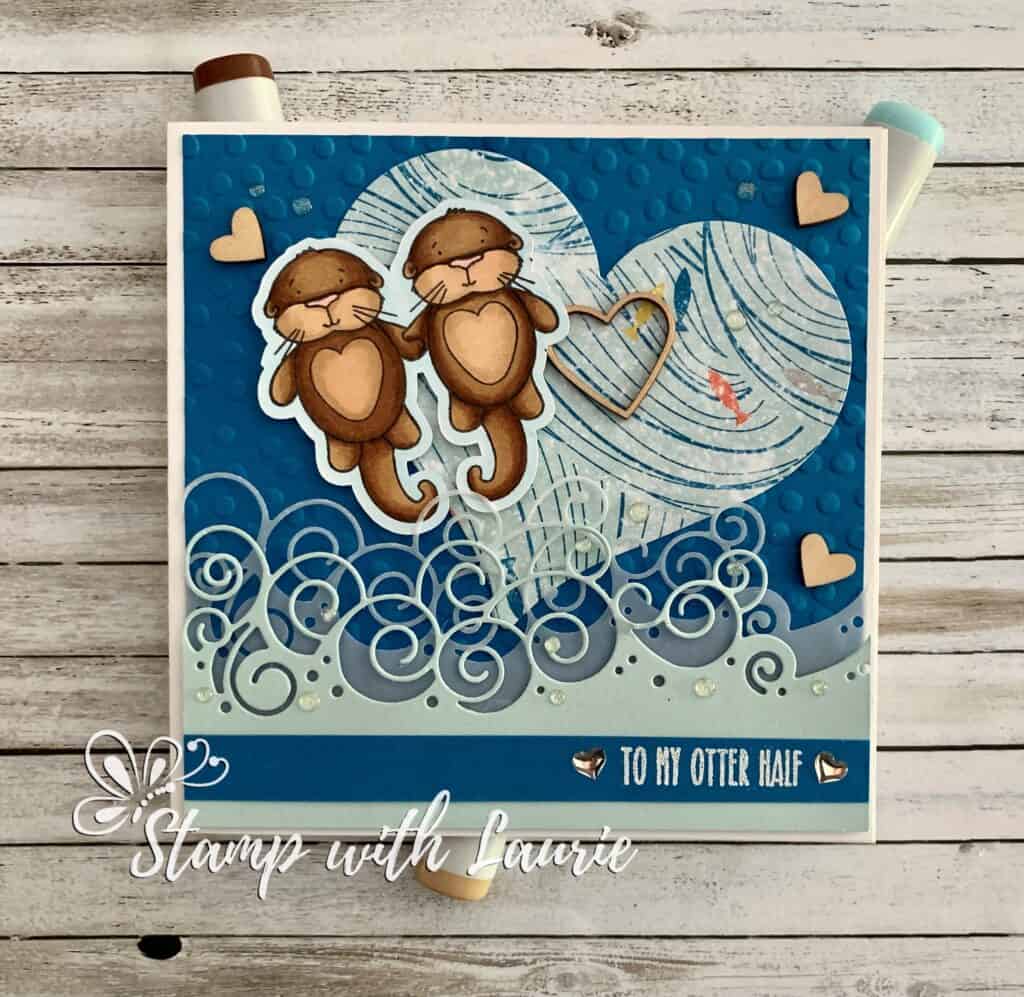
Hello Crafty Friends! It’s Laurie here! I am sharing My Otter-ly Love Anniversary Card using From The Otter Side by Kraftin’ Kimmie Stamps. Today is our 27th Wedding Anniversary and this is one of the cards that I gave my Hubby.

Aren’t these two otters just the cutest with their heart shaped tummies! My Hubby loves otters. In fact, there is a YouTube channel that he loves to watch that is all about two otters, Kotaro and Hana, and the antics that they get up to living in an apartment in Japan!

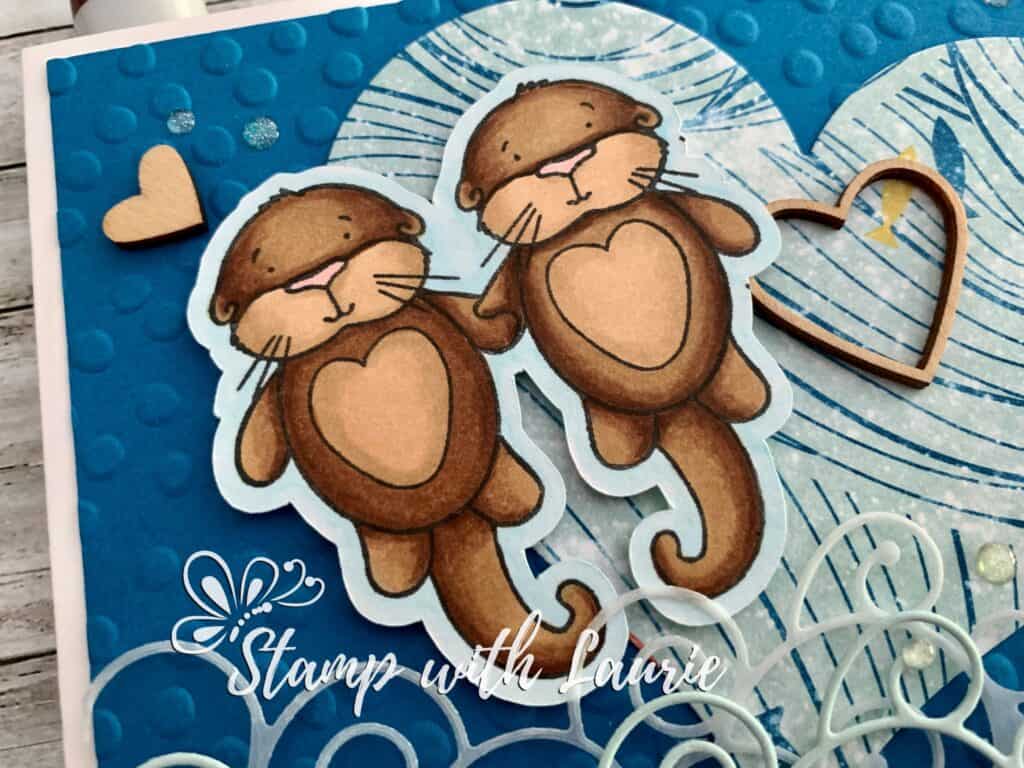
For my card, I decided that I wanted to create a fun “watery” scene for my two otters. So, I pulled from my stash some Designer Series Paper that had fish and waves on it and die cut it into a heart. I embossed the Detailed Dots onto the Pacific Point background to represent water bubble. I love the detail of the Memory Box wave die! In fact, I loved it so much that I made two layers with one being in Vellum! I couldn’t resist having one of the cute otters holding a wooden heart! How perfect for an anniversary card! The fun puny sentiment “To my Otter Half” was white embossed on a strip of Pacific Point with a couple of heart embellishments. A couple more wooden hearts and some water droplets on the waves all add to my anniversary/watery scene!

————————–

Copic Markers:

Fur: E37/E35/E34/E33
Tummies: E33/E31/E30
Nose: R20
Water: B000

Close Up Of The Otters on my Card
Close up of the Otters on my My Hubby’s Anniversary Card

————————–

Card Recipe for My Otter-ly Love Anniversary Card:

From The Otter Side, Kraftin’ Kimmie Stamps
Paper Basics – Stamper’s Select White Cardstock, Papertrey Ink
High Tide Designer Series Paper, Stampin’ Up!
Vellum Cardstock, Stampin’ Up!
Big Splash Border Die, Memory Box
Sizzix Big Shot Framelits Hearts Collection, Stampin’ Up!
Decorative Dots Textured Impressions Embossing Folder, Stampin’ Up!
Sending Love Wooden Embellishments, Stampin’ Up!
Metallic Enamel Shapes, Stampin’ Up!
Clear Epoxy Shapes, Stampin’ Up!
Basic White Thick, Pacific Point and Soft Sky Card Stock, Stampin’ Up!

Finished card size: 5.25” x 5.25”

————————–

To view my other Copic cards, please click here.

Hope you like my anniversary card using
From The Otter Side by Kraftin’ Kimmie Stamps!

Thank you for stopping by!

Hugs,
Laurie

My Pumkin’ Spice Card

My Design Team Card
My Pumkin’ Spice Card

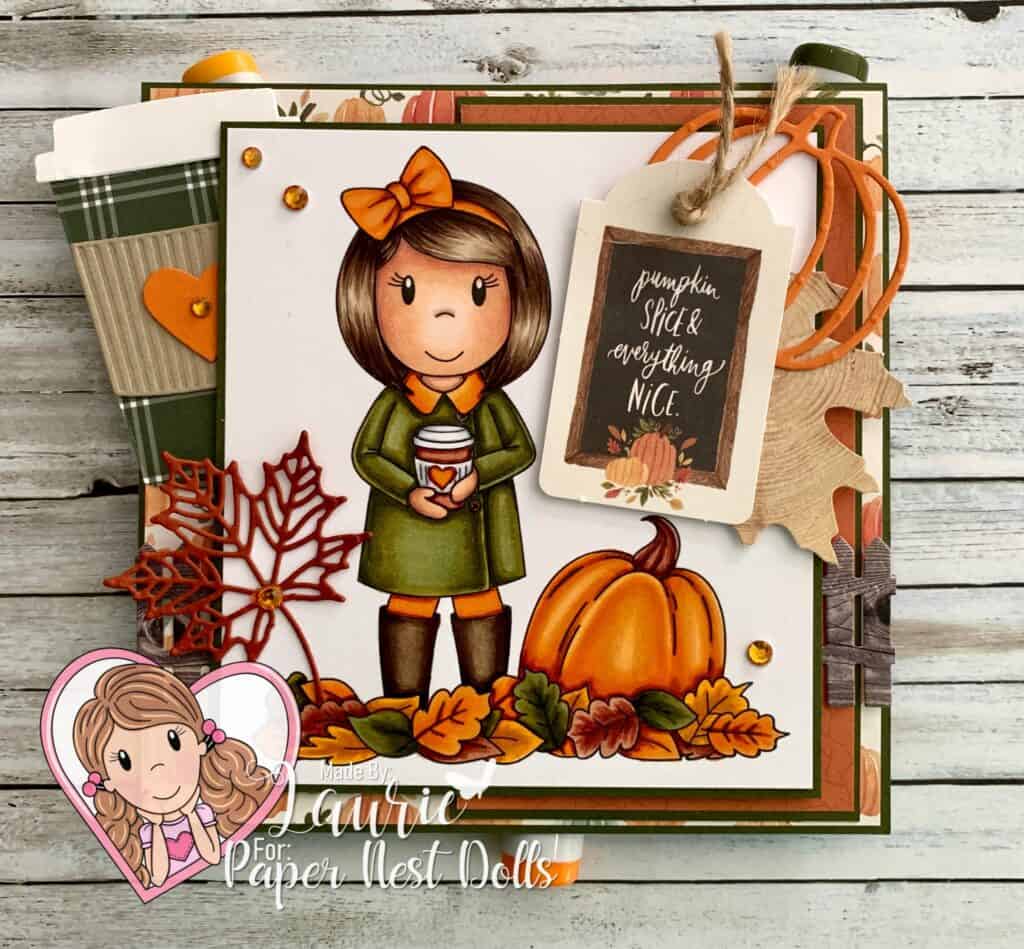
Hello Crafty Friends! It’s Laurie here! I am sharing My Pumkin’ Spice Card as my Design Team Inspiration Card for Paper Nest Dolls using the new release Fall Emma. I love this time of year with the cooler weather and the turning of the leaves!

Details of My Card

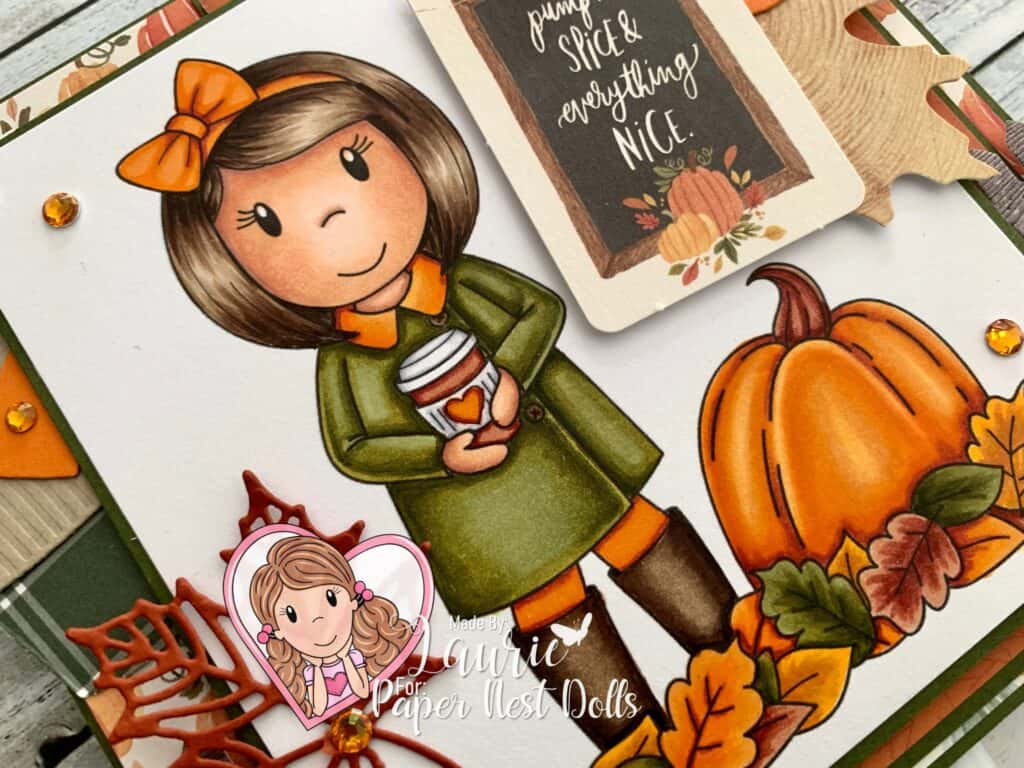
I coloured Emma with my Copic Markers in Autumnal colours with rich oranges and greens. I love her little latte cup and, of course, it needed to be a Pumkin’ Spiced Latte. Not pumpkin, but pumkin’ since that is the way I say it! Lol!

For my card, I had perfect Fall paper for it which even came with tags that matched my theme! I decided to layer a die cut pumpkin and a faux wooden leaf tag behind the pumpkin spice tag. I threaded the twine from the leaf tag through the other tag to tie it all together.

Don’t you just love the latte cup peeking out from behind the central image! I used the matching paper to die cut it out and added an orange heart for pumkin spice like in the coloured stamp. I layered behind the central image a “wooden” fence that was die cut out of paper that looked like wood. A die cut leaf and a couple of Pumpkin Pie rhinestones tie in my Fall theme.

————————–

Copic Markers:

Skin: E04/E11/E21/E00/E000/R20
Hair: E49/E47/E44/E43/E42
Coat: YG93/YG95/YG97/YG99/E47/E44
Bow/Collar/Tights: E07/YR04/YR16/YR12
Boots: E49/E47/E44/E43
Pumpkin: YR21/YR12/YR16/YR04/E07/E13/E18/E19
Pumkin’ Latte: E18/E13 (Cup)
E08/YR04/YR12 (Heart)
C3/C0/0 (Lid)
Leaves: E13/E18/E19/YG99/YG97/YG95/E07/YR04/YR16/YR12/Y17/YR24/YR27

Close Up of Stamped Image on my Card
Close Up of Emma on My Design Team Card

————————–

Card Recipe for My Pumkin’ Spice Card:

Fall Emma, Paper Nest Dolls
Paper Basics – Stamper’s Select White Cardstock, Papertrey Ink
Happy Fall 6” x 6” Paper Pad, Echo Park Paper Co.
Hello Autumn 6” x 6” Paper Pad, Carte Bella Paper Co.
Hello Autumn Frames and Tags, Carte Bella Paper Co.
In Good Taste Design Series Paper, Stampin’ Up!
Picket Fence Die-namics, My Favorite Things
Seasonal Layers Thinlits, Stampin’ Up!
Coffee Cups Framelits Dies, Stampin’ Up!
Patterned Pumpkins Thinlits, Stampin’ Up!
Holiday Rhinestones Basic Jewels, Stampin’ Up!
Leaf Tags, Craft Smart, Michaels’ Arts & Crafts
Mossy Meadow, Pumpkin Pie, Cajun Craze,
Crumb Cake and Basic White Card Stock, Stampin’ Up!

Finished card size: 5.5” x 5.5”

————————–

To view my other Paper Nest Dolls cards, please click here.

Hope you like my Design Team card using
Fall Emma by Paper Nest Dolls!

Thank you for stopping by!

Hugs,
Laurie

My Pansy Hello Card

My Stampin' Up! Card Using the Pansy Petals Suite
My Pansy Hello Card

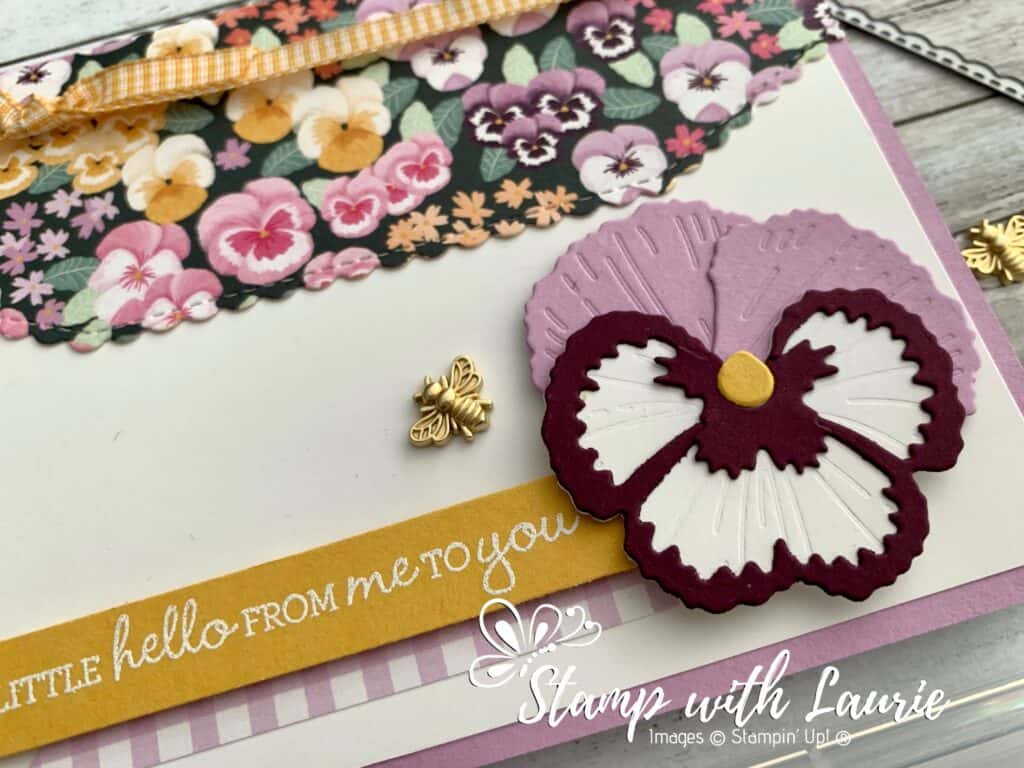
Hello Crafty Friends! Laurie here again! I am sharing My Pansy Hello Card using the Pansy Petals Suite which includes the Pansy Patch Stamp Set, Pansy Dies, Pansy Petals Designer Series Paper and Bumblebee Trinkets by Stampin’ Up! Don’t you just love the details of that layered 3D pansy!

Close Up of the 3D Pansy Die

For my card, I knew that I wanted to use the Basic Border Dies with the beautiful DSP! So, I created an envelope liner look that allowed me to wrap the Bumblebee Gingham Ribbon around it. I pulled my colours from the DSP to create my gorgeous pansy. There are so many different colour combinations that you can create with the dies. There is even a die that can cut out some of the pansies in the DSP. I embossed the sentiment in white on a strip of Bumblebee card stock that I had left over from another project. I always save them just in case I can use them. What do you do with these scraps? The finishing touch was the sweet Bumblebee Trinket!

Supplies:

Stamps/Bundles/Dies: Pansy Petals Bundle (155674), Basic Borders Dies (155558)

Inks: VersaMark Ink (102283)

Paper: Fresh Freesia (155613), Basic White (159276), Blackberry Bliss (133675), Bumblebee (153077), Pansy Petals Designer Series Paper (155807)

Accessories: Basics Embossing Powder (155554), Bumblebee Trinkets (155568), Bumblebee Gingham Ribbon (153658), Heat Tool (129053), Bone Folder (102300), Stampin’ Dimensionals (104430), Stampin’ Seal (152813), Mini Glue Dots (103683), Paper Snips (103579)

Close Up of My Card
Close Up of My Card

Measurements: 

  • Fresh Freesia: 2 pieces
    • 5 ½” x 8 ½” scored at 4 ¼”
    • Scrap for pansy
  • Basic White: 2 pieces
    • 4” x 5 ¼”
    • Scrap for pansy
  • Blackberry Bliss: Scrap for pansy
  • Bumblebee: 2 pieces
    • 3 ½” x ½”
    • Scrap for pansy
  • Pansy Petals Designer Series Paper: 5 ½” x 2 ¼”
  • Bumblebee Gingham Ribbon: 6” and 4”

More Information on My Pansy Hello Card:

For more of my Stampin’ Up! cards, please click here.

Here is a video showing the Pansy Petals Suite: https://www.youtube.com/watch?v=dUT3h4xOCnY

You will find the items listed above in my online store.